Faron Temple walkthrough in Zelda: Echoes of Wisdom
Our Echoes of Wisdom Faron Temple walkthrough will take you through all the steps in the Faron Temple, defeat Gohma, and complete “Rift in Faron Wetlands.”
This article references relevant content from the polygon.com website. Original article link: [https://www.polygon.com/zelda-echoes-wisdom-guides/455349/faron-temple-walkthrough-stilled-faron-wetlands]
Faron Temple is a dungeon in The Legend of Zelda: Echoes of Wisdom. You’ll tackle it after healing the rift in Stilled Blossu’s House and escaping Deku Scrub Lockup.
This is one of three dungeons you can enter at this point in the game, the other two being Lanayru Temple and Eldin Temple. If you haven’t done so yet, we recommend tackling Eldin Temple first, since you get bombs.
Below, our full Echoes of Wisdom Faron Temple walkthrough will cover all steps of the dungeon — including the Stilled Faron Wetlands rift, the Faron Temple dungeon itself, and the boss fight against Gohma — so you can complete “Rift in Faron Wetlands” main story quest.
Stilled Faron Wetlands walkthrough
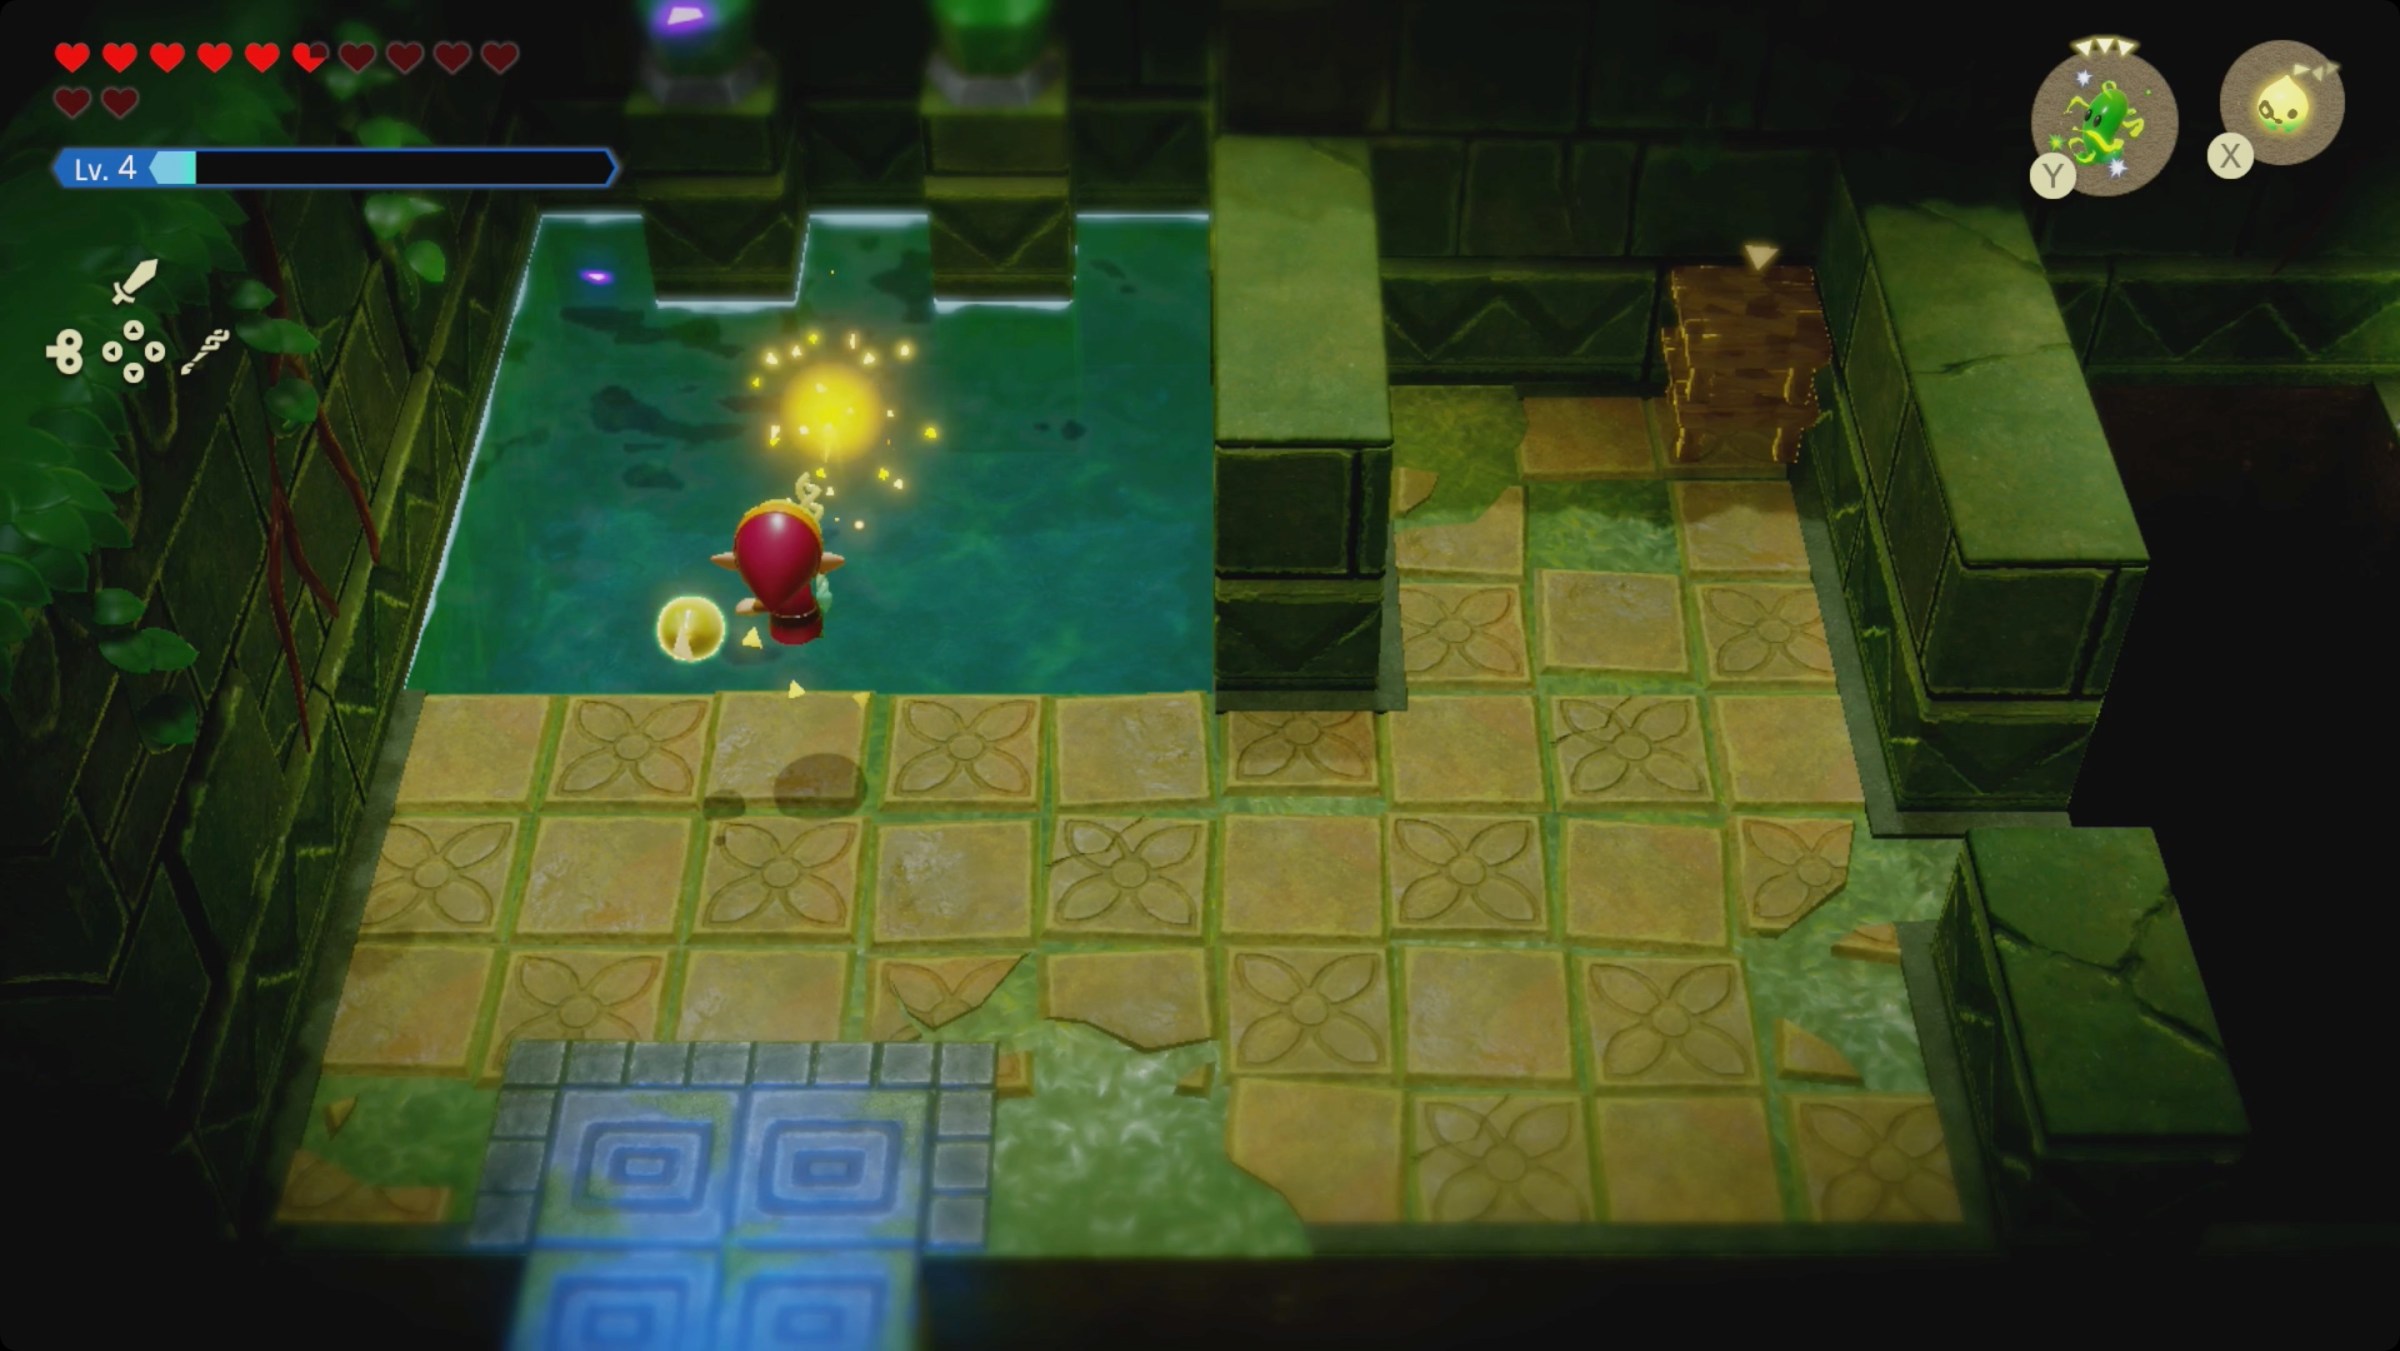
Once you’re back aboveground, head to the smoothie shop to stock up — healing and electricity-proof smoothies should be on your shopping list — and then head back to the Sweet Spot. You can get inside now, and into the Stilled Faron Wetlands rift.
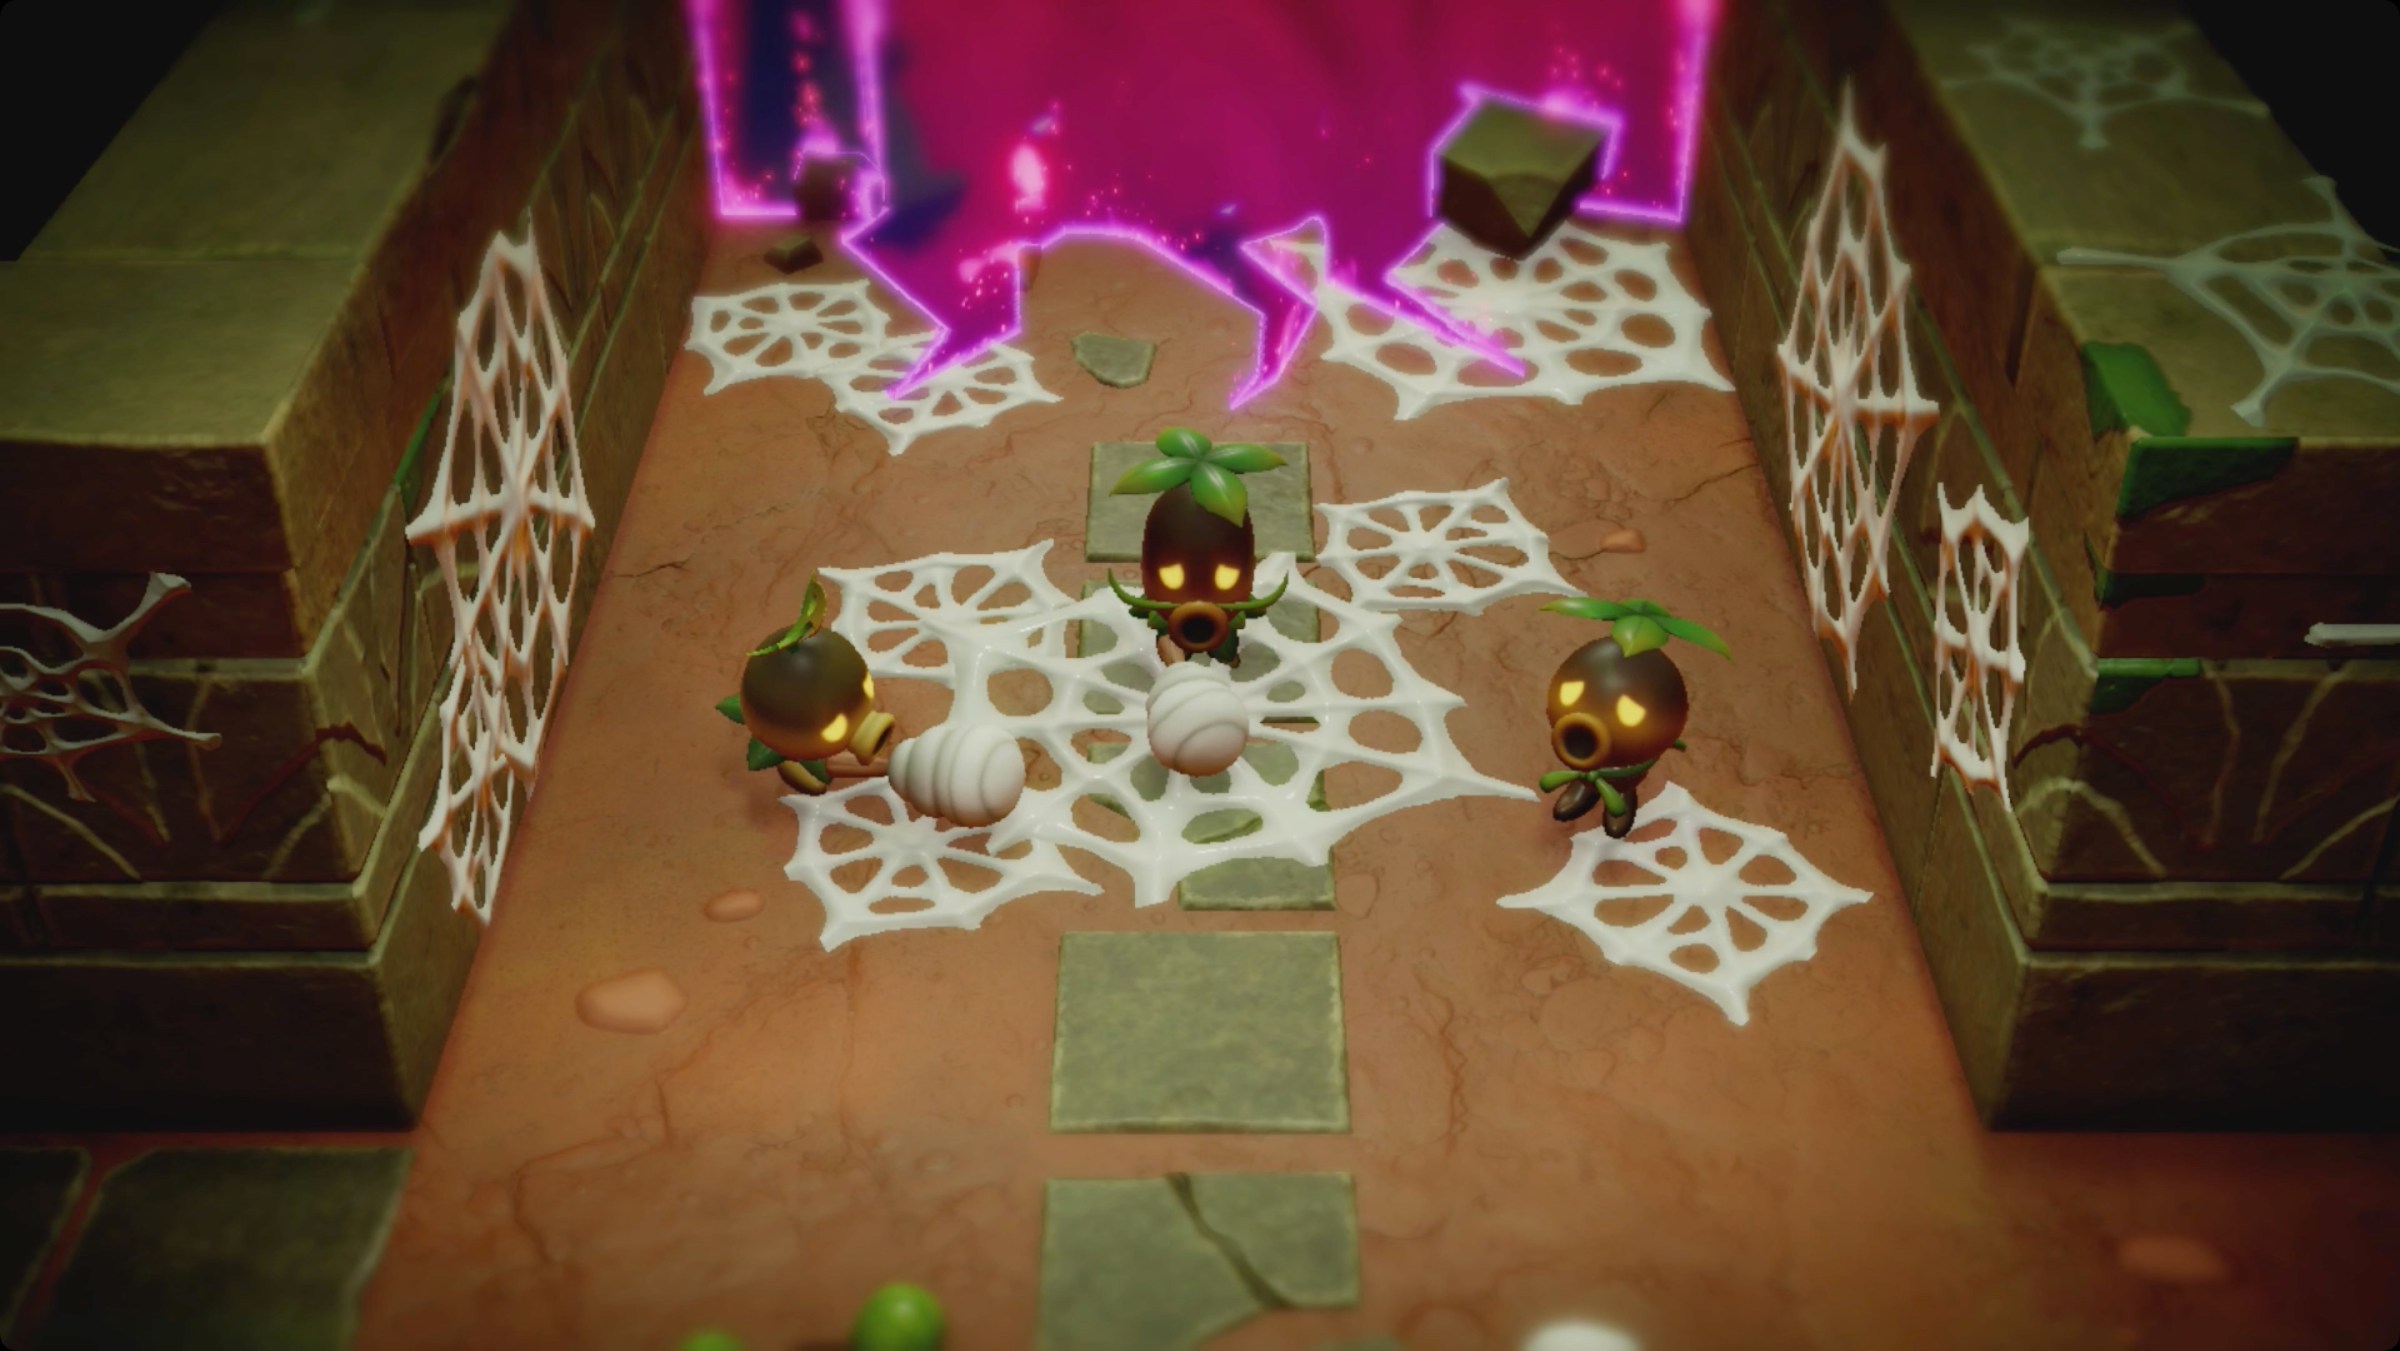
Start floating island-hopping your way north. You’ll see a lot of deku enemies, plenty of spiderwebs, and some some braziers. Don’t worry about any of it yet. Instead, avoid the enemies and just keep working your way northwest.
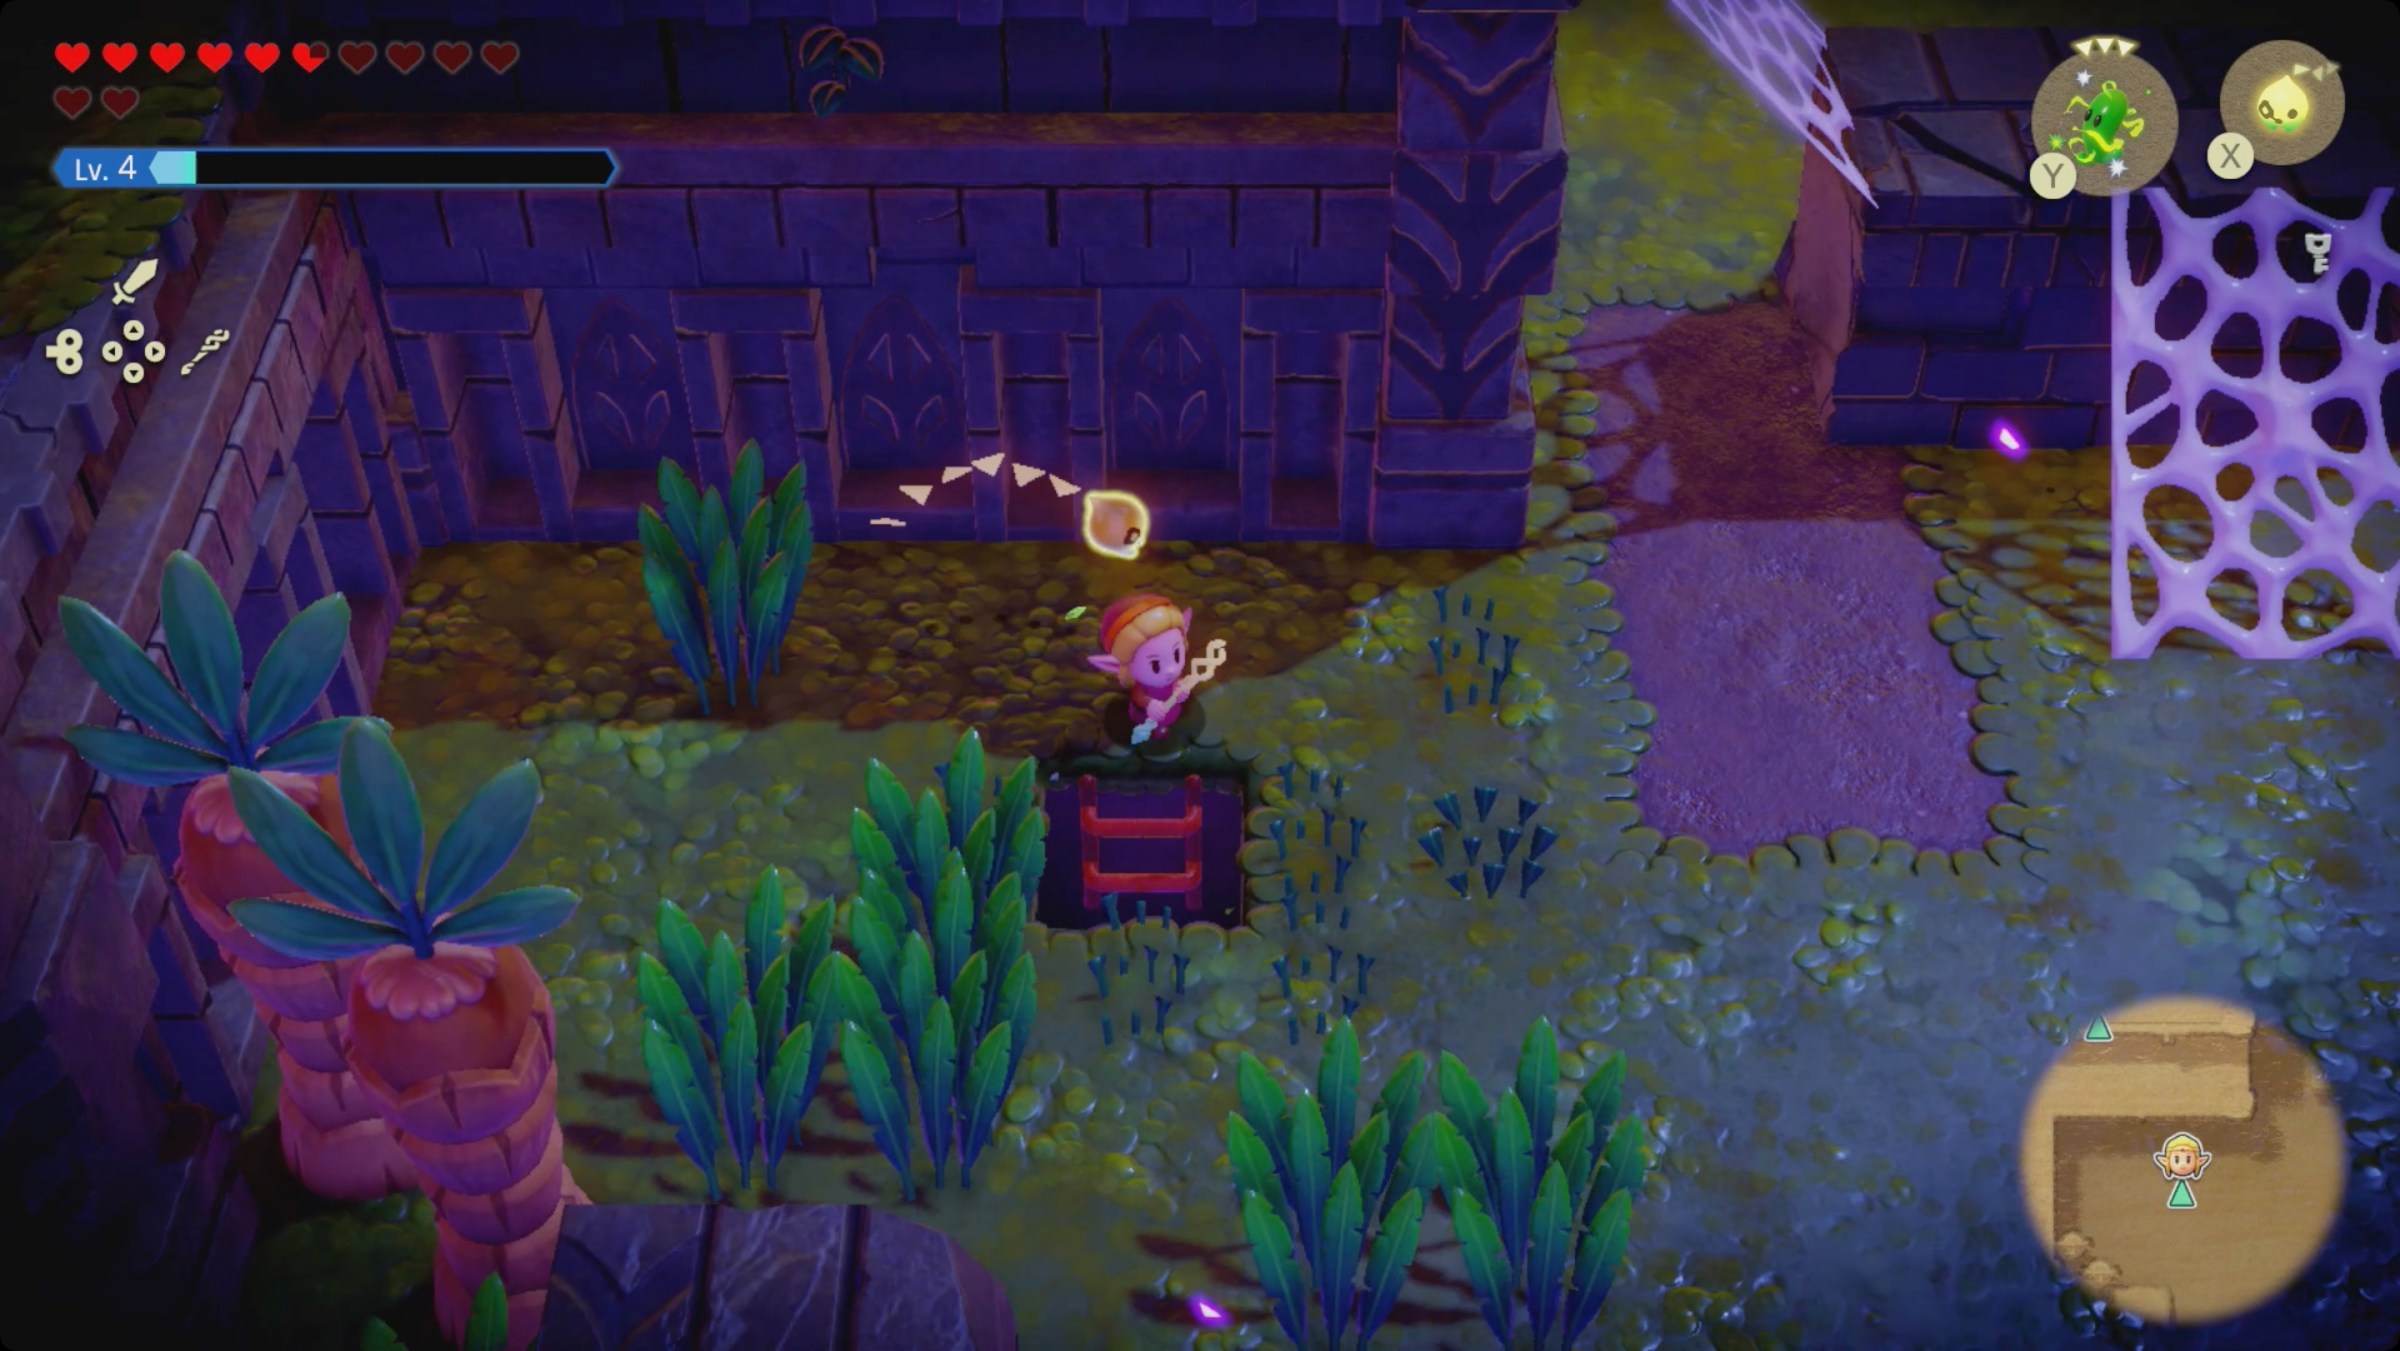
Up in the corner, there’s a courtyard with a drippitune, a buzz blob, a goo specter, a hoarder, and an electric keese. Get rid of the drippitune if nothing else and then open the treasure chest. Getting rid of the drippitune means you can use ignizols on all of the dekus back the way you came.
Do a quick sweep of all of the islands you’ve passed so far — there are two treasure chests and six braziers to light. When you’re done head up to the northeast.
You’ll come to a doorway surrounded by six braziers and a wall of fire. Summon a drippitune to put out the fires and head inside. There’s not much to do in the 2D section that follows. Just climb the wall and then the ladder.
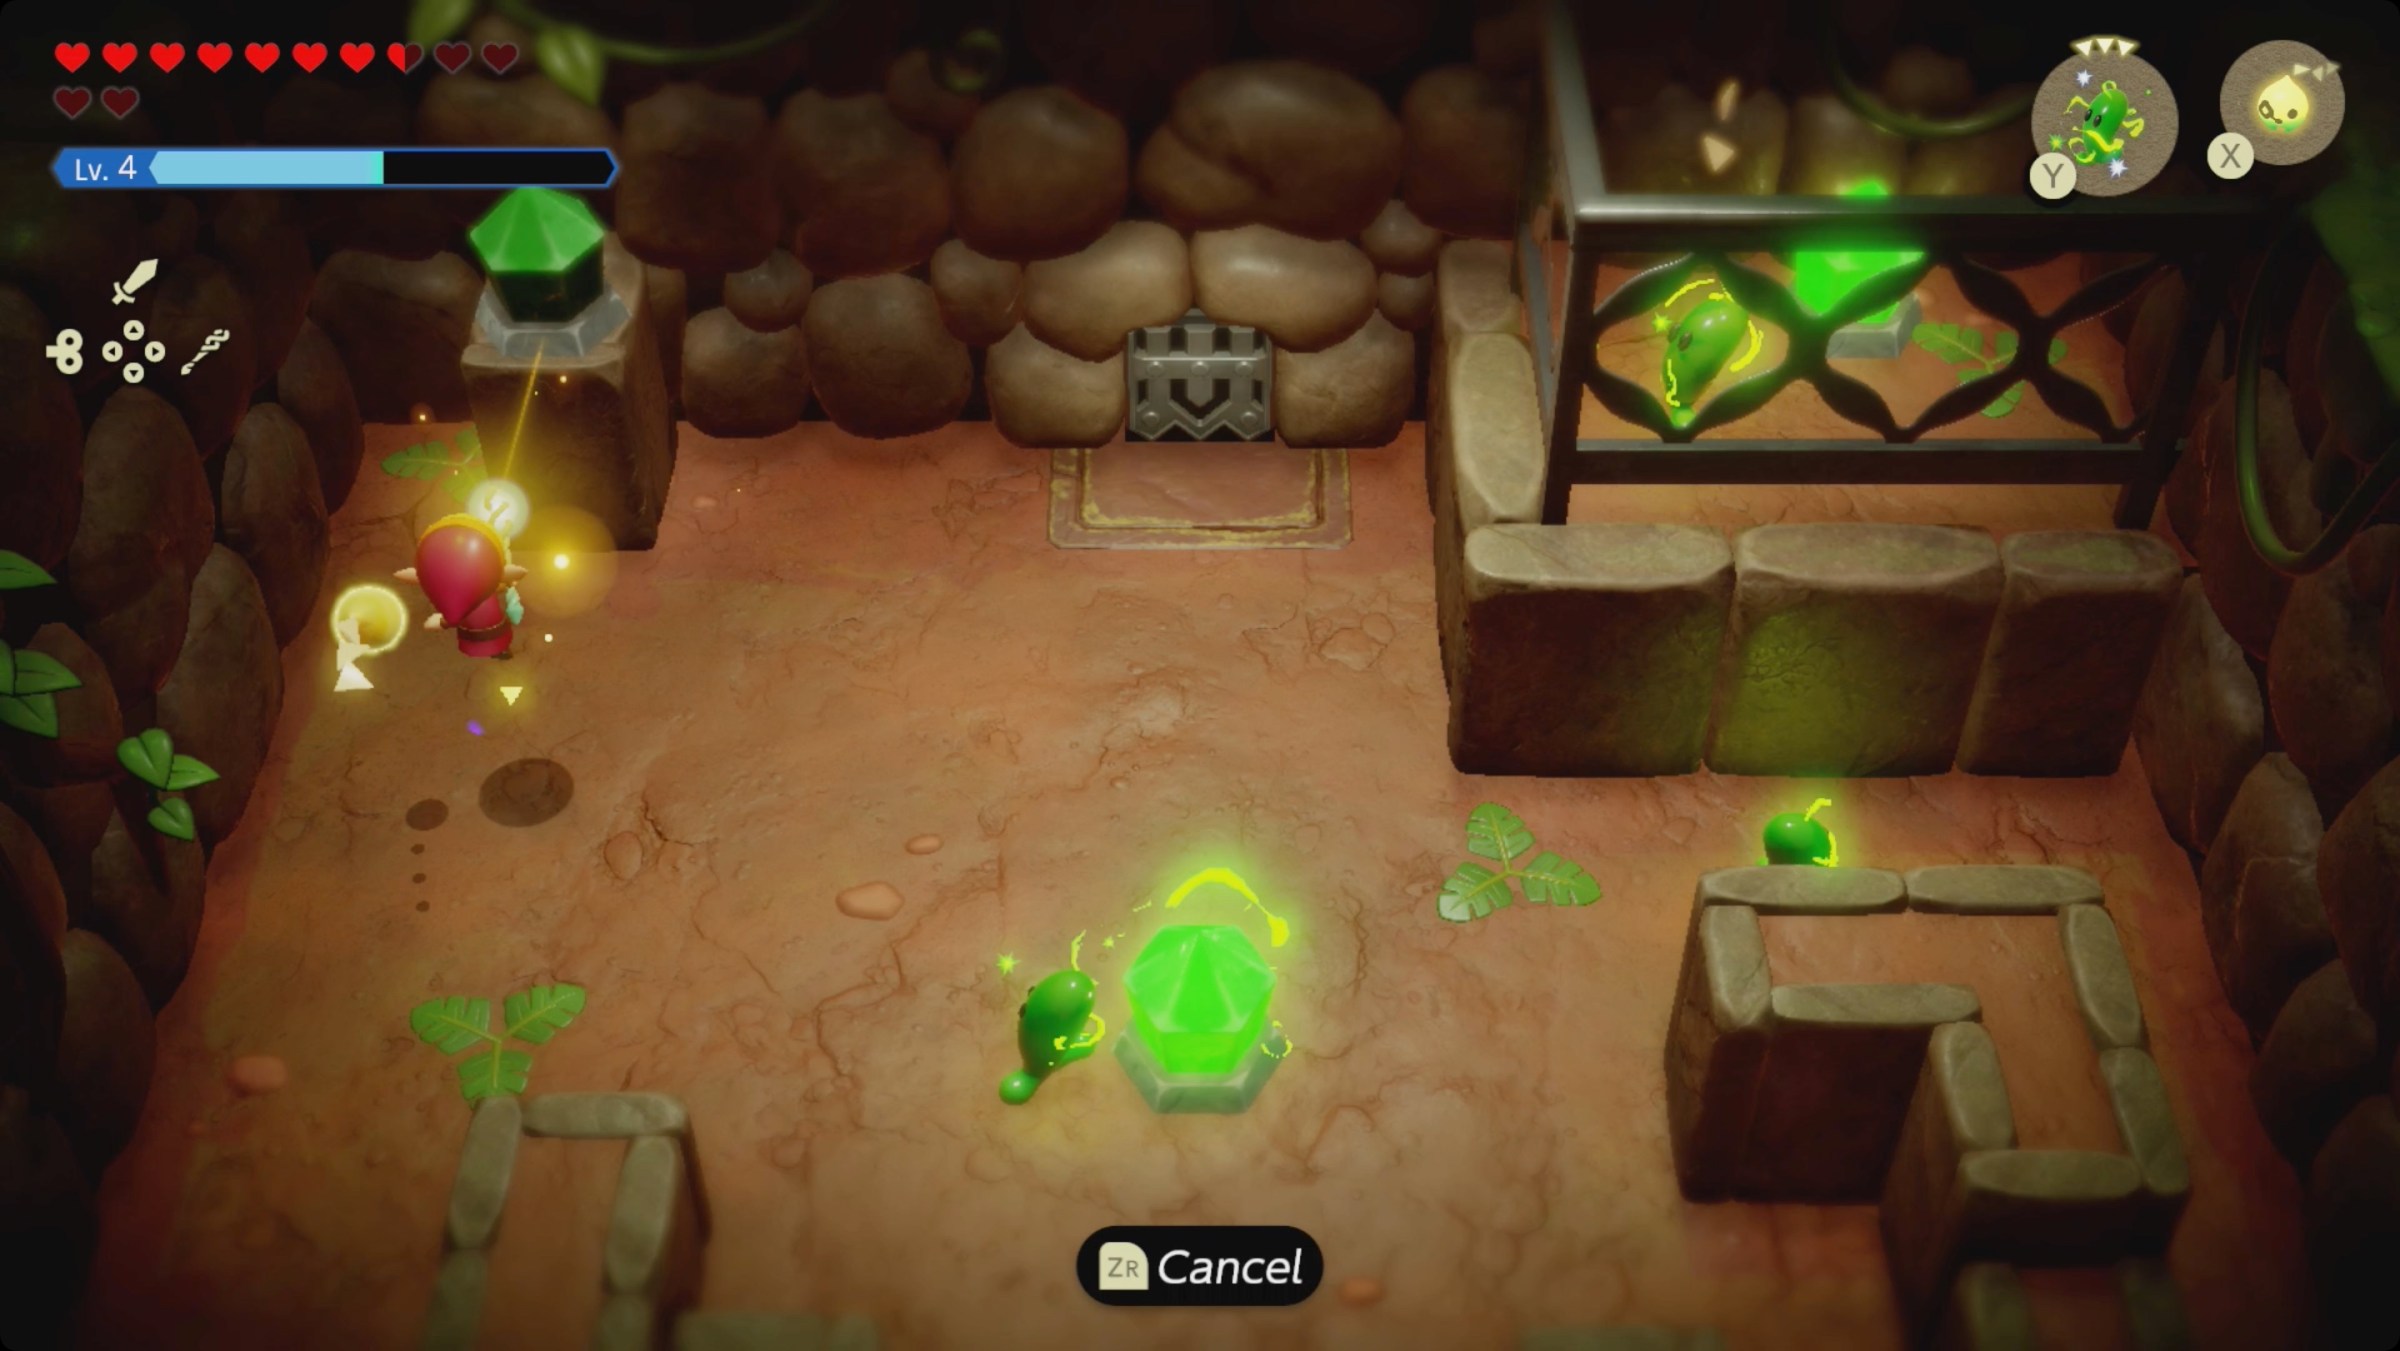
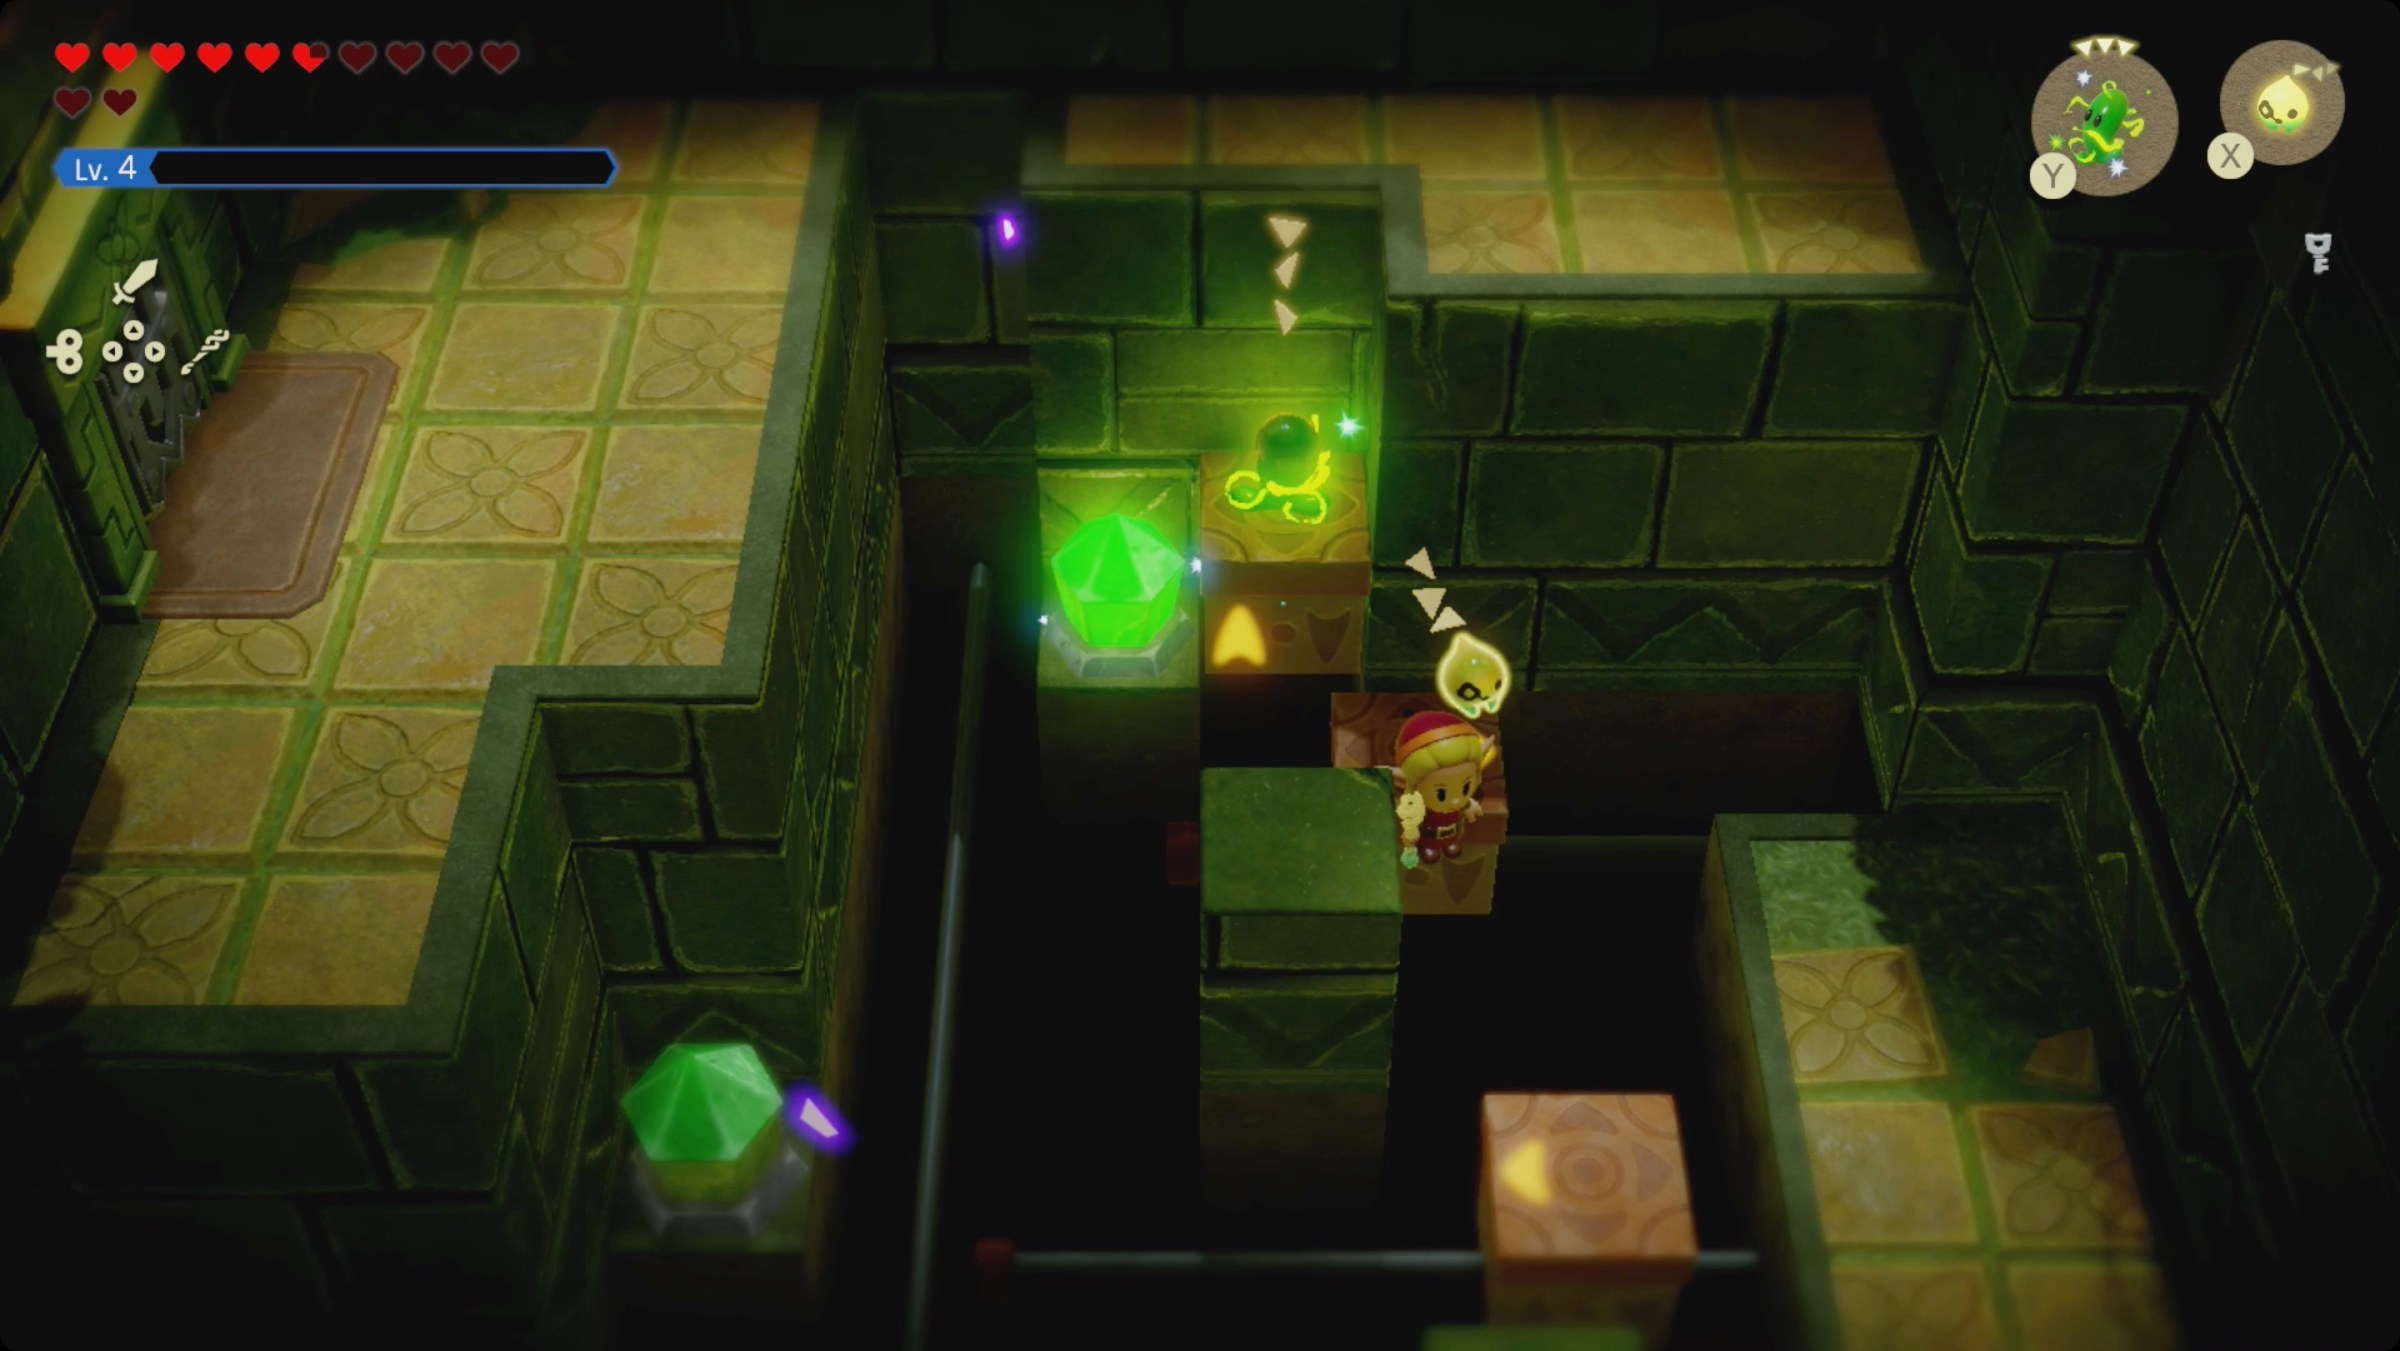
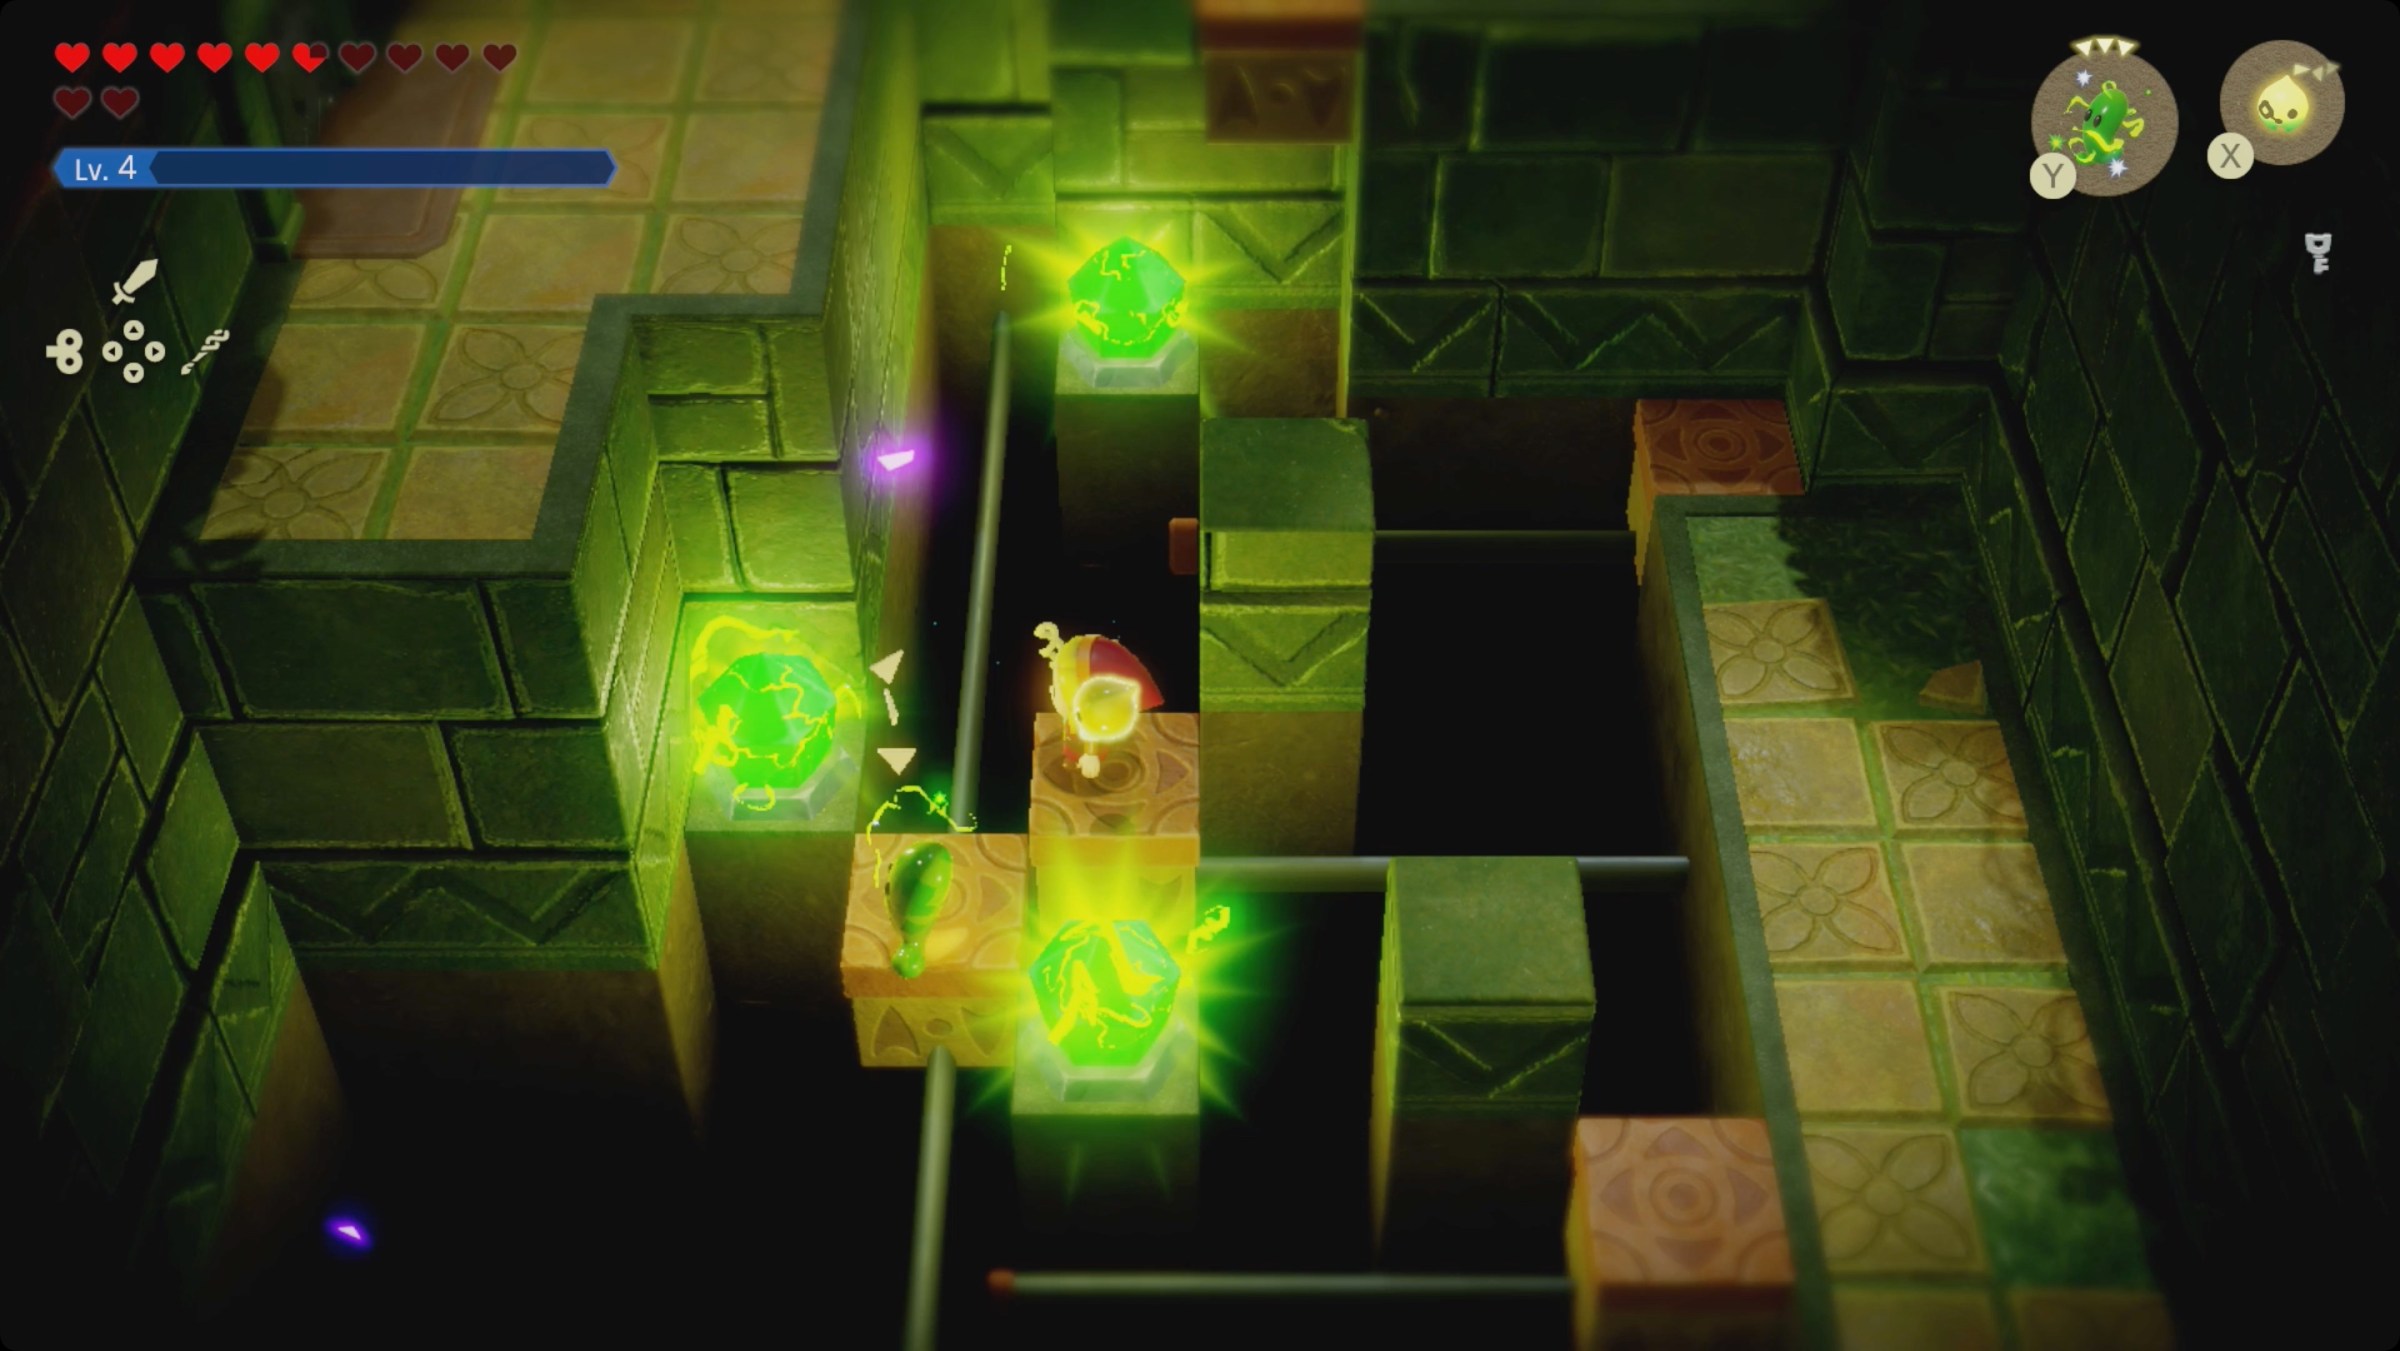
You’ll come out into a room with three green crystals and a pair of buzz blobs. Over on the right, climb onto the blocks and hold down Y to far summon a buzz blob through the grate and next to the crystal in the upper right. On the left, you can jump and far summon another. The two buzz blobs already there should activate the final crystal. Once all of them are activated at the same time, the door will open.
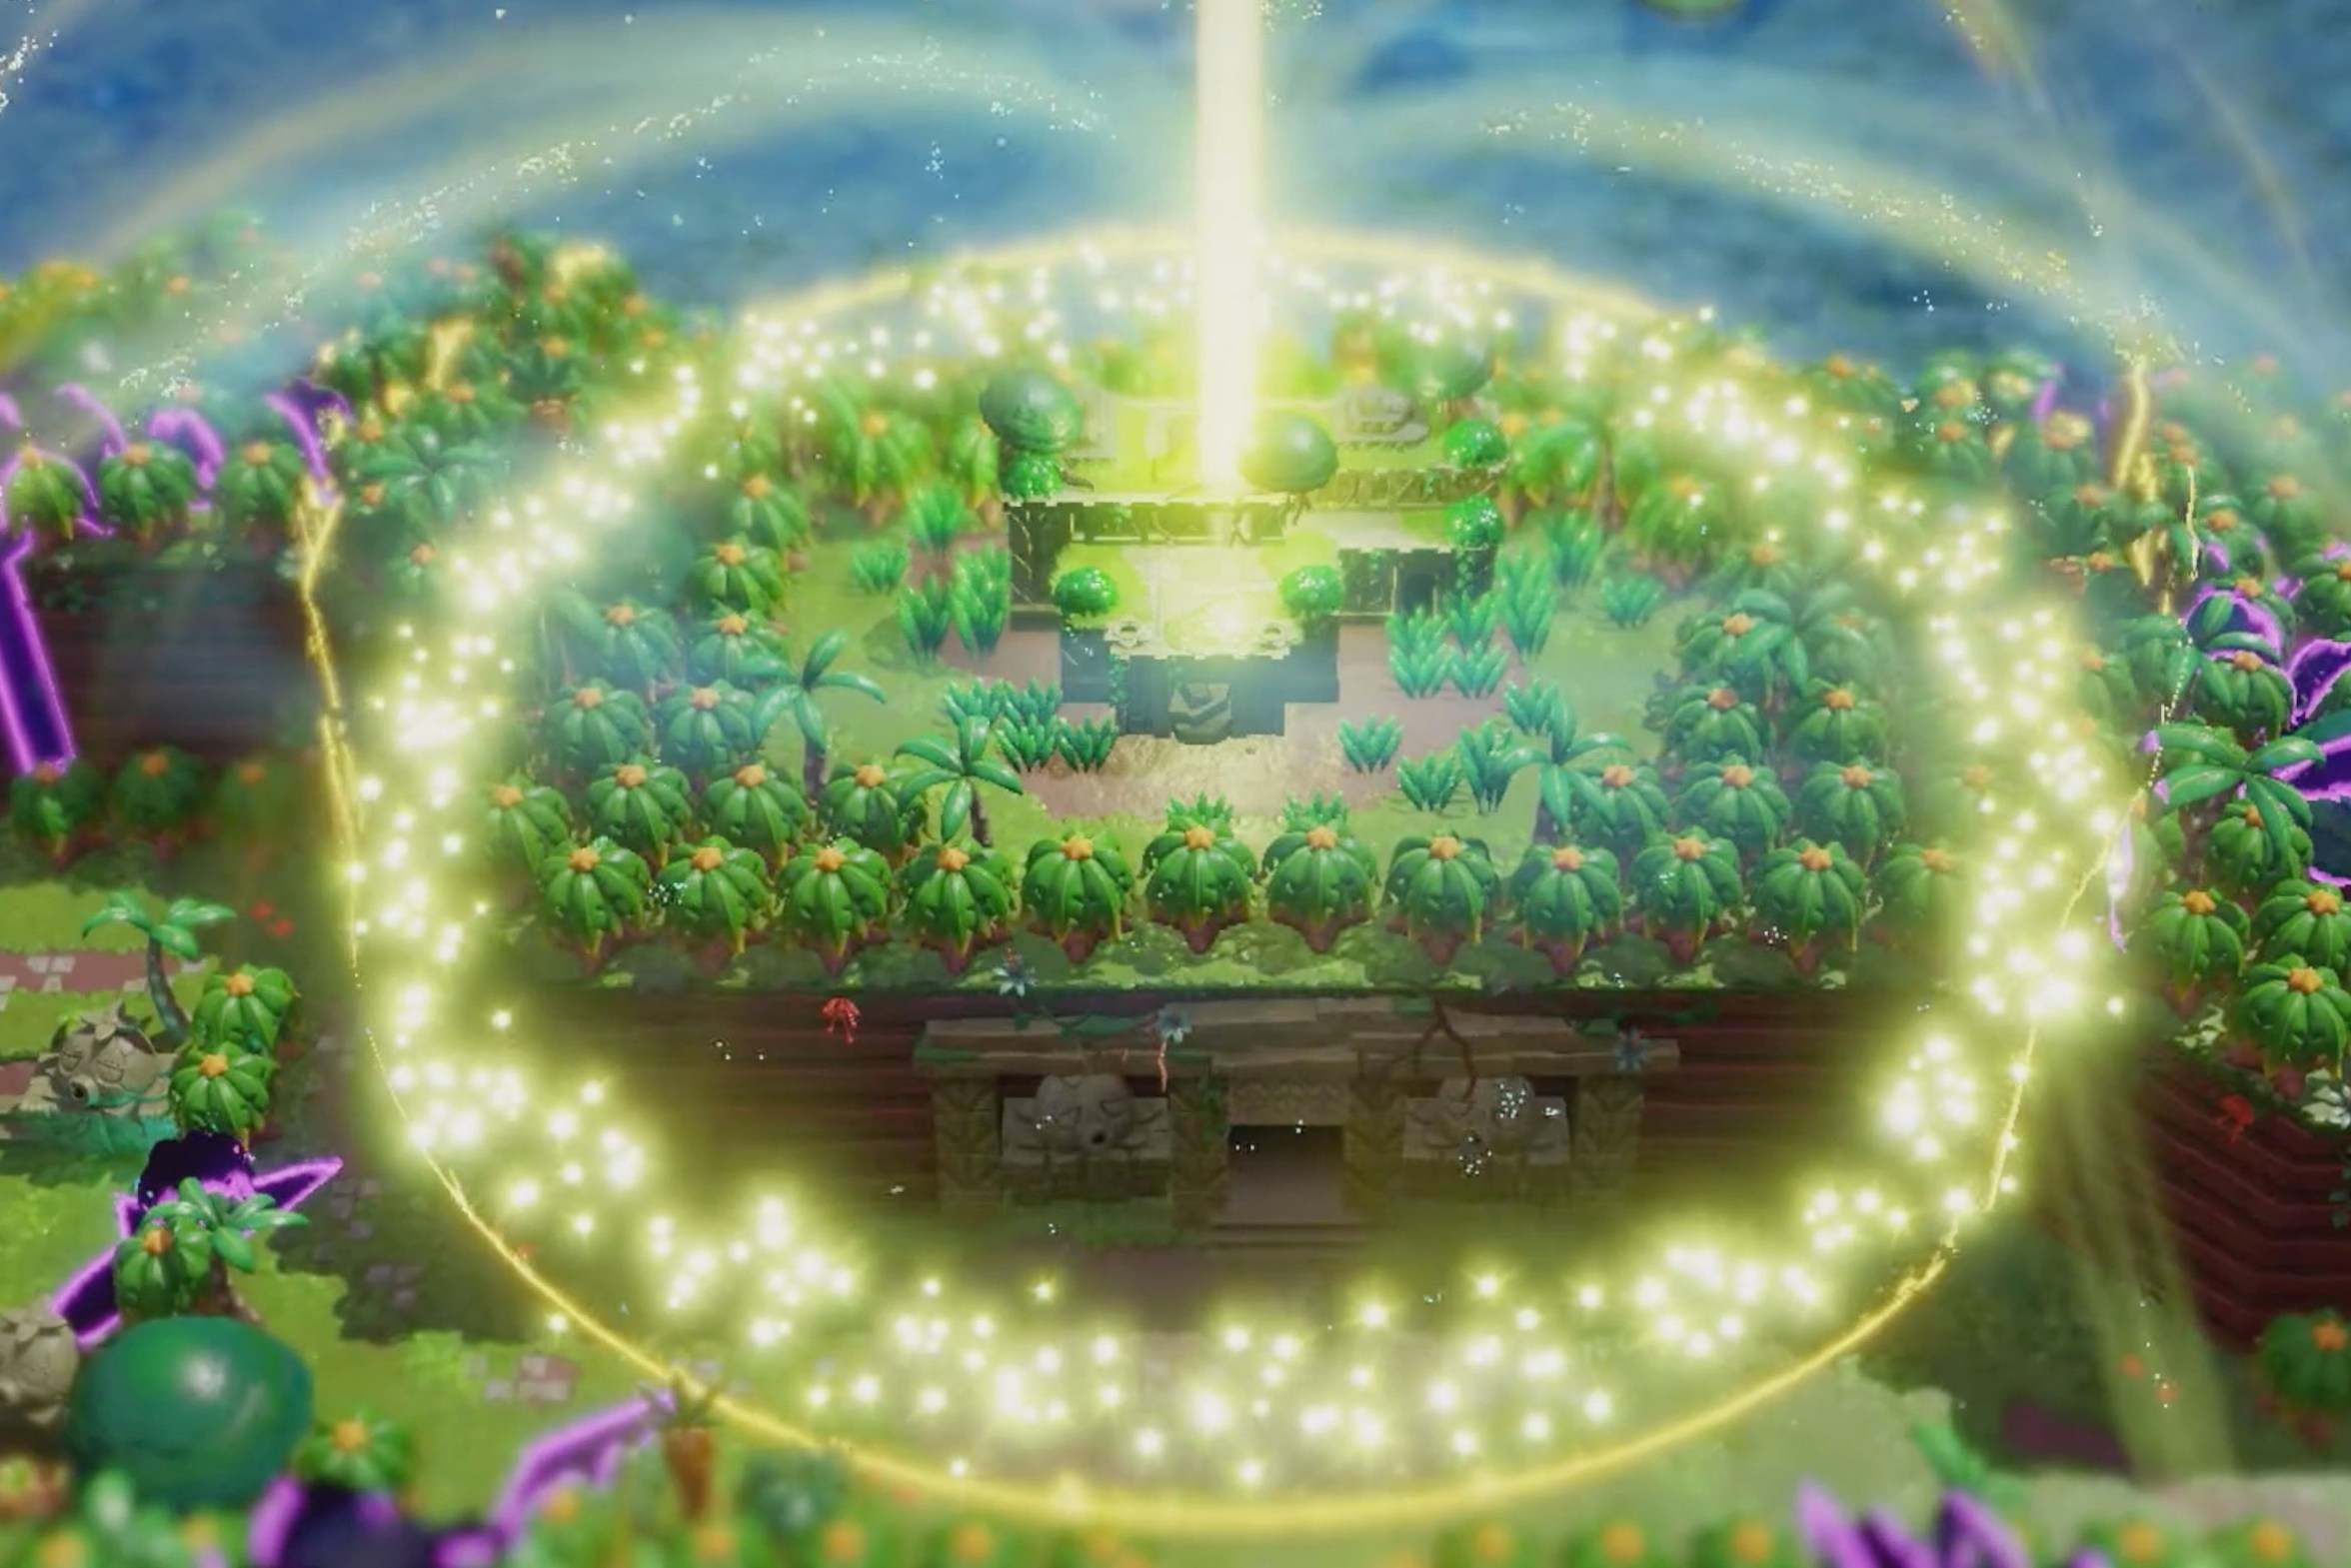
At the top of the stairs, you’ll be outside the Faron Temple.
Faron Temple walkthrough
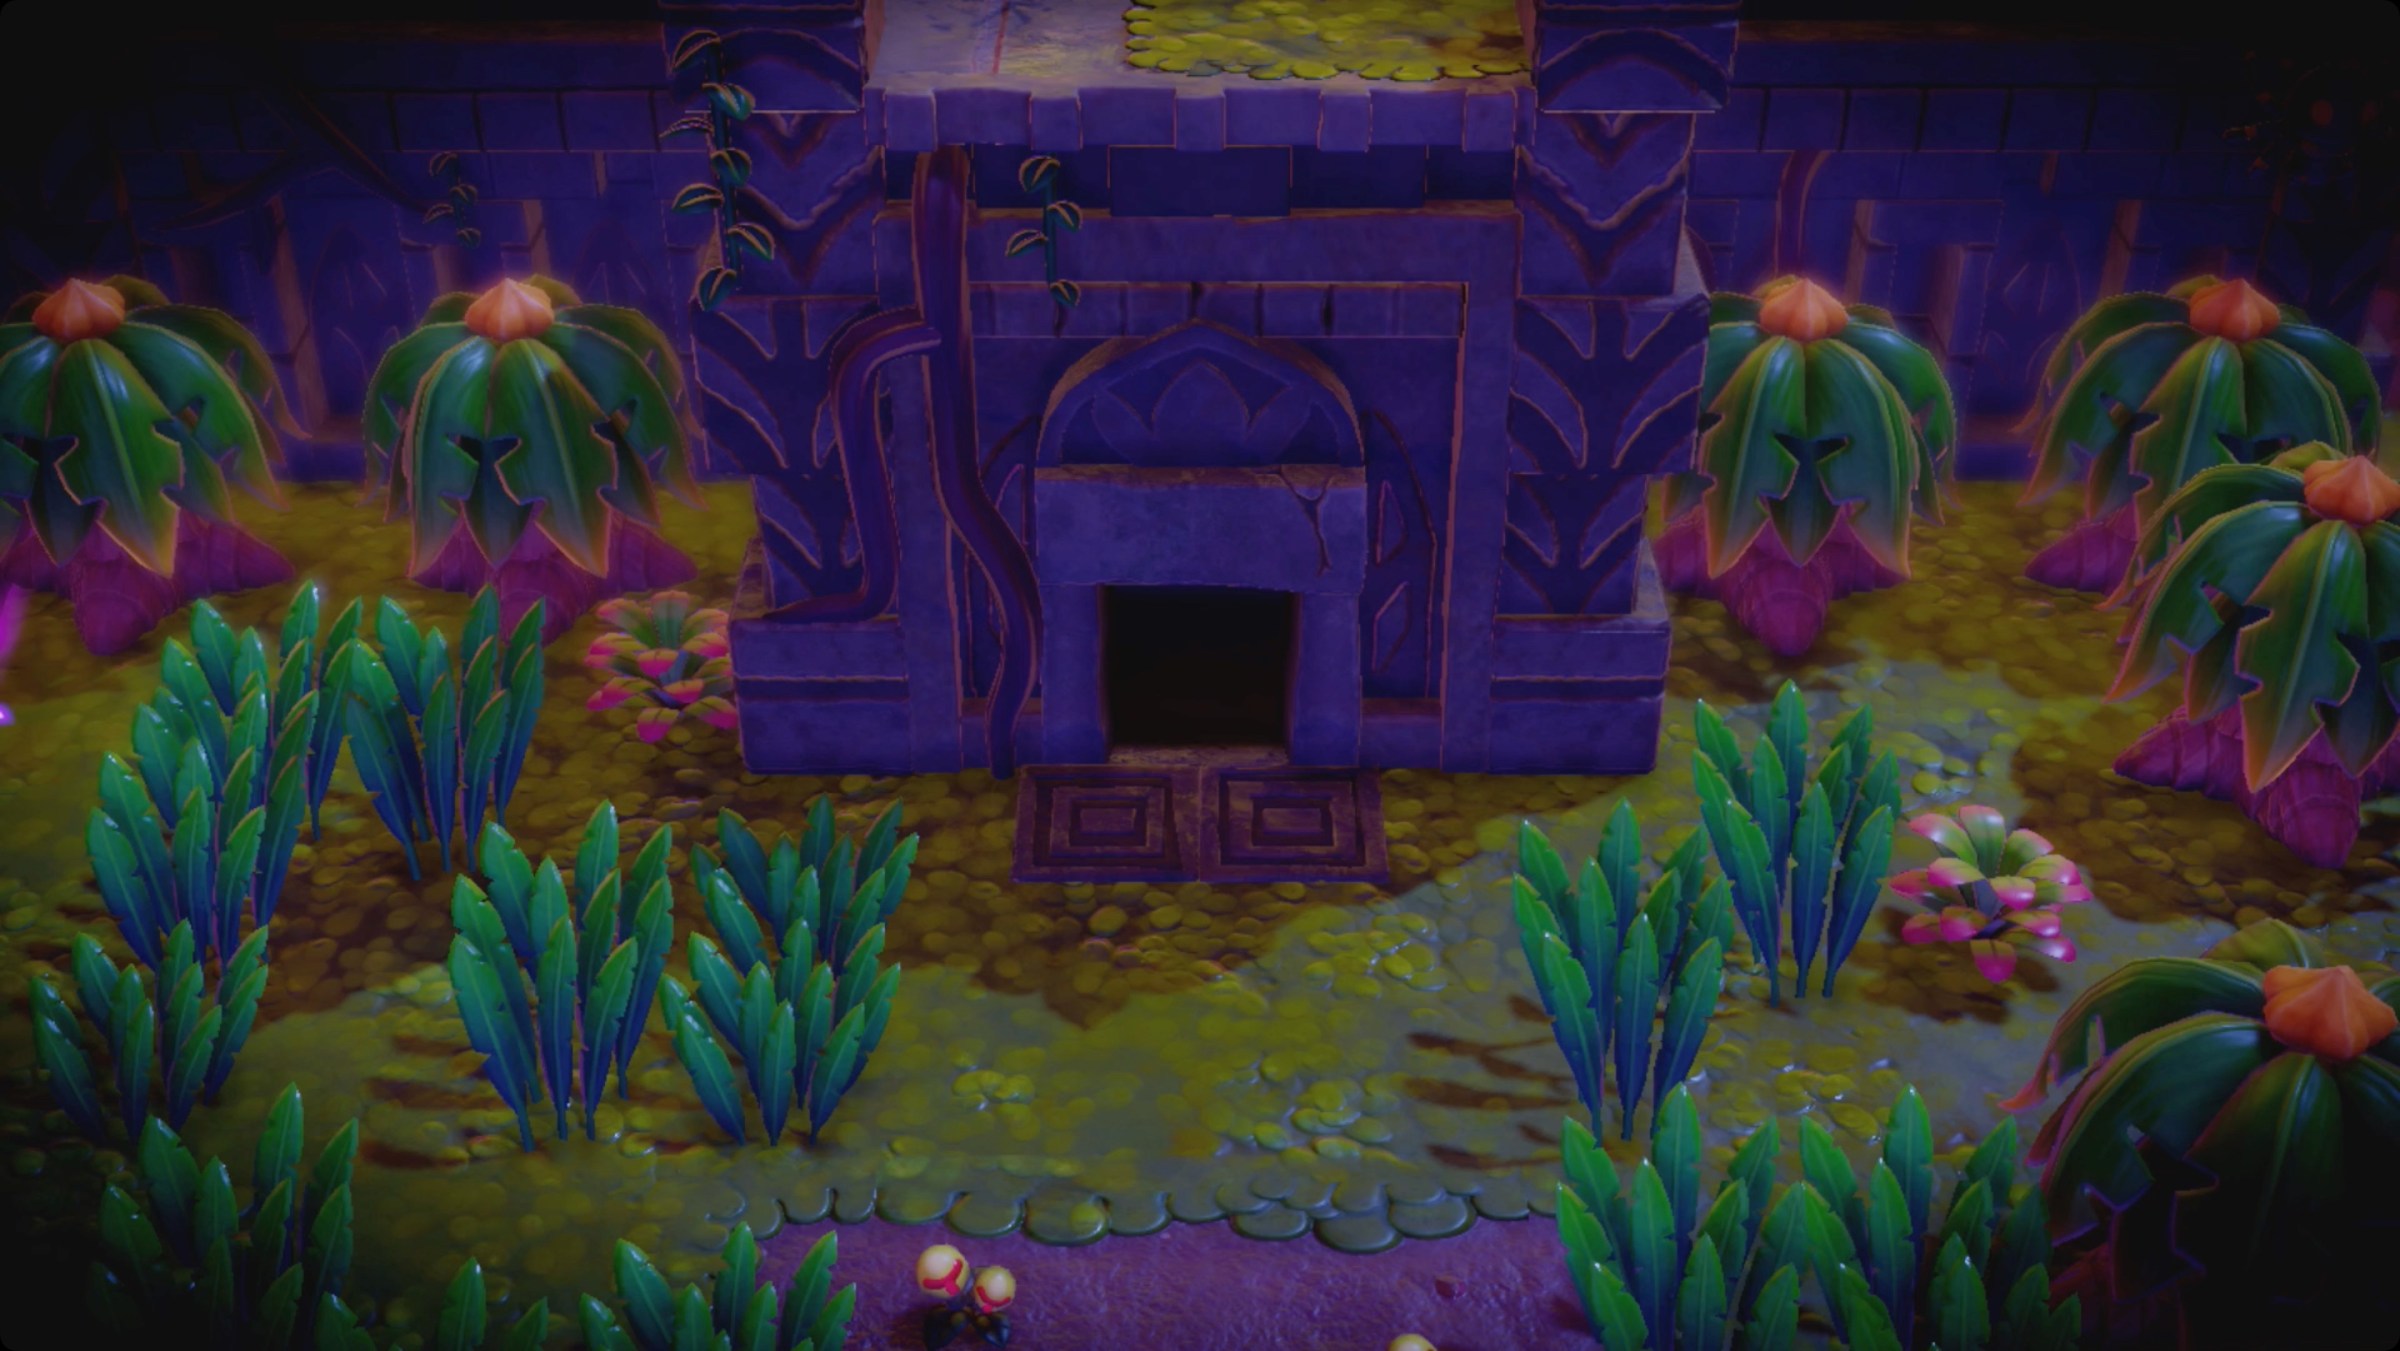
Head inside the main door of the temple. There’s a waypoint just inside the door, but the rest of the path is blocked. Head back outside.
Over to the northeast, you’ll pass a couple Giant Goponga Flowers on your way to a pair of spiderweb ramps. Take the ramps up to the rampart and you’ll find a line of armos… armoses… armosi… more than one armos.
Only one will be a problem (damage it from the back to kill it). Bind the one blocking the doorway to move it and head through.
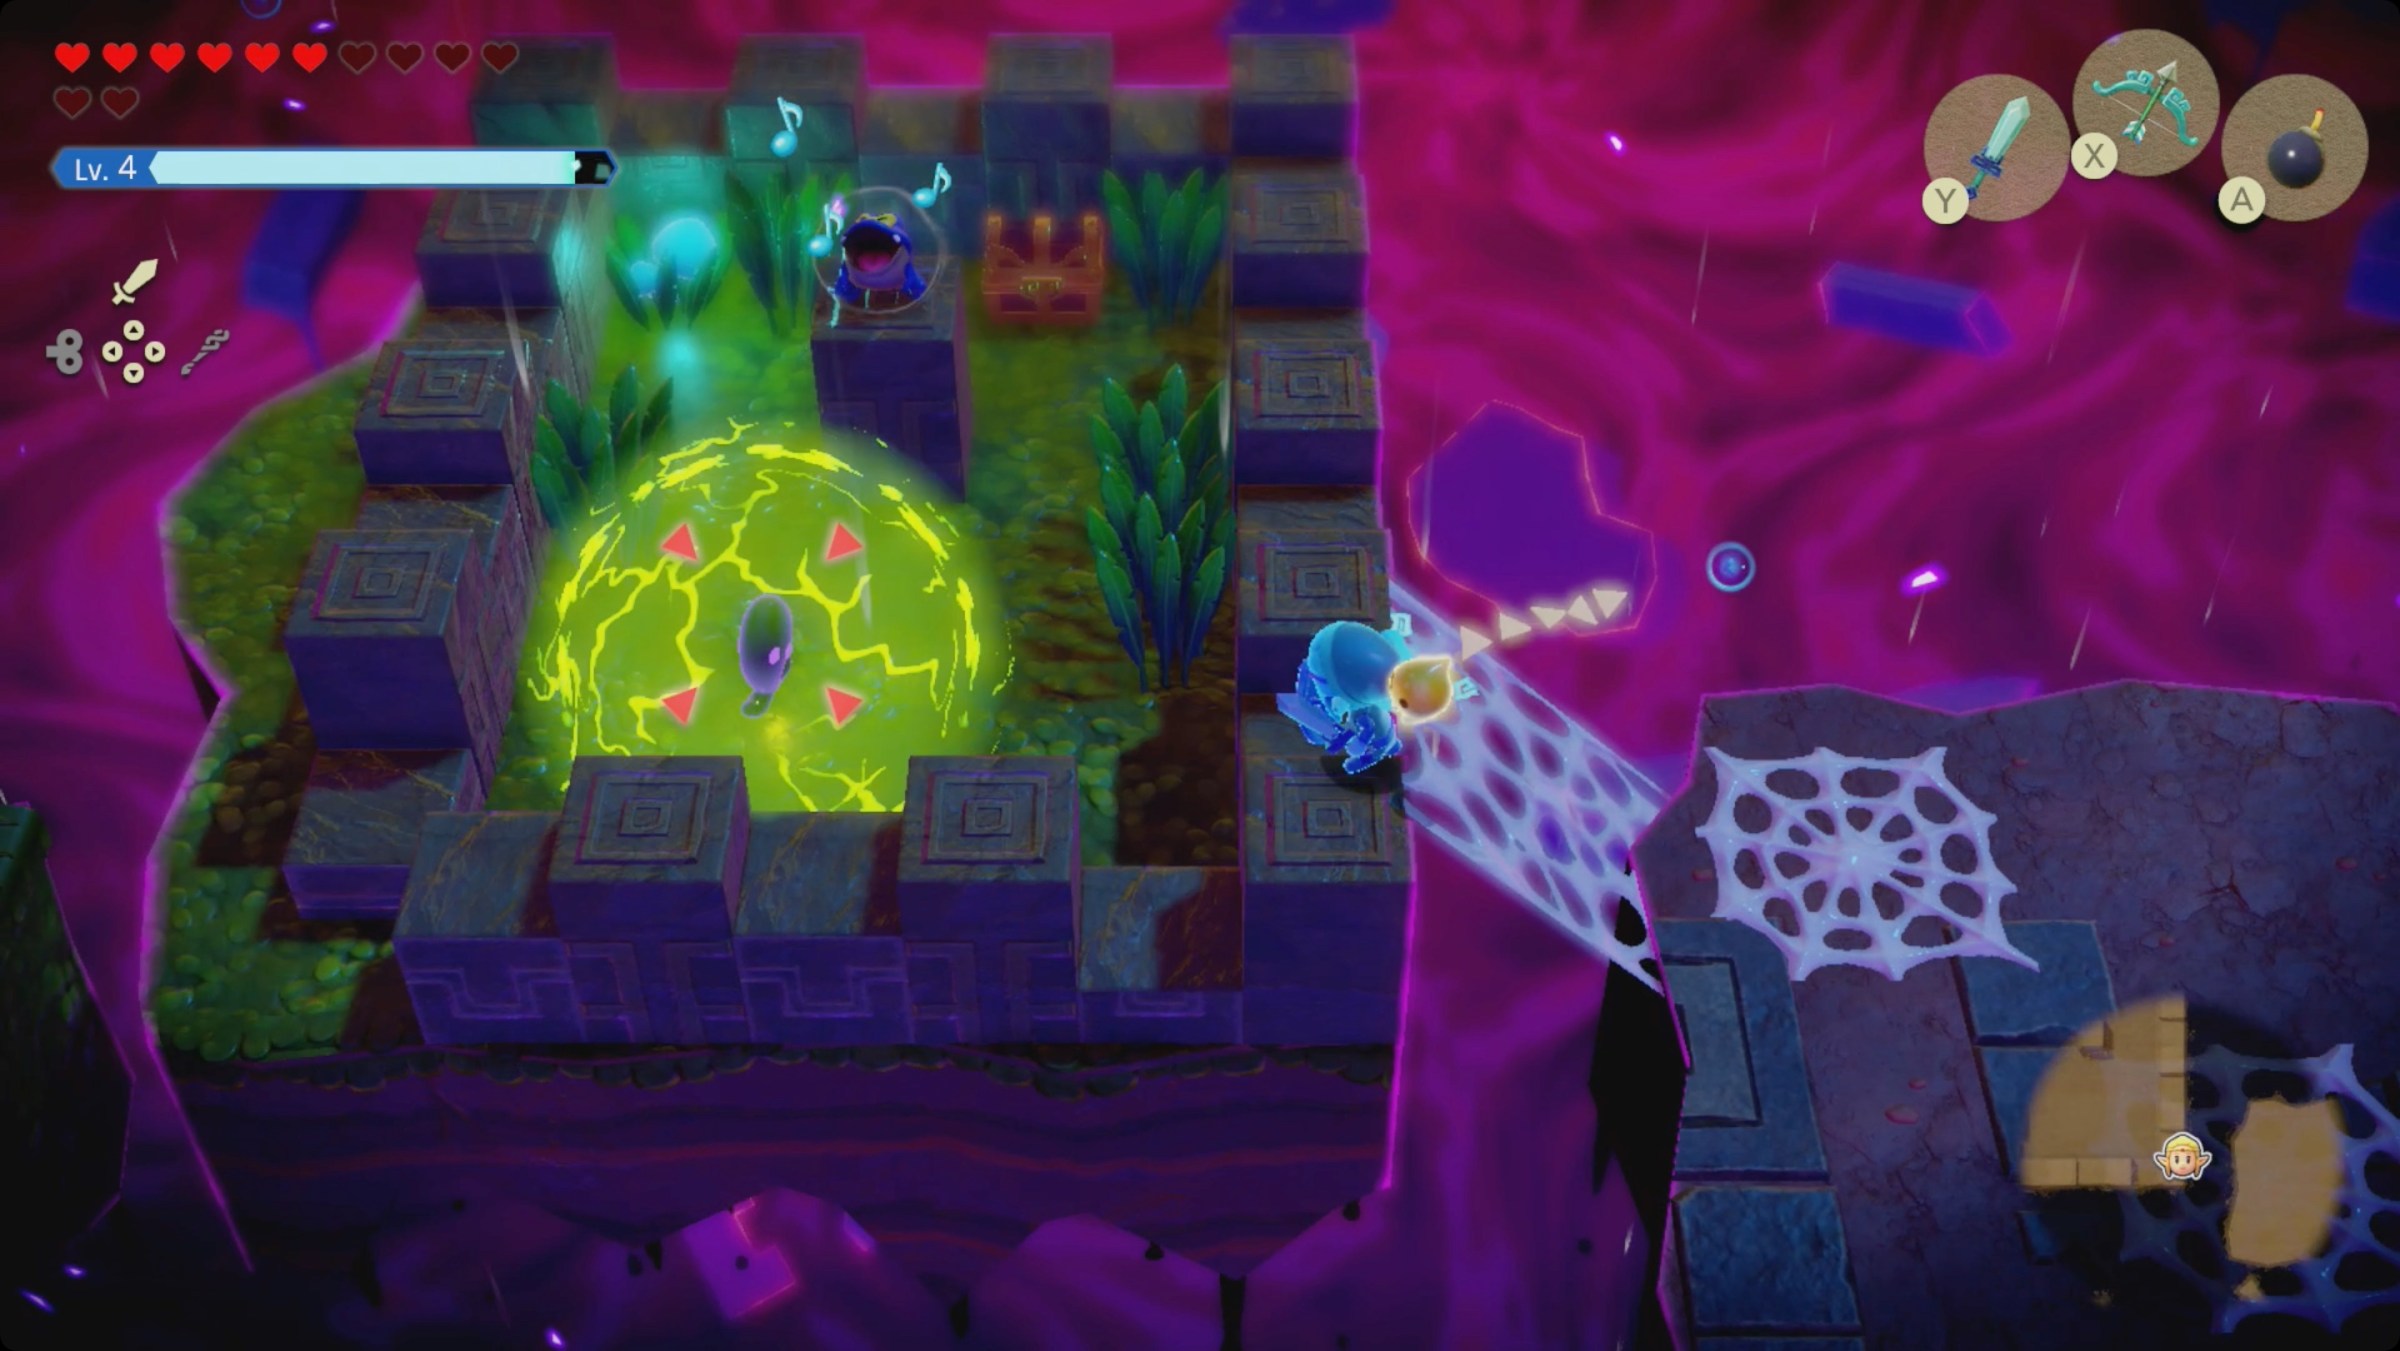
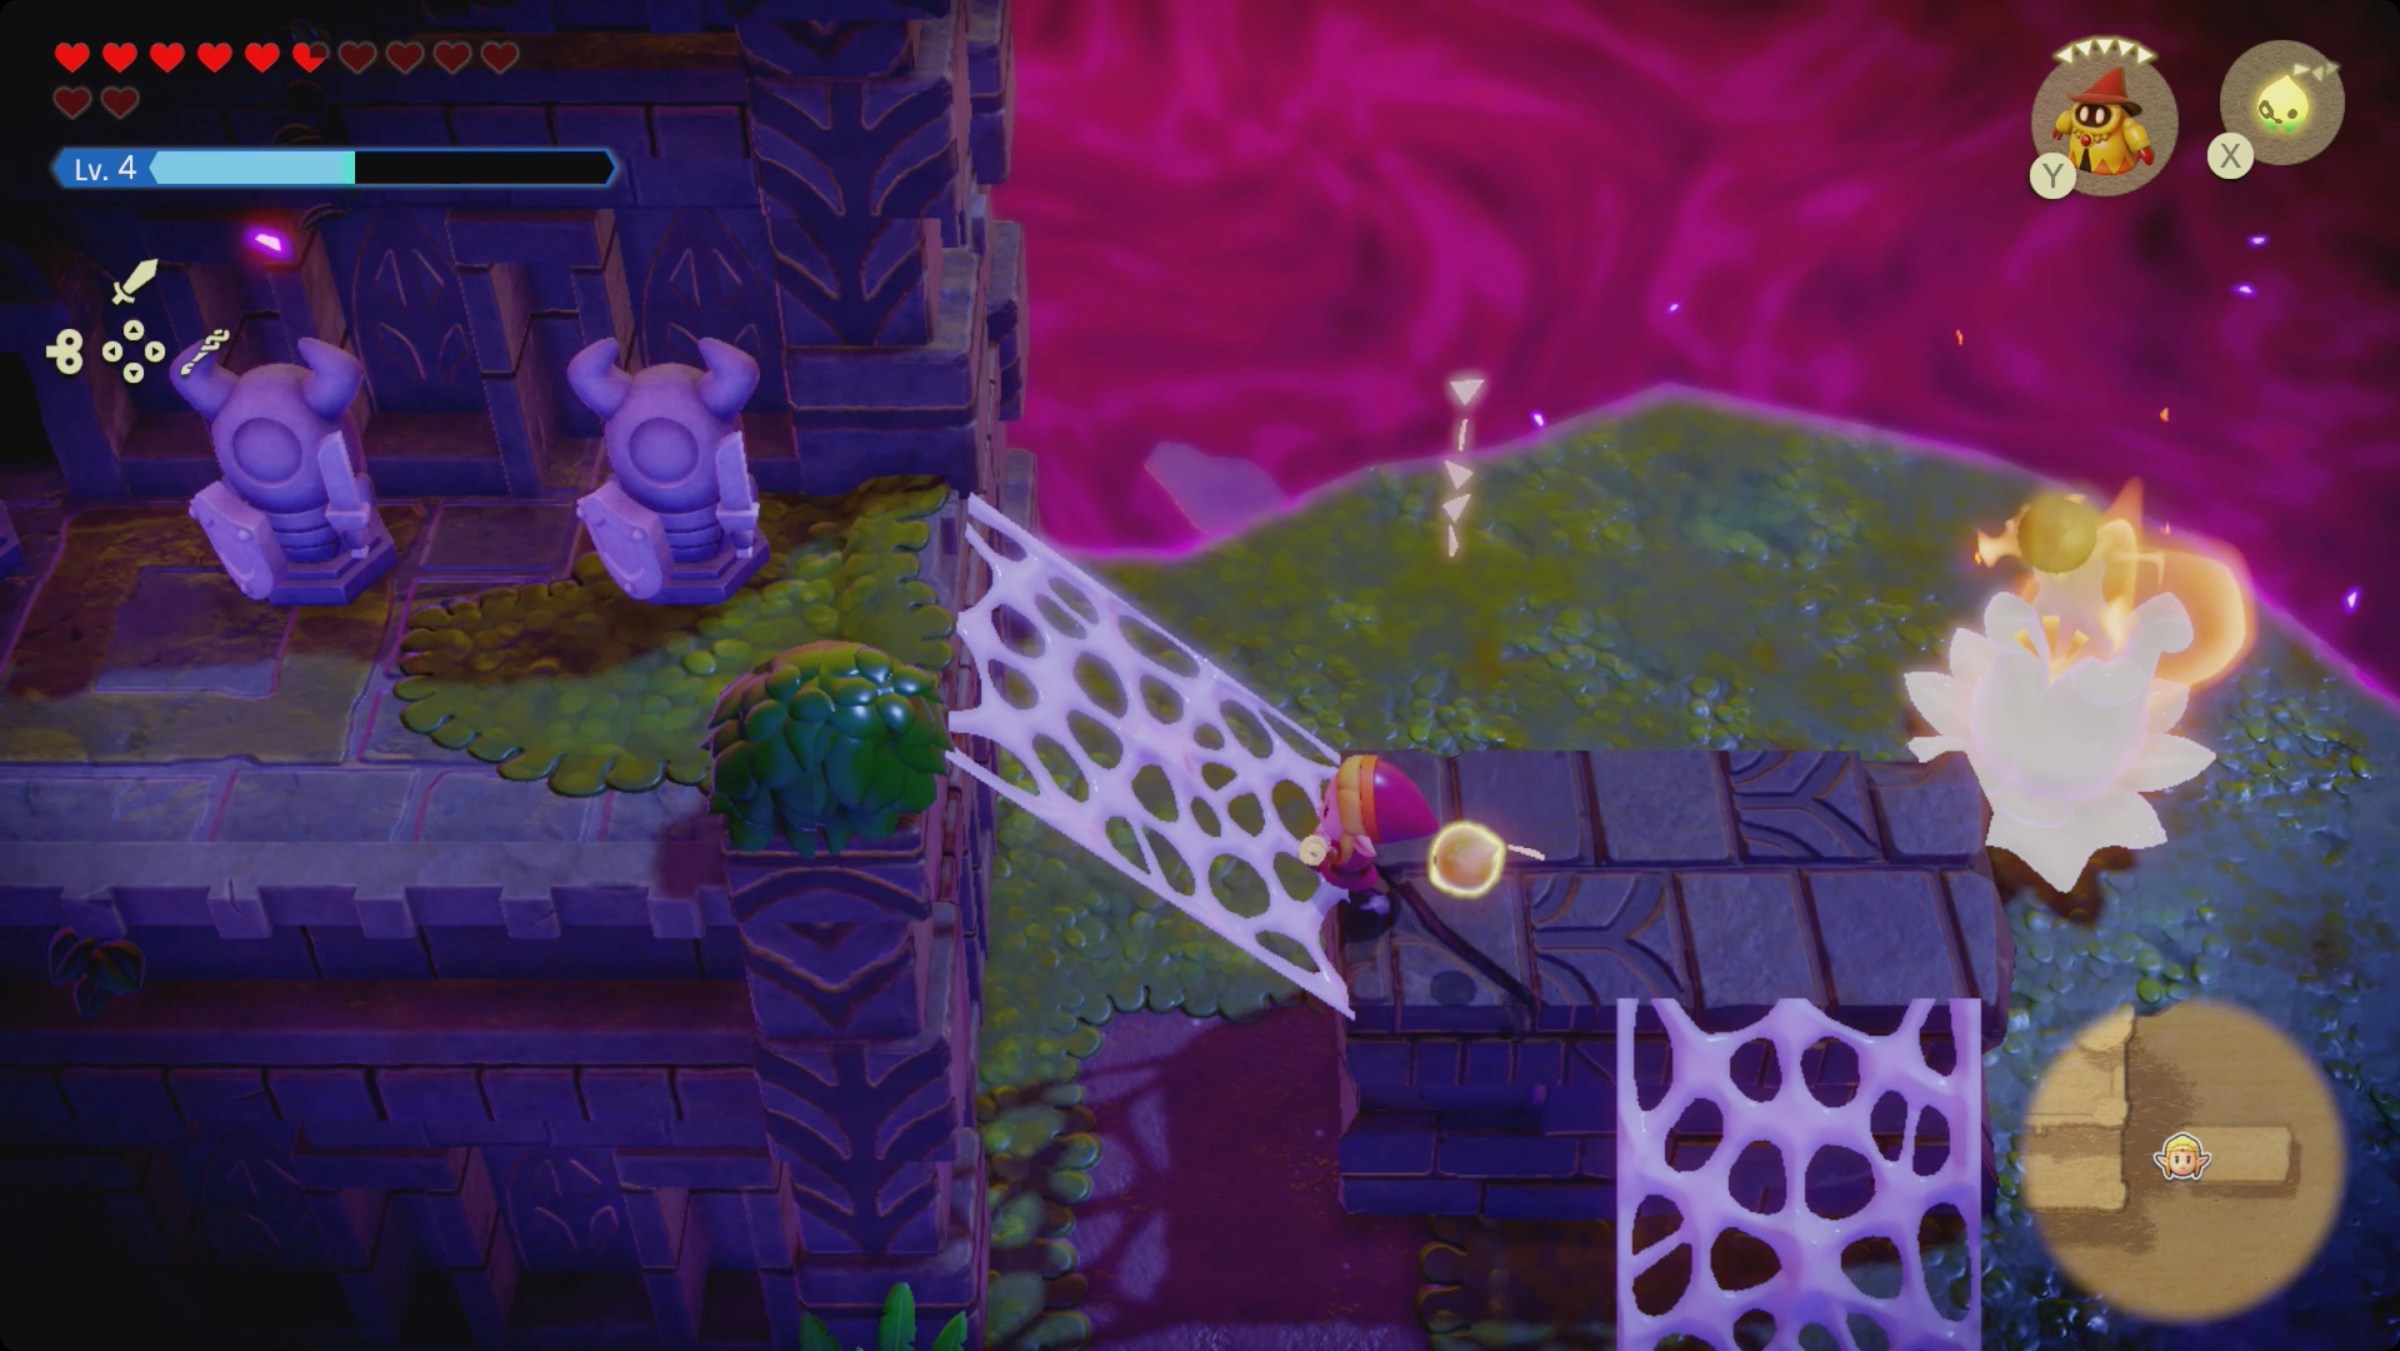
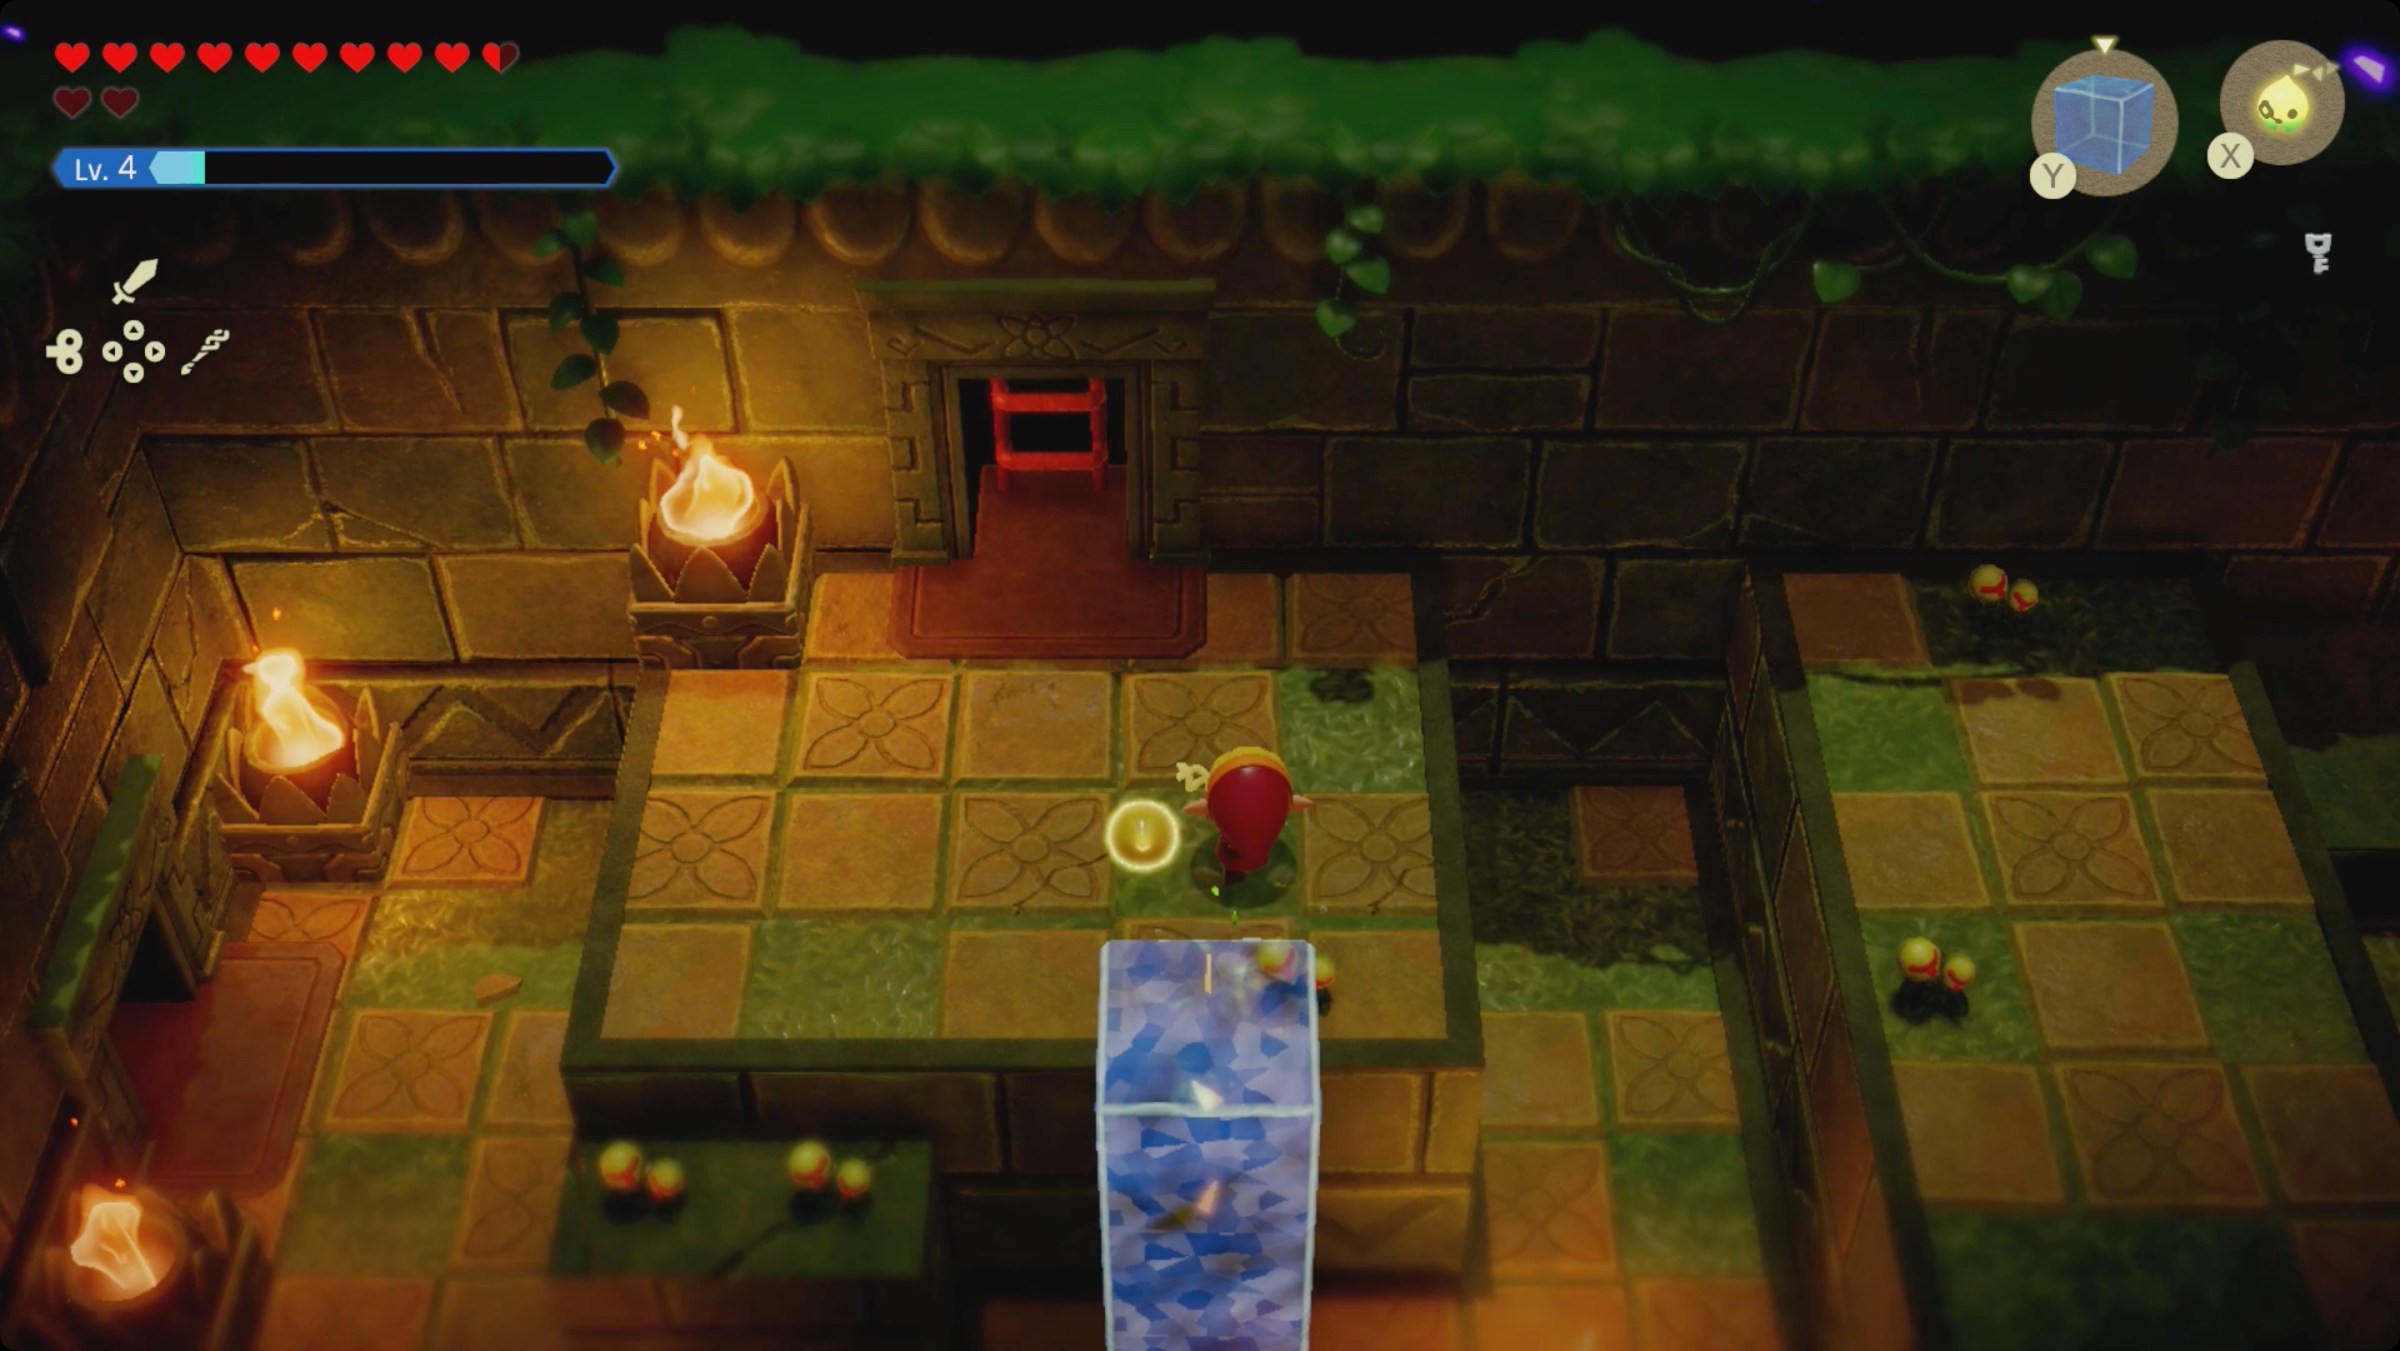
Head to the right and shove the crate there into the void. Summon a buzz blob and Bind to it. Move it out over the void, and then stretch your Bind (Bond?) until you can use the buzz blob to activate the green crystal in the upper right corner. (You may need to summon a table to climb onto the wall — doing so does not break the Bind bond.)
Once that crystal is activated, head back to the left. There’s a pair of columns against the north wall with crystals on top. Stand between them, hold down Y to far summon another buzz blob, jump, and release Y. That’ll launch a buzz blob at the wall between the other two crystals.
When they’re all active, a chest will appear with the first small key.
Back outside, go back down the spiderweb ramps and head left. There’s a ladder hidden in the tall grass. Go down it.
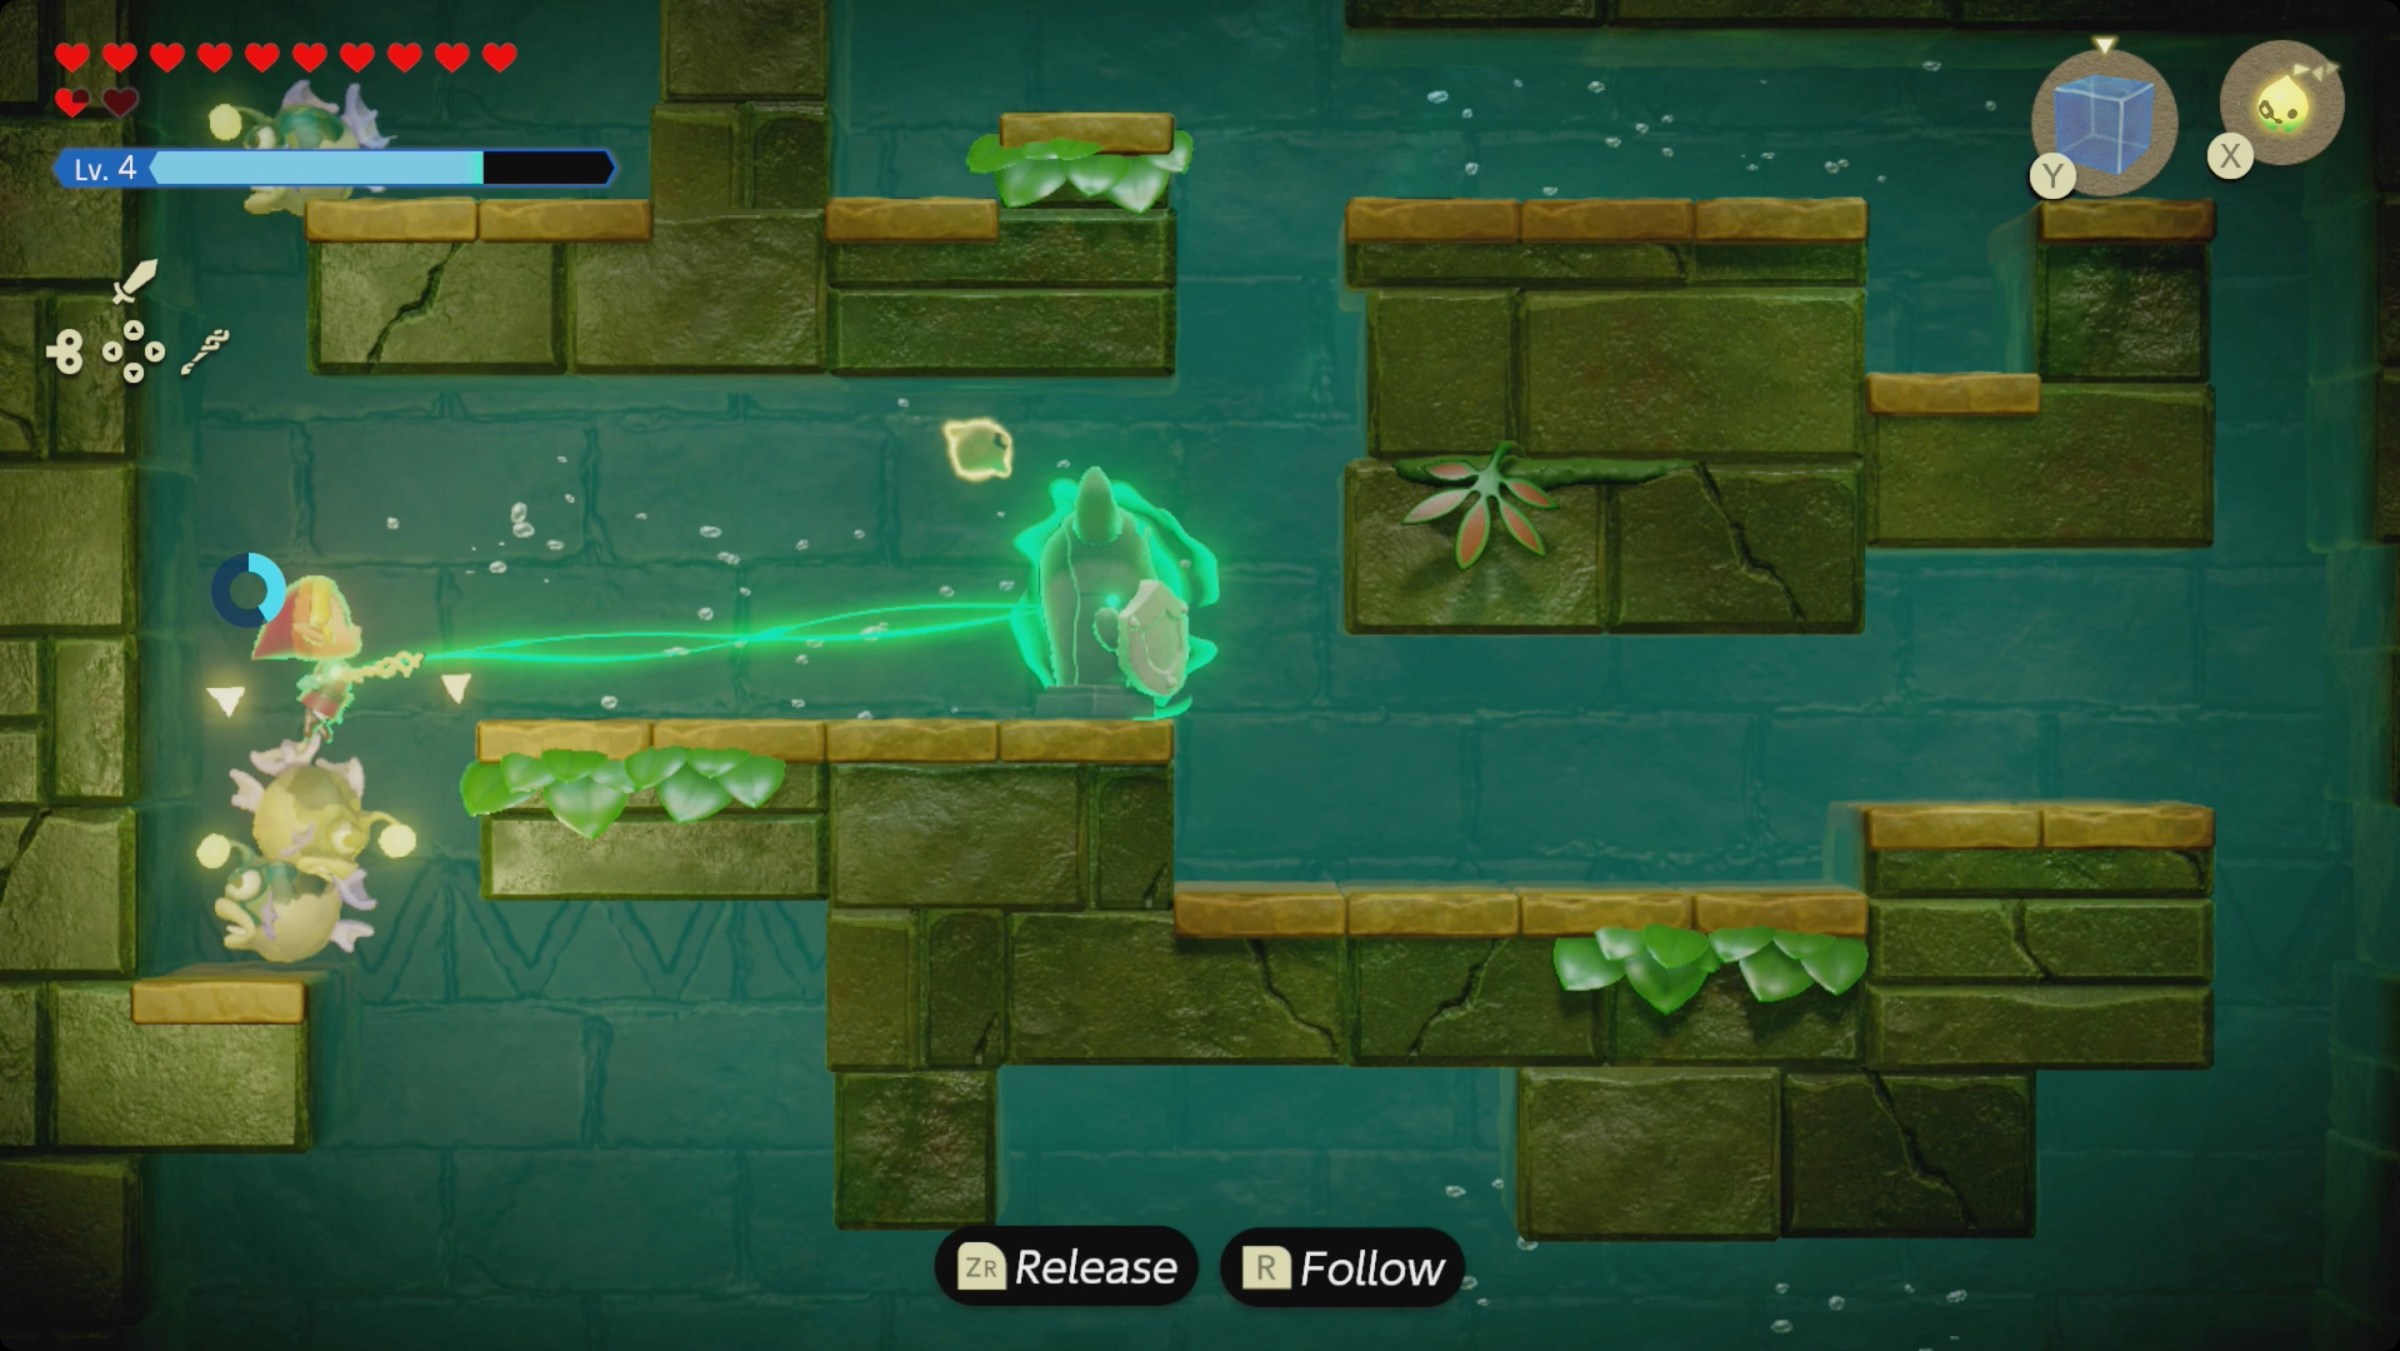
In the 2D section, swim along the current and go down. Bind to the armos there and pull against it — when the Bind bond breaks, it’ll turn around and expose its weak point (its entire back). Destroy it and go open the treasure chest.
Take the ladder in the top left.
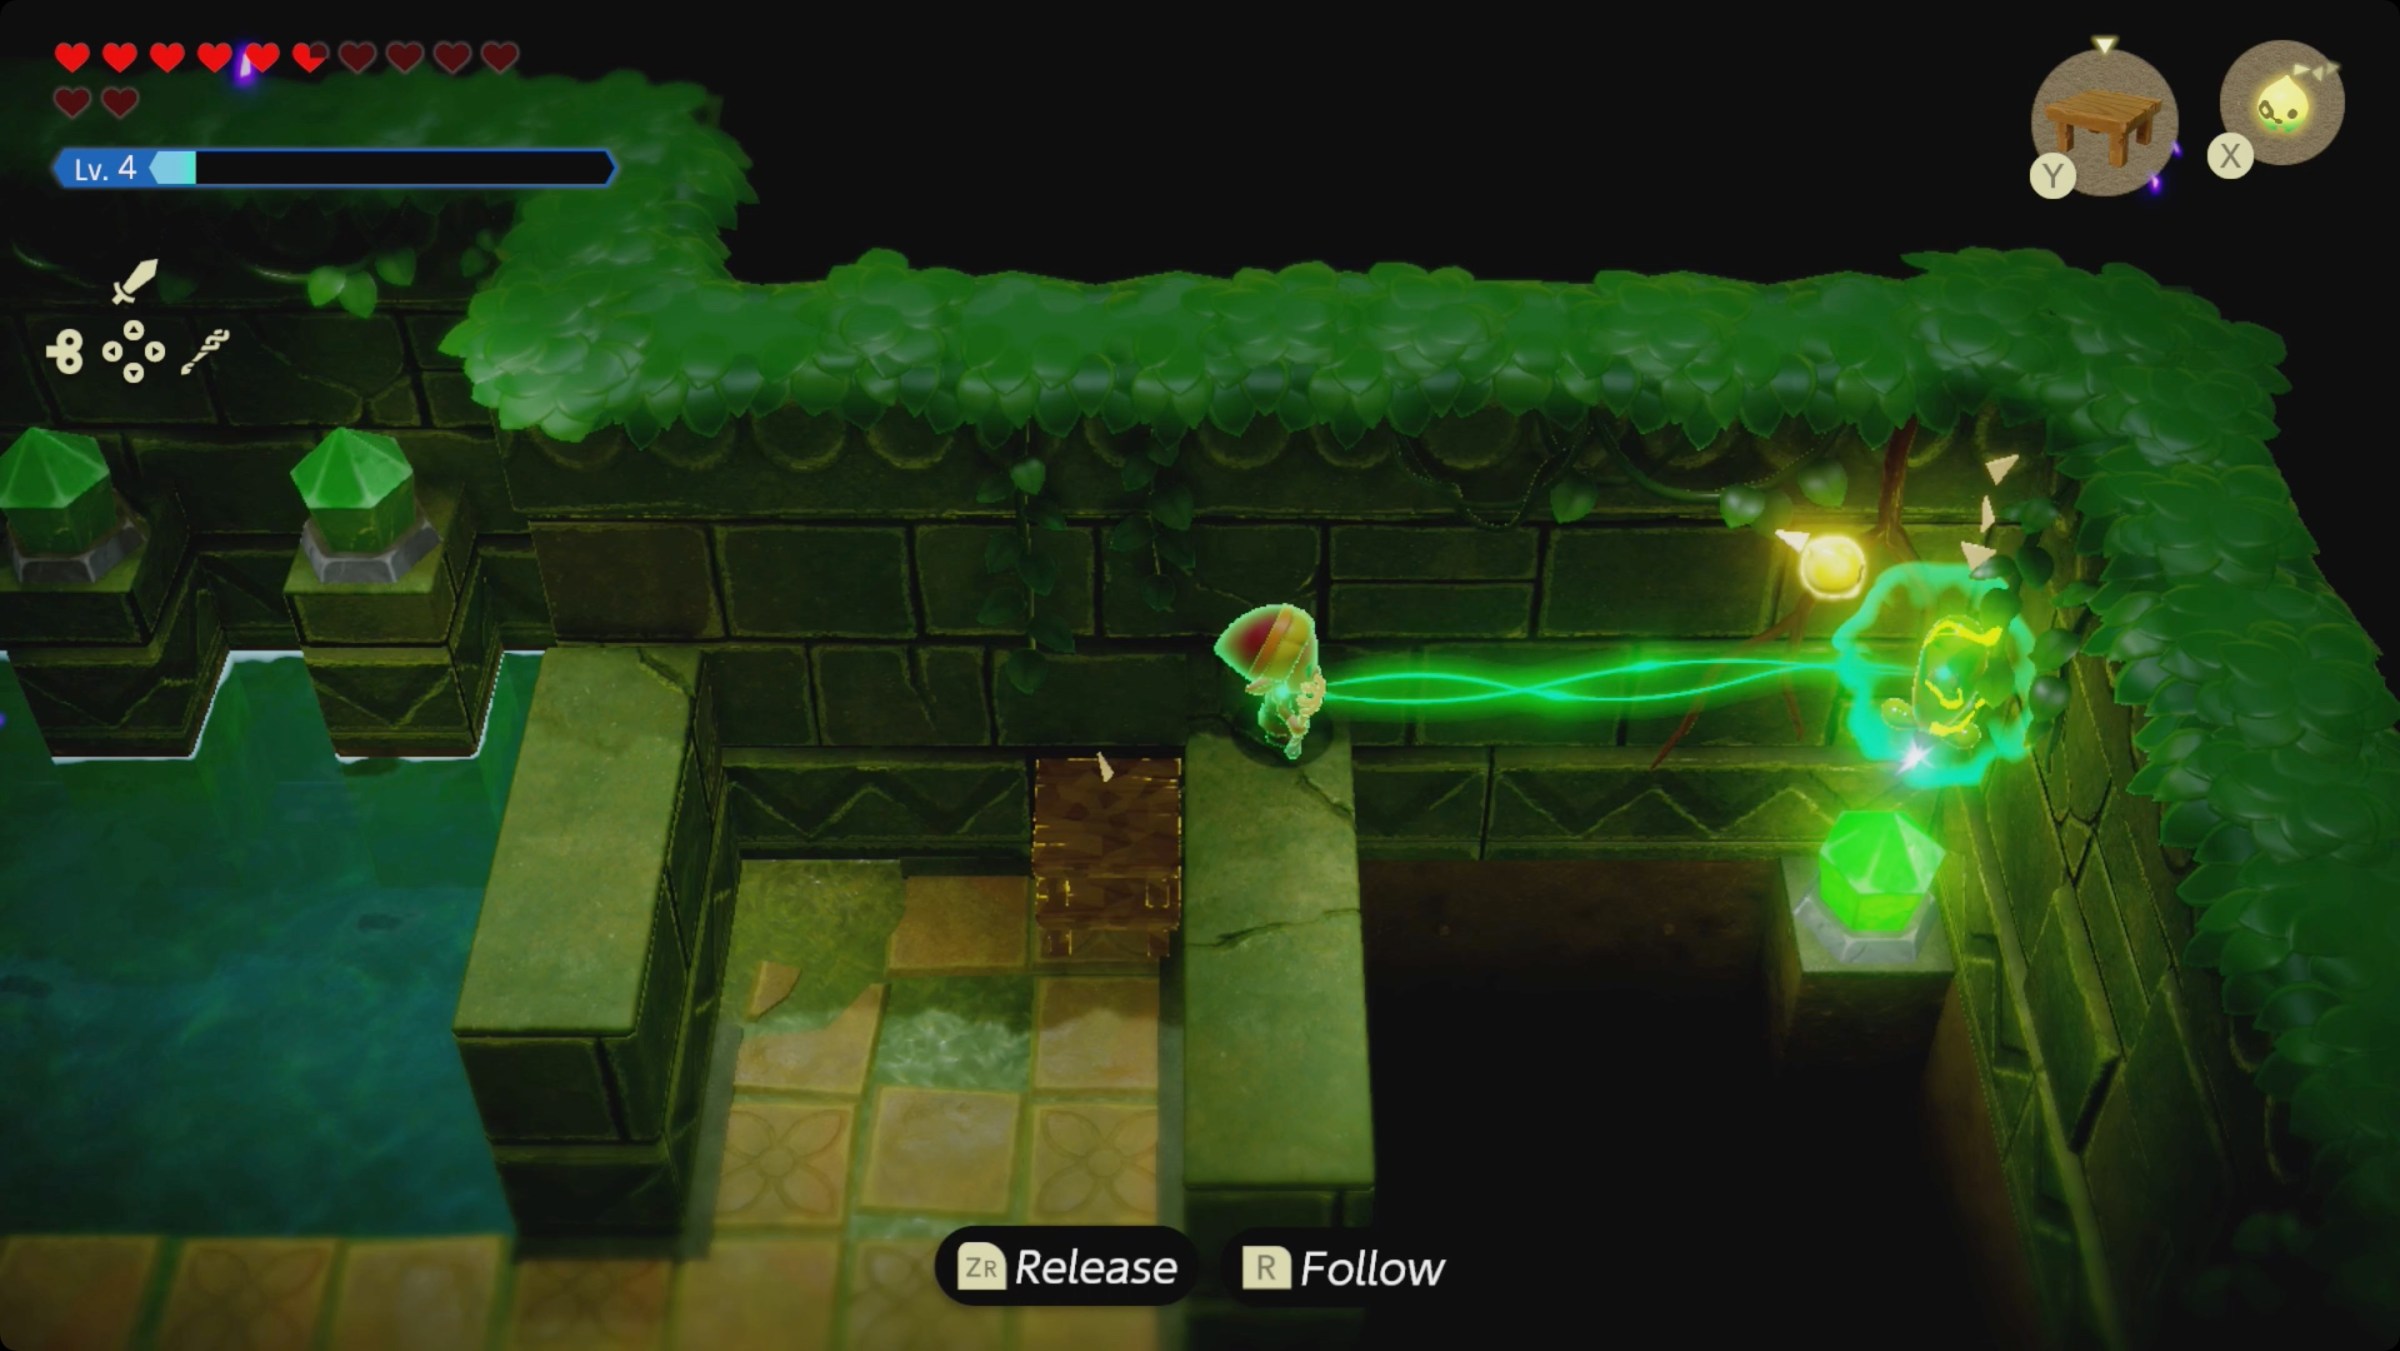
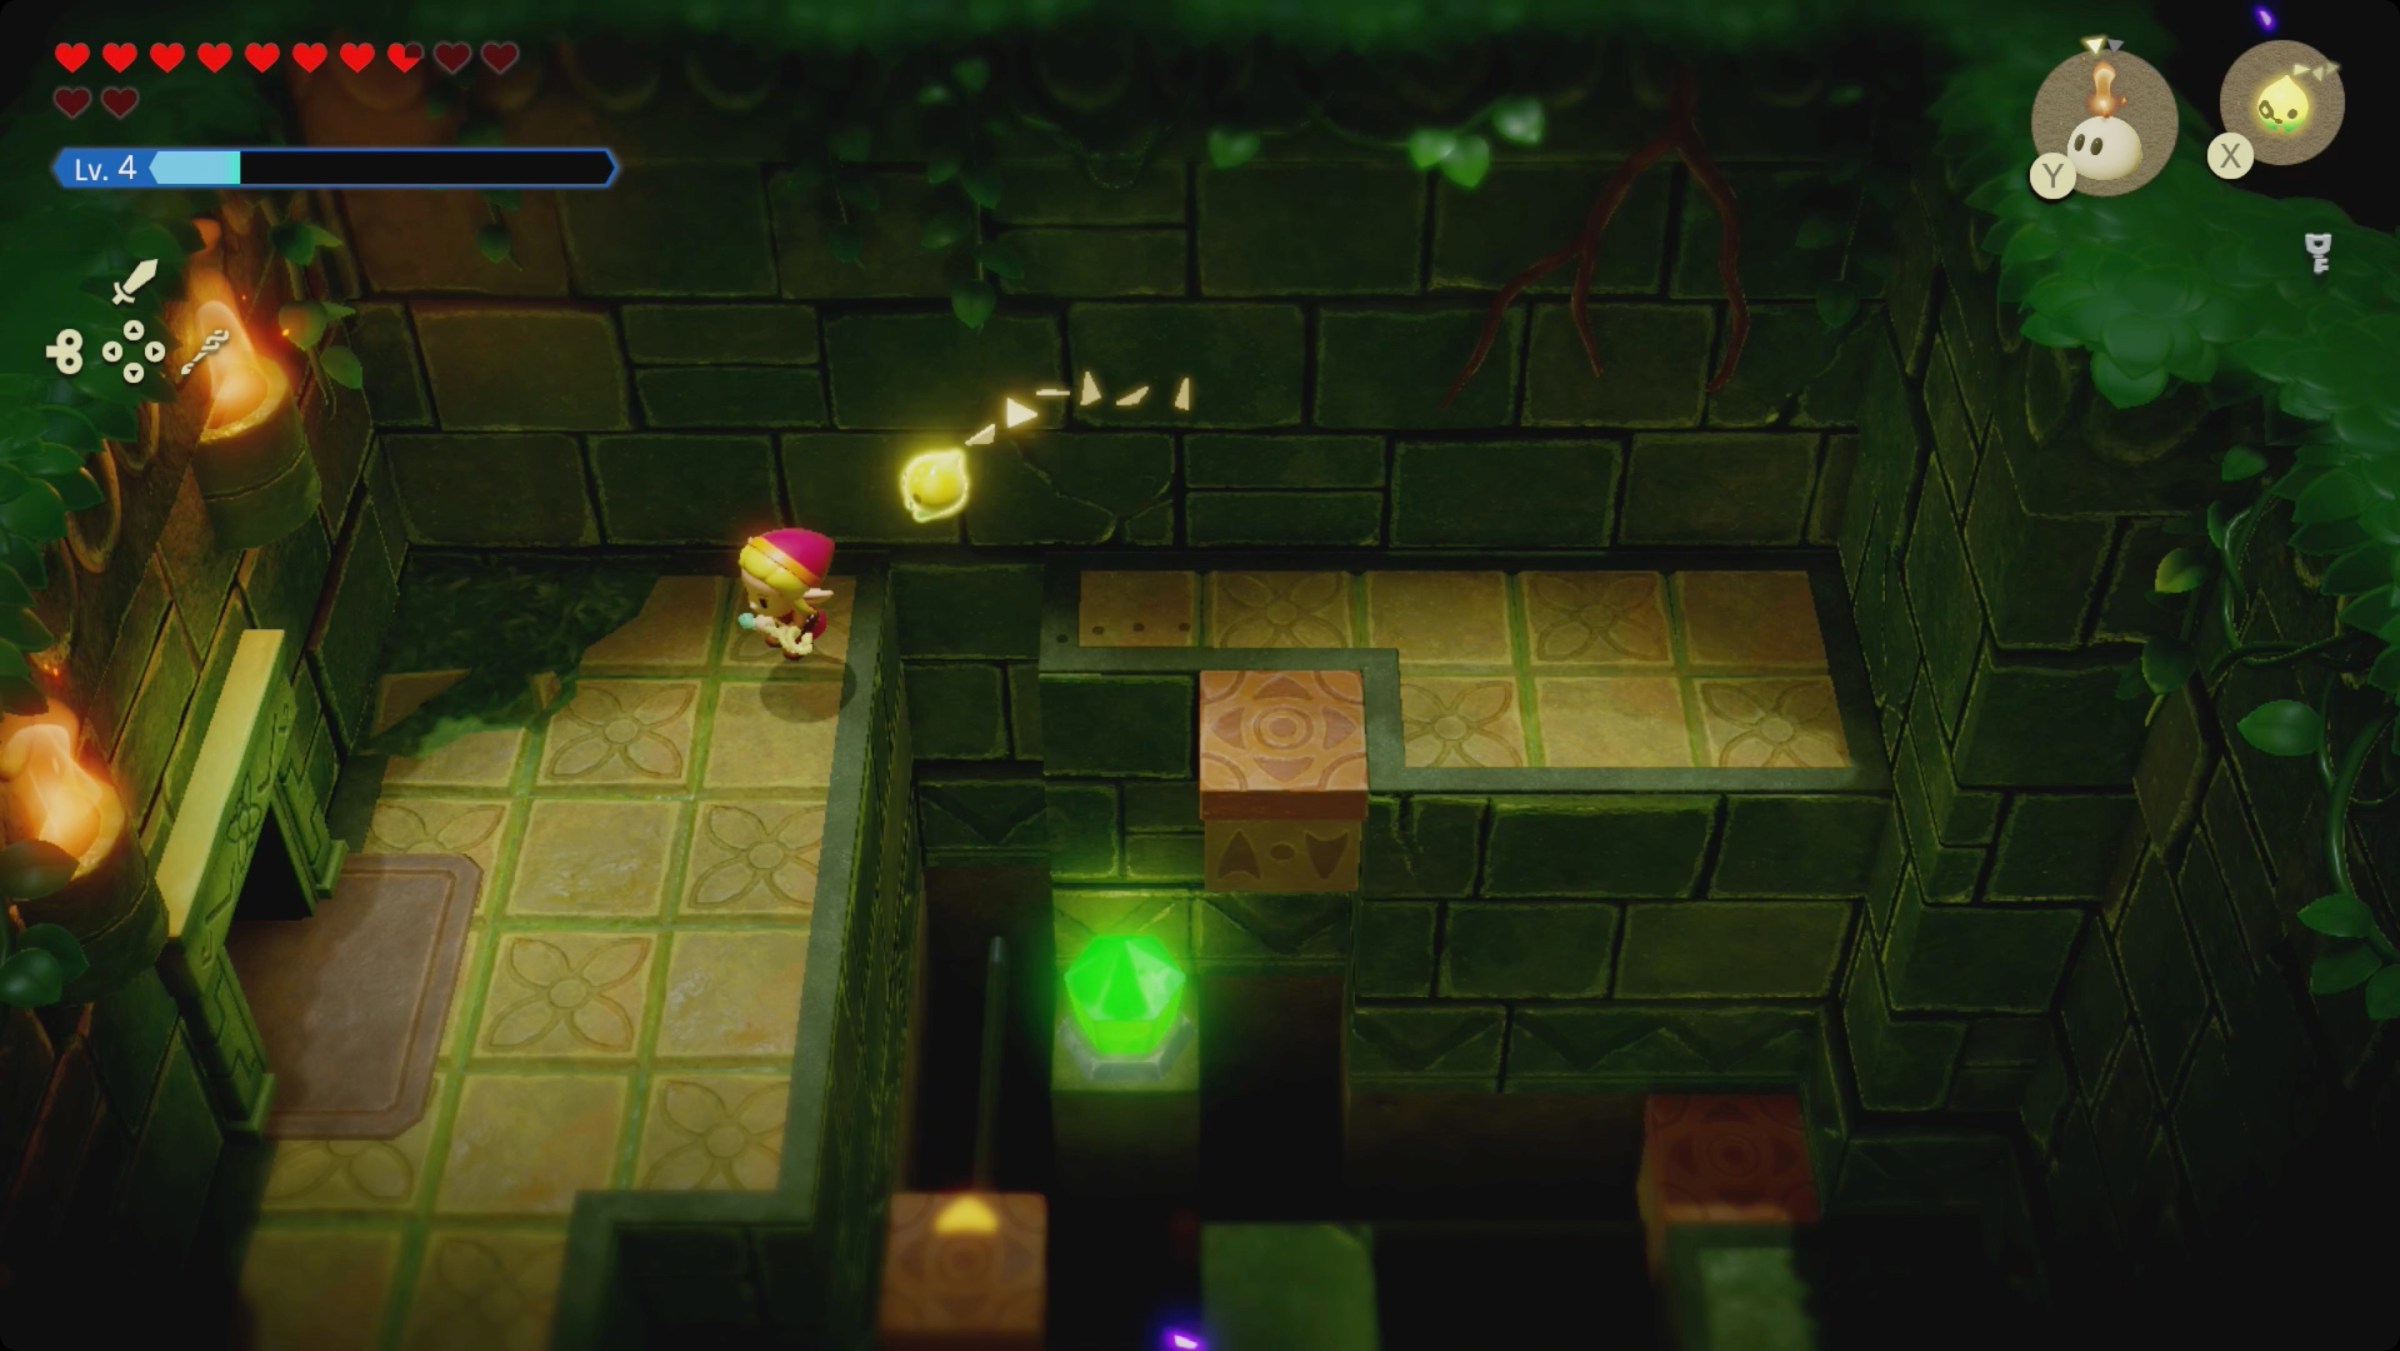
In the next room, there are a lot of moving blocks and three more green crystals. Head up along the right side to the end. Ride the block to the left and then wait for the block moving up and down to come to you. Drop a buzz blob on that block.
Back along the right side, hop onto the block moving left-and-right in the middle. Ride it across and wait for the block that goes all the way up and down horizontally to pass. Drop a second buzz blob on that one. At some point, the buzz blobs will pass the crystals at the same time and trigger the lock.
Head back to the north end of the room, and ride the vertically moving block up. Hop the gap to the left and head through the door you just unlocked.
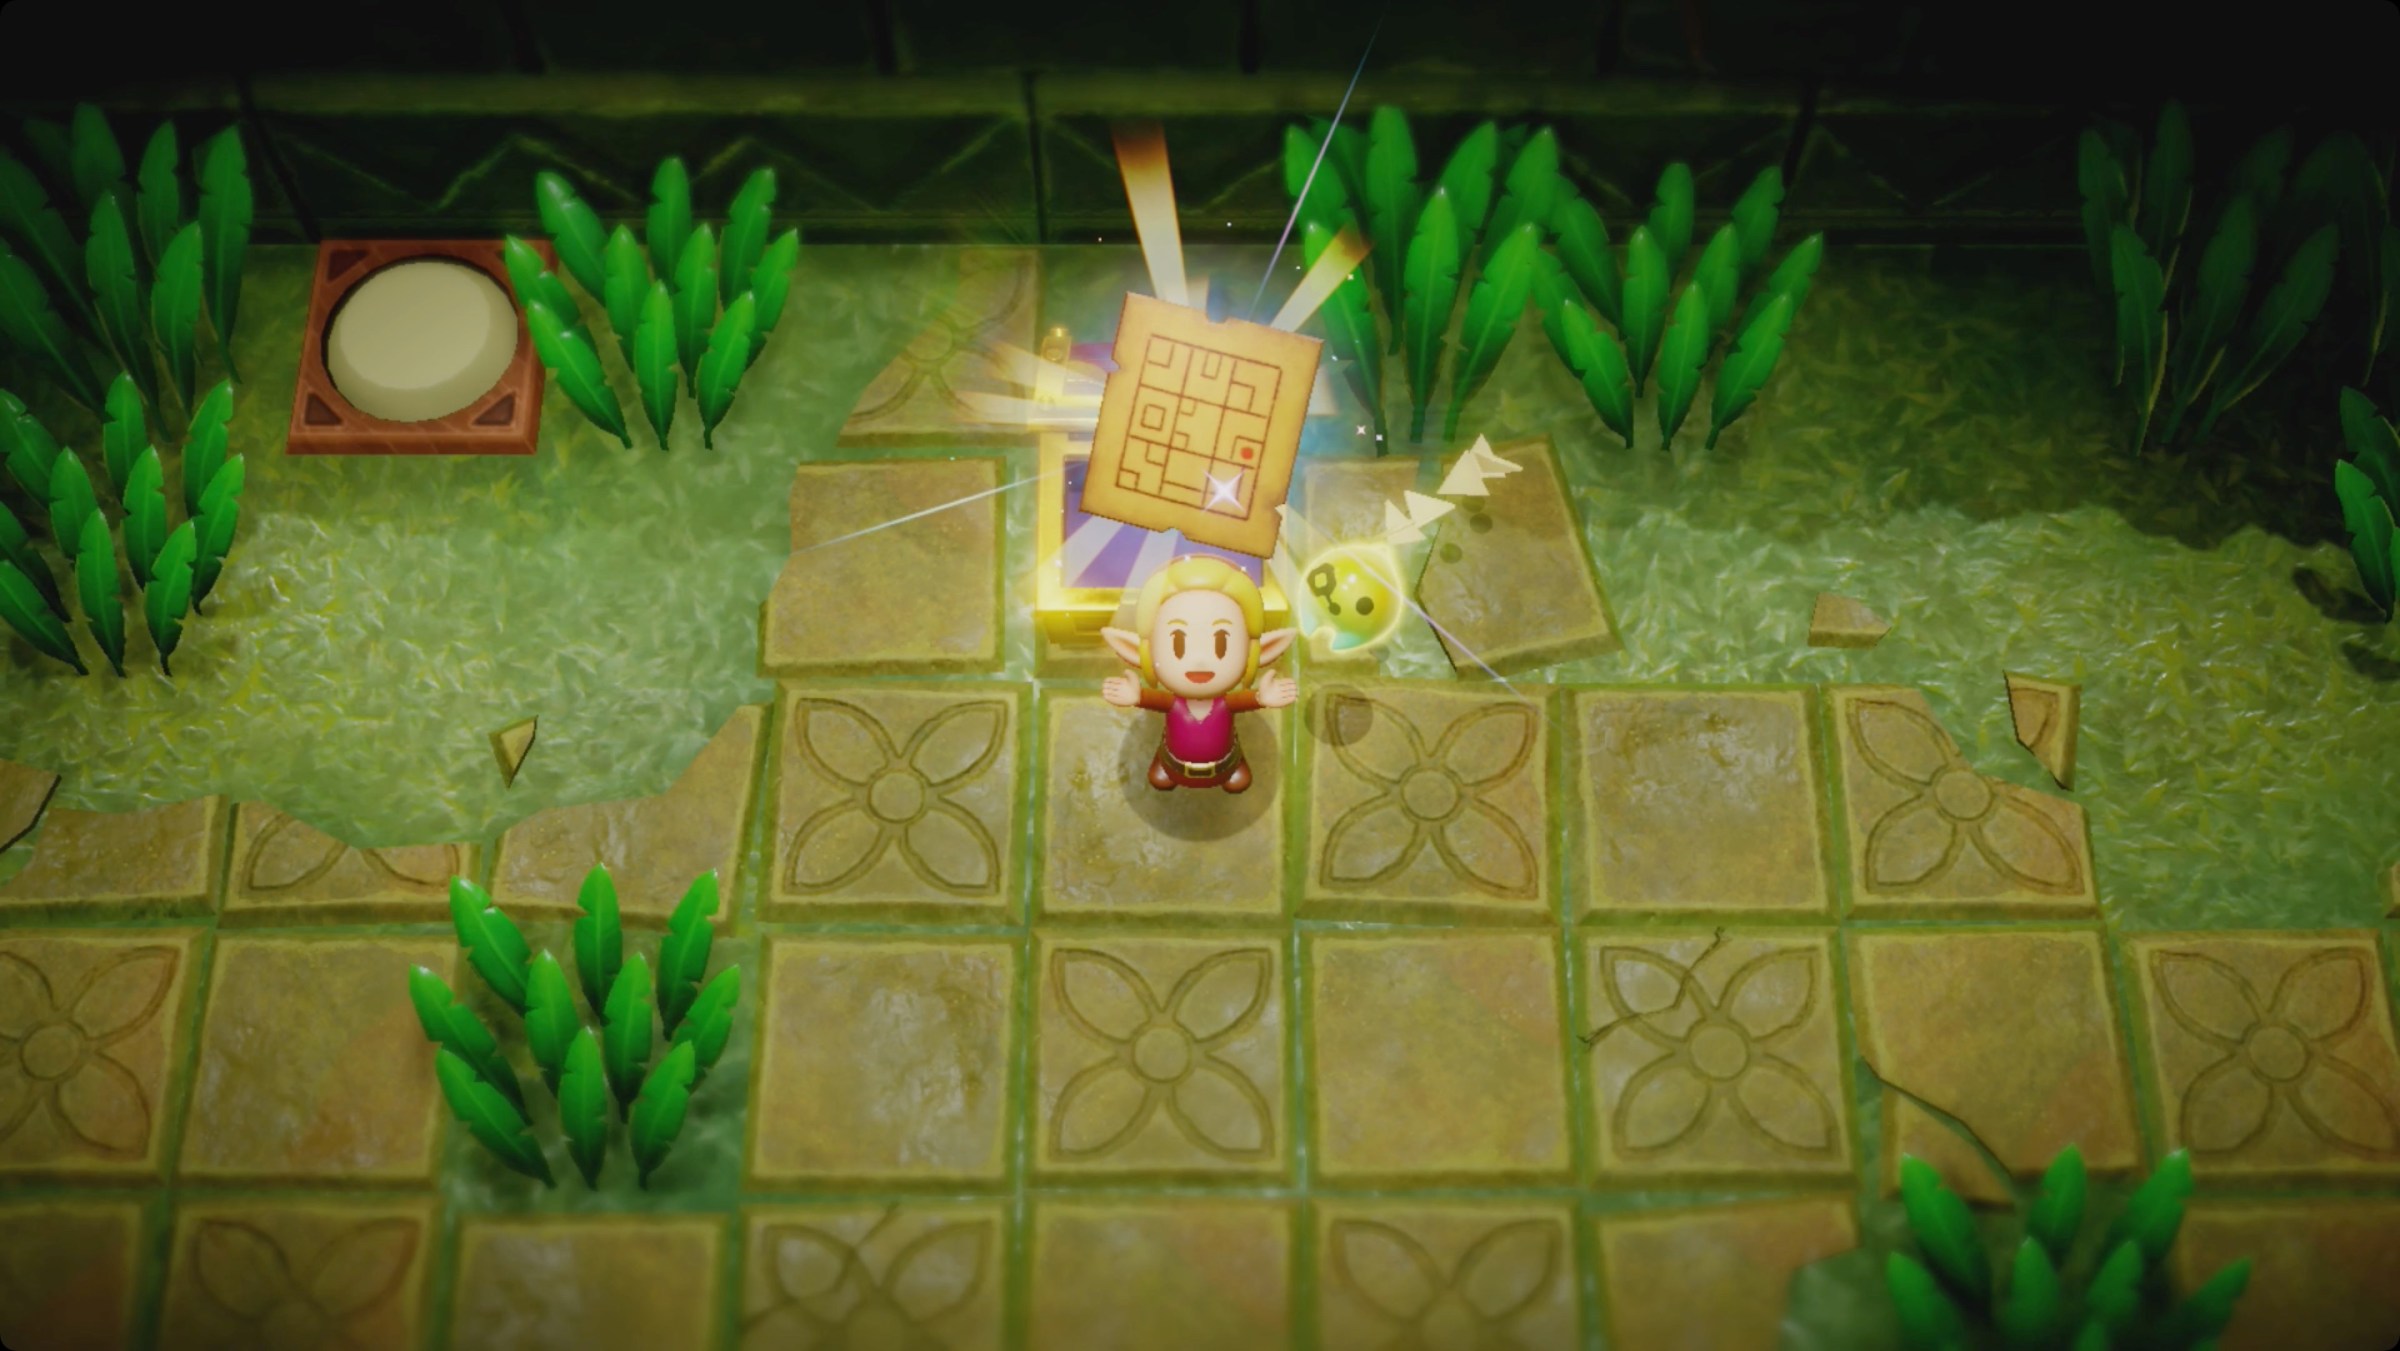
Open the treasure chest in the next room for the Faron Temple Map. Hit the button on the floor to unlock the door to the left.
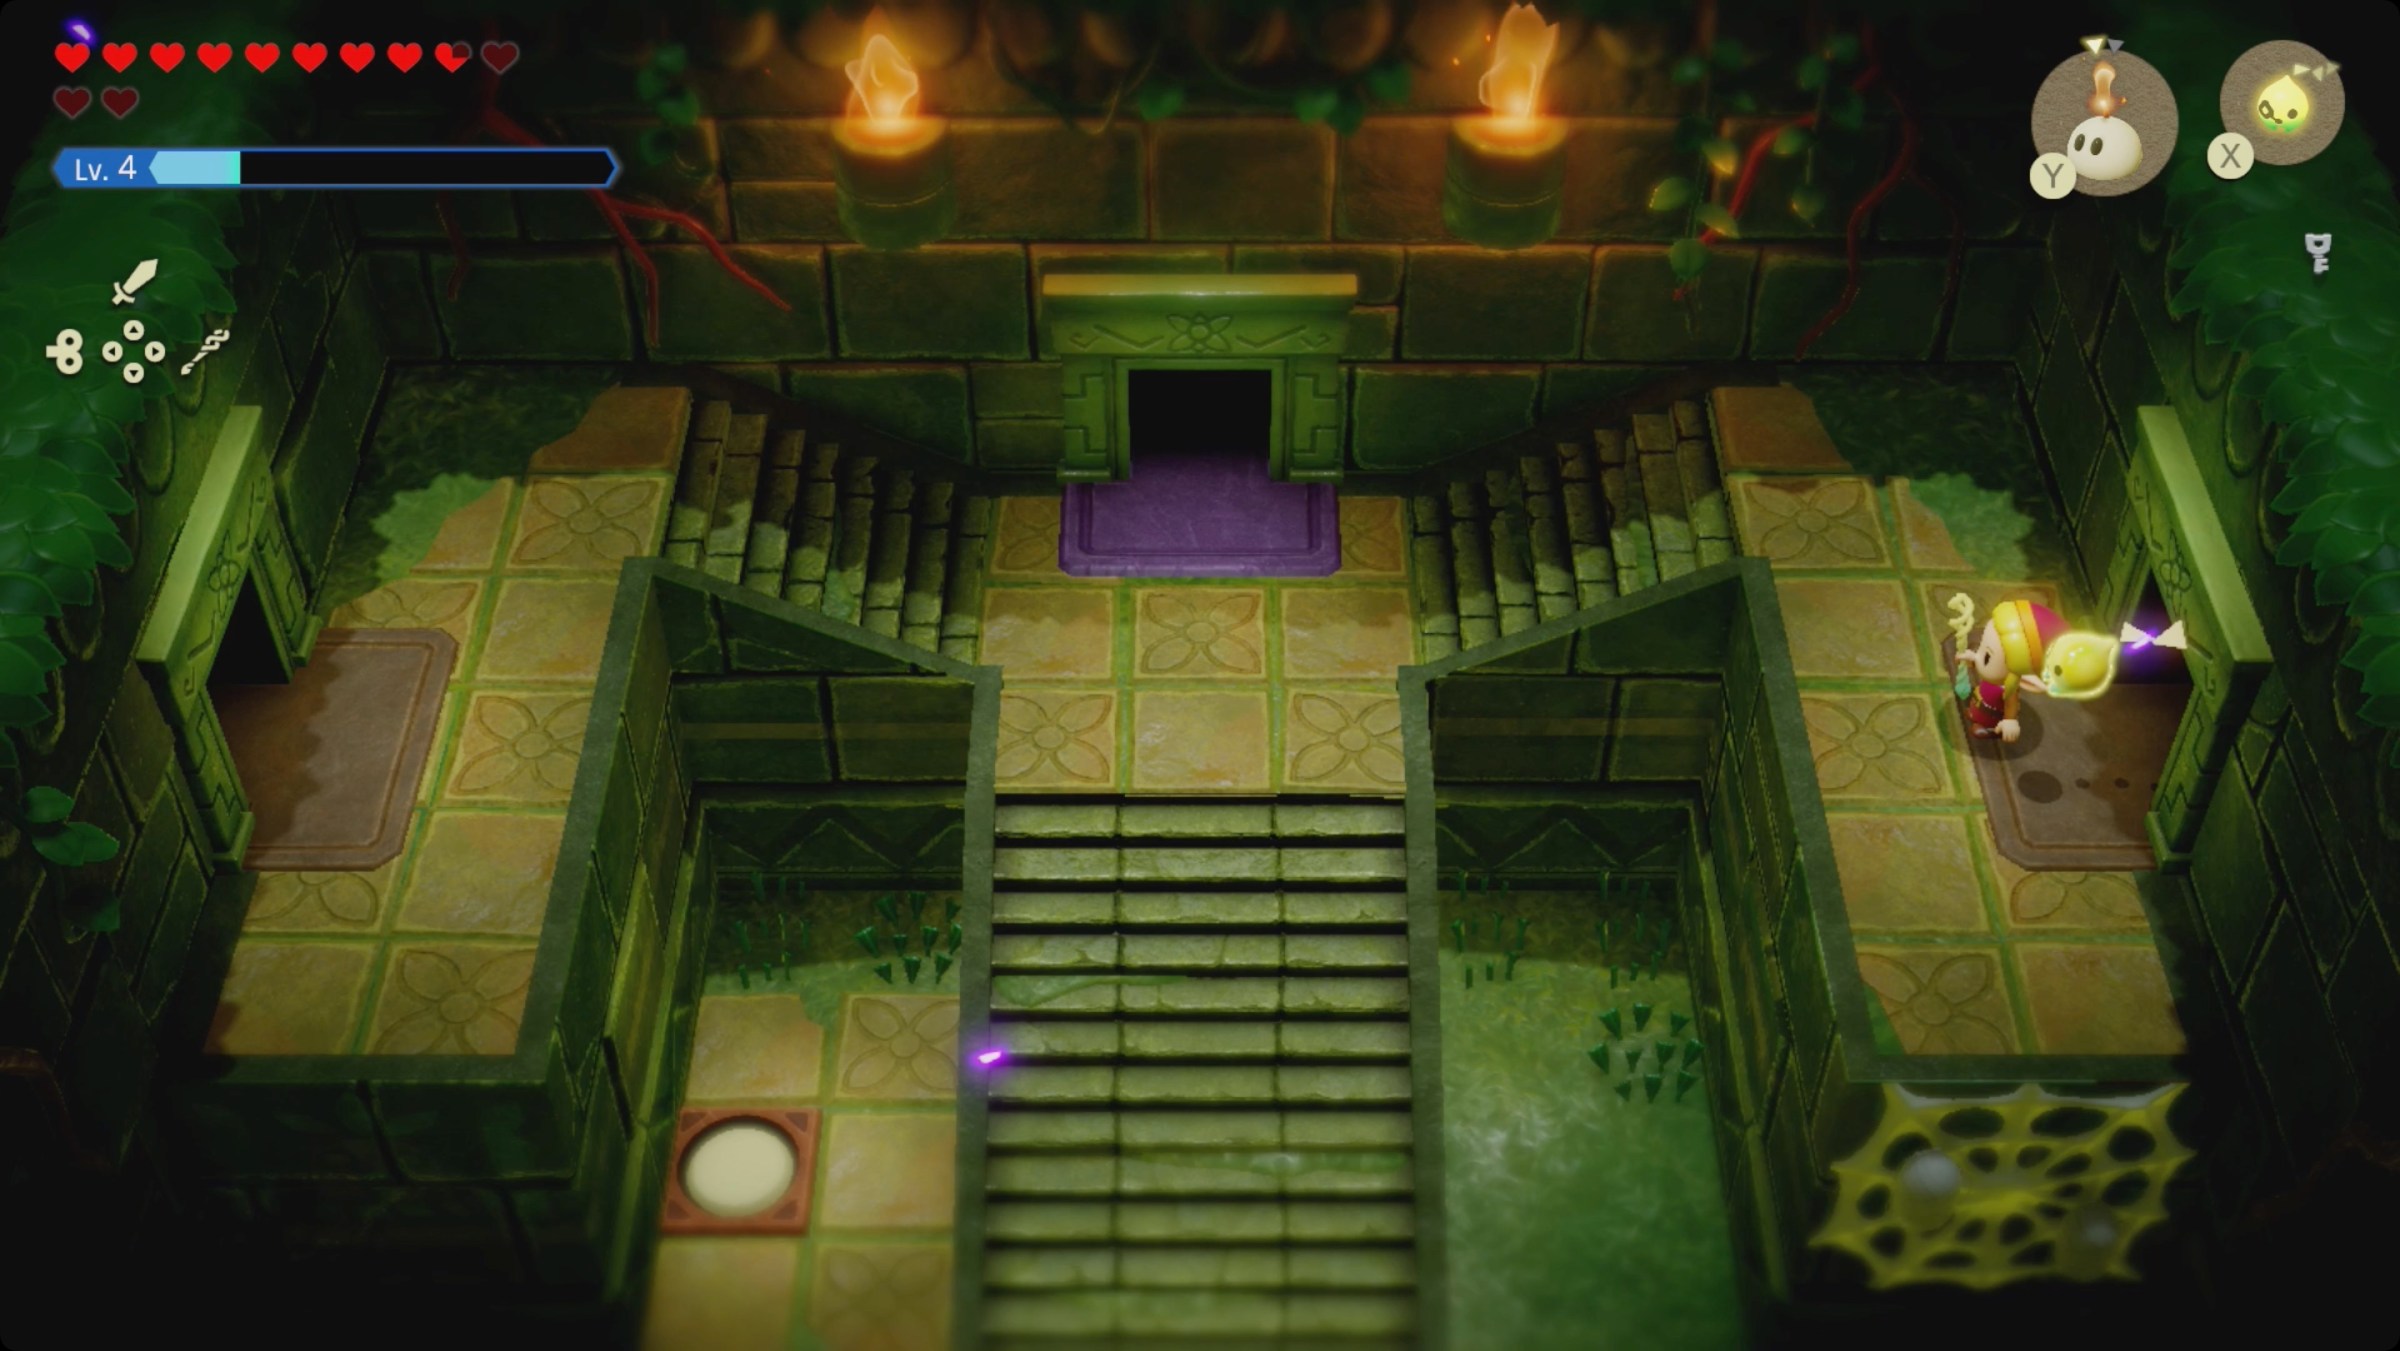
In the next room, hit the button on the floor below you and to the left. This opens the gate that was blocking access to the very first waypoint.
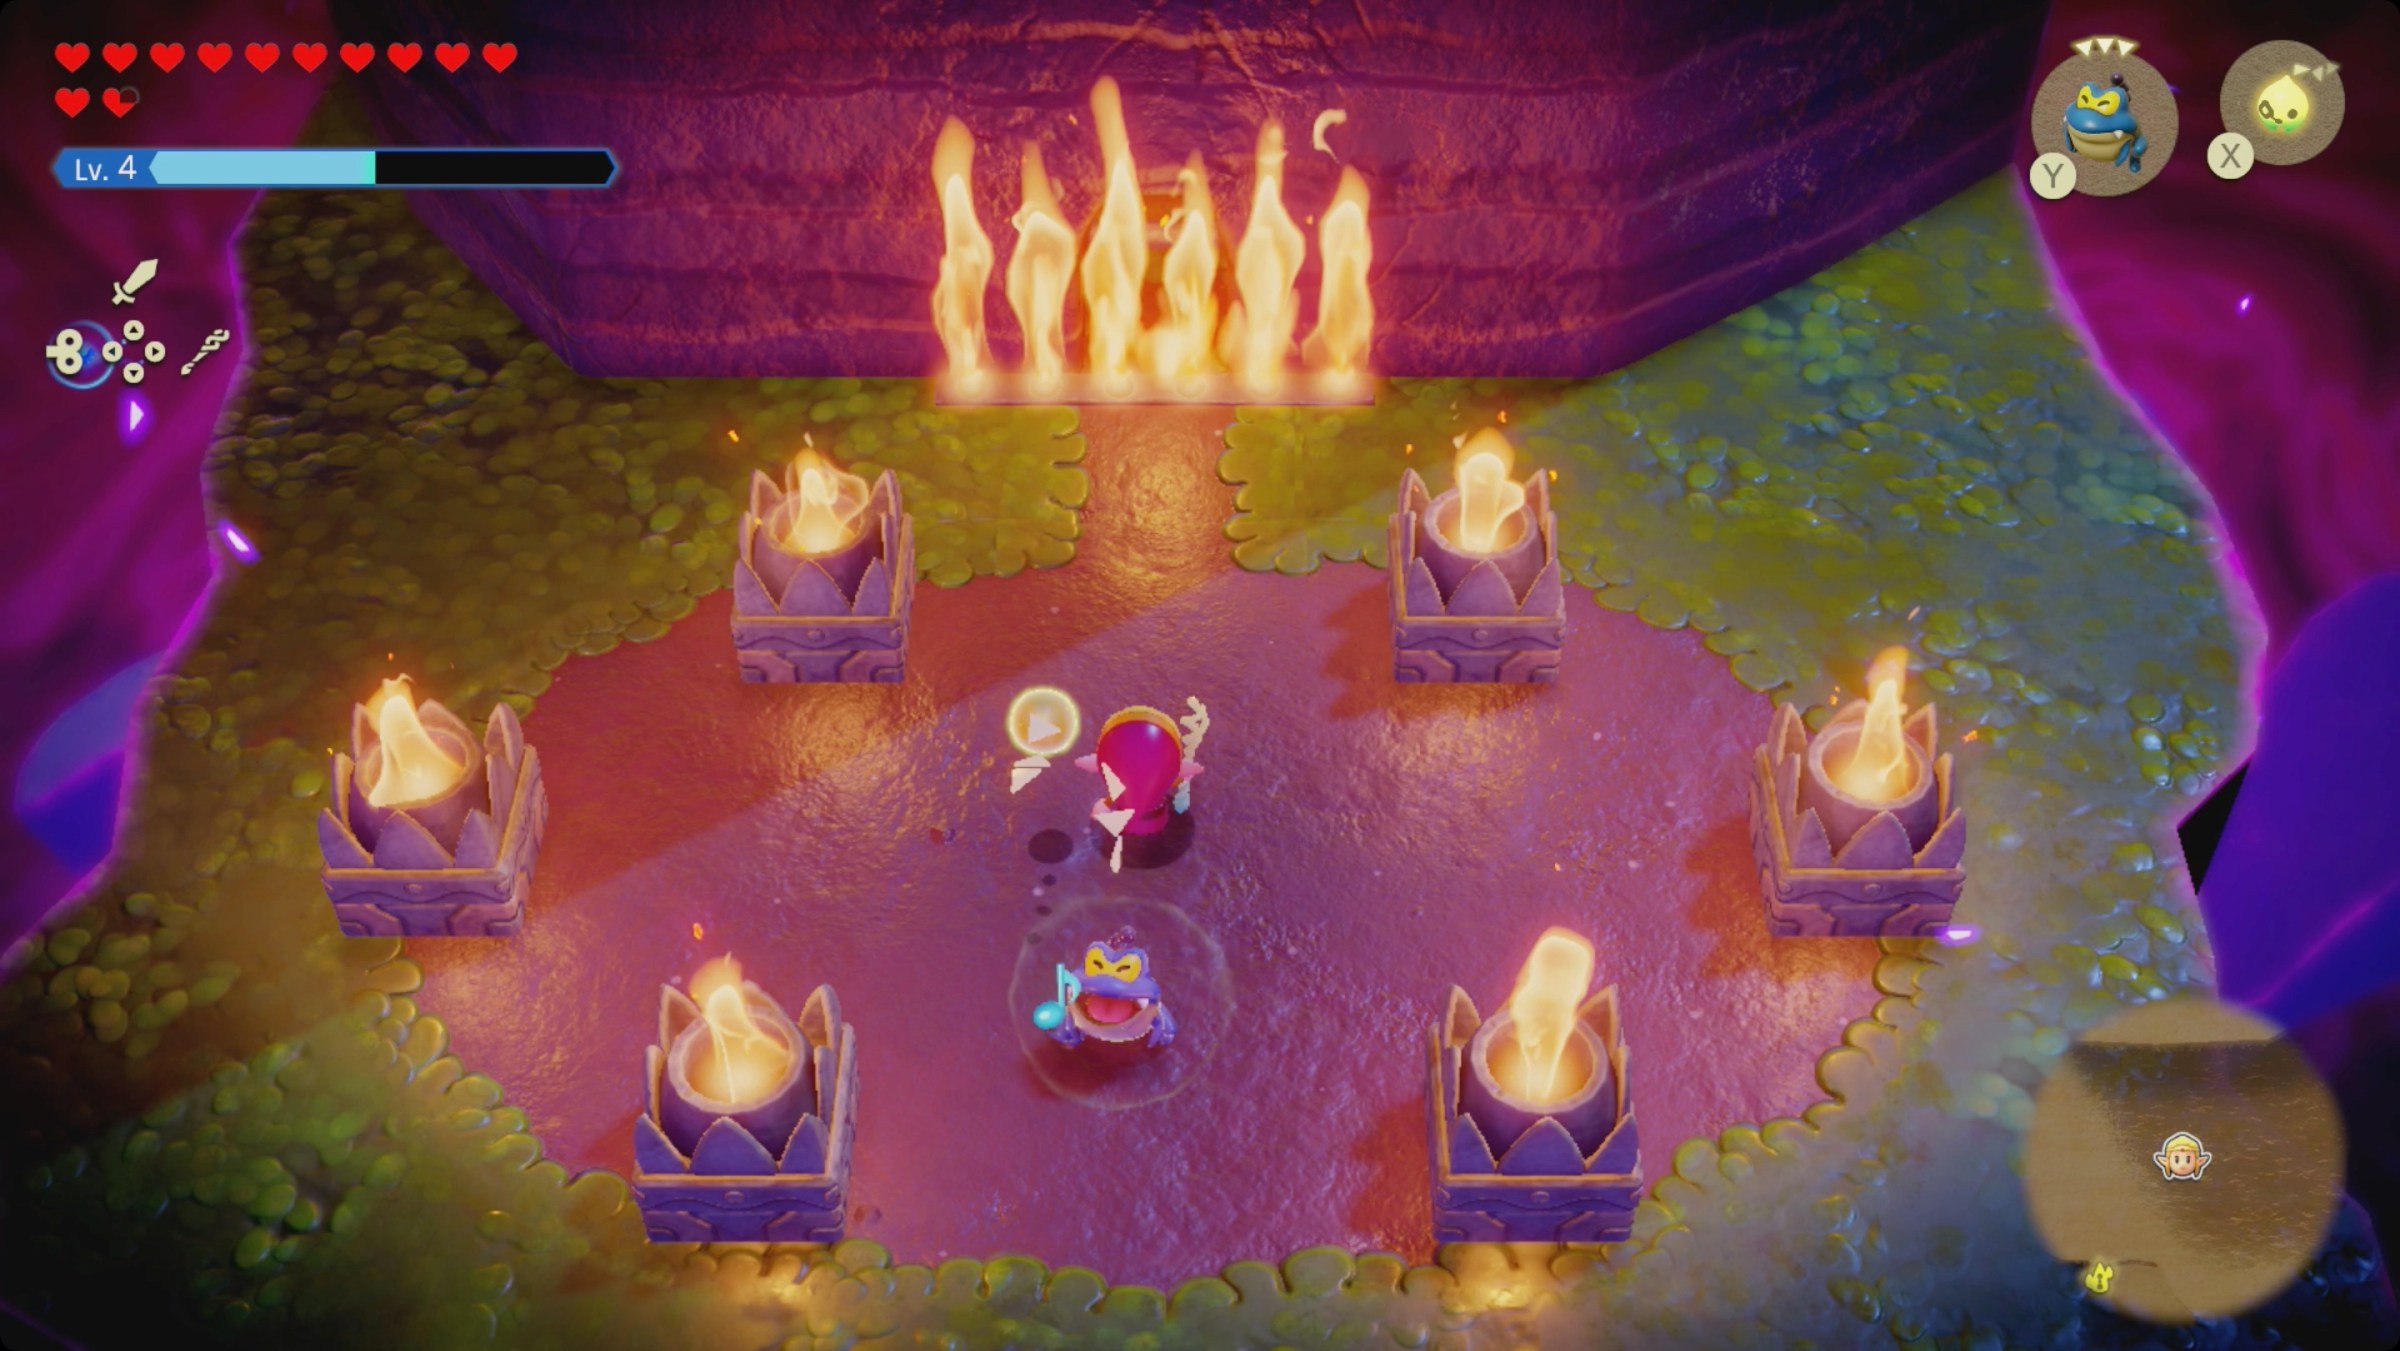
Use the small key on the door at the top of the stairs along the northern wall. It’s going to lead you to a (mini)boss fight with an unsatisfying ending.
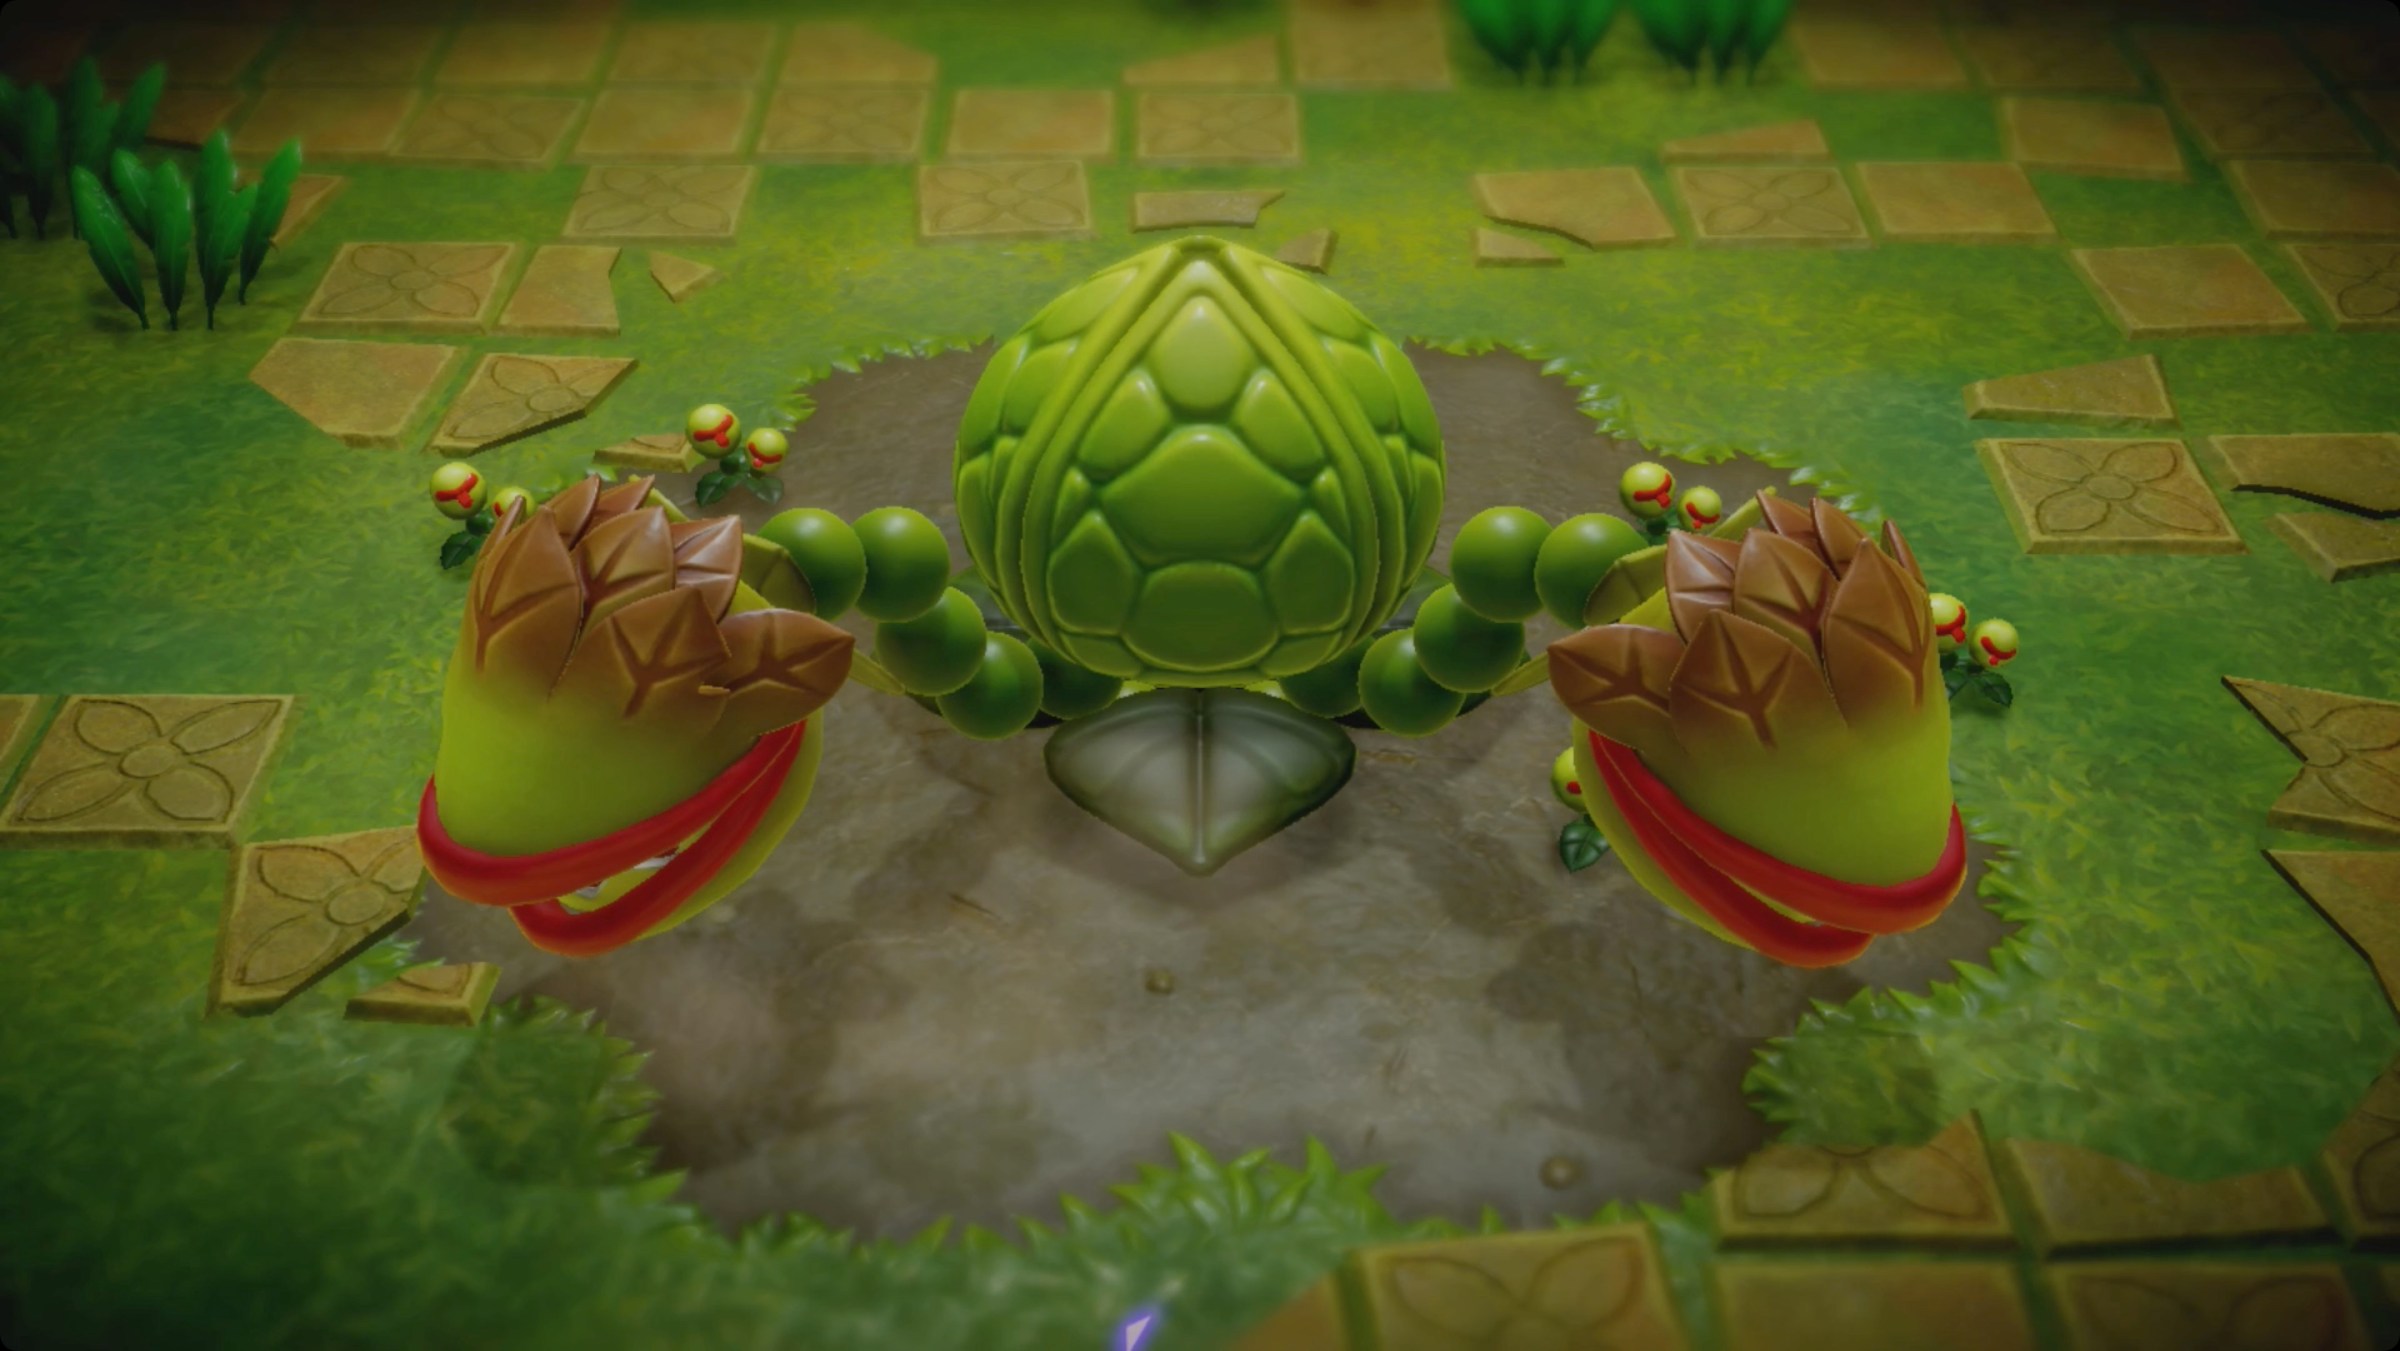
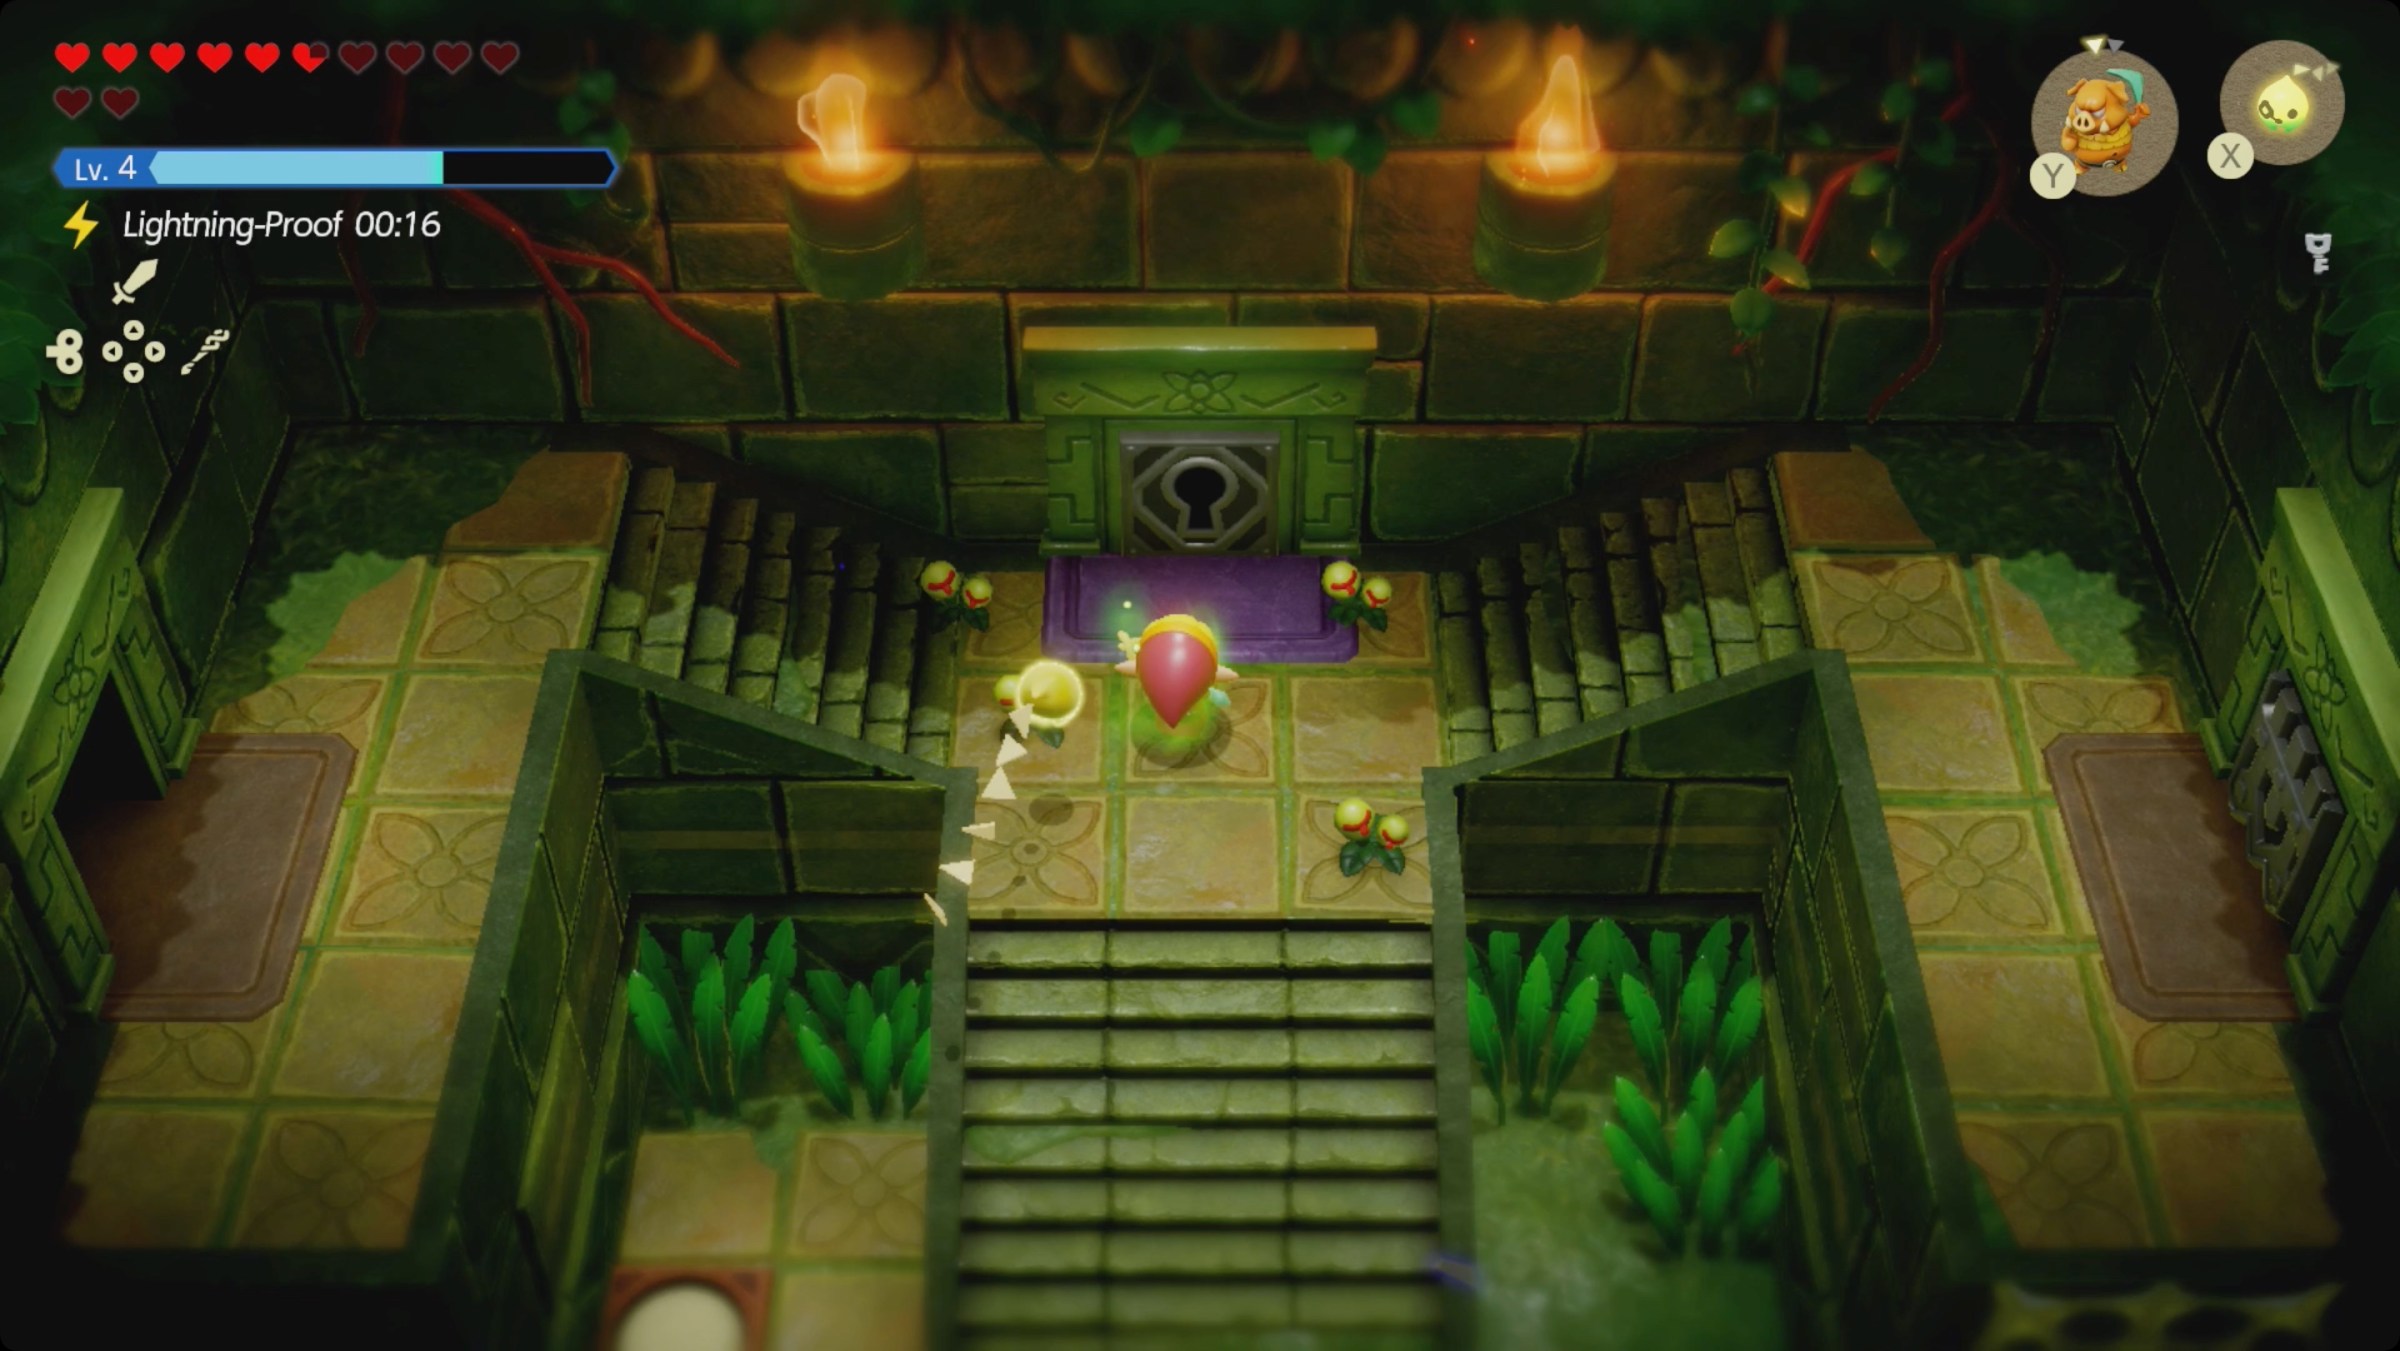
When the fight starts, summon something that starts fires — we like a fire wizzrobe for this. Your job is to wait until the wizzrobe deals enough damage to knock down one of the heads.
This exposes a blinking red ball on the neck. When that happens, the plant head will fall on the ground with stars over its head. Attack the red ball until you break the neck. Repeat that on the other head to finish the fight.
Except the plant just runs away, so you’ll have to keep exploring.
Back out in the main hall, take the door on the left side at the top of the stairs. Go past the laser-shooting eyeball things and work around to the ladder in the upper left corner. (The door on the south wall just takes you back outside and above the main entrance.)
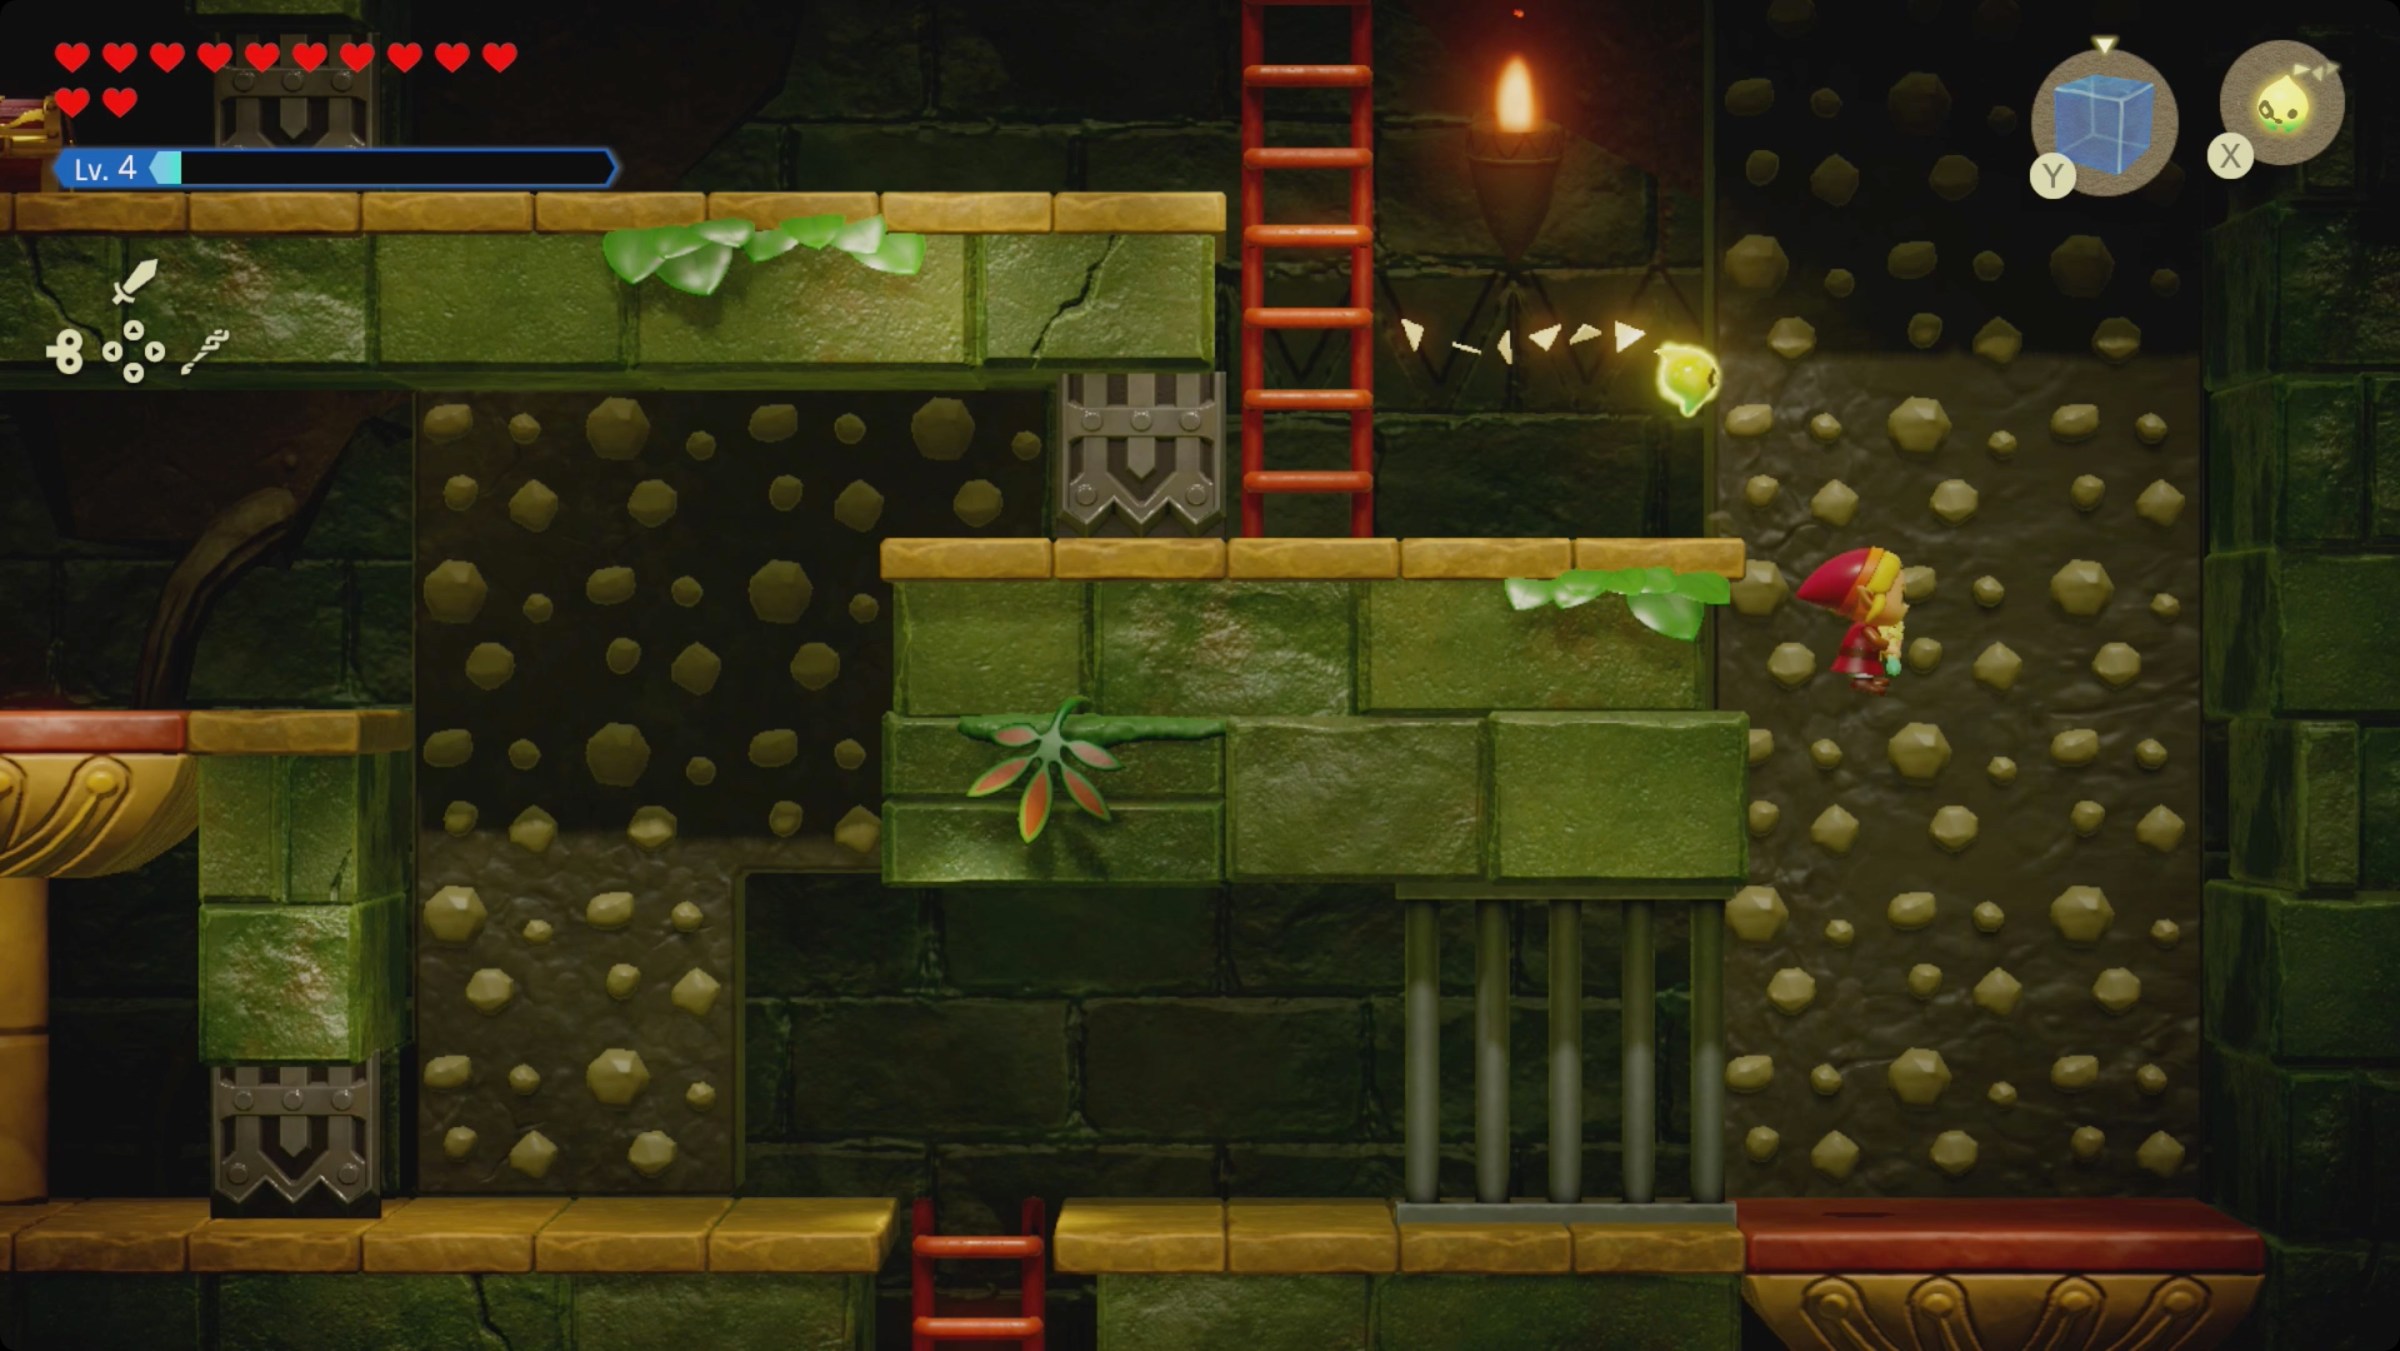
Climb down the ladder and then down the wall along the right side. You’ll land on a piston next to a metal grate. Summon and drop two boulders on the piston where you’re standing.
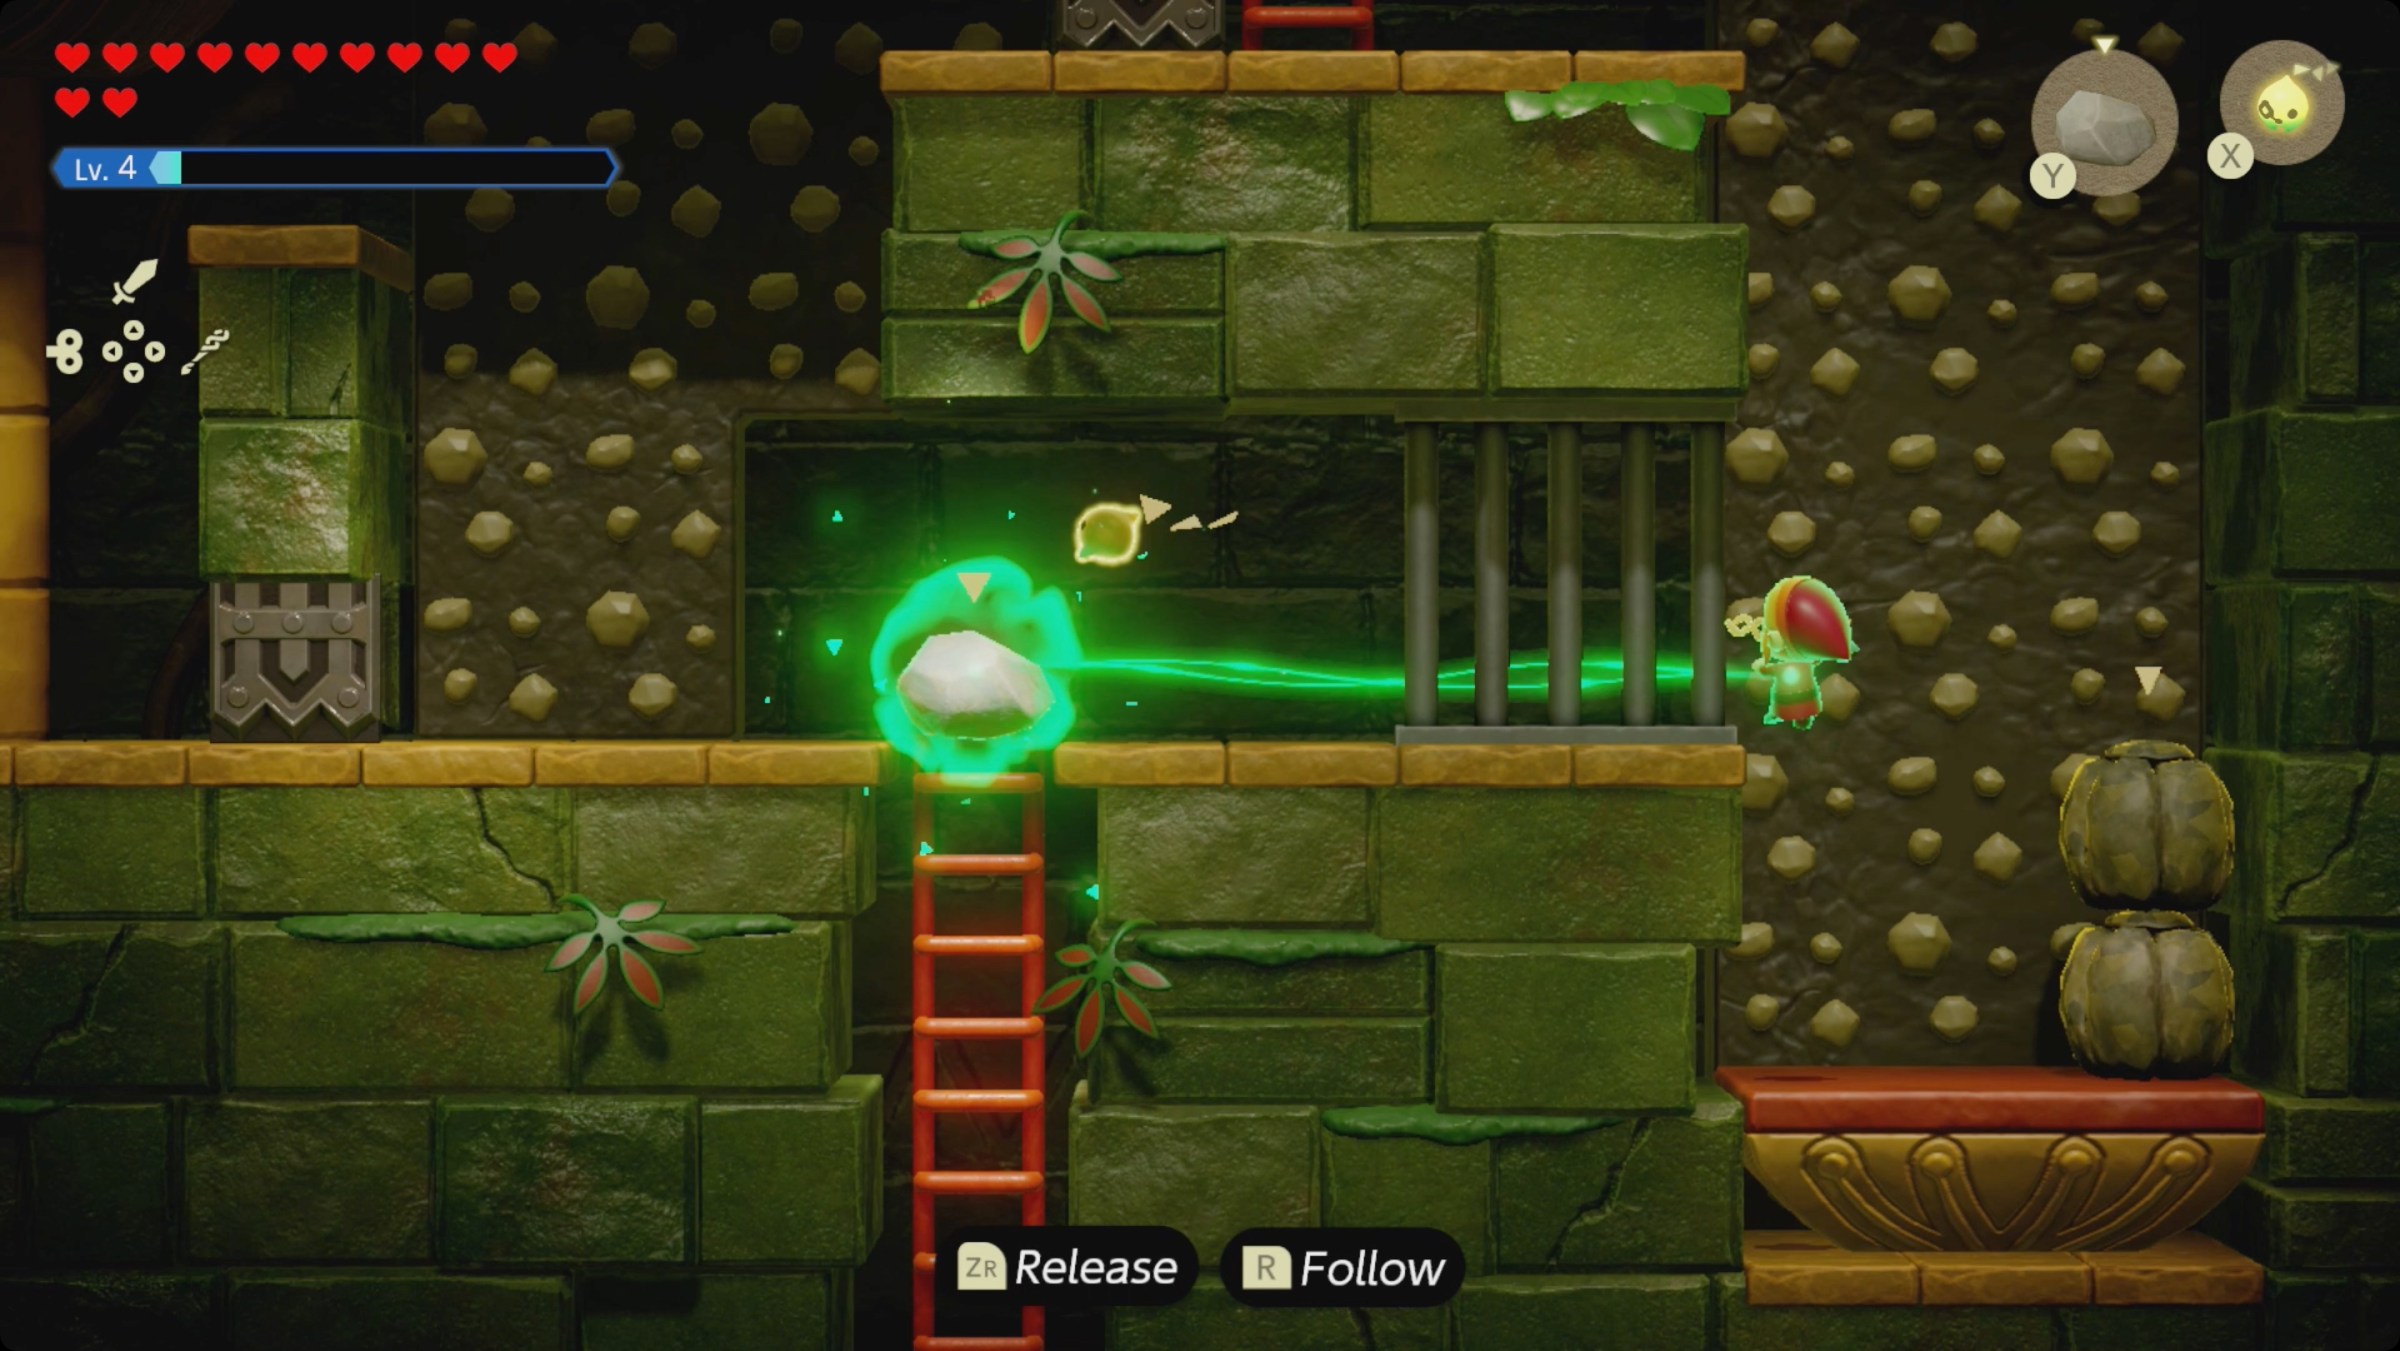
Face to the left and far summon a stone through the grate. Bind to it.
Climb up the wall — the stone will get stuck a little below you. As soon as you can, climb off the wall and onto the ledge on your left. Walk to the ladder and climb up — the stone won’t get caught on anything this time.
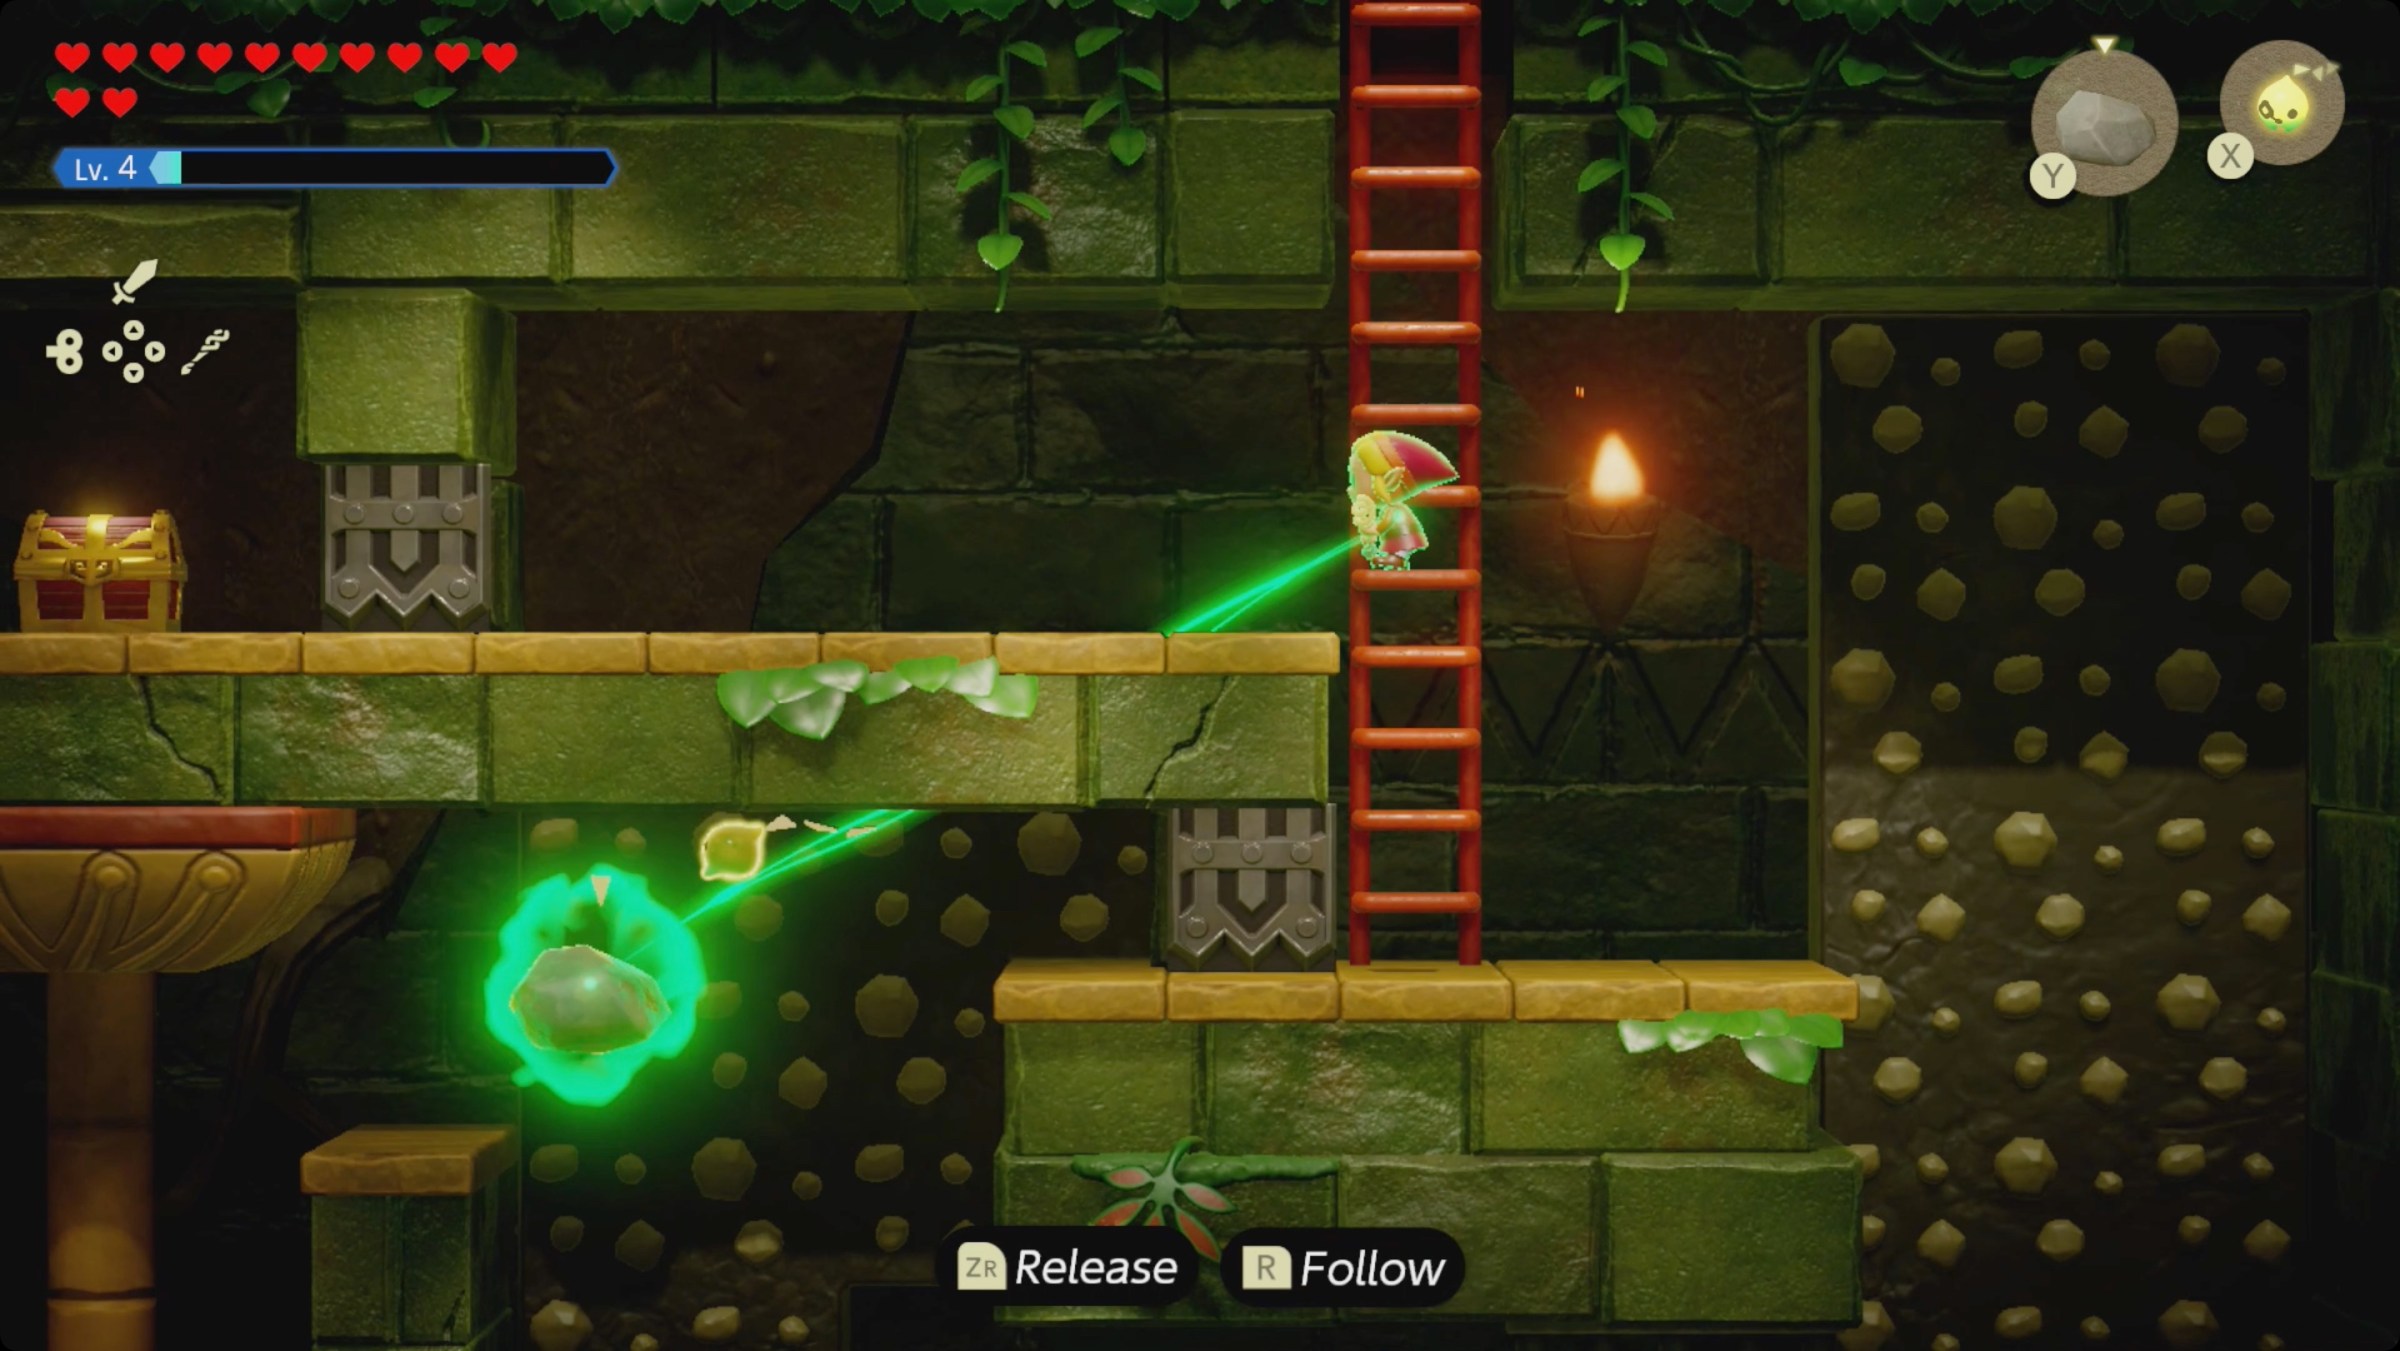
Walk it over to the left until you’re standing next to the gate blocking the path to the treasure chest. The stone will be directly above the eyeball switch-thing. Unbind the Bind bond to trigger the eyeball. Open the treasure chest for the next small key.
Snake down the walls and ladders to the ladder leading down and out of the room.
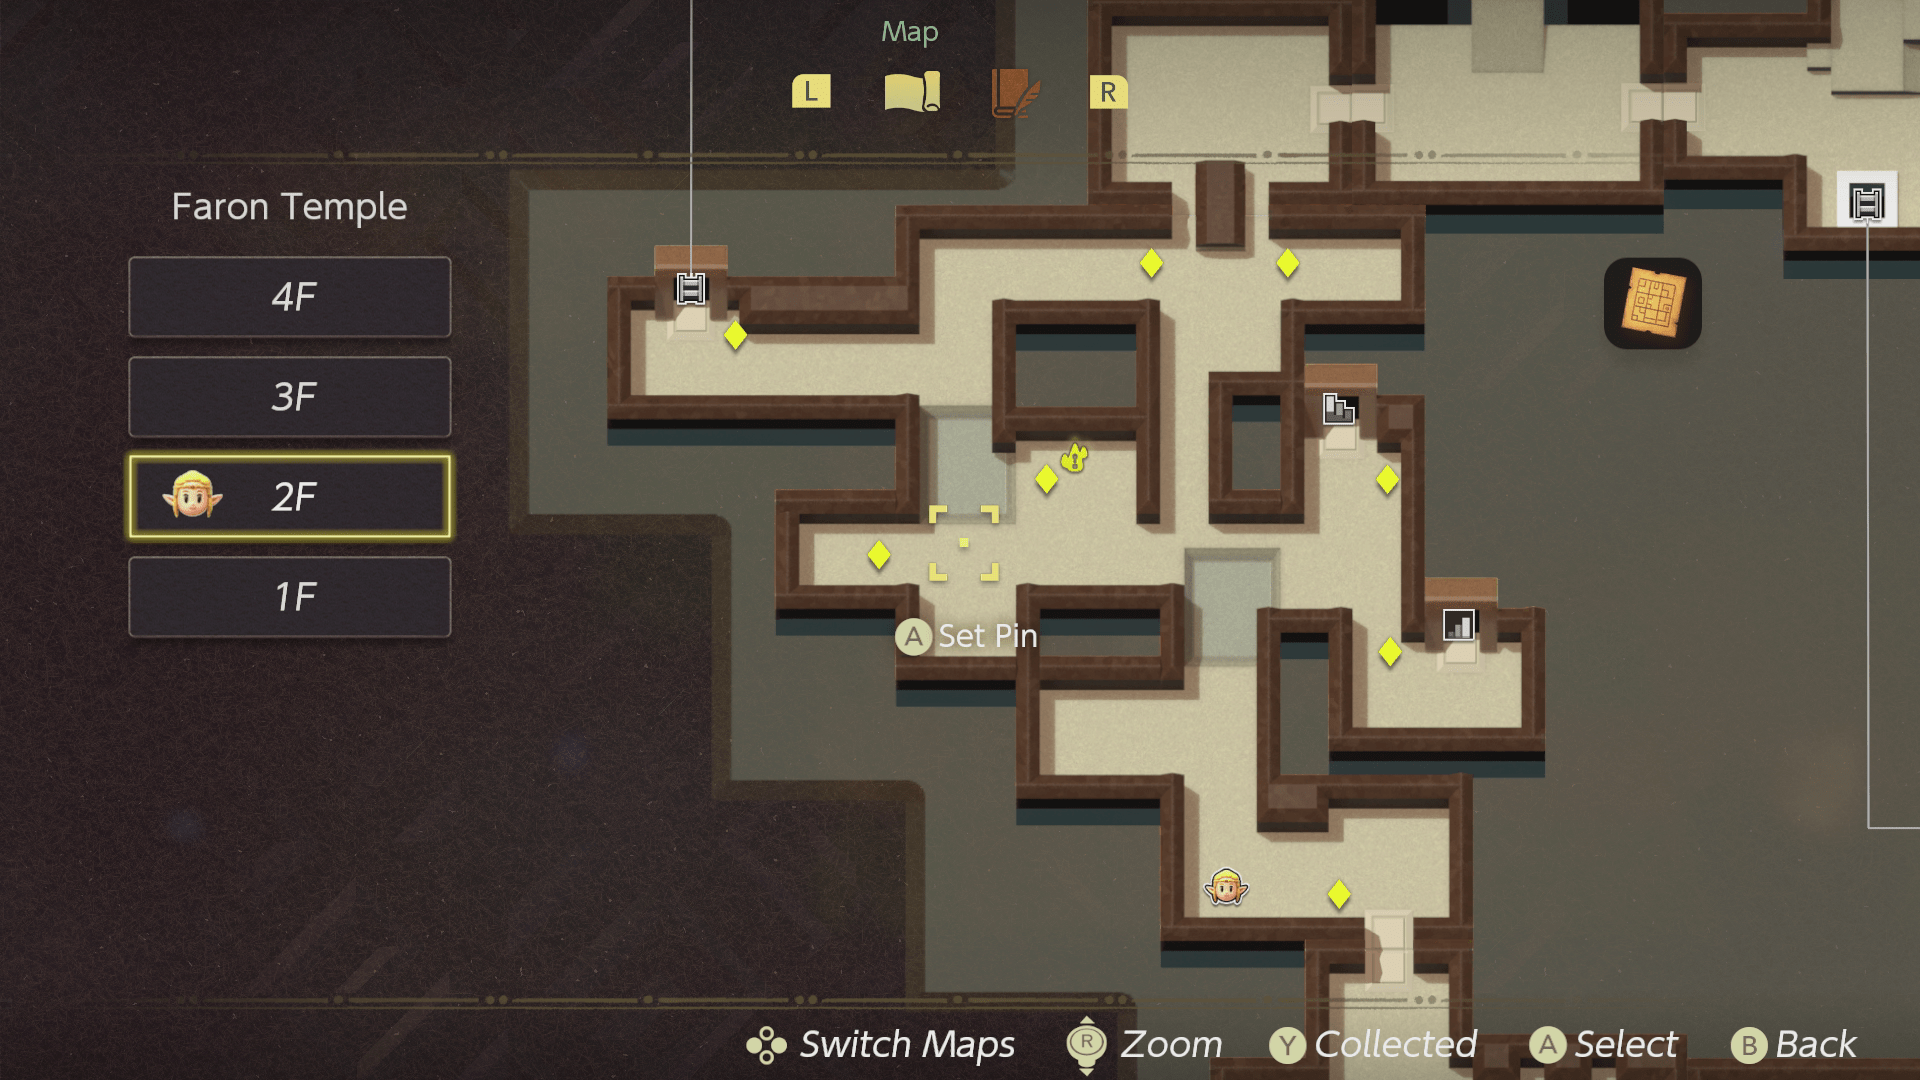
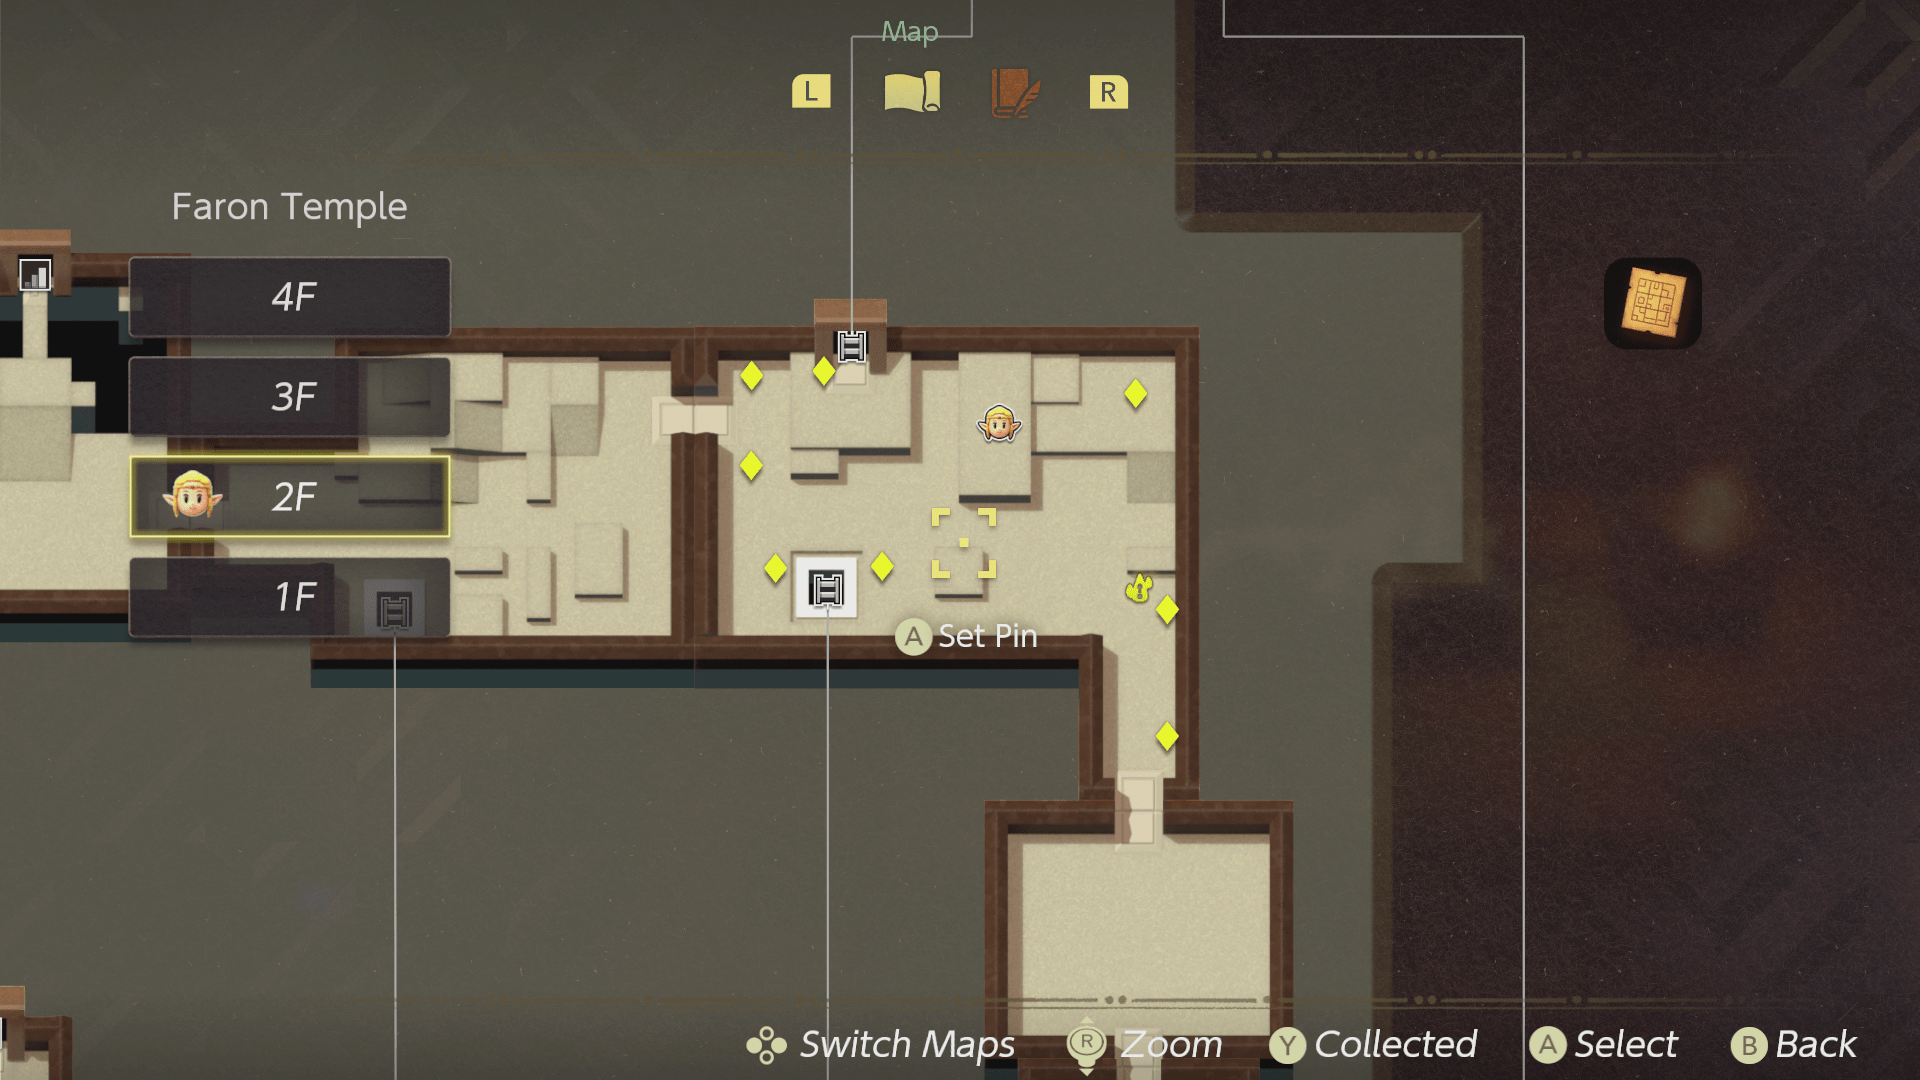
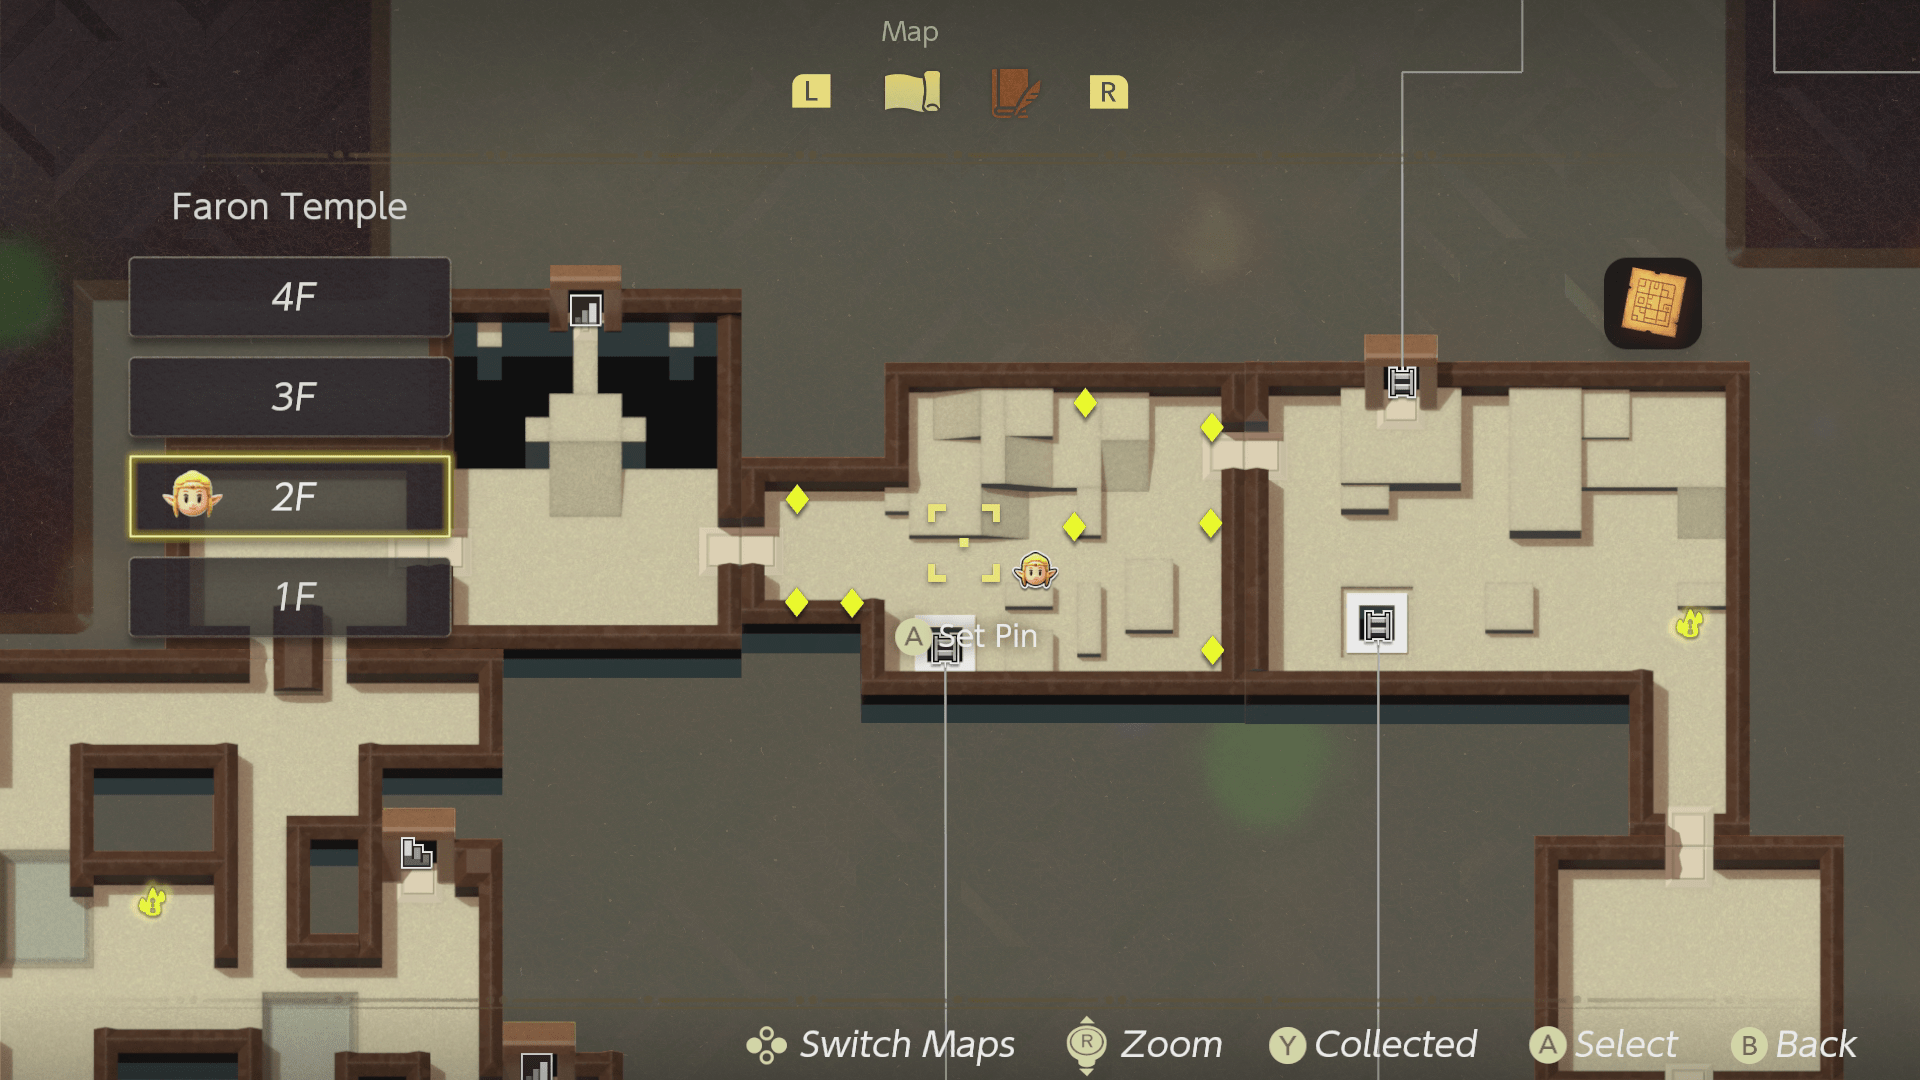
The next room is large, elaborate, and oddly shaped. There are eight unlit braziers scattered throughout it, and if you light them, it will light up the room.
There is one right next to the door you just came through, two more straight to the east (next to a secret door we’ll open in a second, two more to the southeast of that, two more spread across the room heading west, and one final one all the way to the south. We marked them with yellow diamonds on the map above.
Light them all by summoning ignizol to make navigating the confusing room much easier.
There are several ways in and out of this room, so let’s start opening them all. Head to the southeast corner. Past a deku baba Lv. 2, you’ll find a locked door. Use the second small key on it, and you’ll find a room with a treasure chest inside. Head back to the oddly shaped room.
The door directly north of the one we just explored is a shortcut back to the entrance hall. Explore it if you want, but then come back.
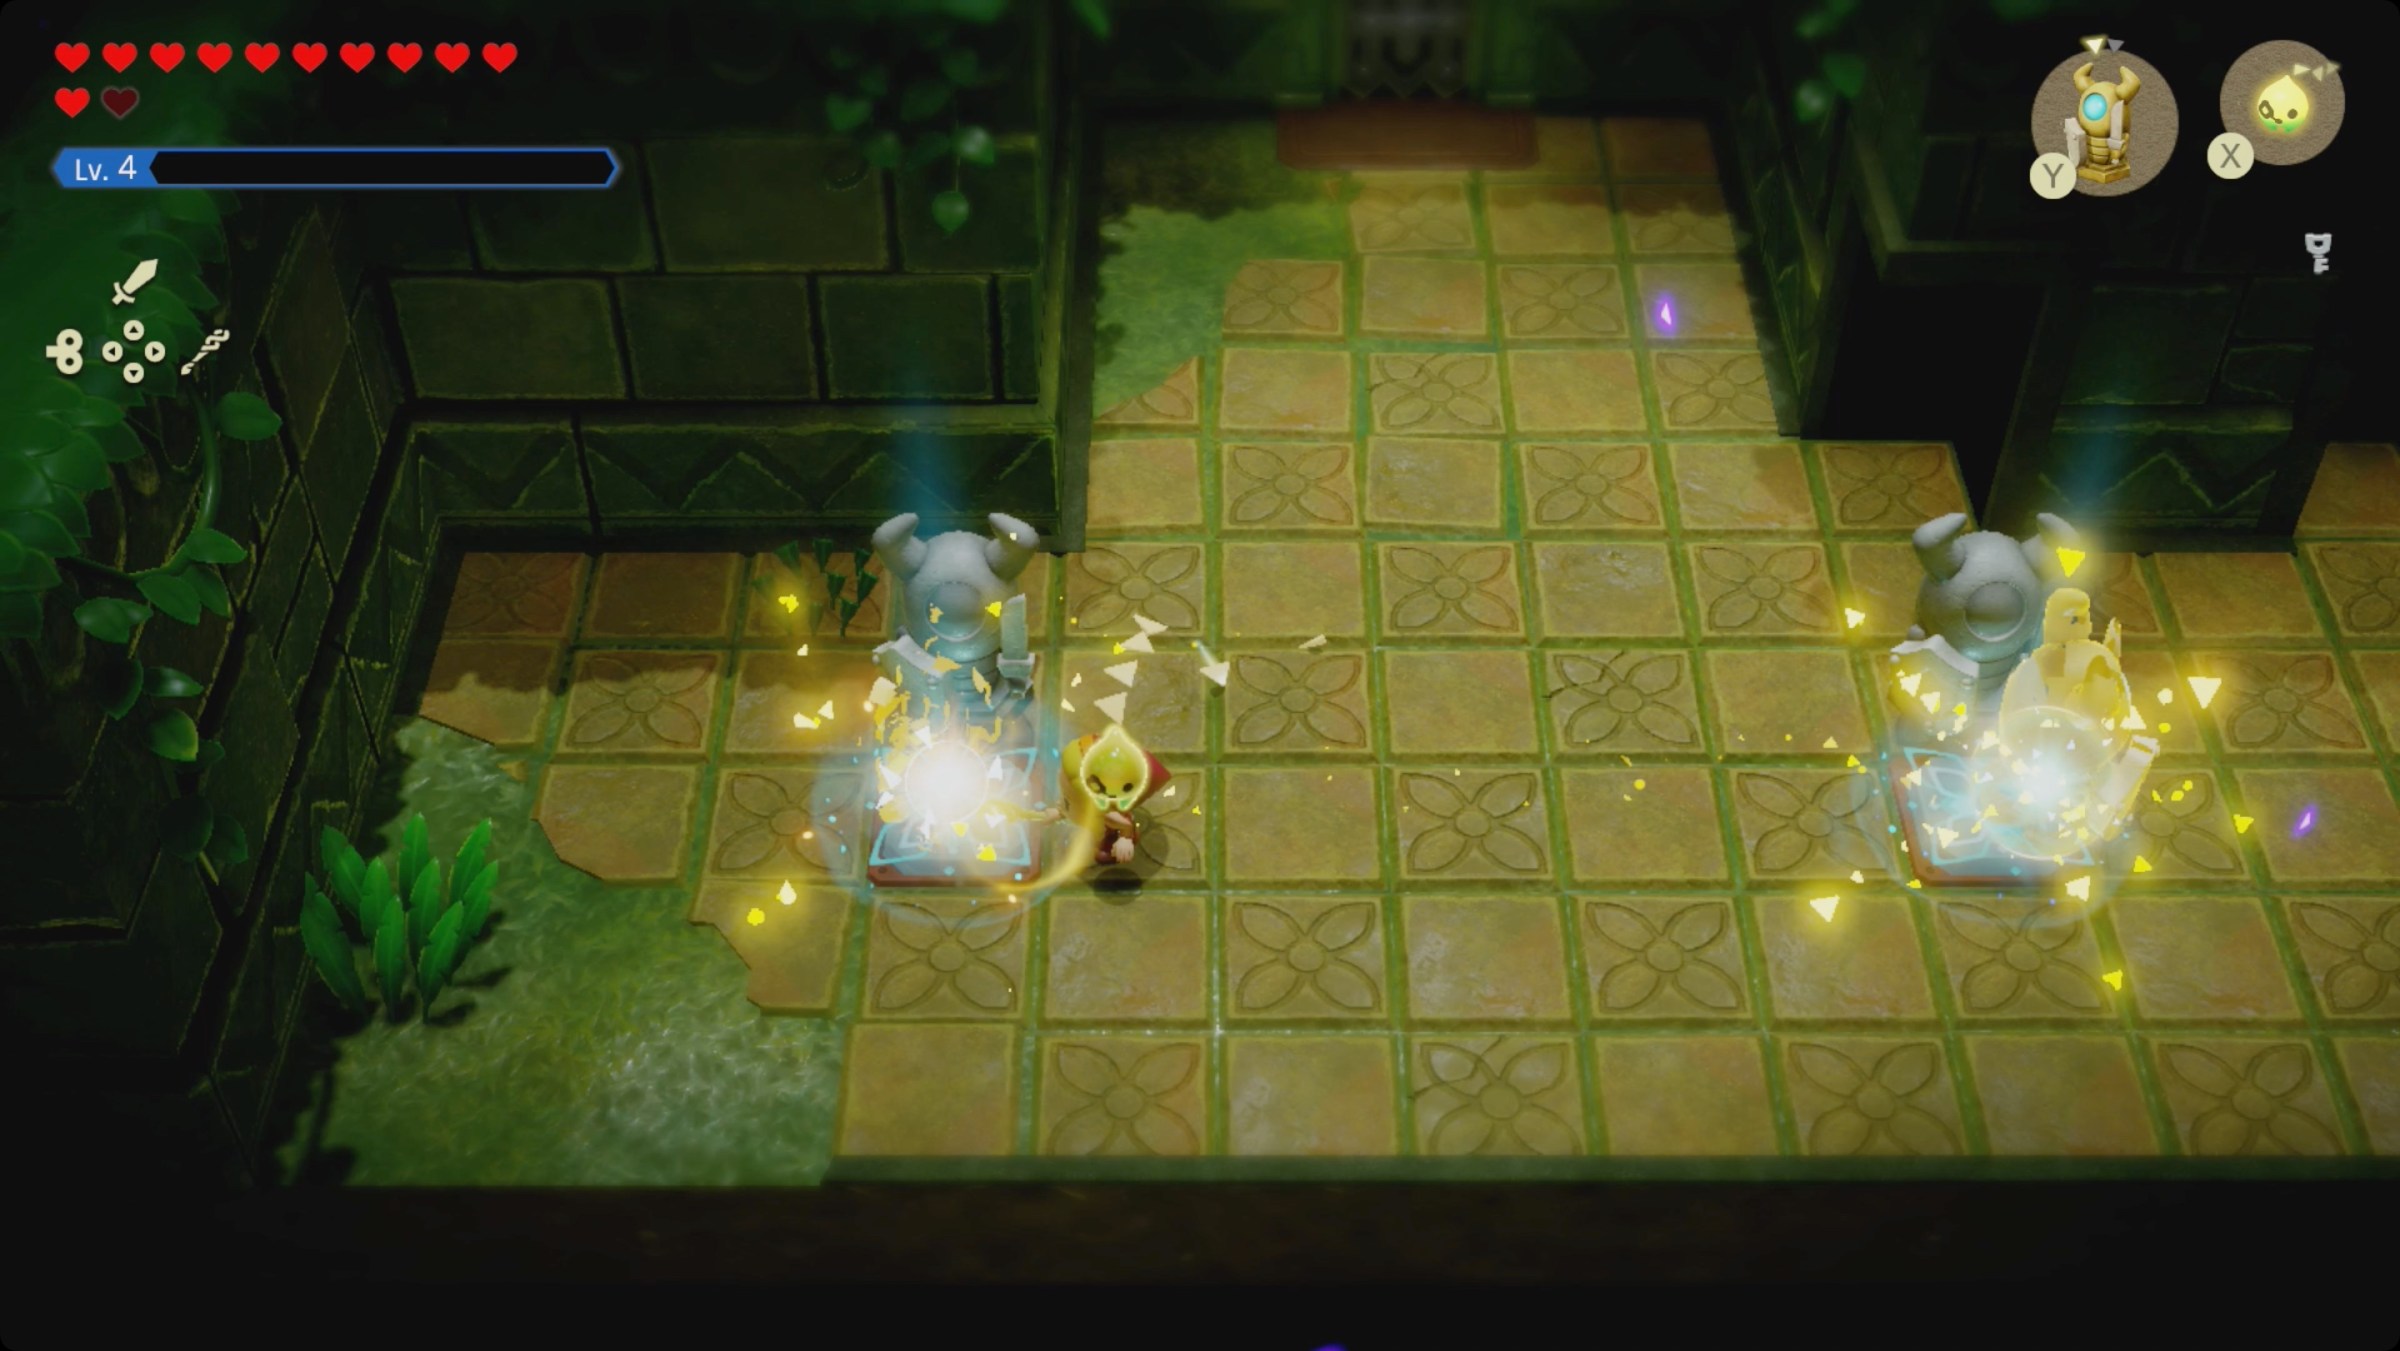
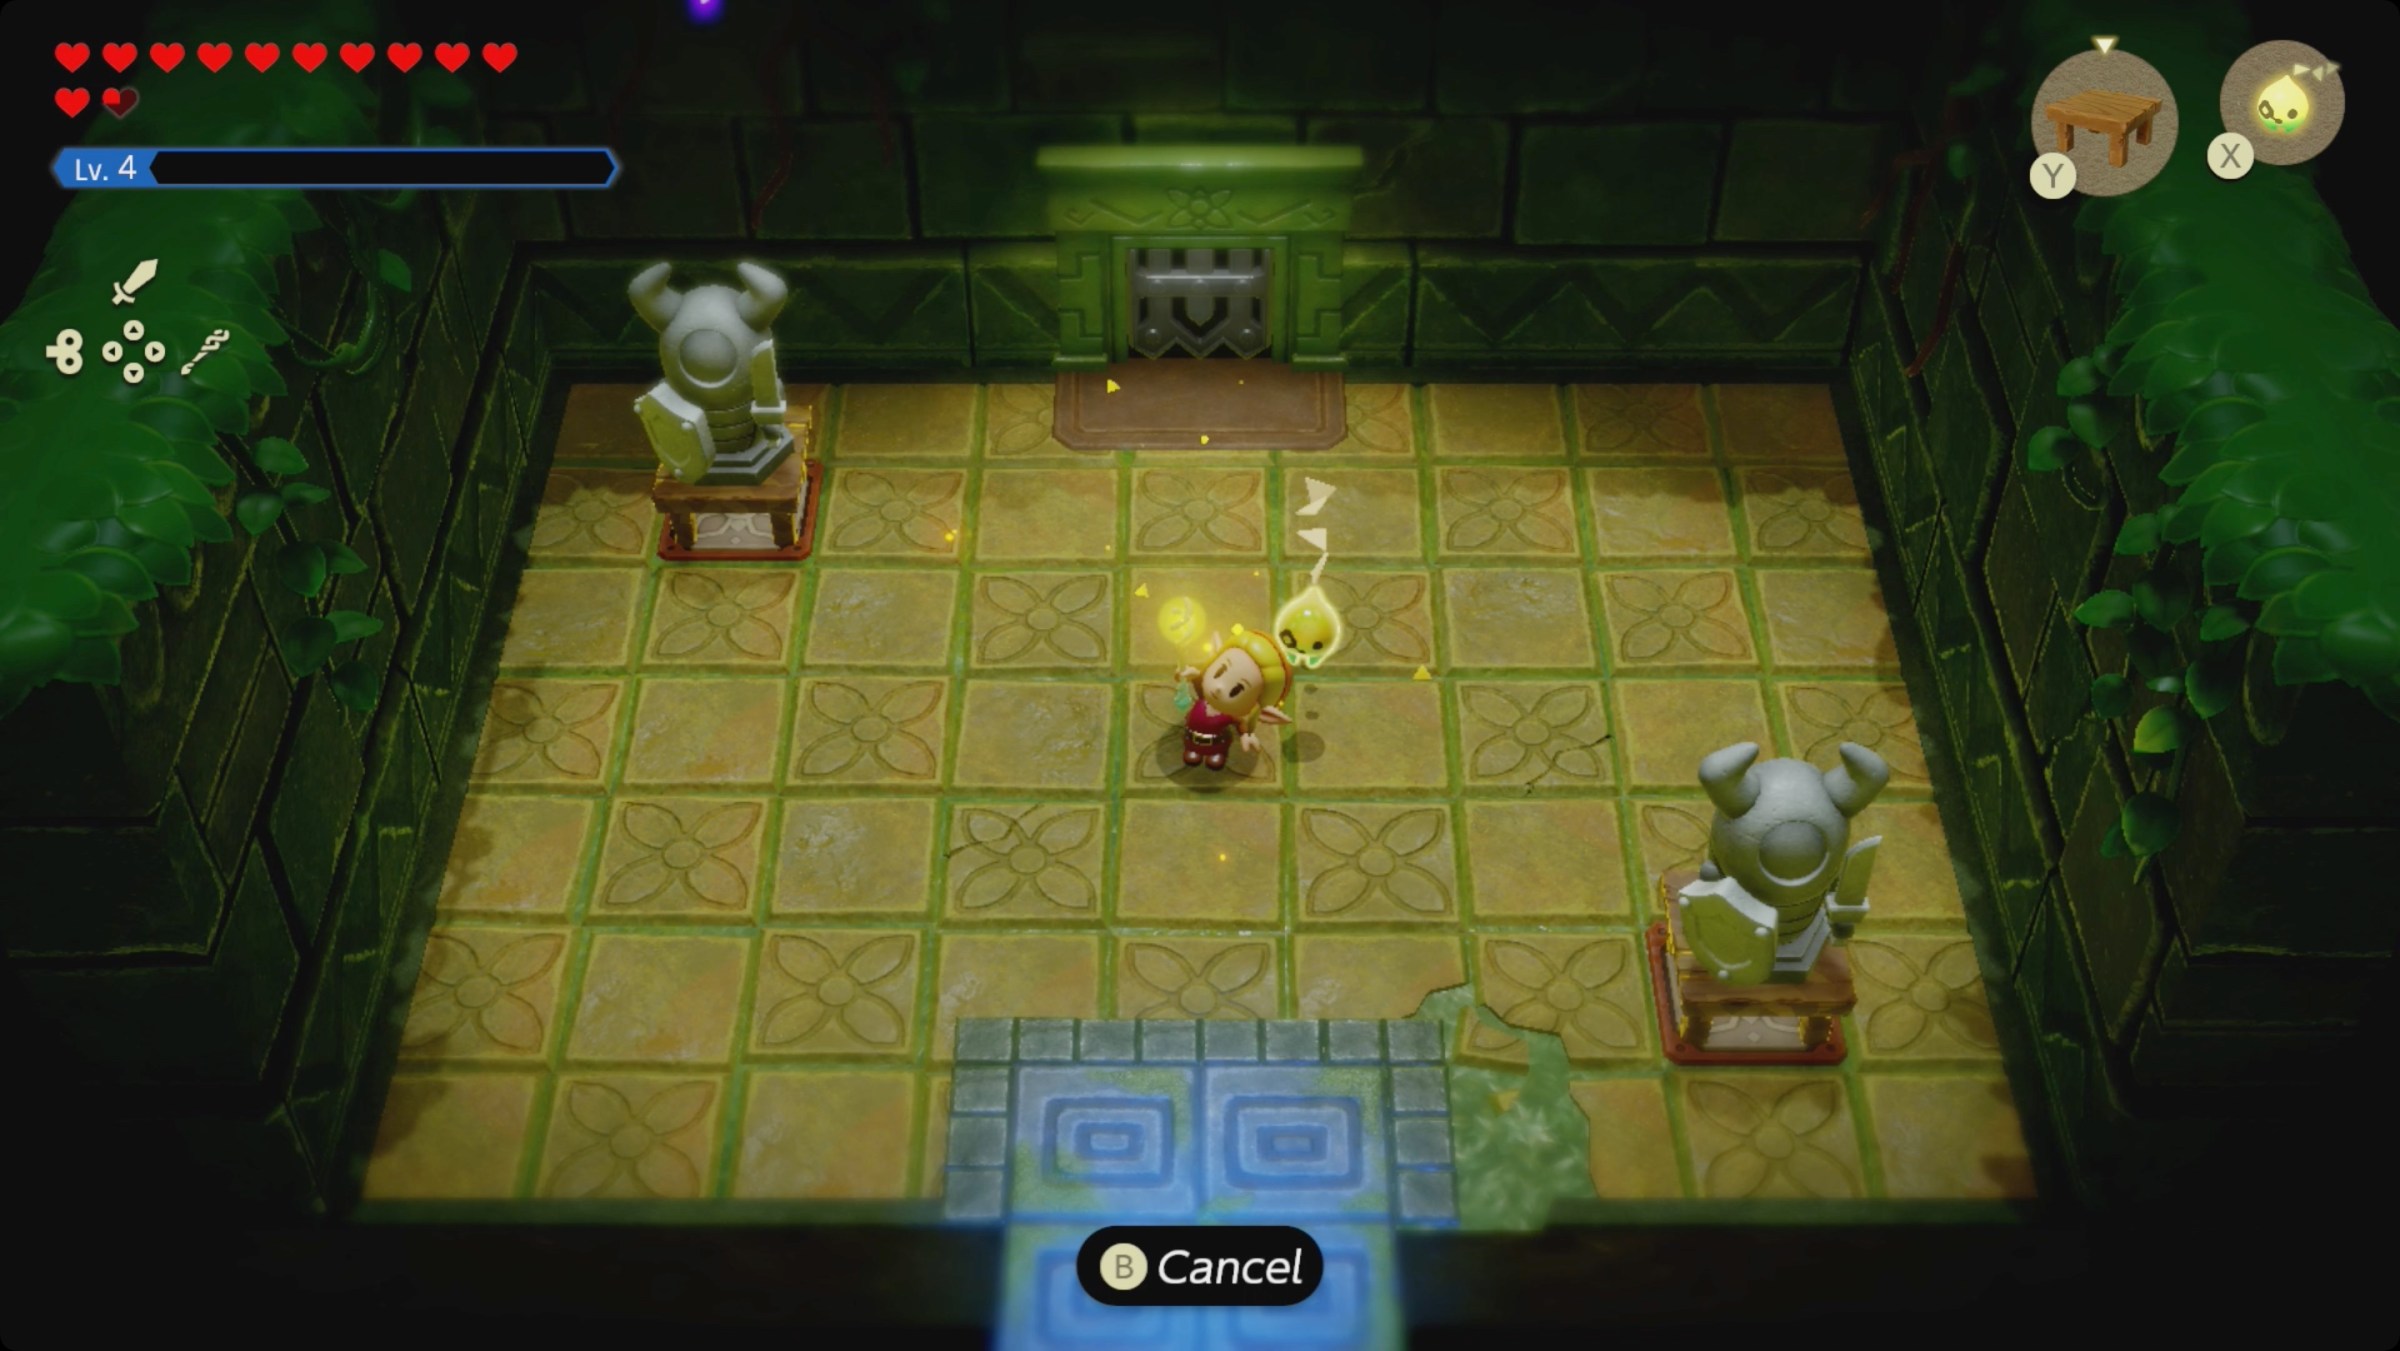
Head to the southernmost exit. You’ll enter a room with two floor switches and a few armos. Deal with the one that comes to life first. Your next goal is to get two more onto the switches at the same time. You can either place two tables on the switches, drop the two remaining non-echo armos on the tables, and then hold ZR to recall your echoes. That will make the armos fall at the same time.
You can also stand next to one of the switches, far summon an armos and then turn around immediately and summon another armos on the other switch. If you’re quick, they’ll hit the switches at the same time.
This opens a path to a waypoint and a pool of water that leads back outside. Take it.
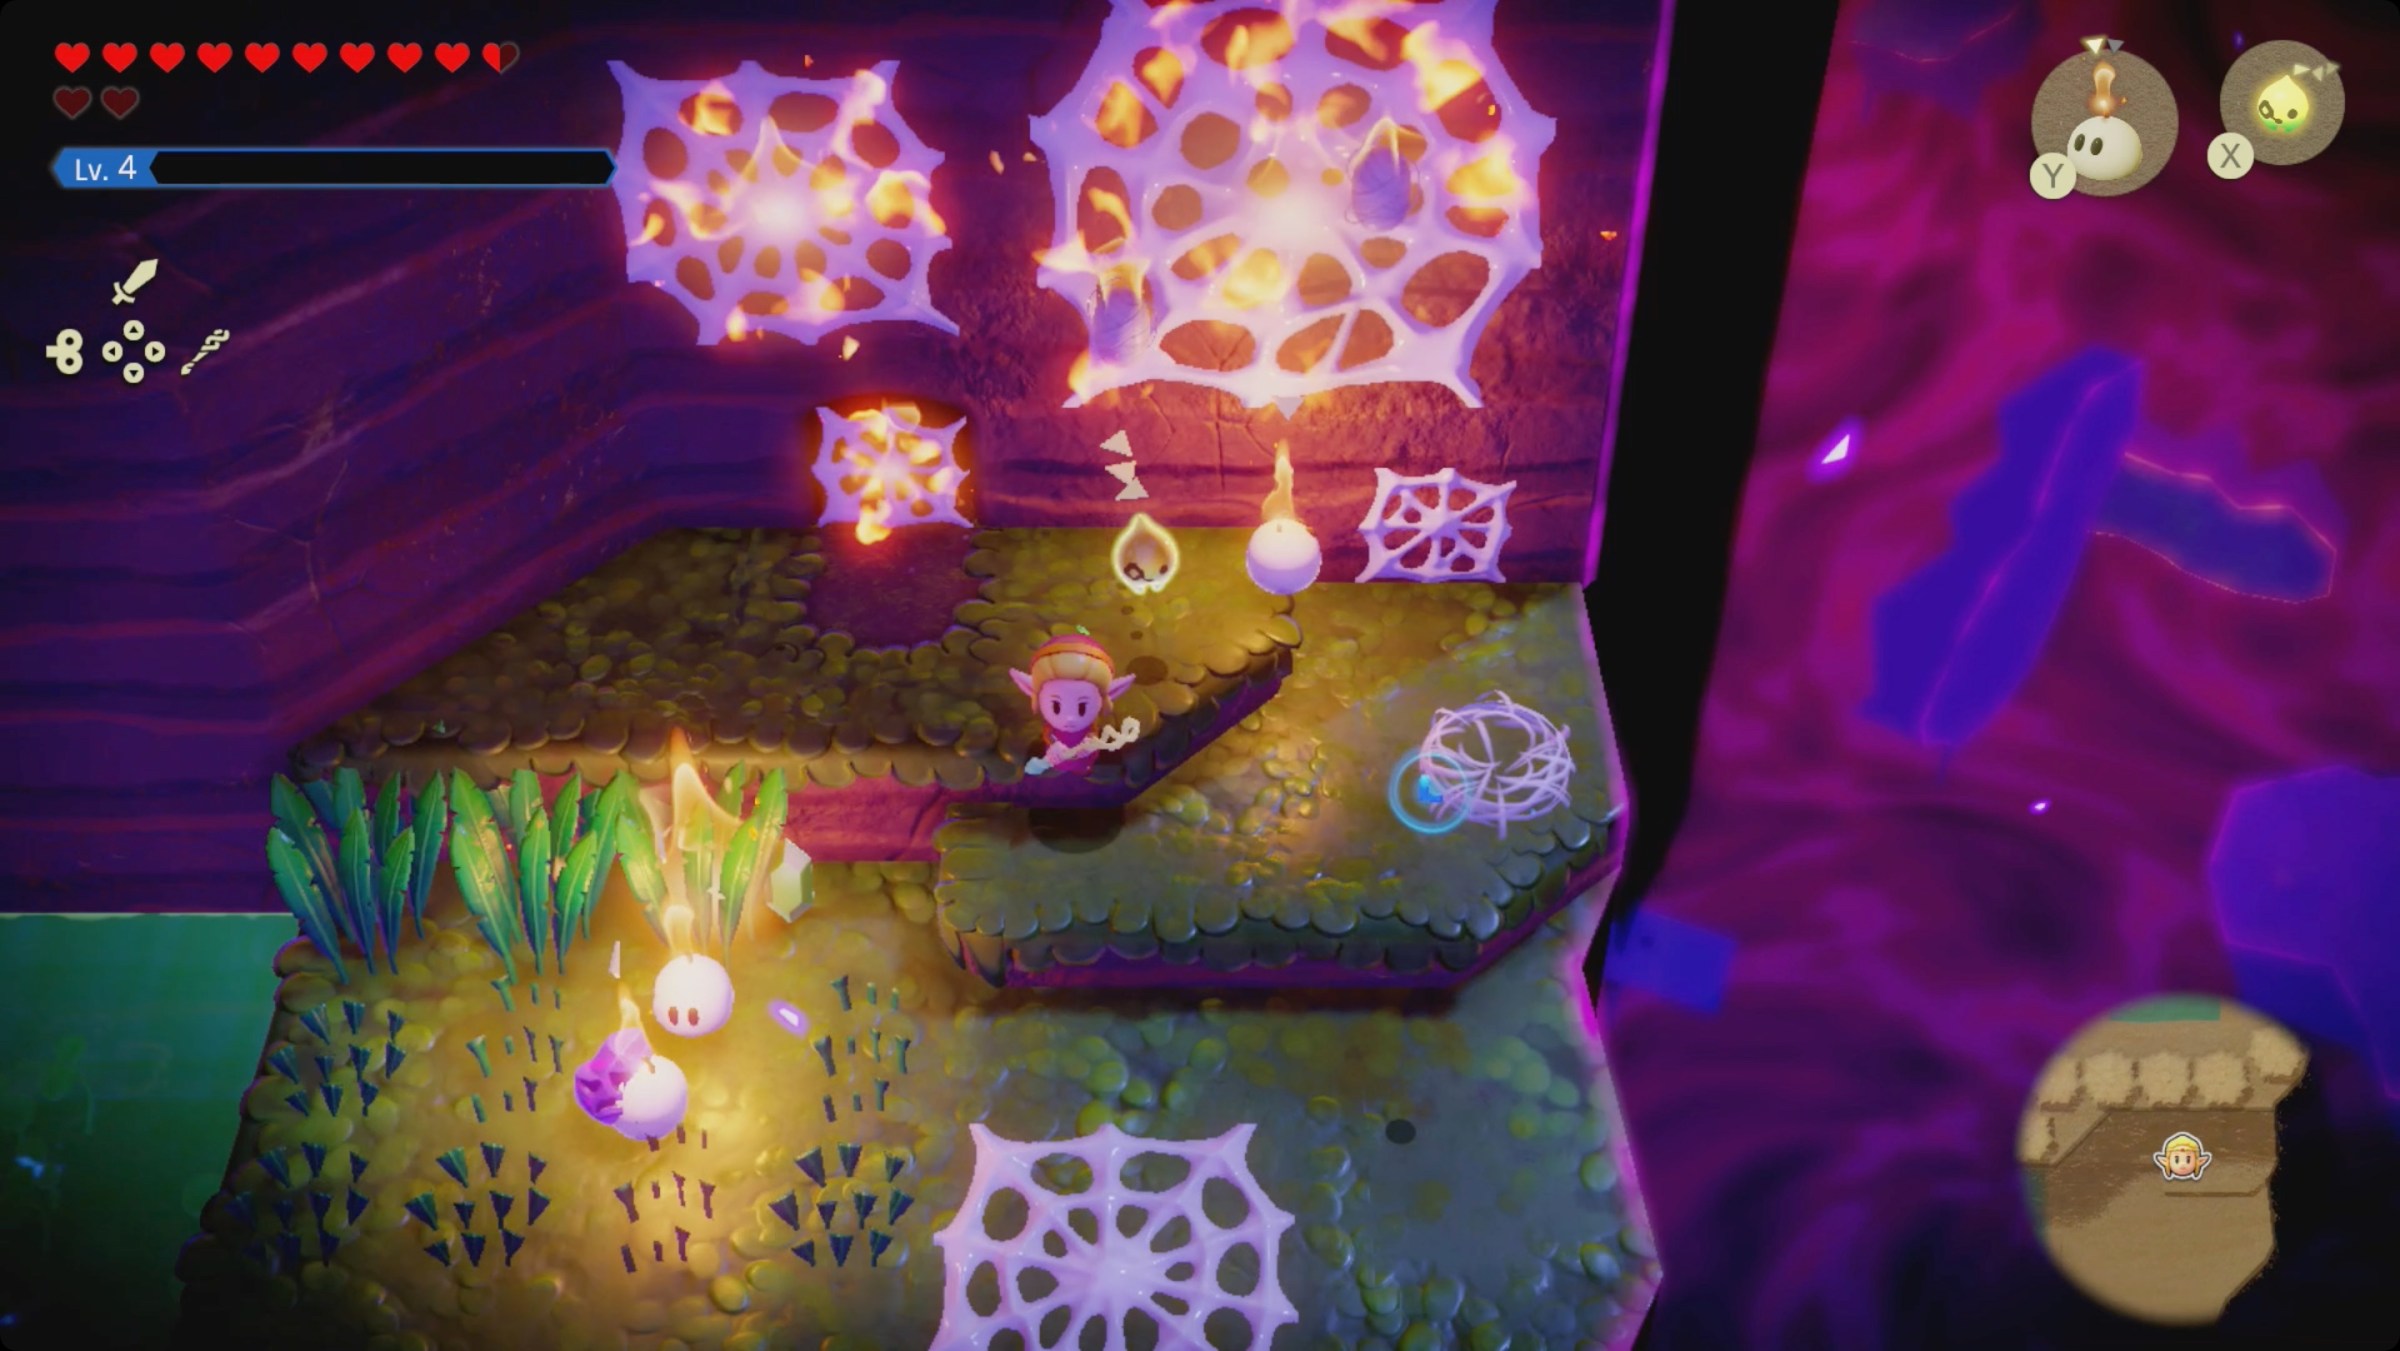
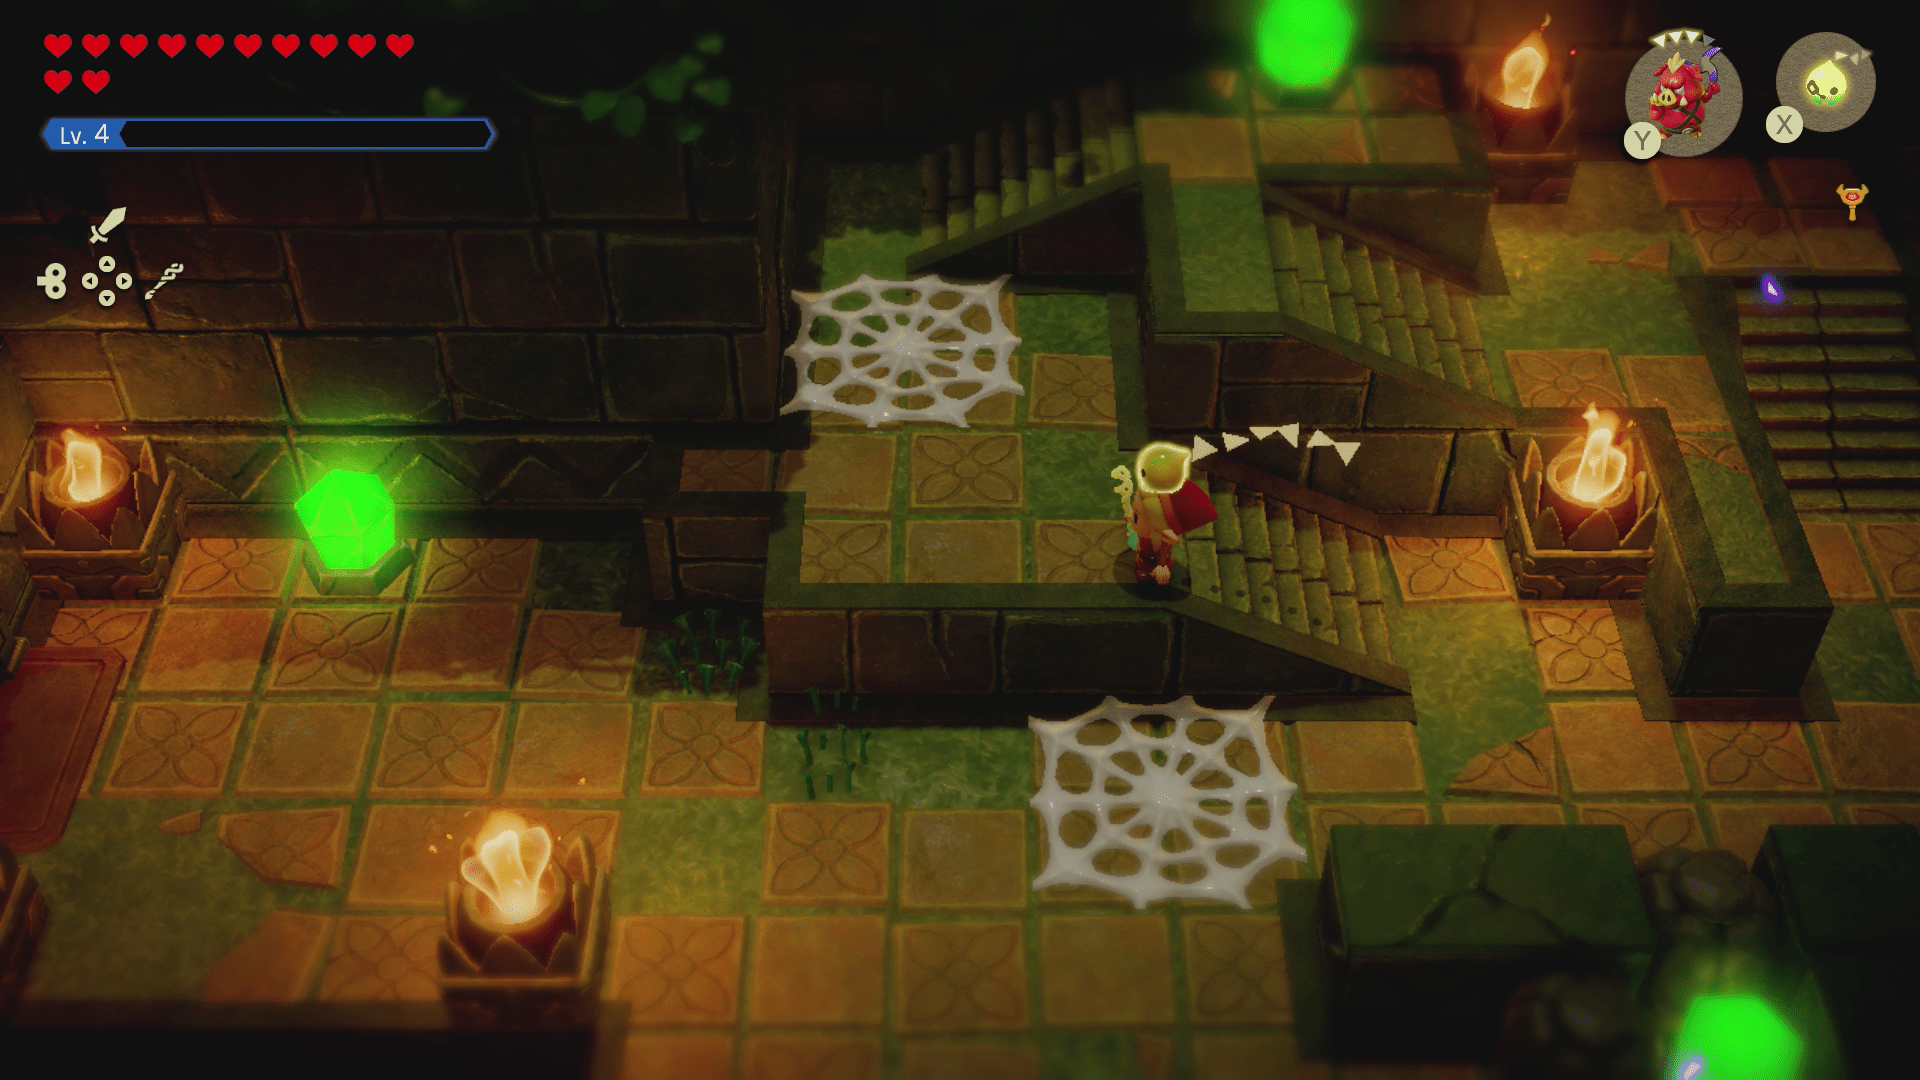
Outside, head to the right up the ledges. Drop some ignizols to deal with the ghomas and the spiderwebs (gohmawebs?). One of the spiderwebs will reveal a door back into the temple.
In the room you enter, you’ll have another armos(es) puzzle. Place a table on each switch, Bind to each of the non-echo armos and place them on top of the tables, and then hold ZR to recall your echoes.
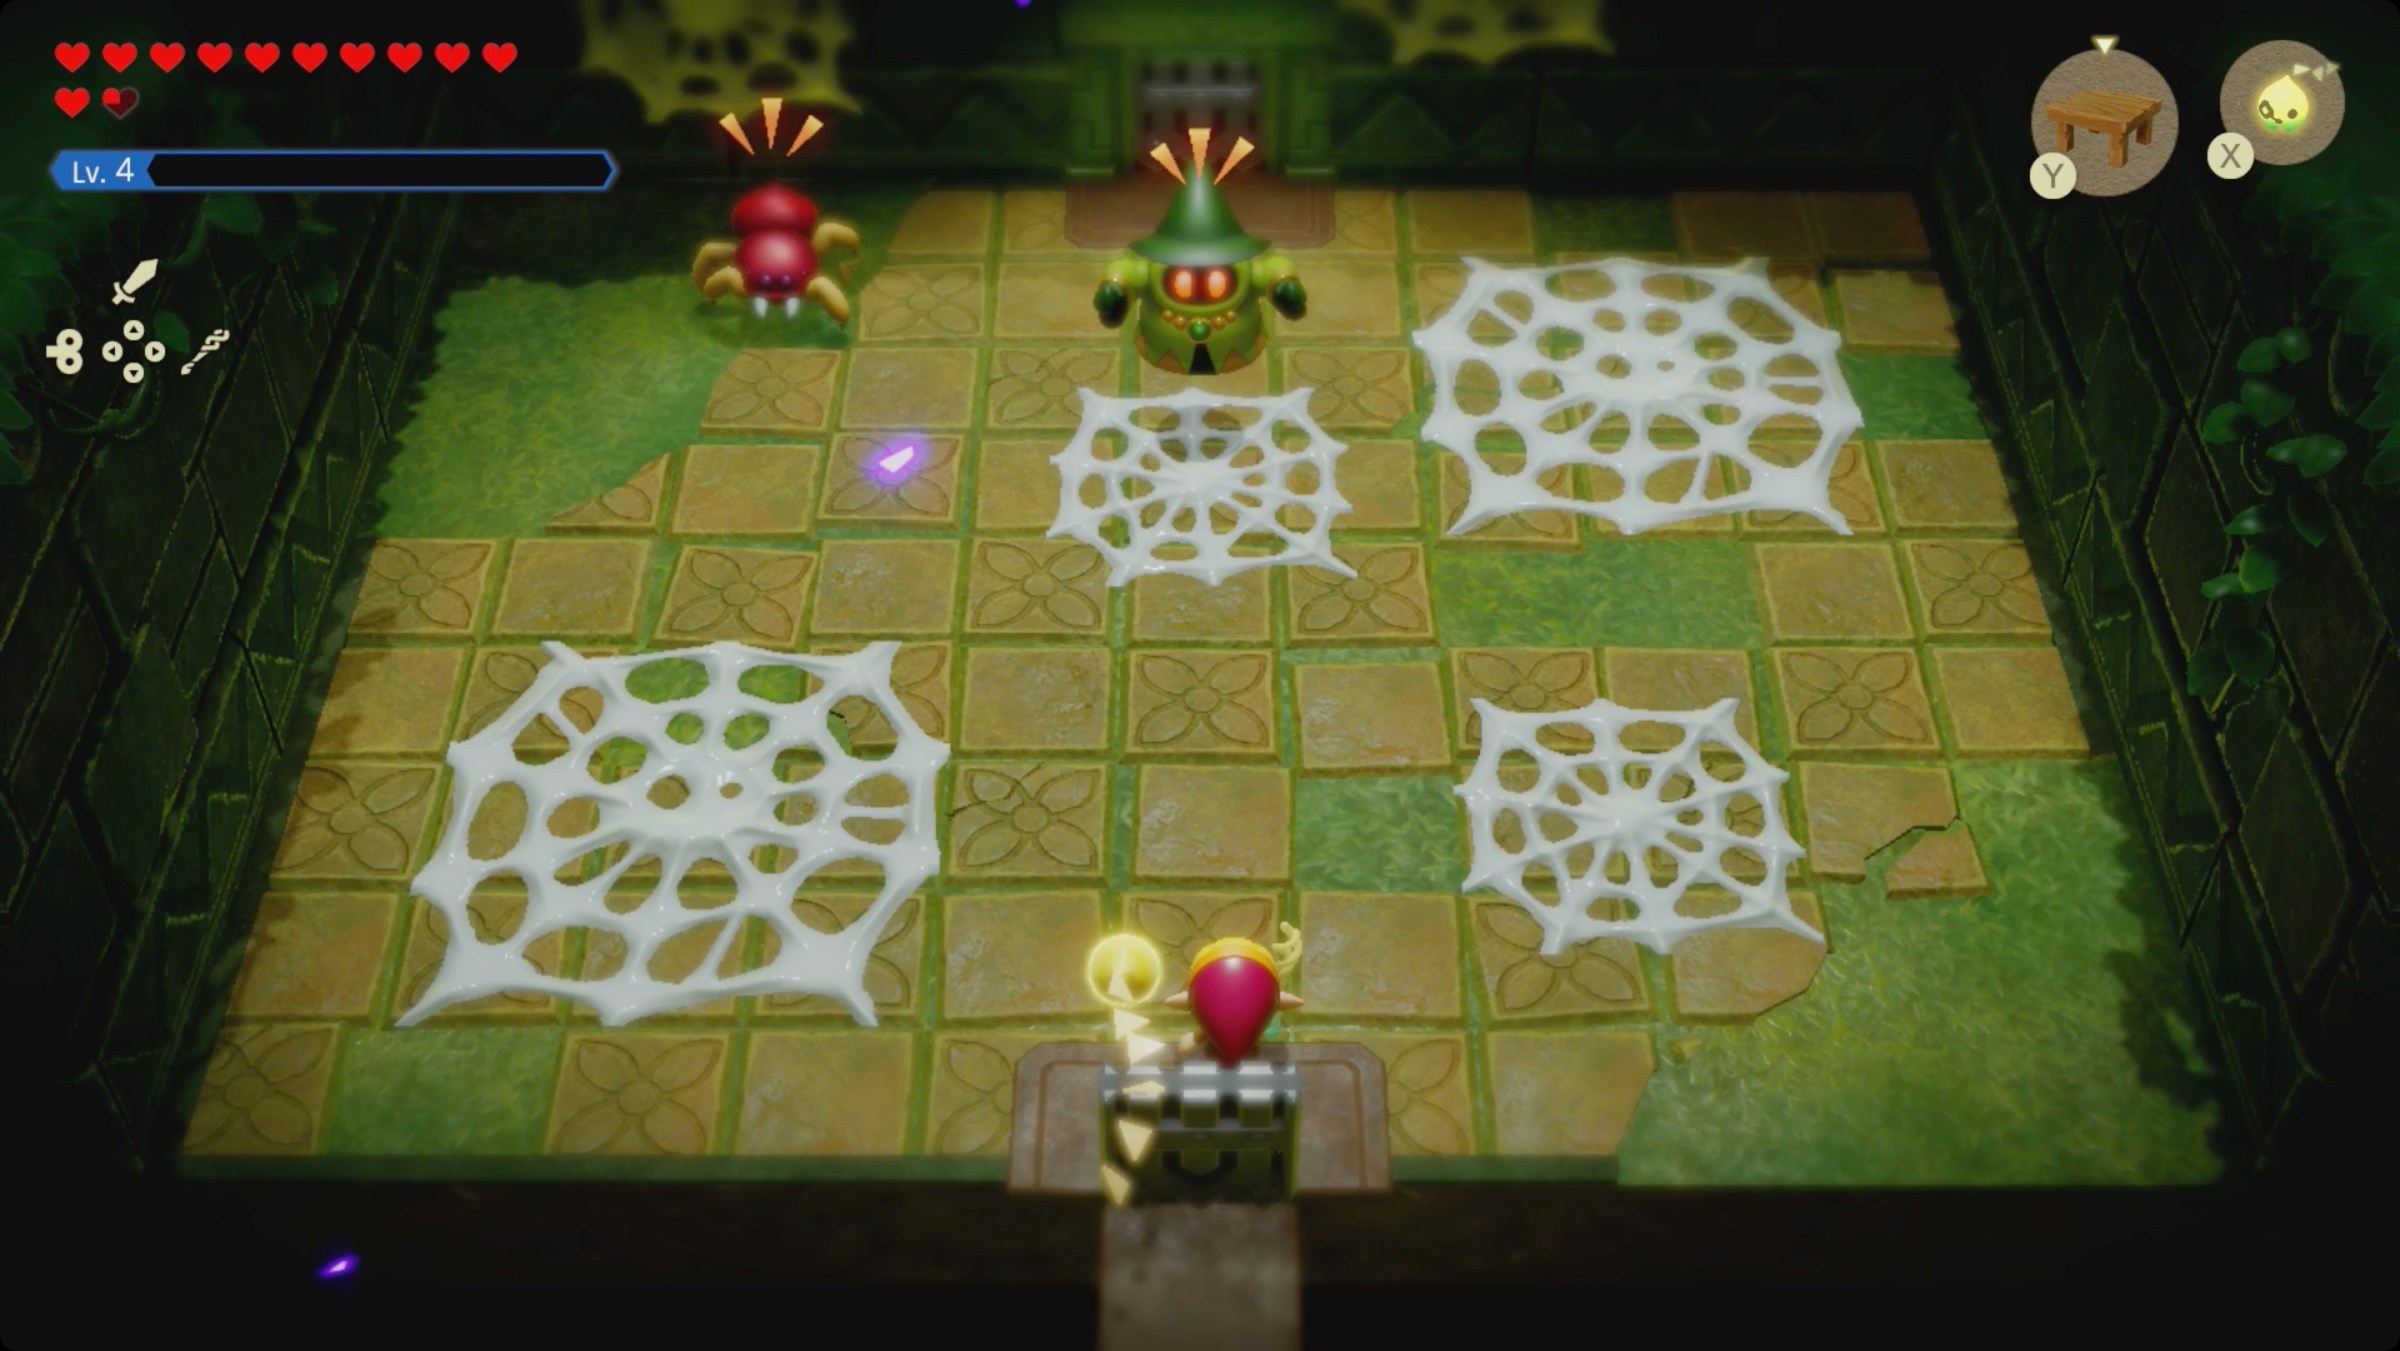
The next room to the north has an electric wizzrobe and a baby gohma along with a bunch of spiderwebs. Summoning a fire wizzrobe will make pretty short work of them. Continue to the north.
The next room will be dark, so use some Ignizol to light the eight braziers. When you’re ready, take the ladder in the lower left corner down.
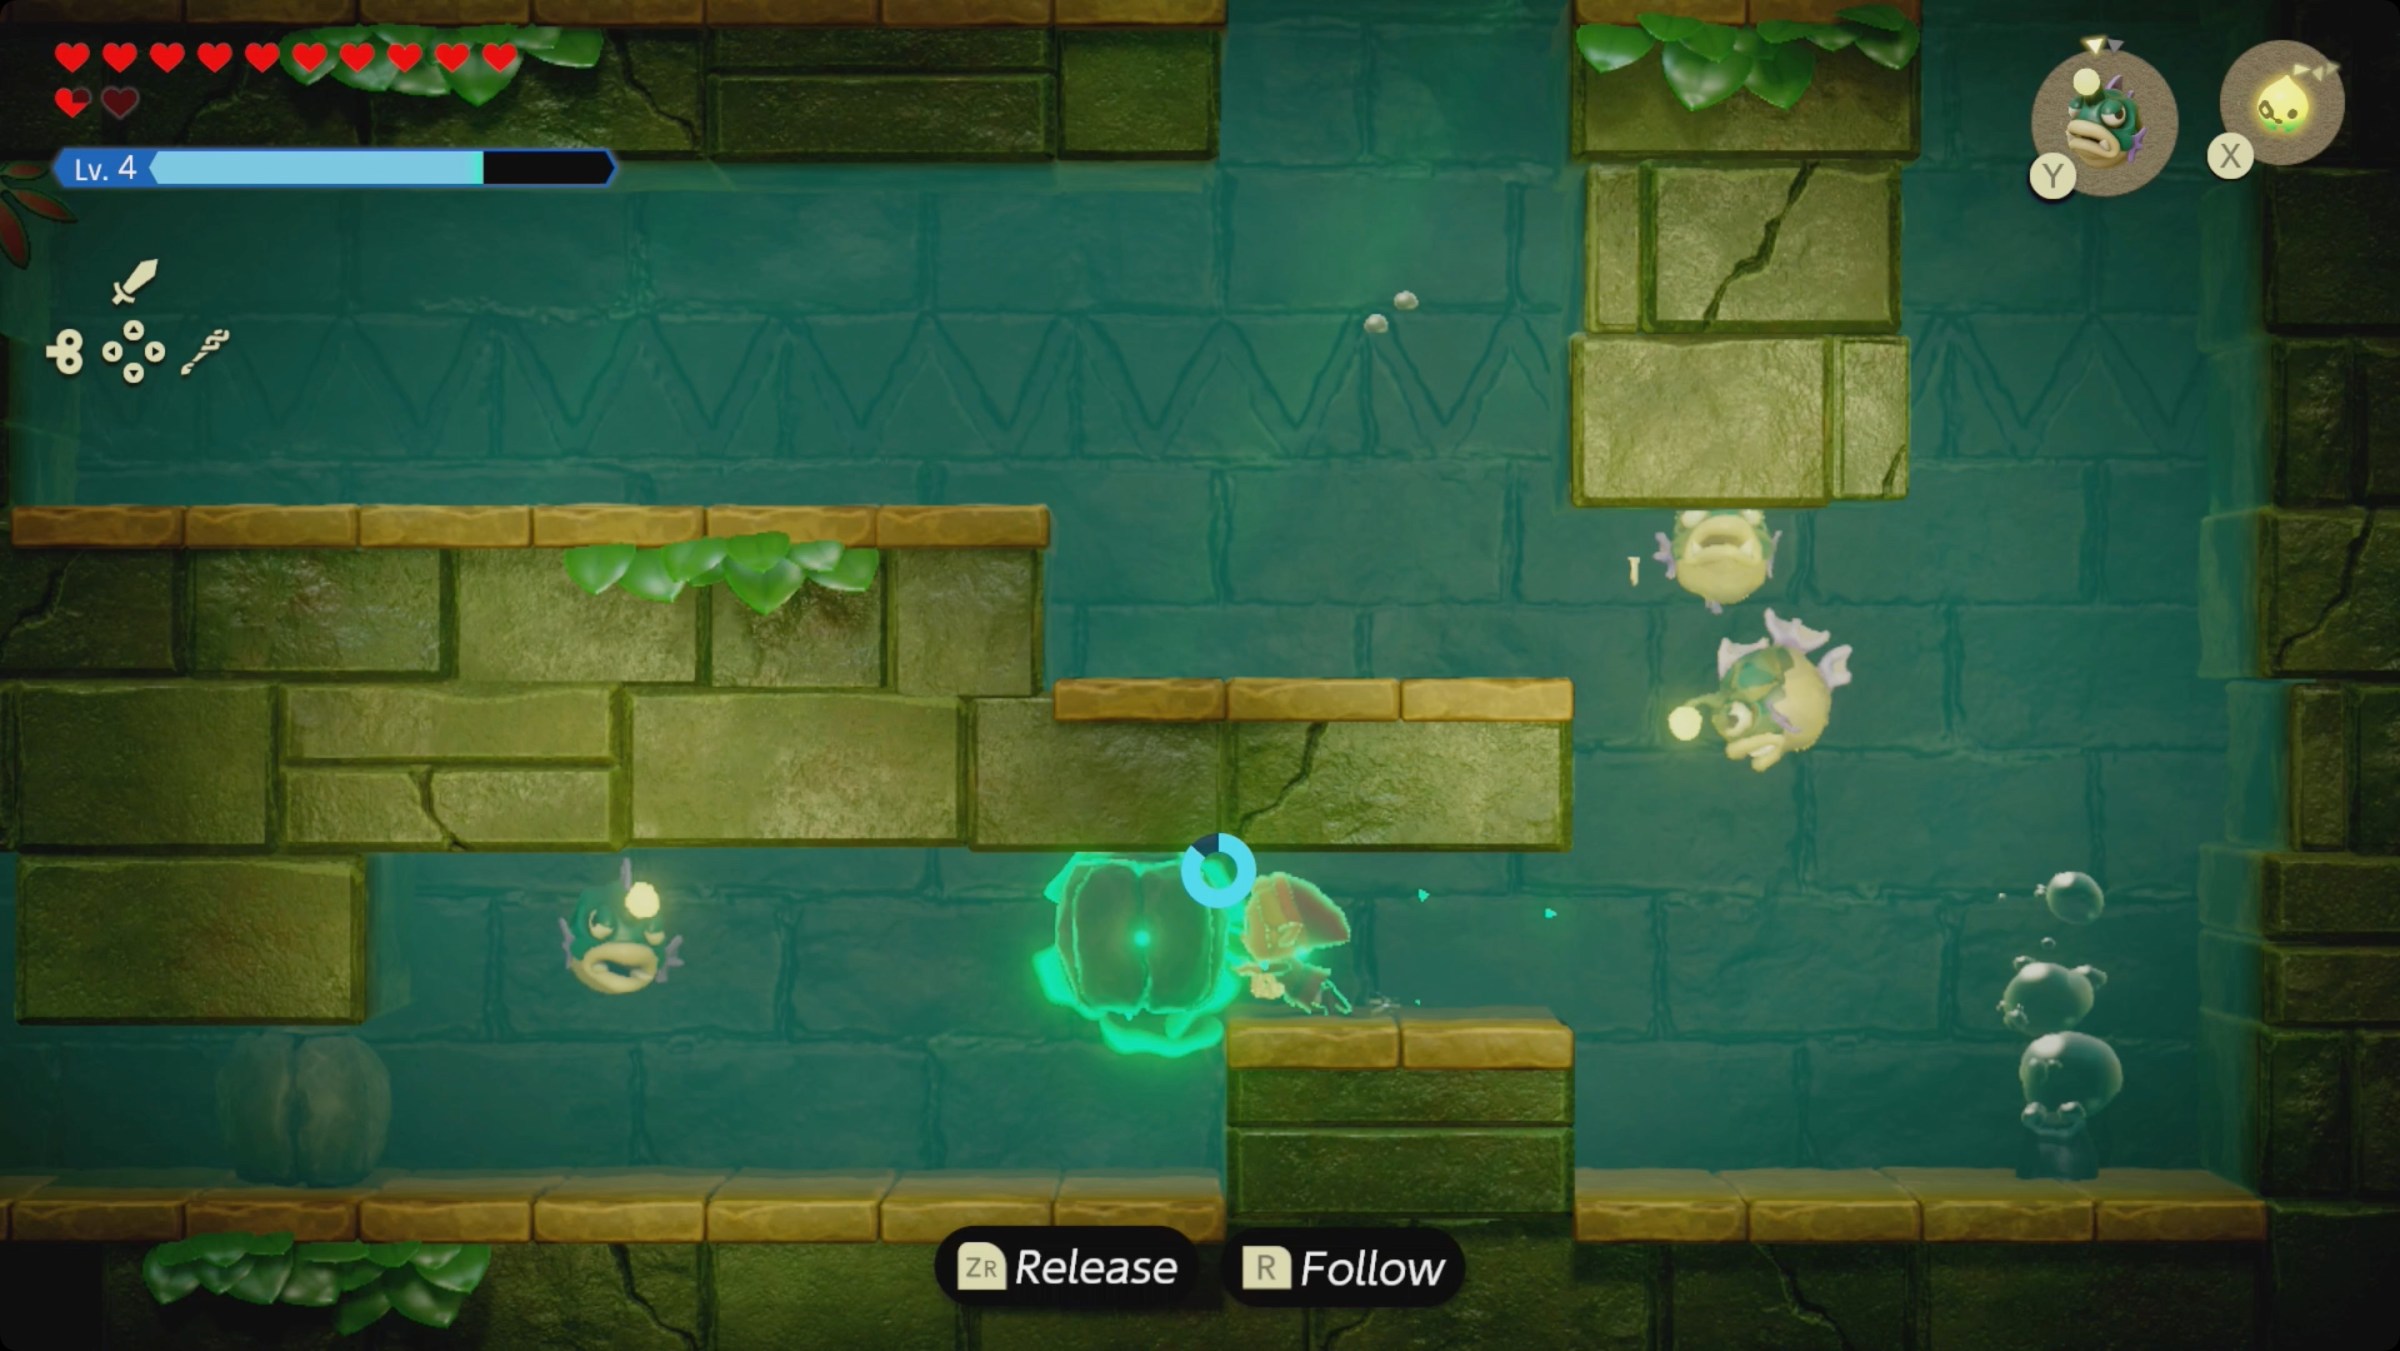
In the underwater 2D section, swim down along the right side and deal with the tanglers lv. 2. Use Bind to shove the boulders out of your way and keep working your way to the left.
Swim up against the leftmost wall, and you’ll find a treasure chest at the very top. On your way past, Bind the armos statue. Pull it back toward you and then lift it onto the lip — your goal here is to get it to block the current.
Swim down and around counterclockwise until you can swim up and past that armos you just moved. At the top, climb out of this room. You’ll end up in the room directly to the left of the previous 3D room, but we got a treasure chest from our diversion.
The next room also has eight braziers to light (with ignizols).
There are also three green crystals to activate. Drop a few buzz blobs to get them turned on and open the door leading west.

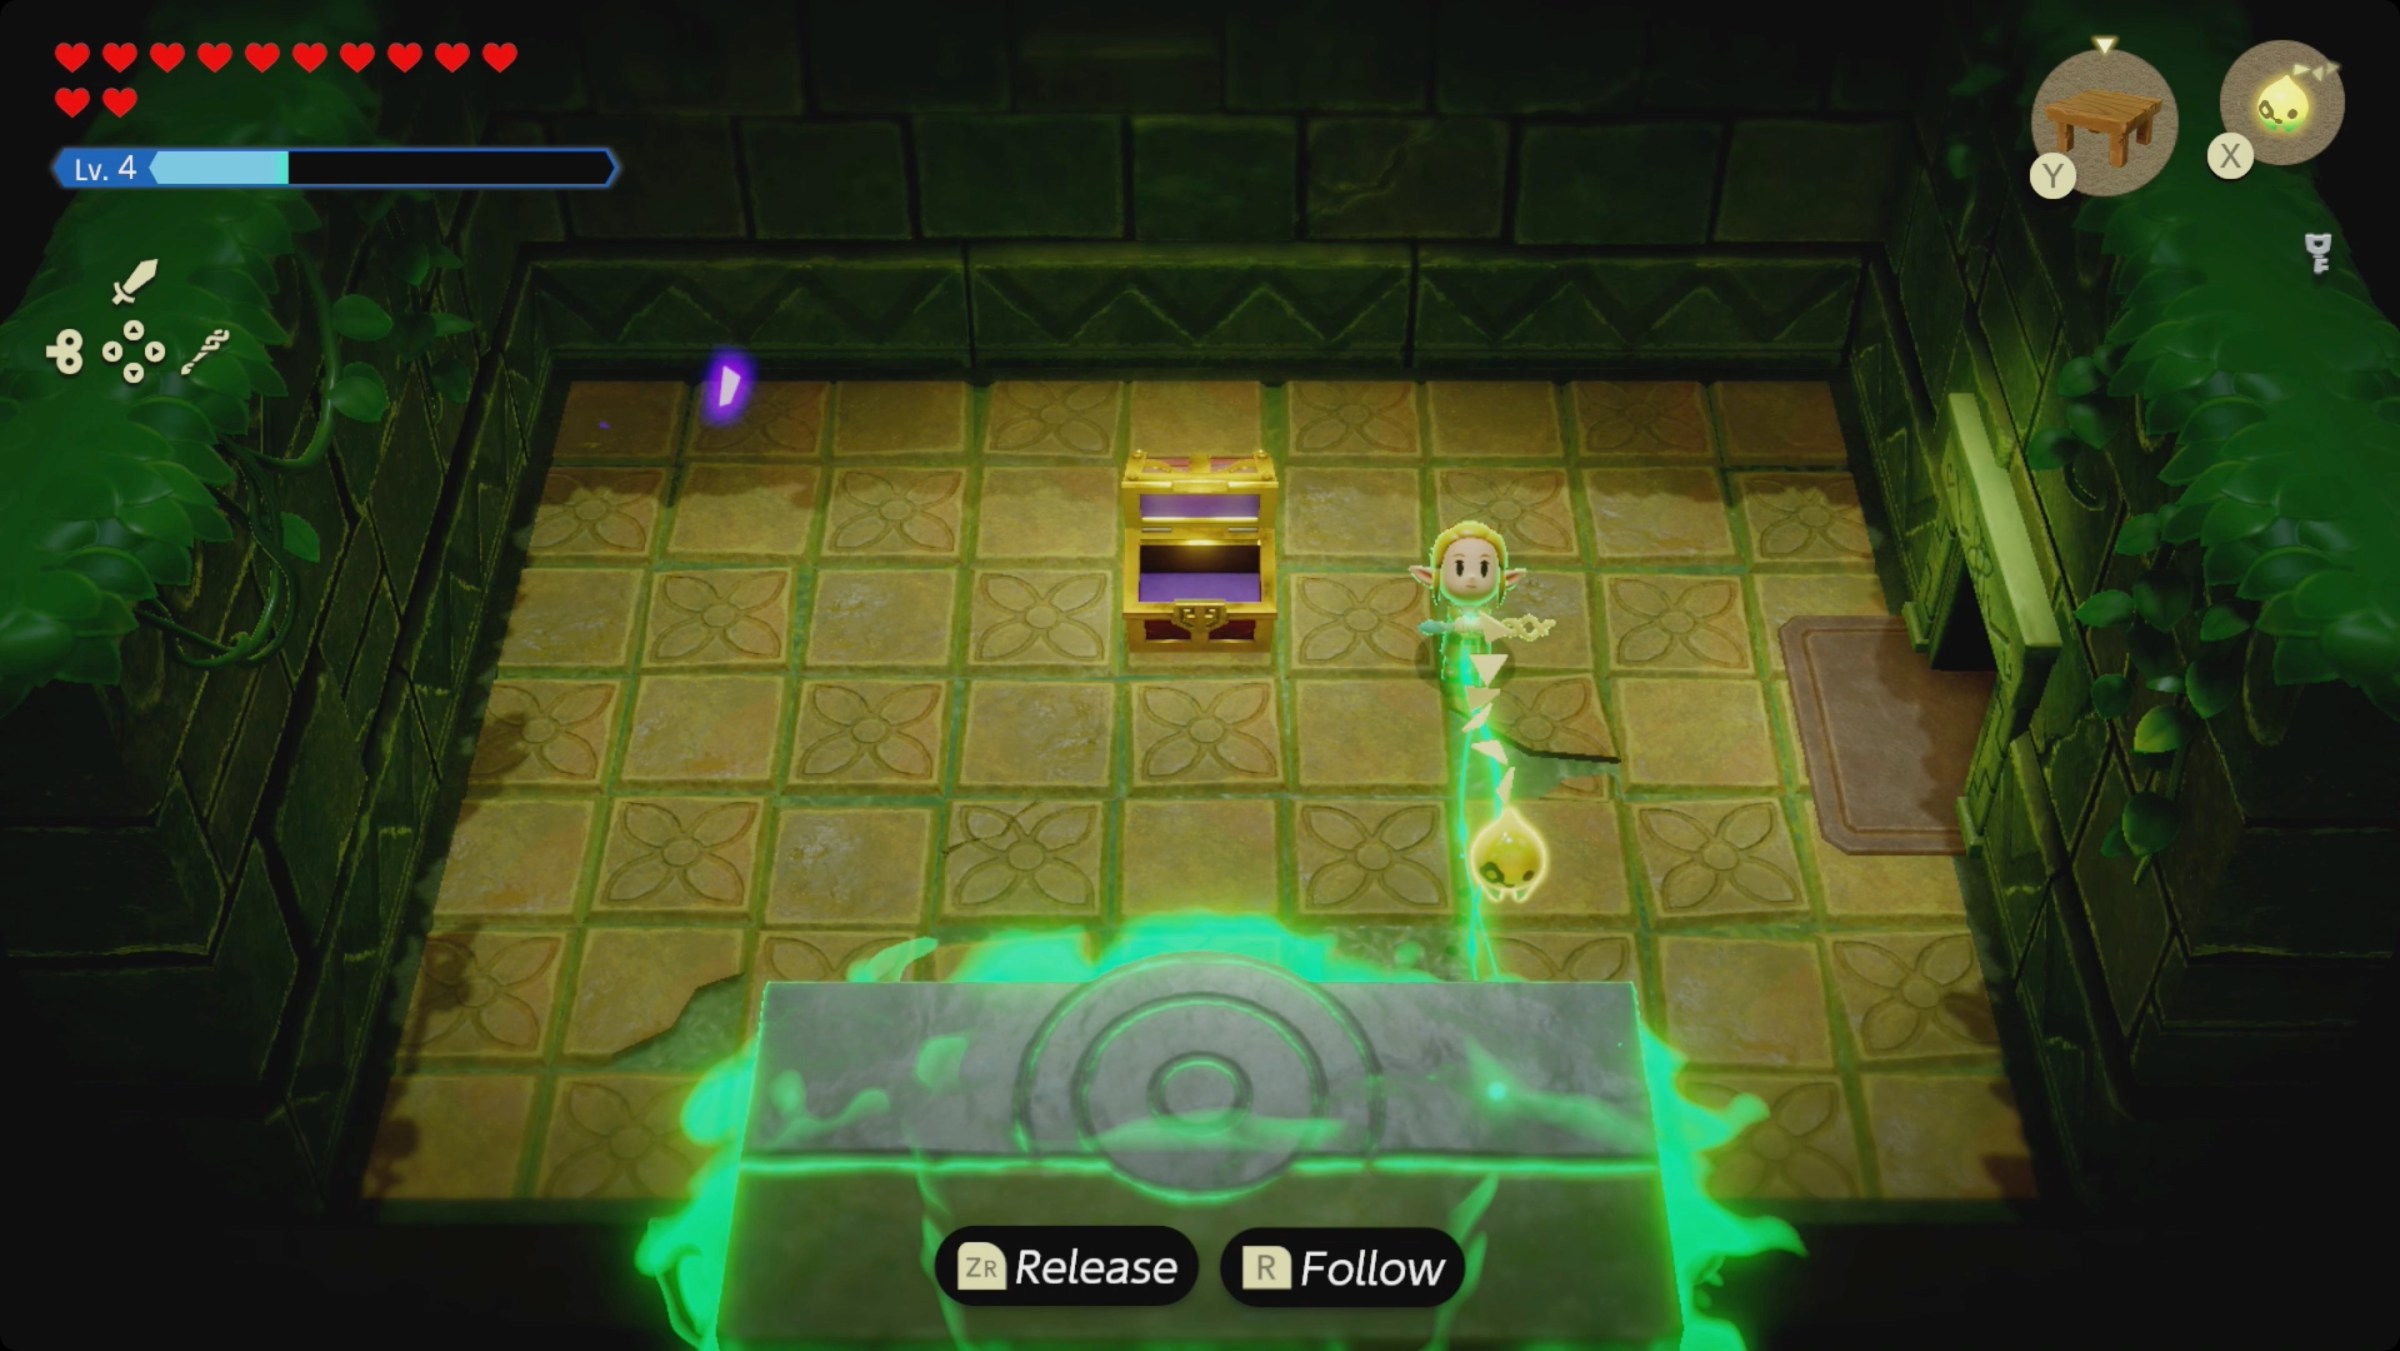
In that room to the west, carefully pull the stones off the scale-like platforms. Place a table on each switch, and then drop a non-echo stone on each table. Use ZR to dismiss the tables and activate the switches.
The room to the north that unlocks is where we’ll have the final boss fight. Head in there and activate the waypoint, and then return here. Exit to the west again.
In the next room, you’ll find a chest with another small key. Face south and use Bind on the secret wall exit to open a path back to the first oddly shaped room.
Instead of going into the larger hub room, start at the secret wall panel and backtrack four rooms to the right (east). This time, take the ladder on the north wall up.
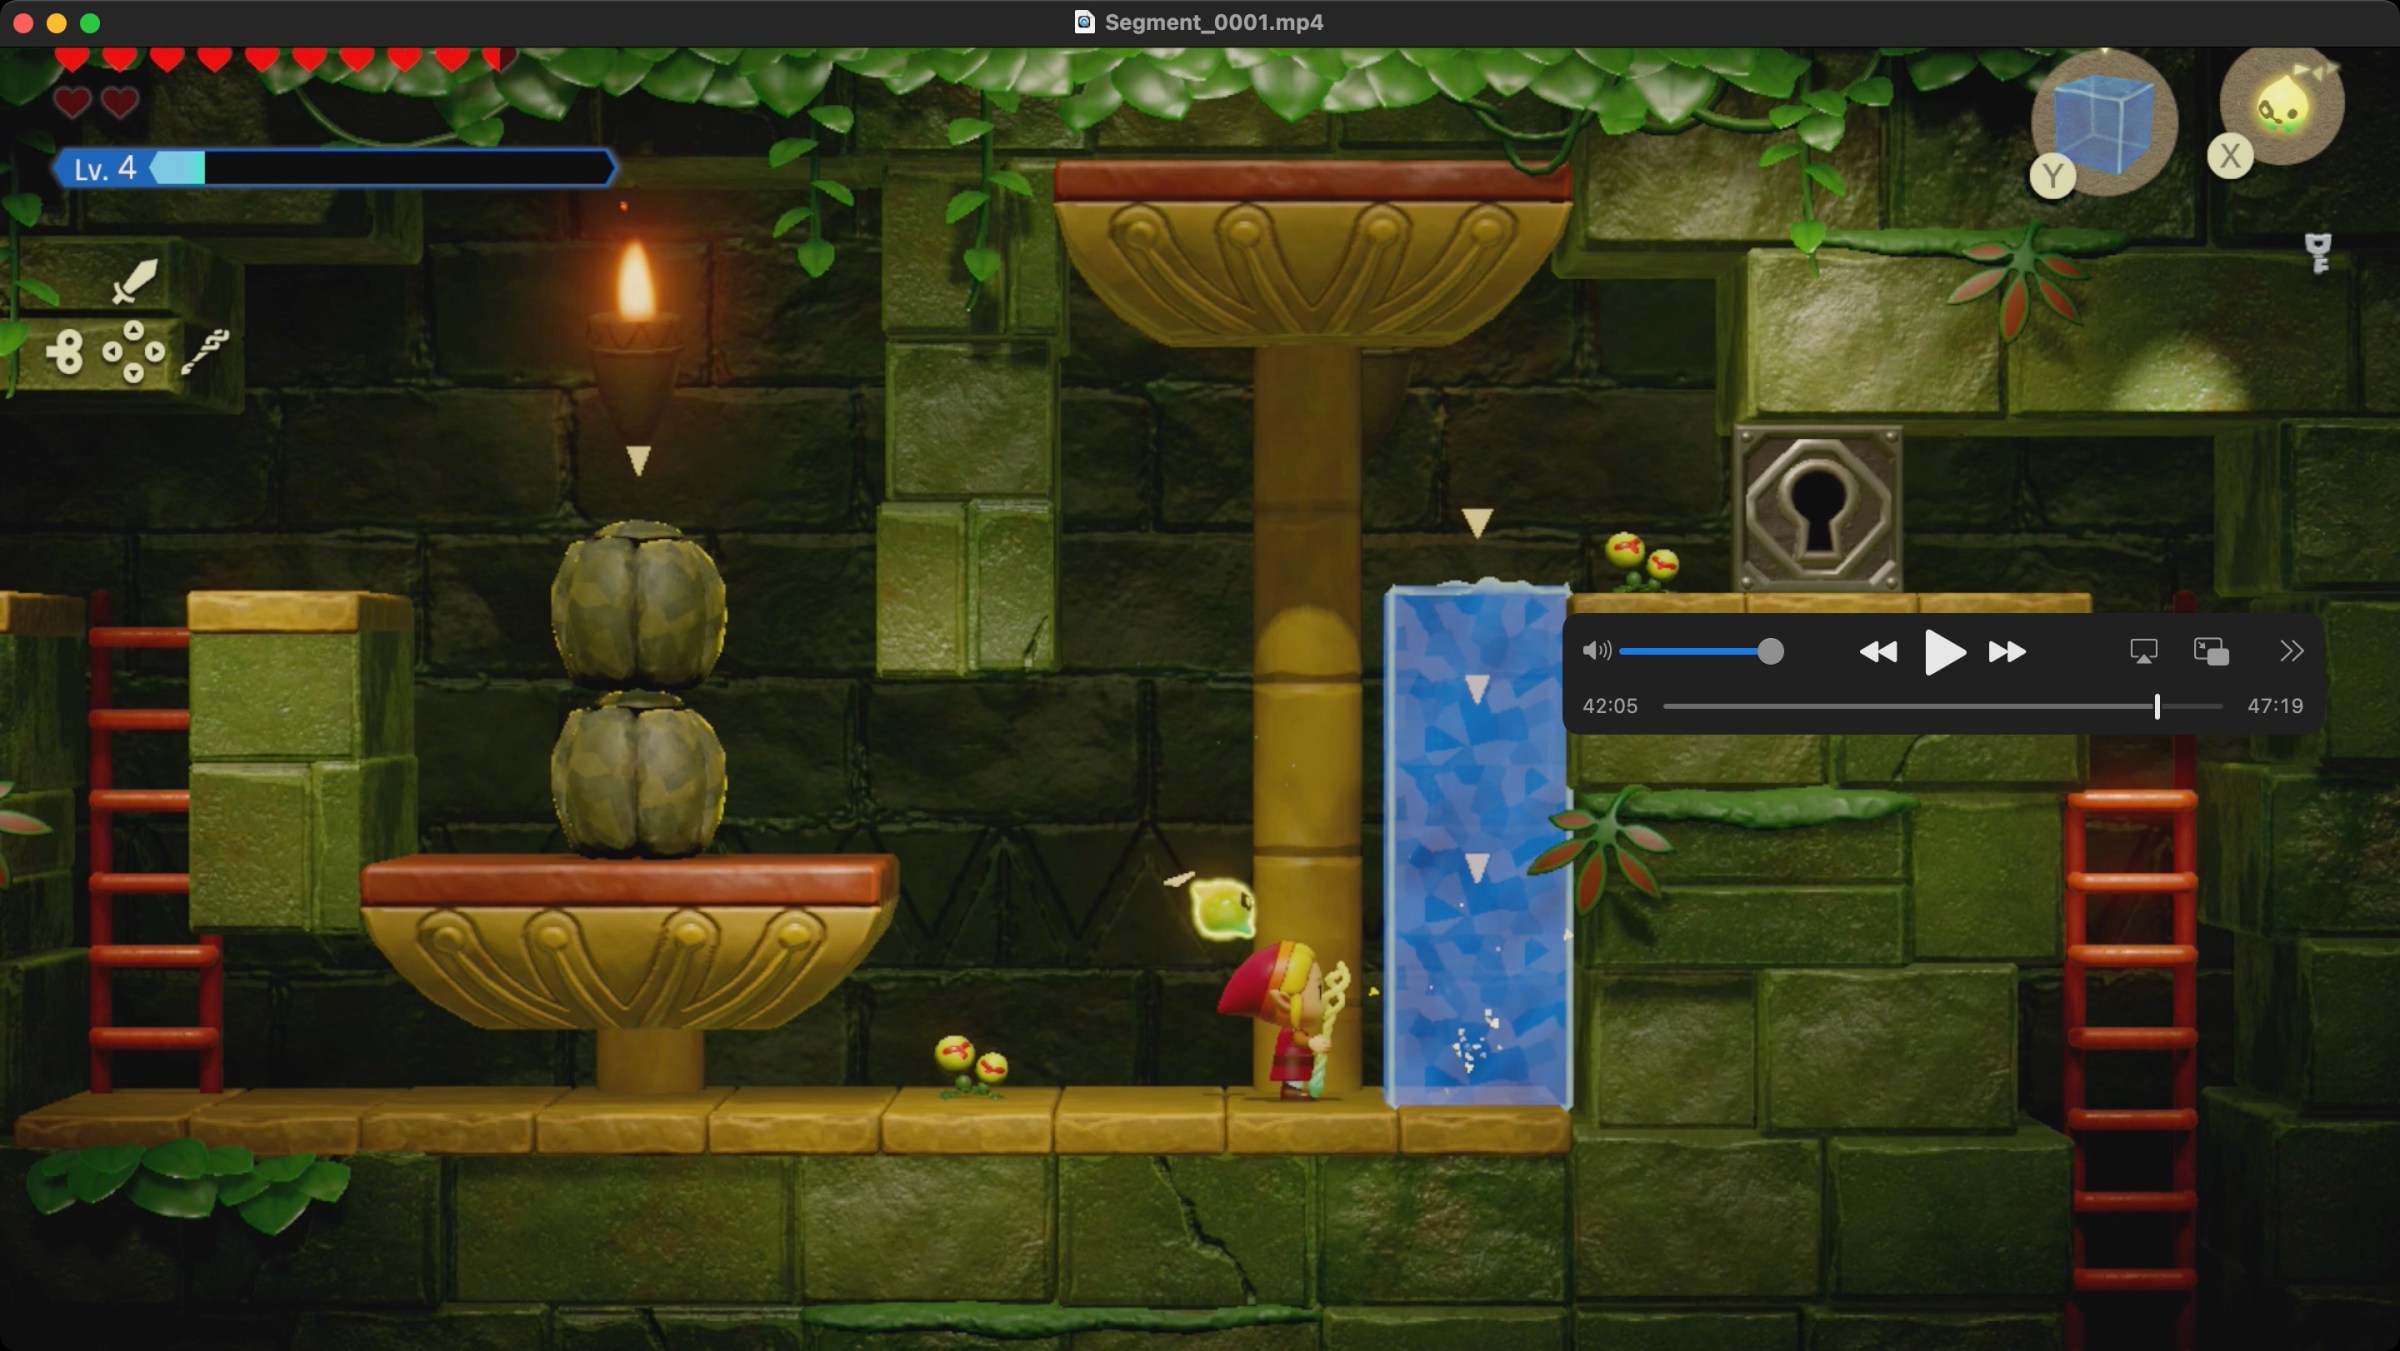
There’s a set of scale-like pistons you’ll have to get past in this 2D section. Drop two boulders on the first piston to raise the second. Make yourself a staircase (or just a column of water) to climb up to the lock and use that third small key to get past.
In the next room, loop around and hit the waypoint, and then head through the door for another (mini)boss fight.
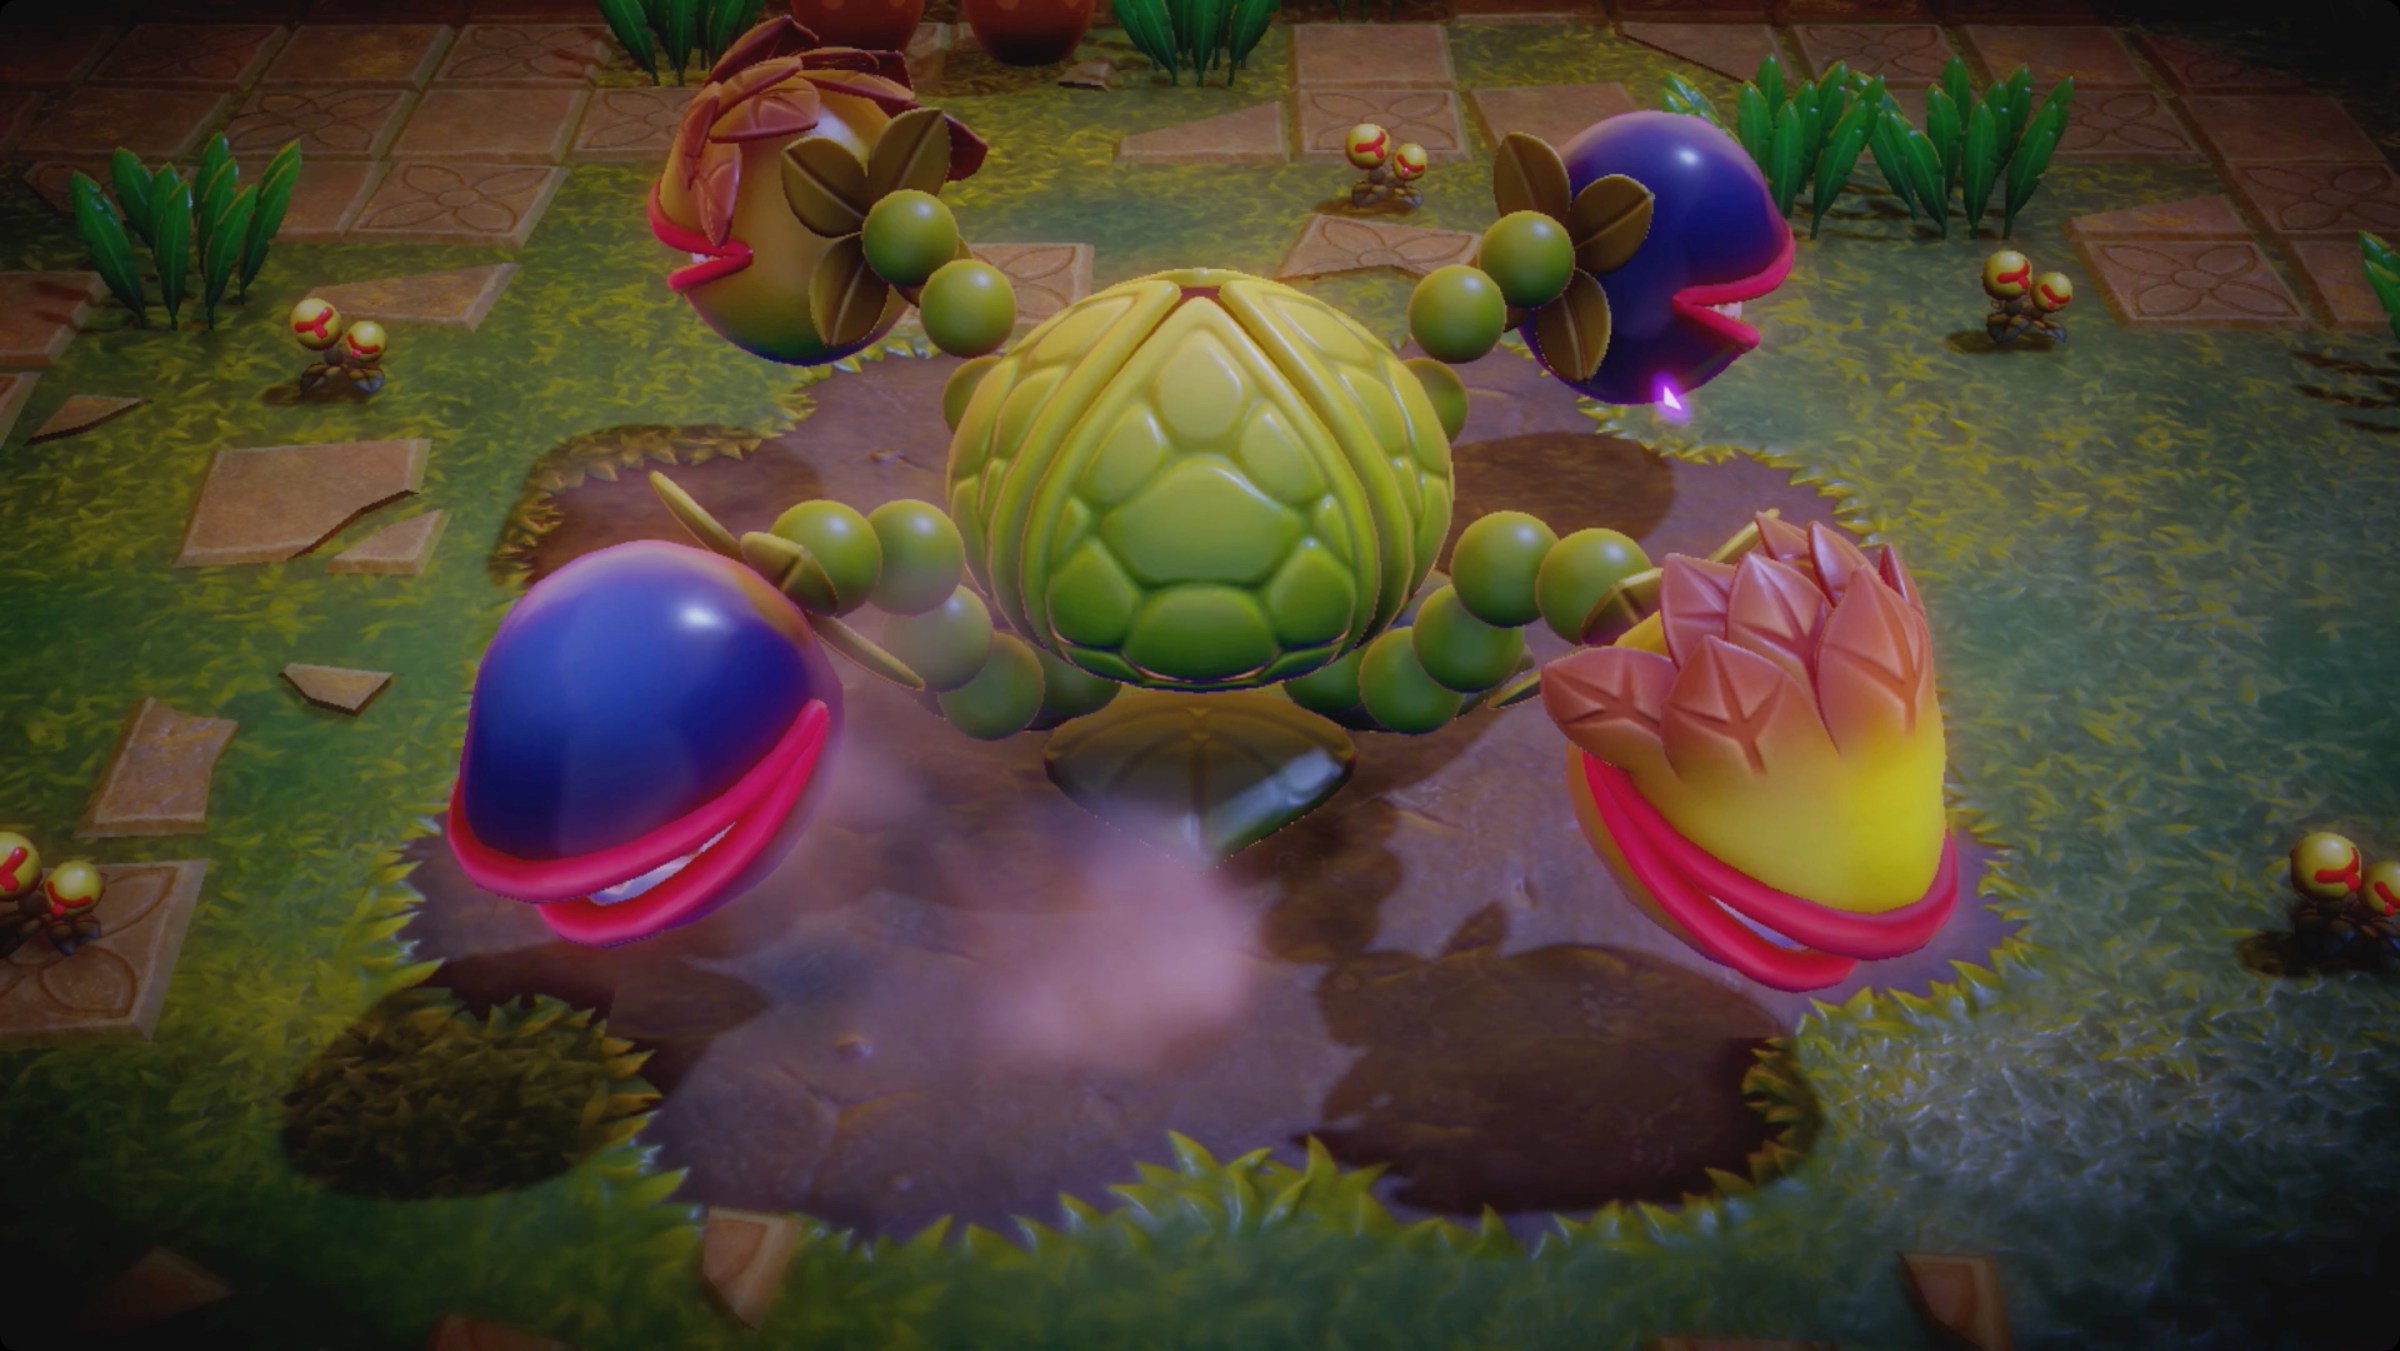
This is the same chest-stealing plant monster you fought before, but it’s got four heads this time — and two of them are much tougher. Ignizol won’t going to cut it this time. We recommend a fire wizzrobe. Just keep an eye on it and keep casting it whenever it gets got.
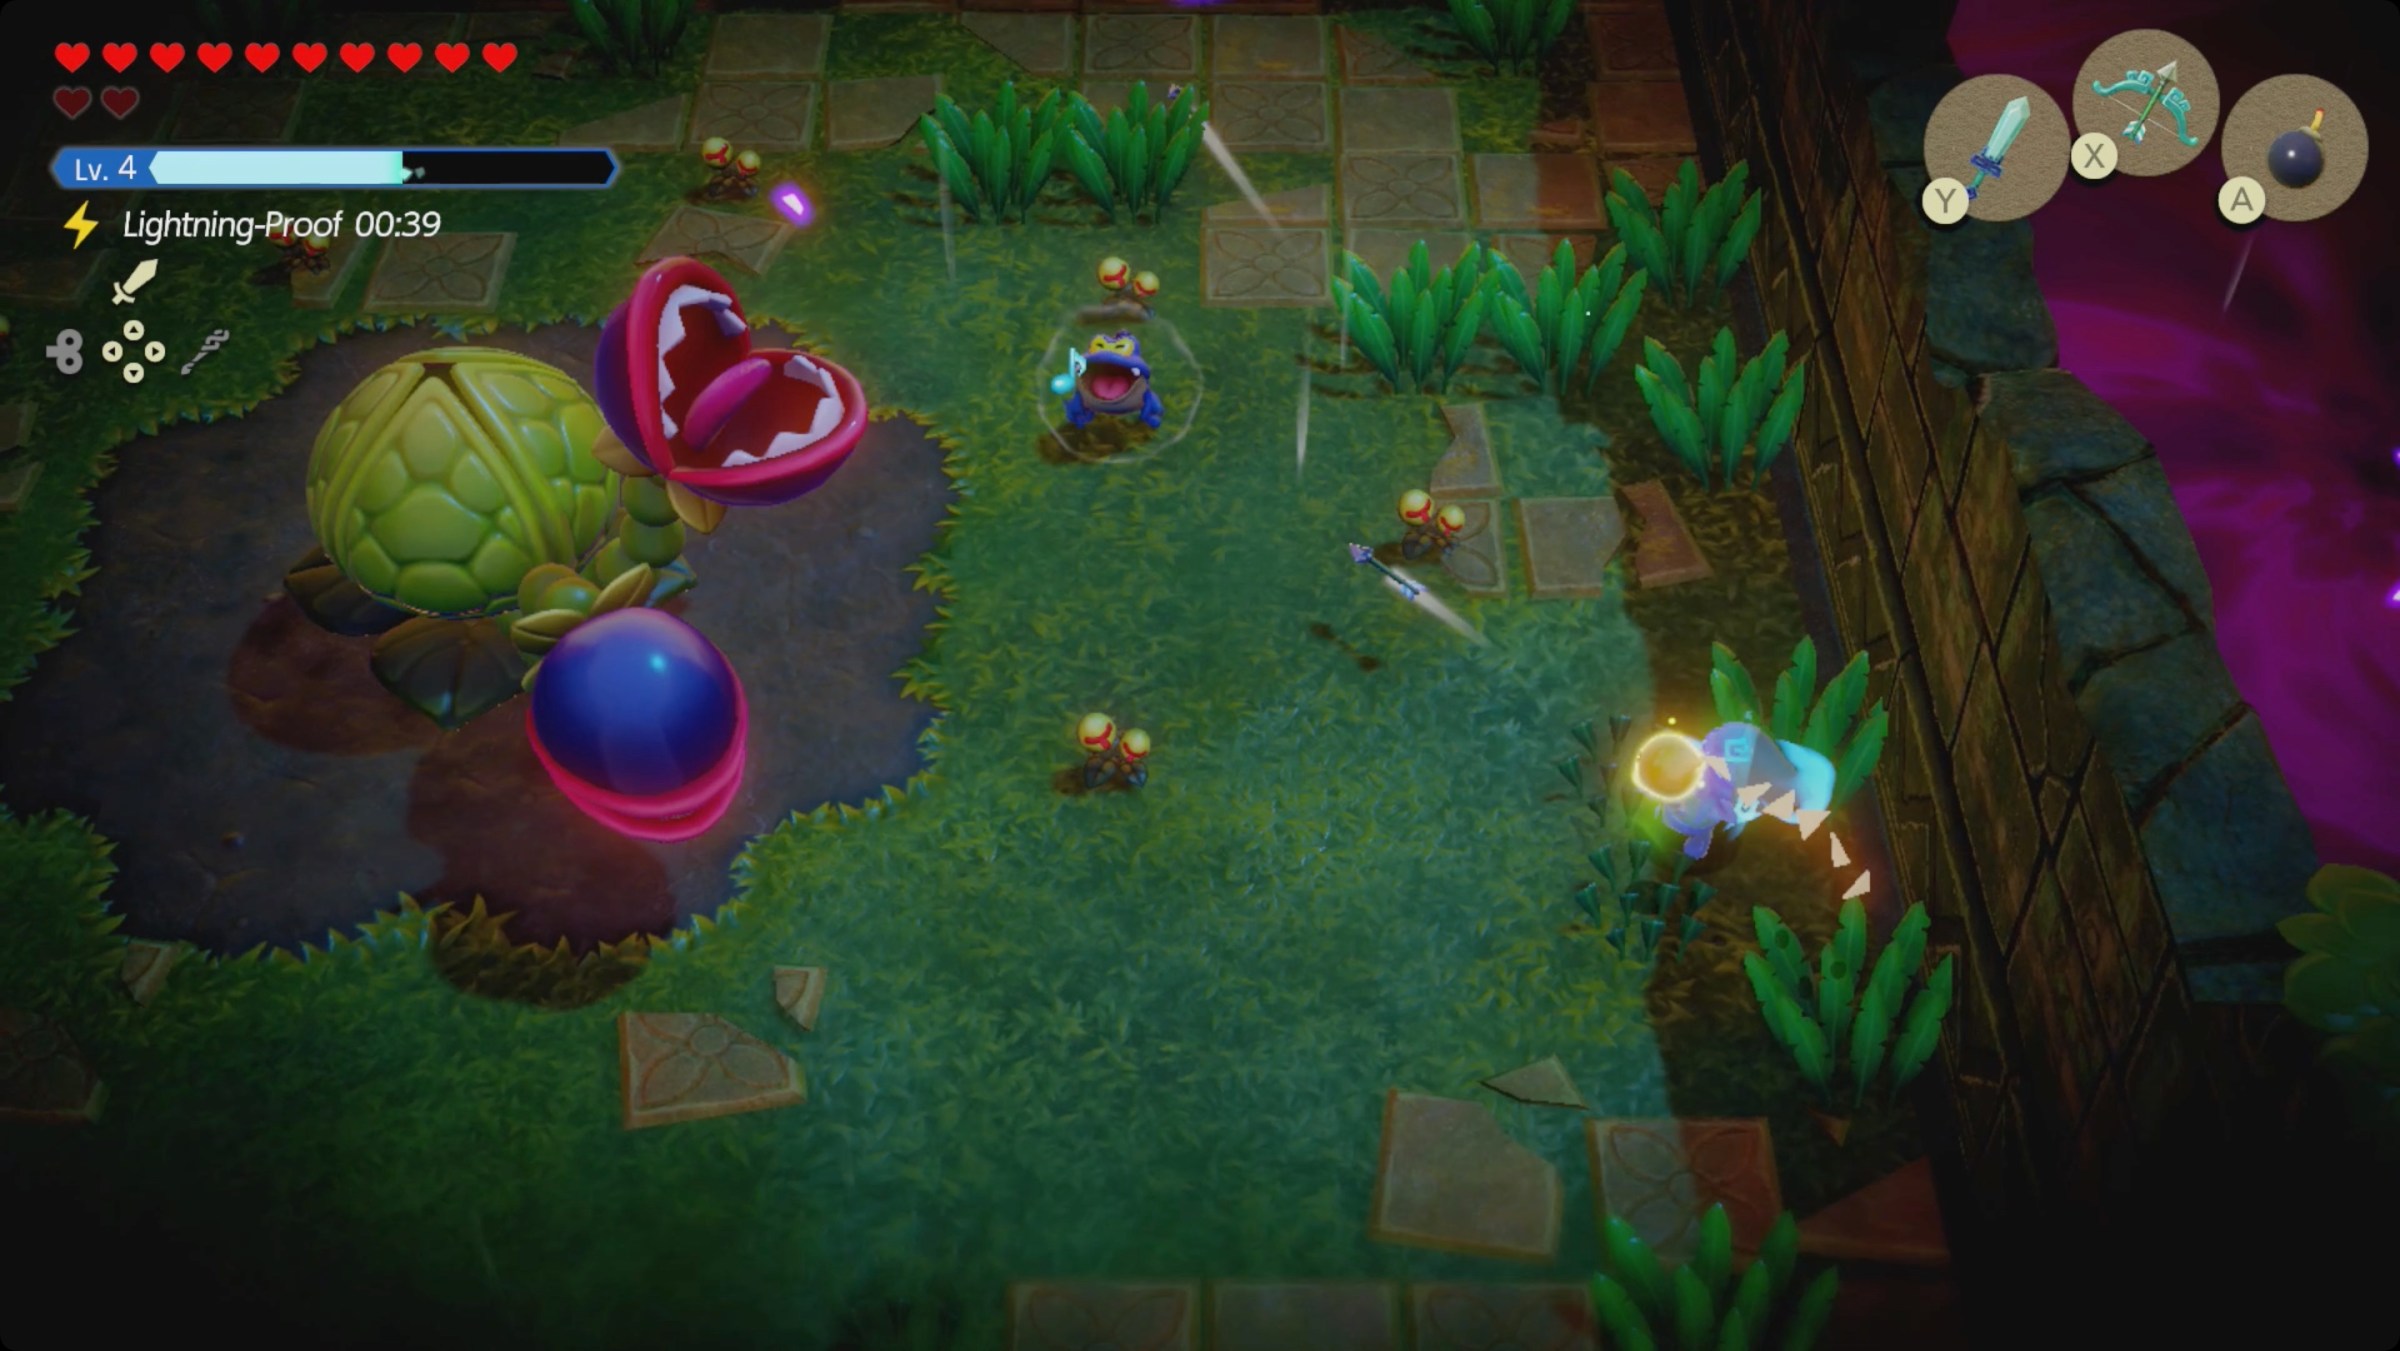
Again, your goal is to wait until a head gets knocked out, and then attack the glowing red ball on its neck. This time, though, the tougher heads will periodically spit out a drippitune that makes it rain and makes your wizzrobe useless. Take out the drippitune whenever you see (or hear) it, and keep summoning a fire wizzrobe.
When you’re down to just the two blue heads, it’s time to switch to bombs. You’ll still have to take out the Drippitunes (or the fuses will go out), though. You can use the Swordfighter Form’s Bombs, but a bomb-spitting zirro or six is a lot more cost-effective. The tough heads will (eventually) eat the bombs and knock themselves out.
When it’s defeated this time, it will reveal the large treasure chest we’ve been chasing all along and you can pick up the big key. Head back to the boss fight door and head inside.
How to beat Gohma, Faron Temple boss fight
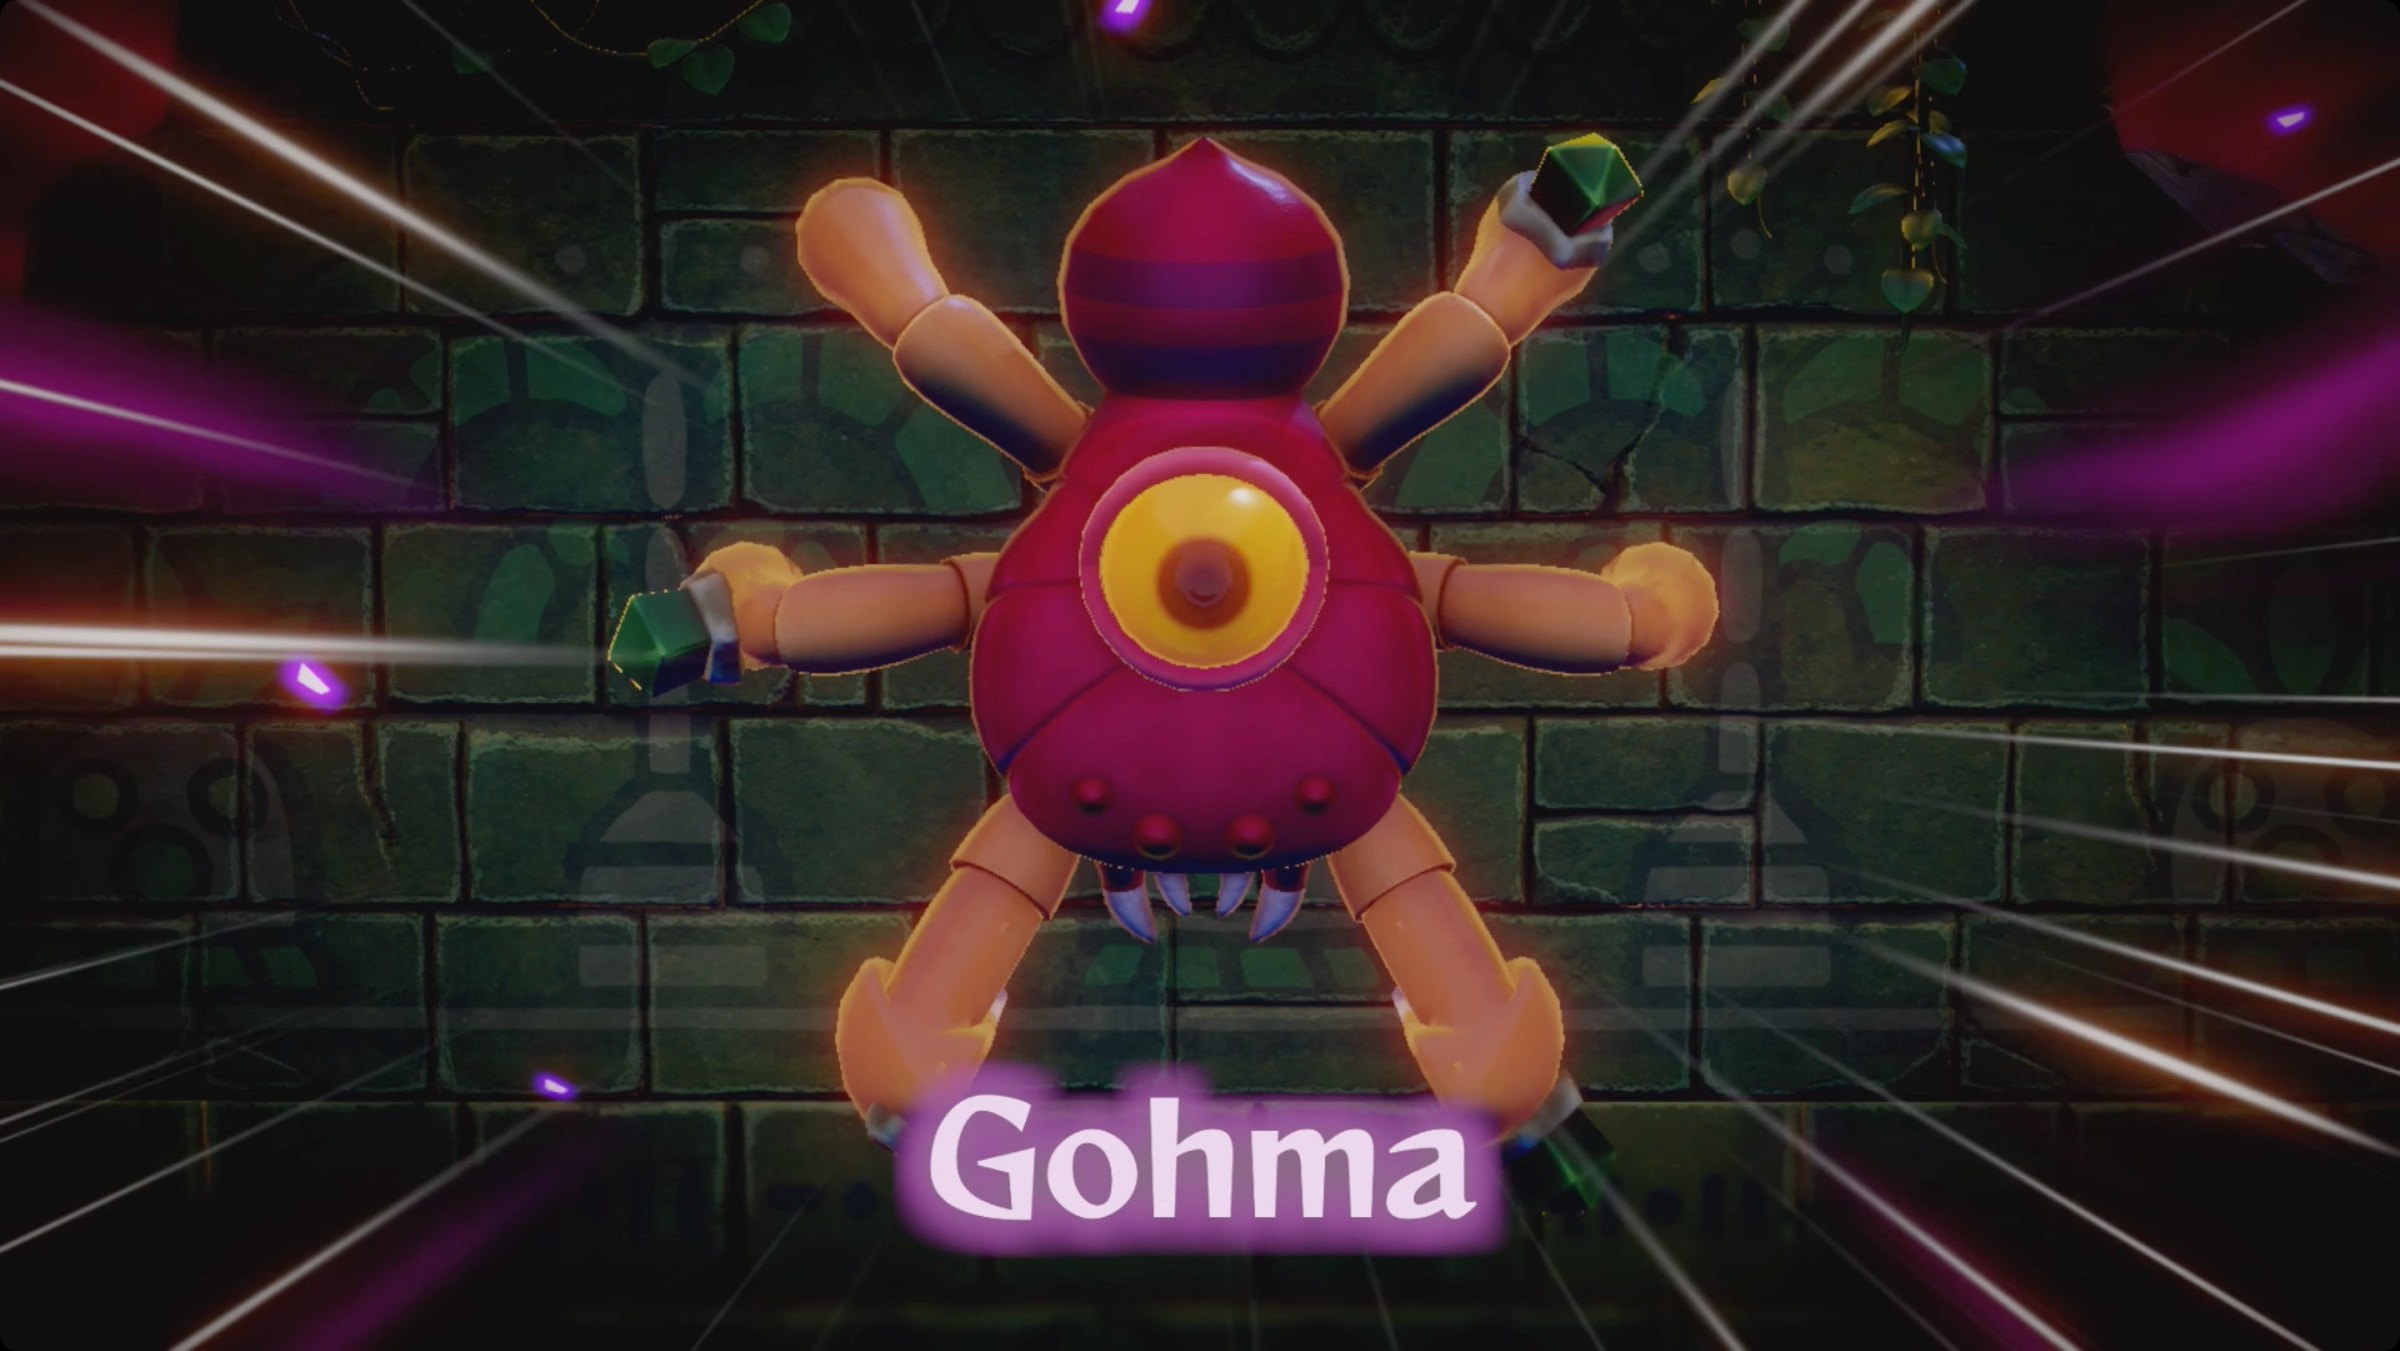
In case the spiderwebs (gohmawebs) didn’t give it away, the boss fight in the Faron Temple is against a full-grown Gohma.
There are two different parts of this fight that the Gohma will vary between, and each requires a different strategy — and different echoes.
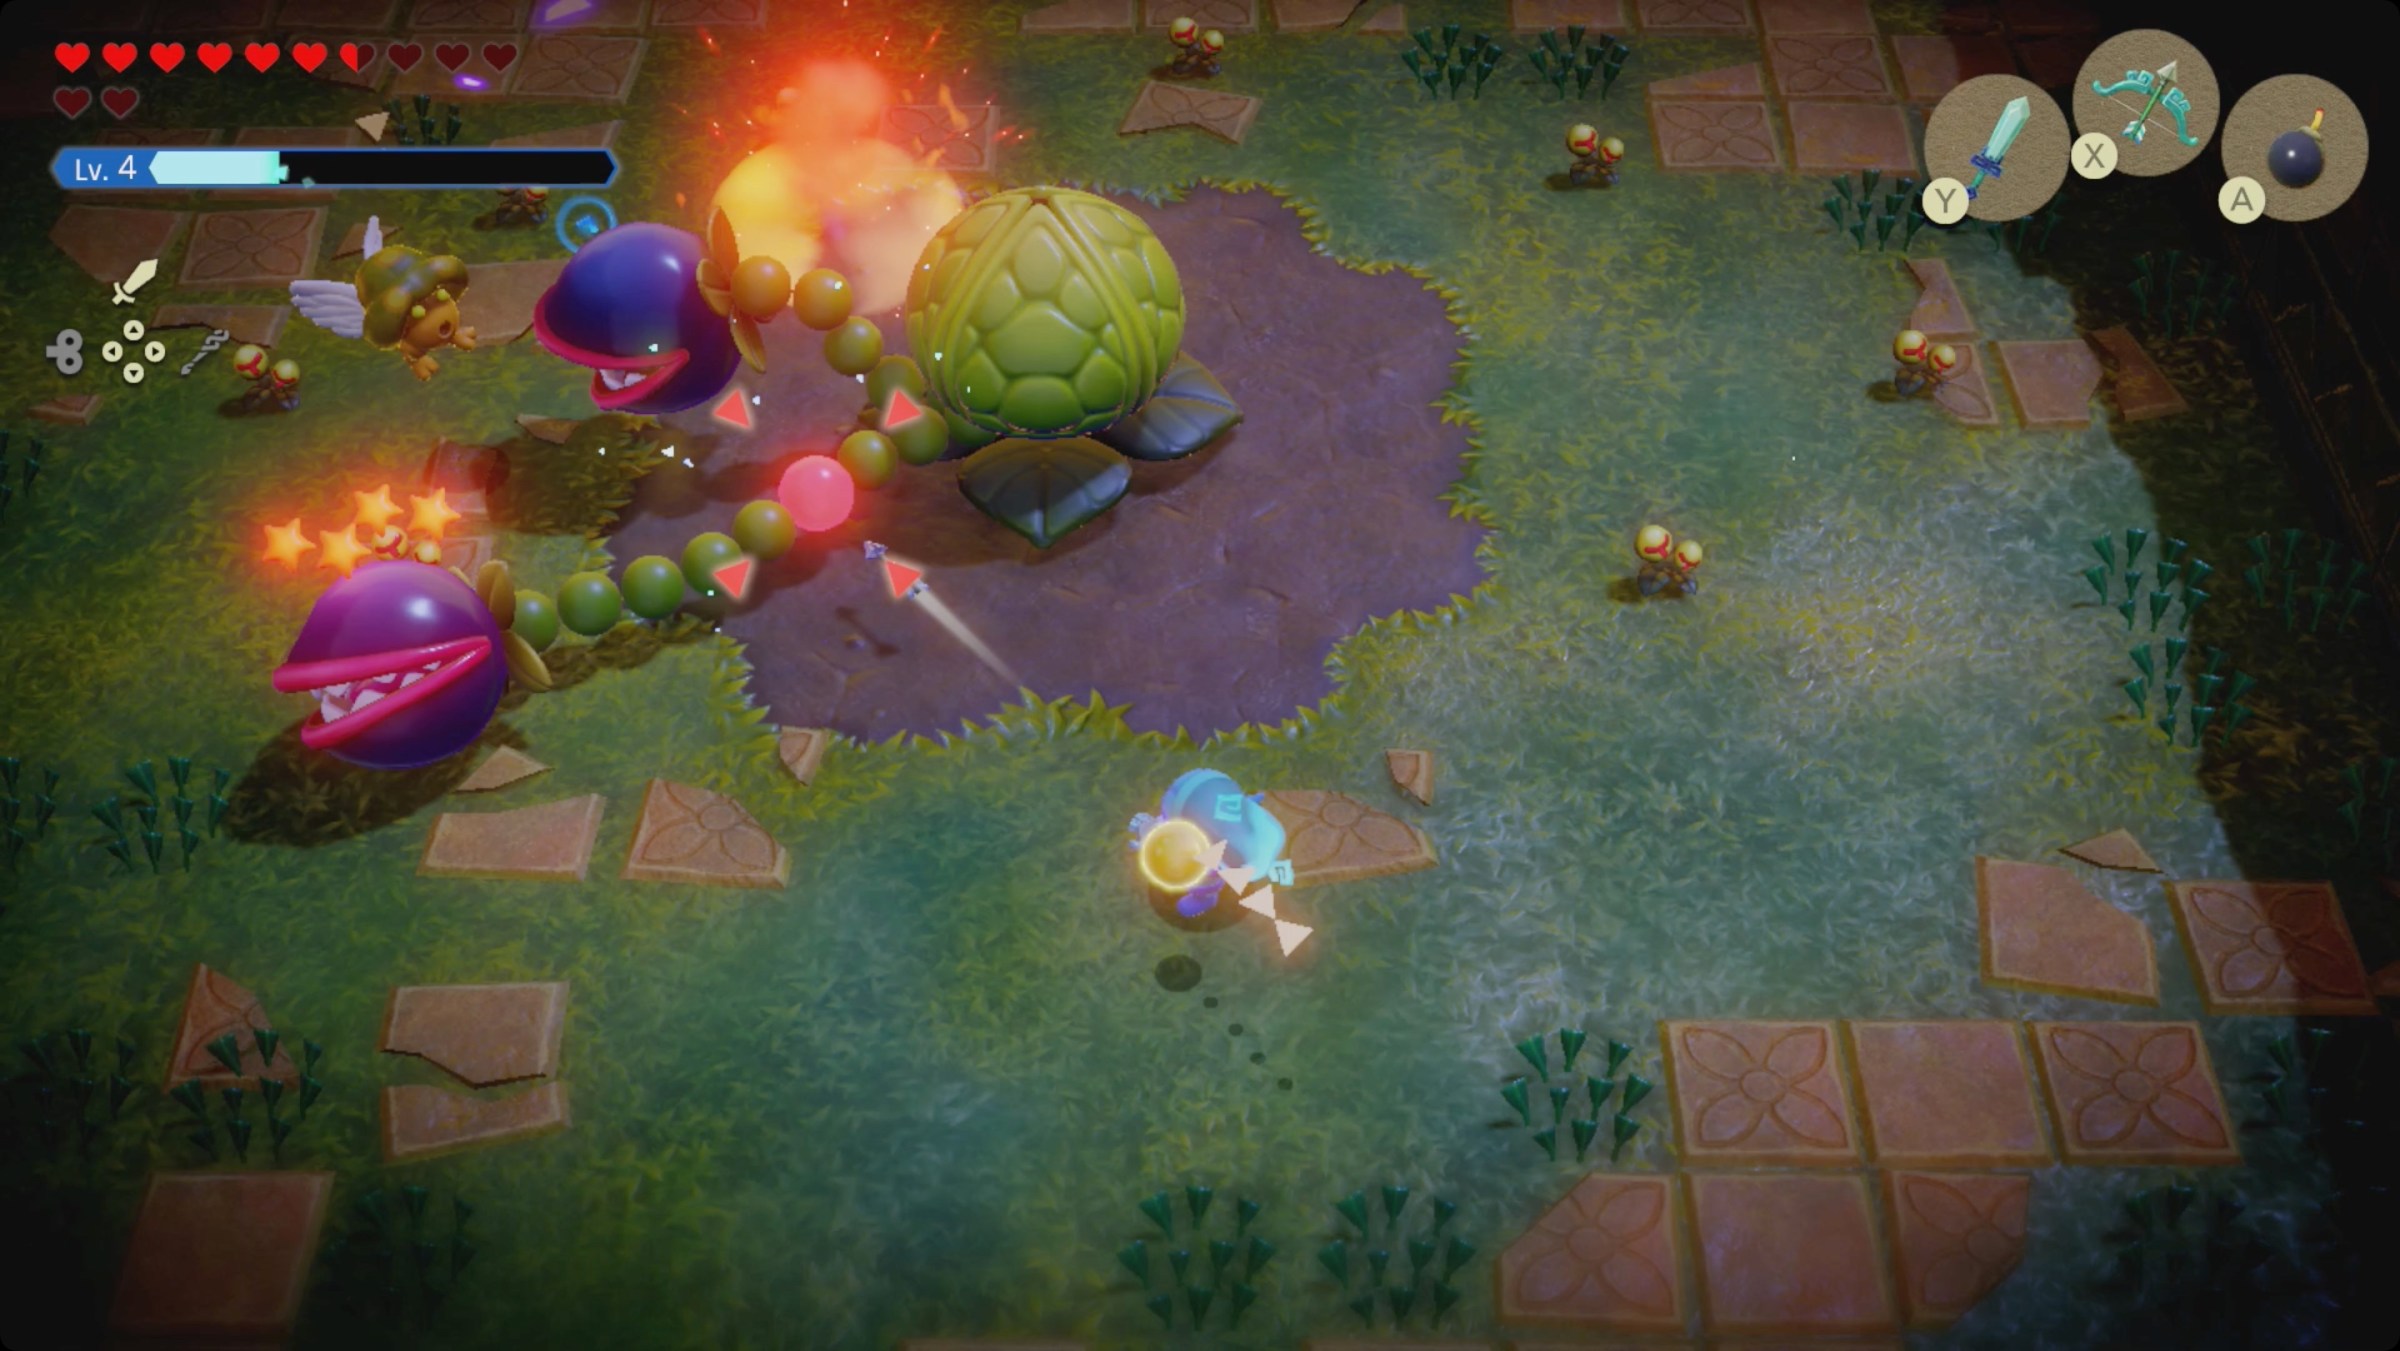
At the beginning of the fight, the Gohma will climb onto the wall. It’ll shoot out a lot of webs and a handful of baby gohma eggs. For this part, summon a small herd of ignizol to handle the webs and baby gohmas.
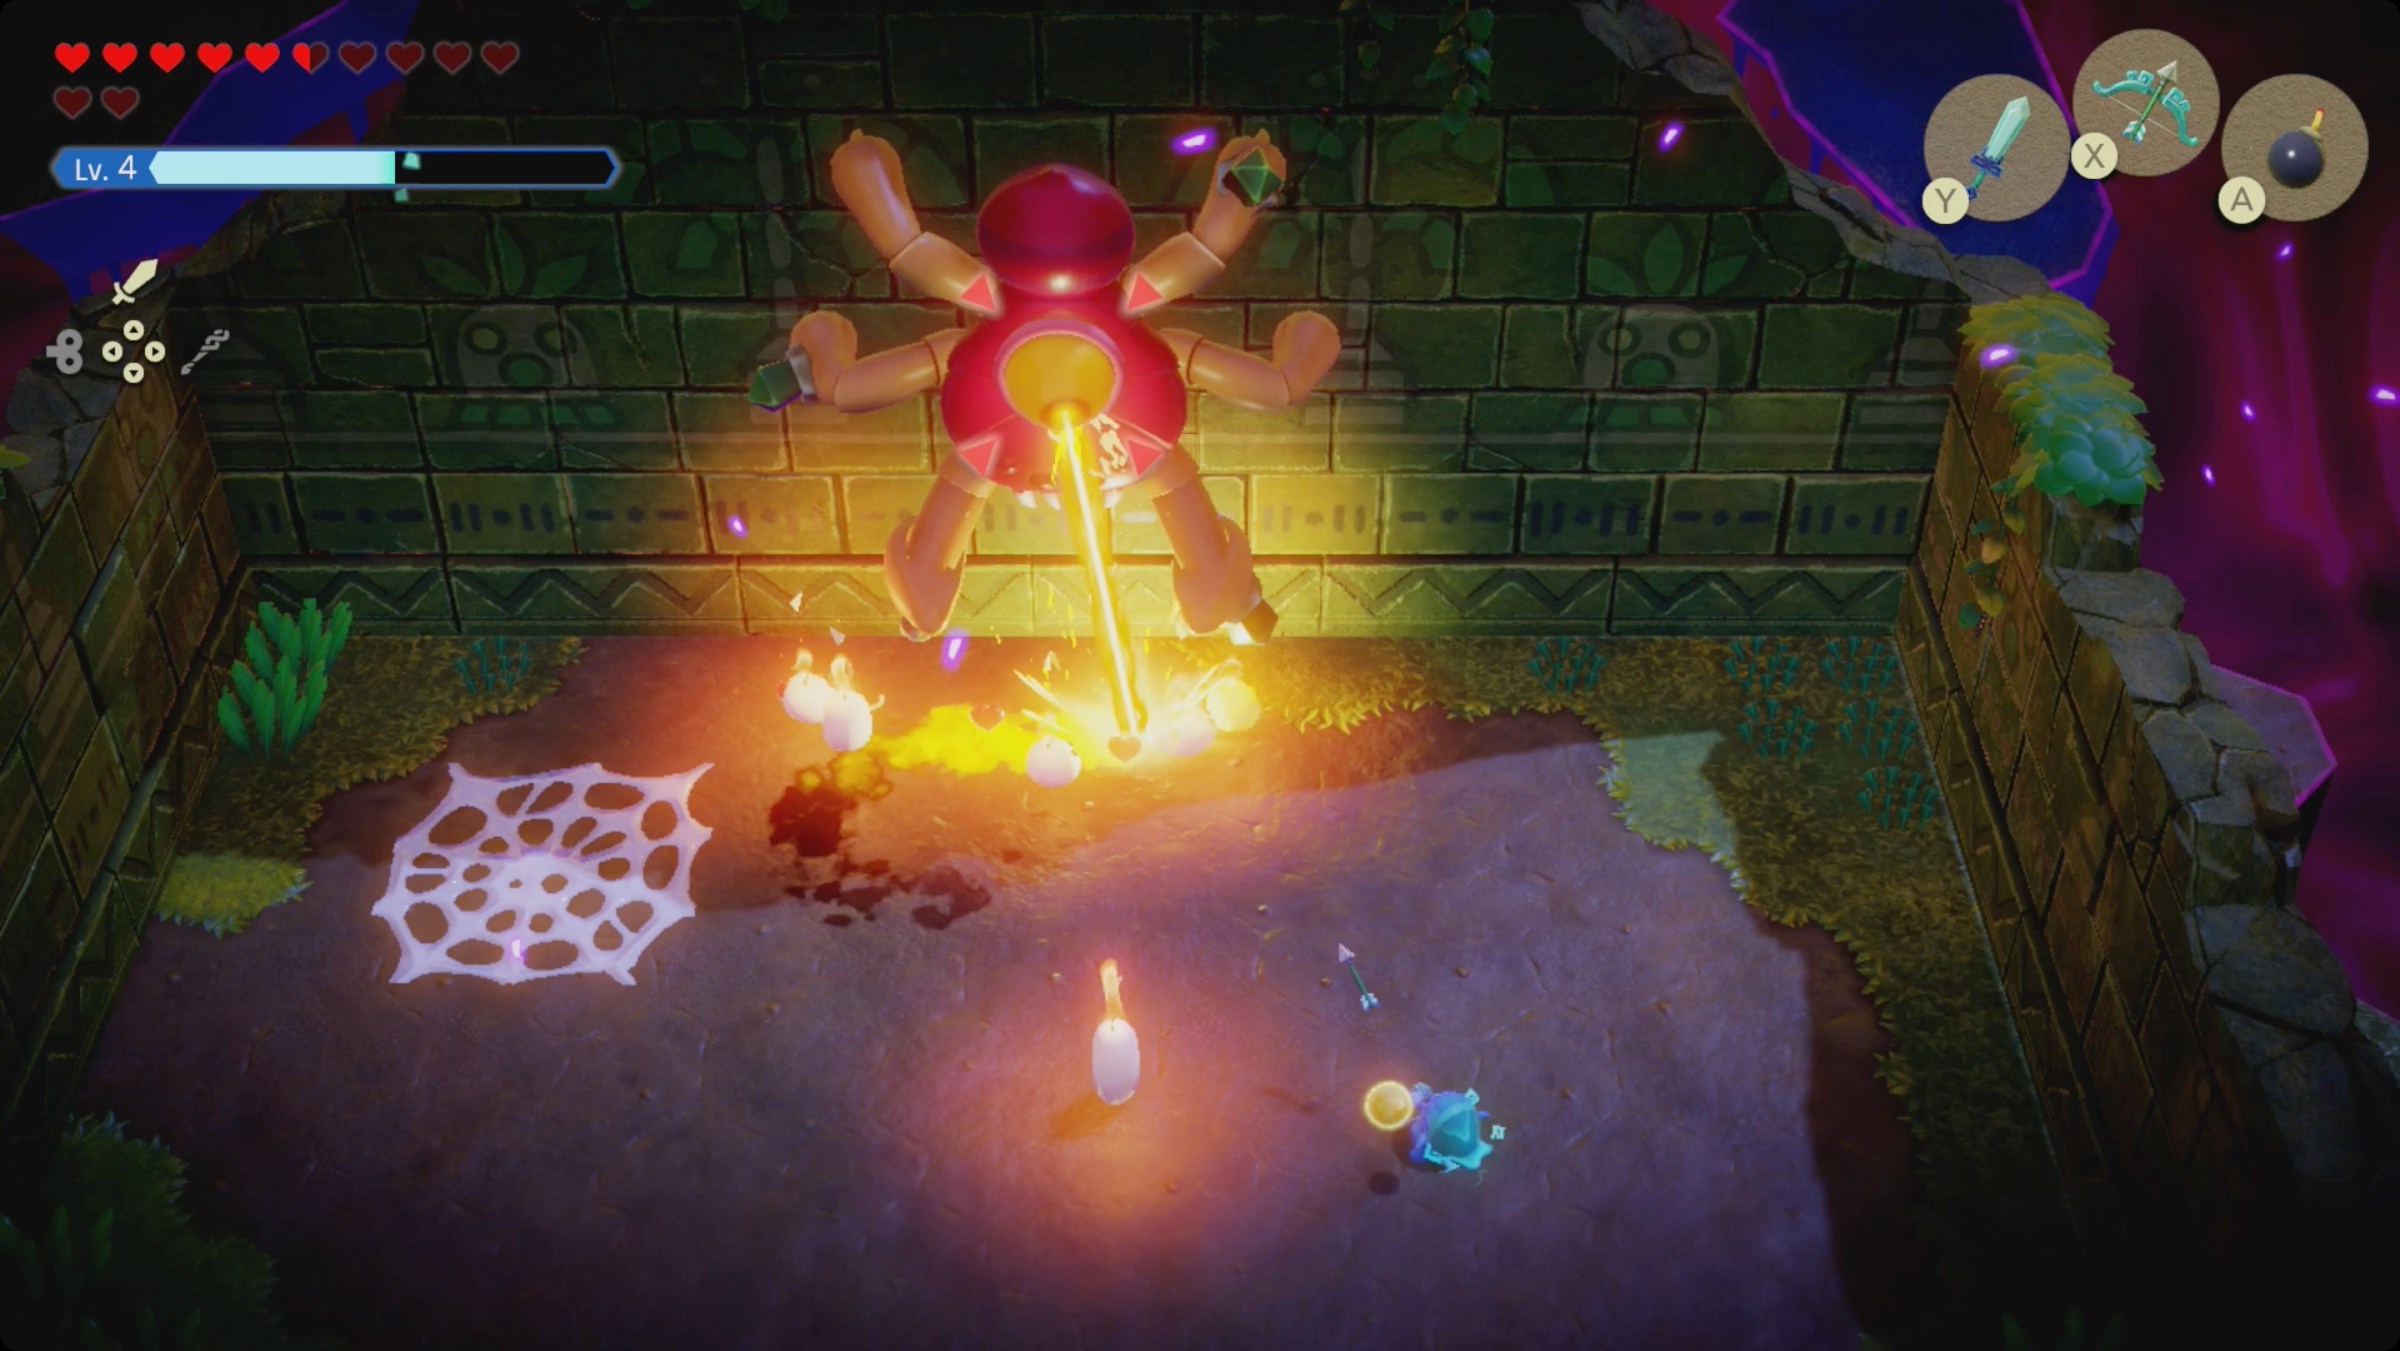
Wait for the Gohma to open its back-eye (like all spiders have) and start shooting a laser (standard spider behavior). When this happens, target the eye and shoot it with your bow. That’ll knock the Gohma down and you can deal sword damage against the giant eye for a little bit.
This will switch it over to the second variation on this fight. Eventually, it’ll climb back onto the wall. If you ever don’t hit the eye, it’ll also switch to version two.

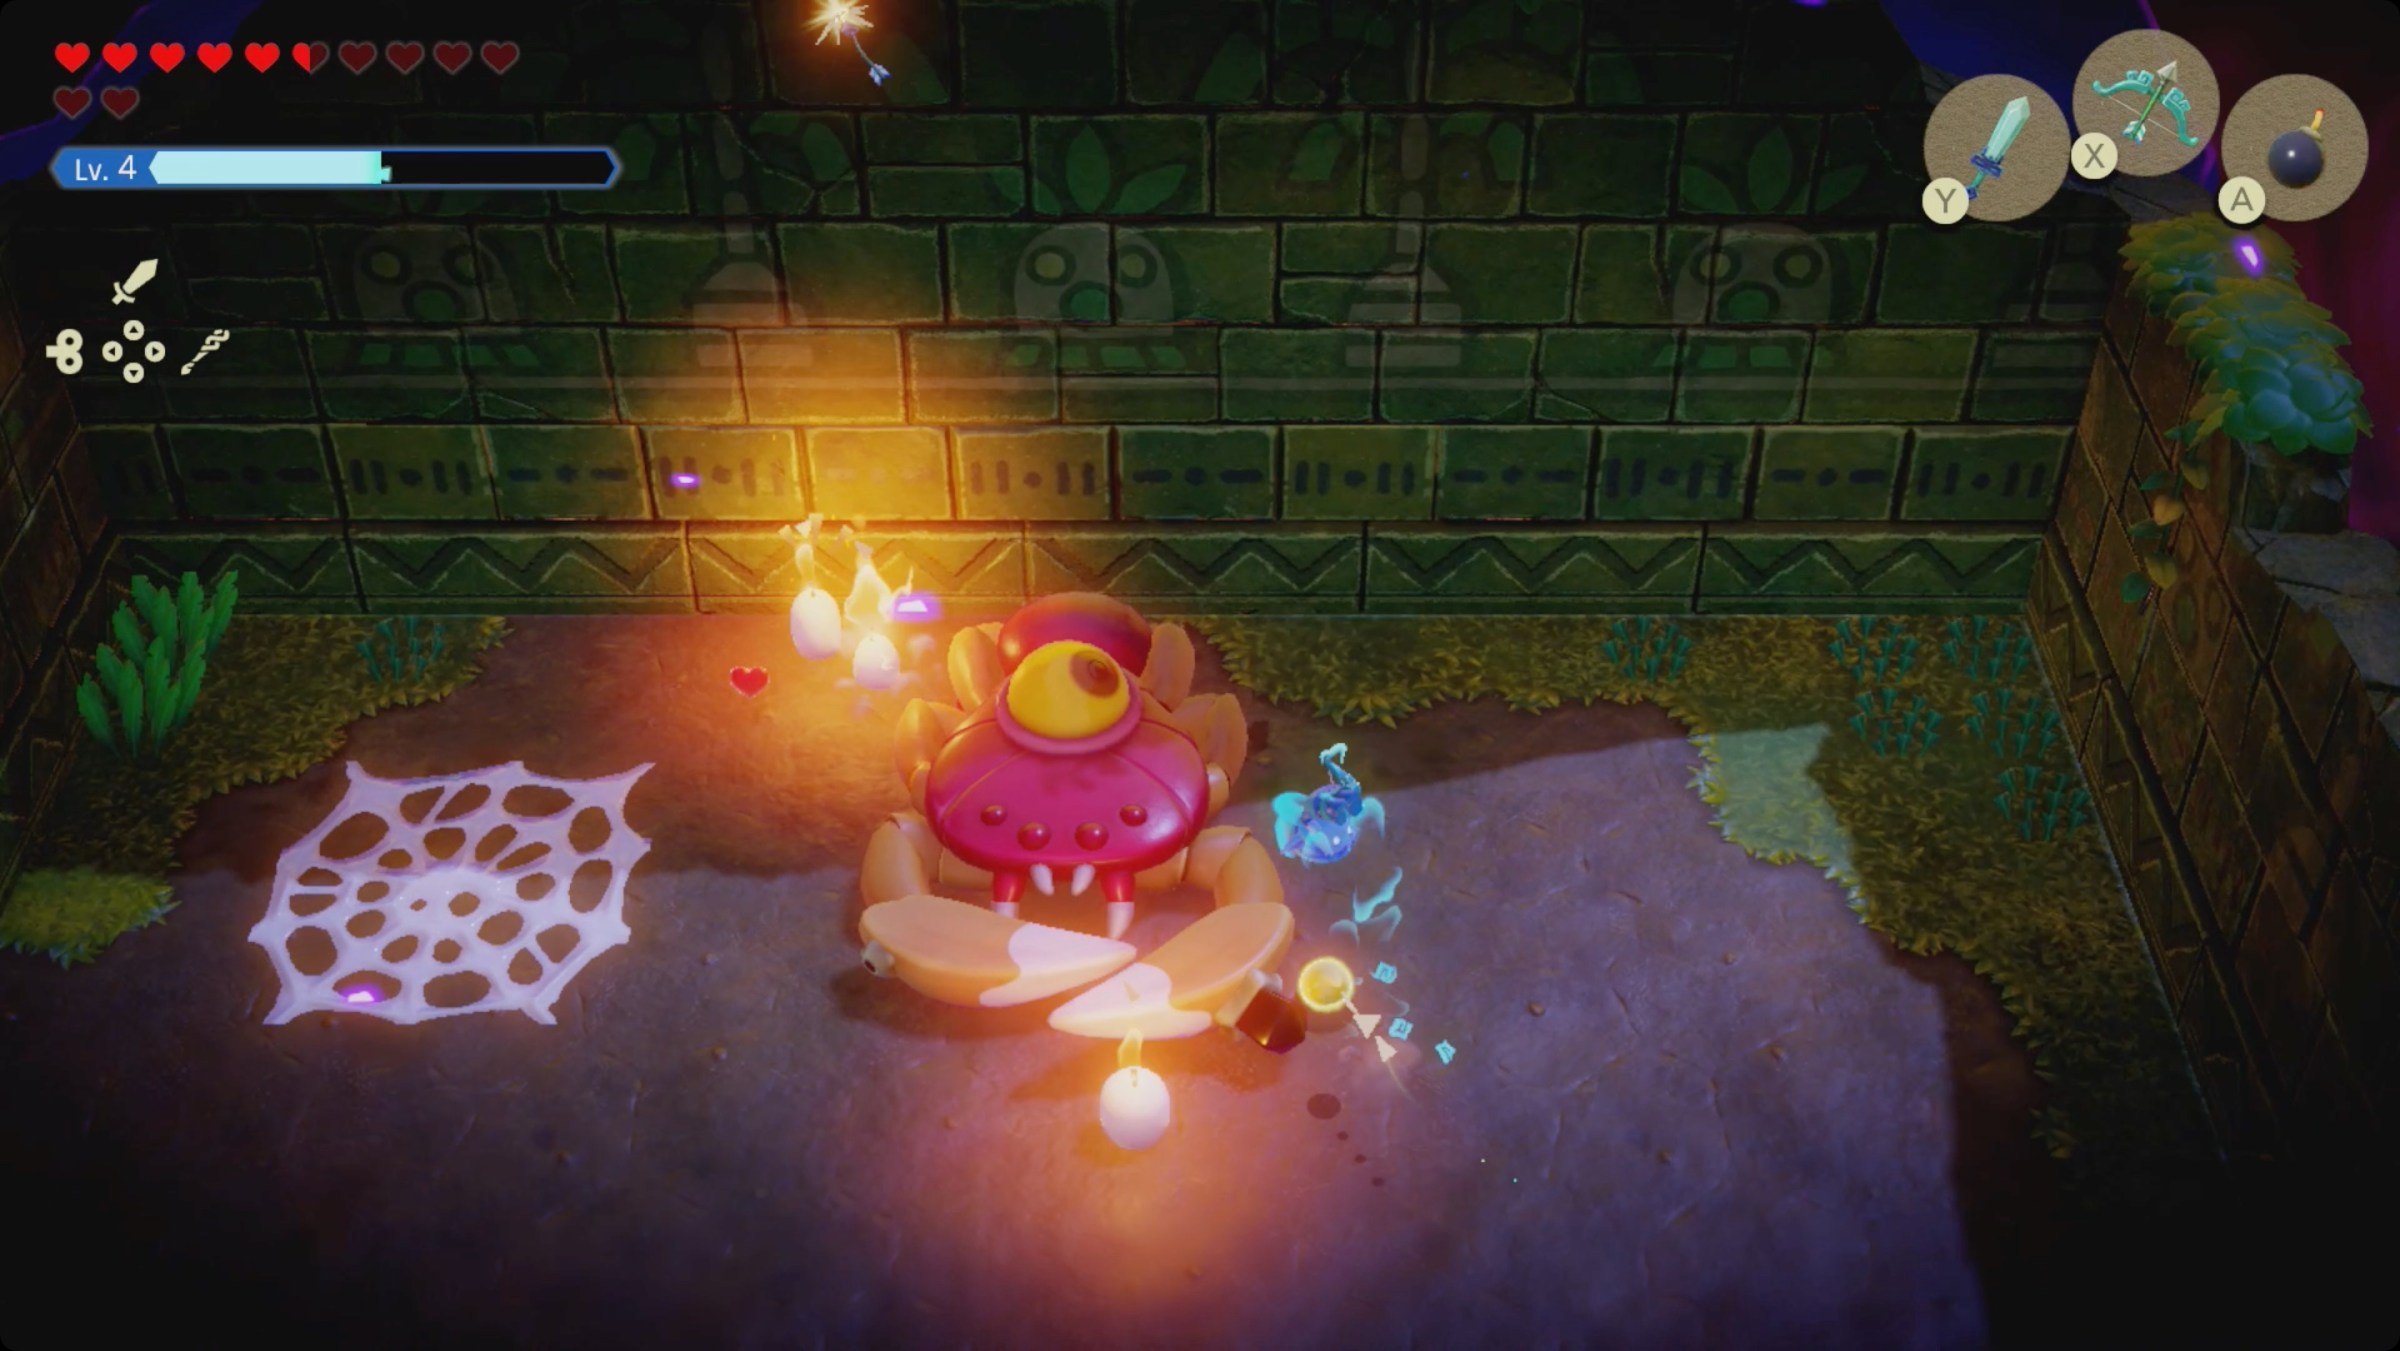
The Gohma will stalk around the arena and attack you (relentlessly) with its front legs. Your best bet for avoiding them is to either be in Swordfighter Form or use Zelda’s spin move with R.
There are three, small green crystals on its legs — just like the rooms we opened earlier. Drop buzz blobs close to the legs while you’re running around to get them all activated at the same time.
Once you do, you’ll knock the Gohma down and get another chance to deal some damage to the giant eye.
A couple cycles through the two variations, and you’ll win your prize(s) — a full heart piece and Farore’s Sanction. Next up, you’re heading either to Eldin Volcano or Hebra Mountains, or if you’ve already tackled those, see where to go next with our Zelda: Echoes of Wisdom walkthrough.