Stilled Hebra Mountain Cave walkthrough in Zelda: Echoes of Wisdom
Tri has five groups of friends trapped in Stilled Hebra Mountain Cave in Zelda: Echoes of Wisdom. Here’s how to find and rescue all of them.
This article references relevant content from the polygon.com website. Original article link: [https://www.polygon.com/zelda-echoes-wisdom-guides/454730/stilled-hebra-mountain-cave-walkthrough]
The Stilled Hebra Mountain Cave is an icy, snowy cave on Holy Mount Lanayru. Our Legend of Zelda: Echoes of Wisdom walkthrough will show you the route through this cave and tell you where to find all of Tri’s friends inside, each of whom will need to be rescued before you can attempt Lanayru Temple.
Stilled Hebra Mountain Cave walkthrough
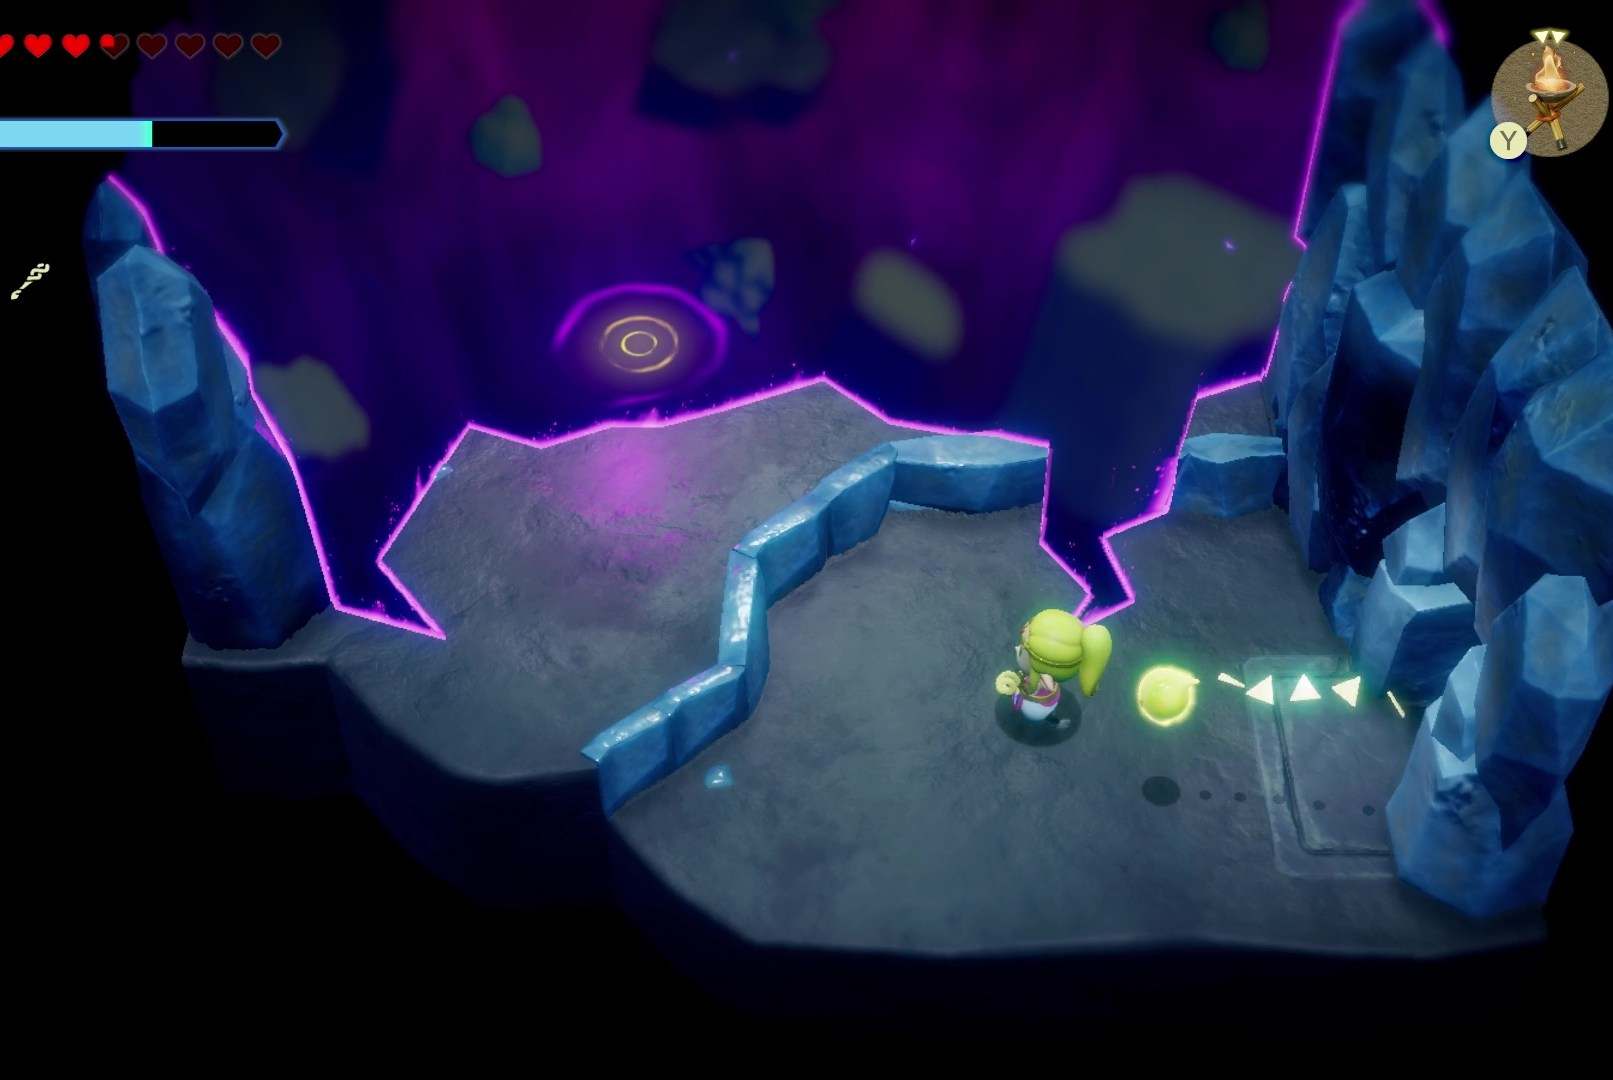
Upon entering the cave, you’ll see one of the many rifts in Echoes of Wisdom. Walk up to it and press the A button to get Tri’s help opening up the rift. Then, hop into it.
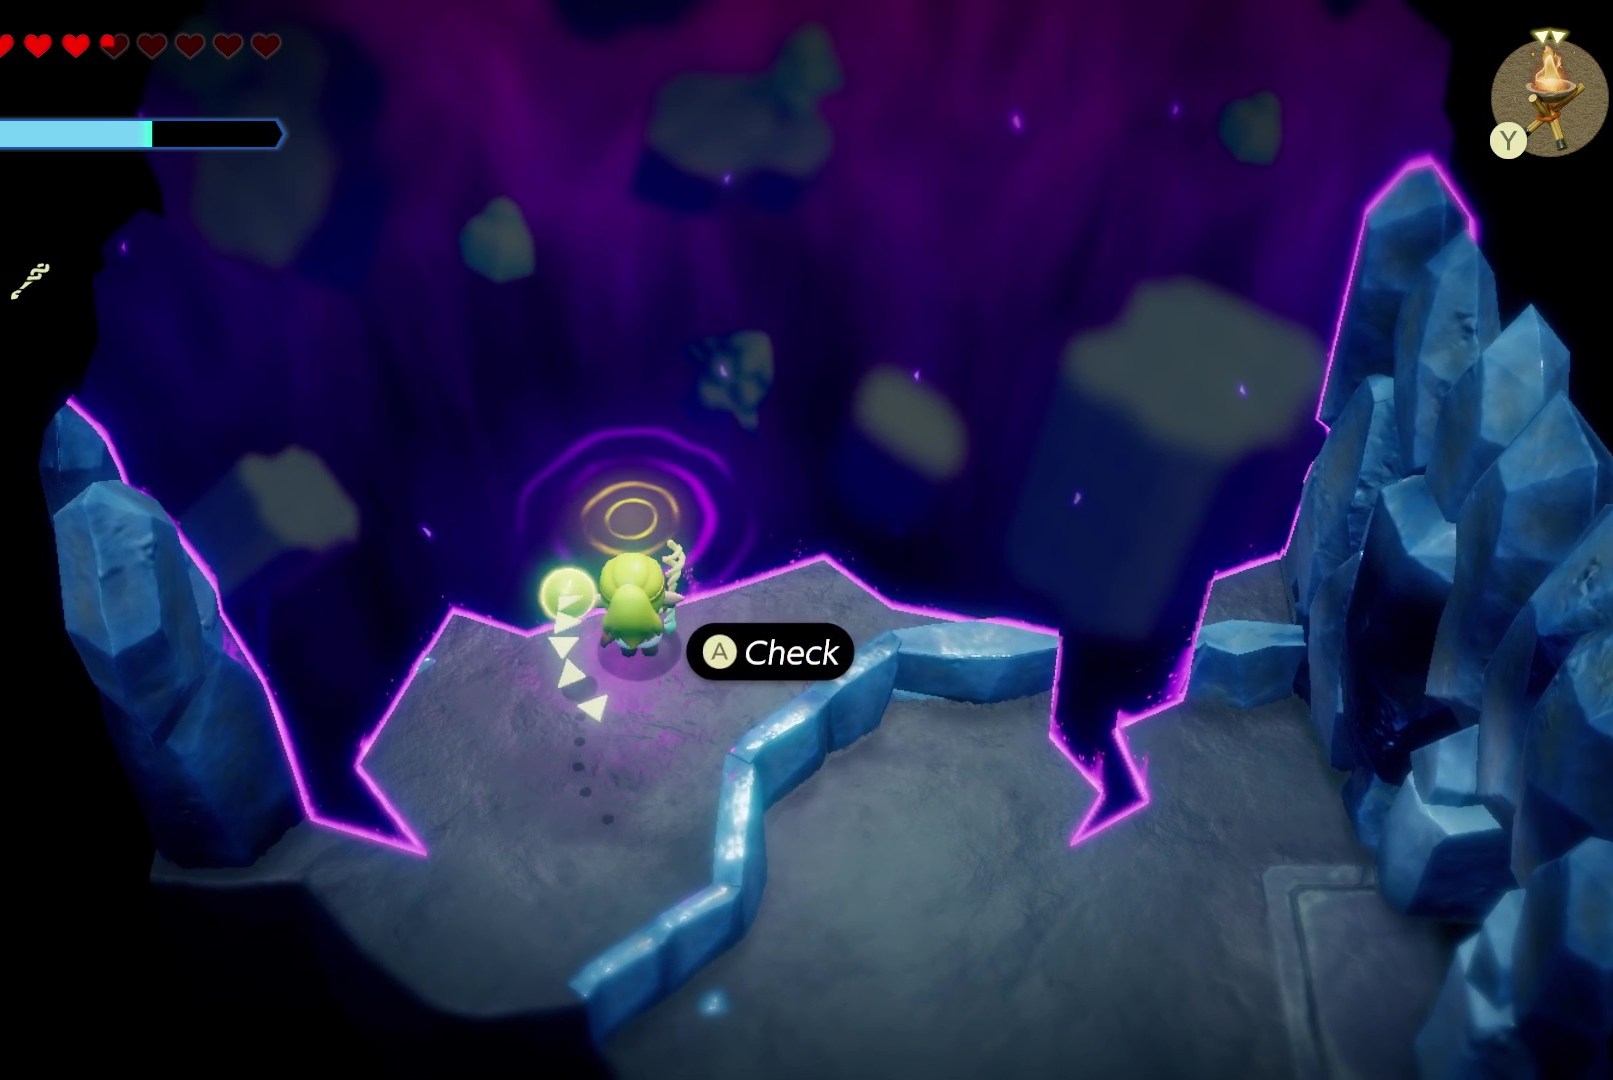
Once Zelda and Tri get to the other side of the rift, Tri says: “I can sense my friends here… They’re trapped. They’re trapped in 5 areas, to be exact. If we rescue them all, we can fix this rift.”
Tri’s friend location #1
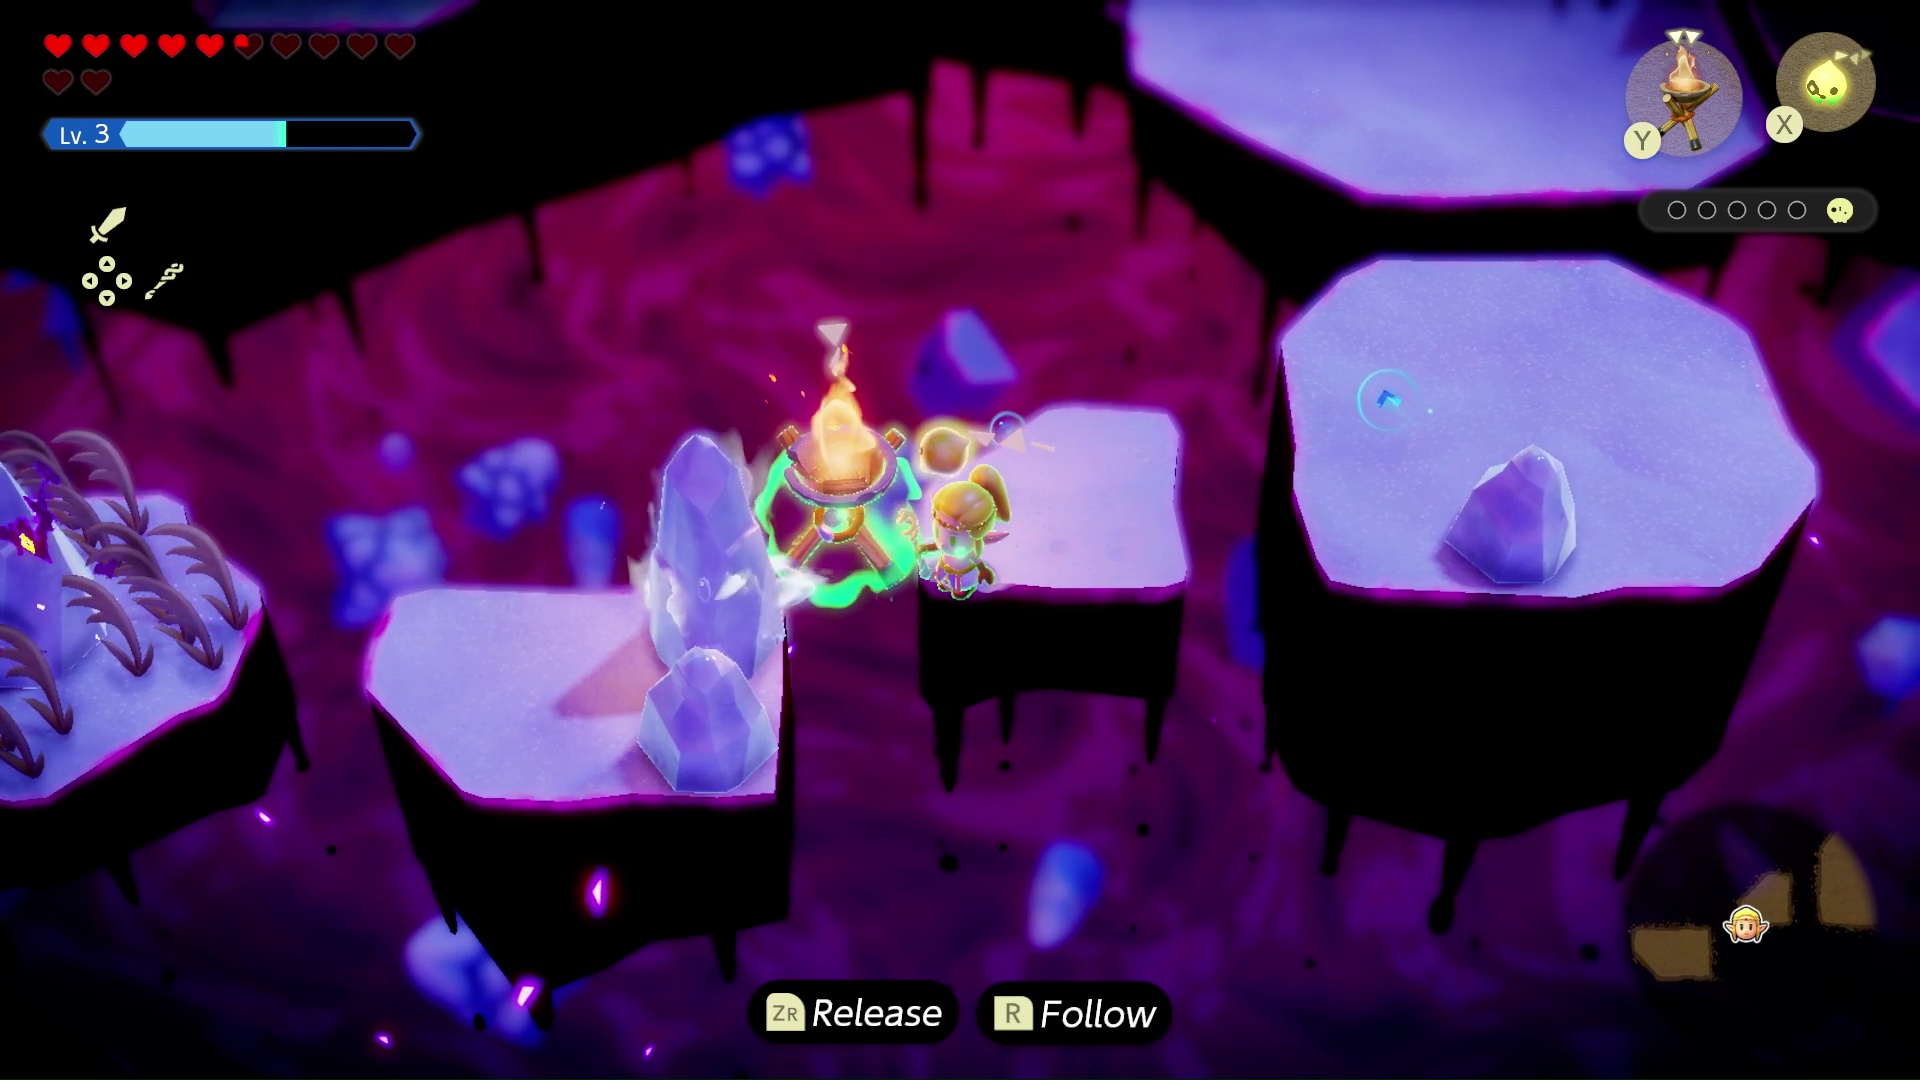
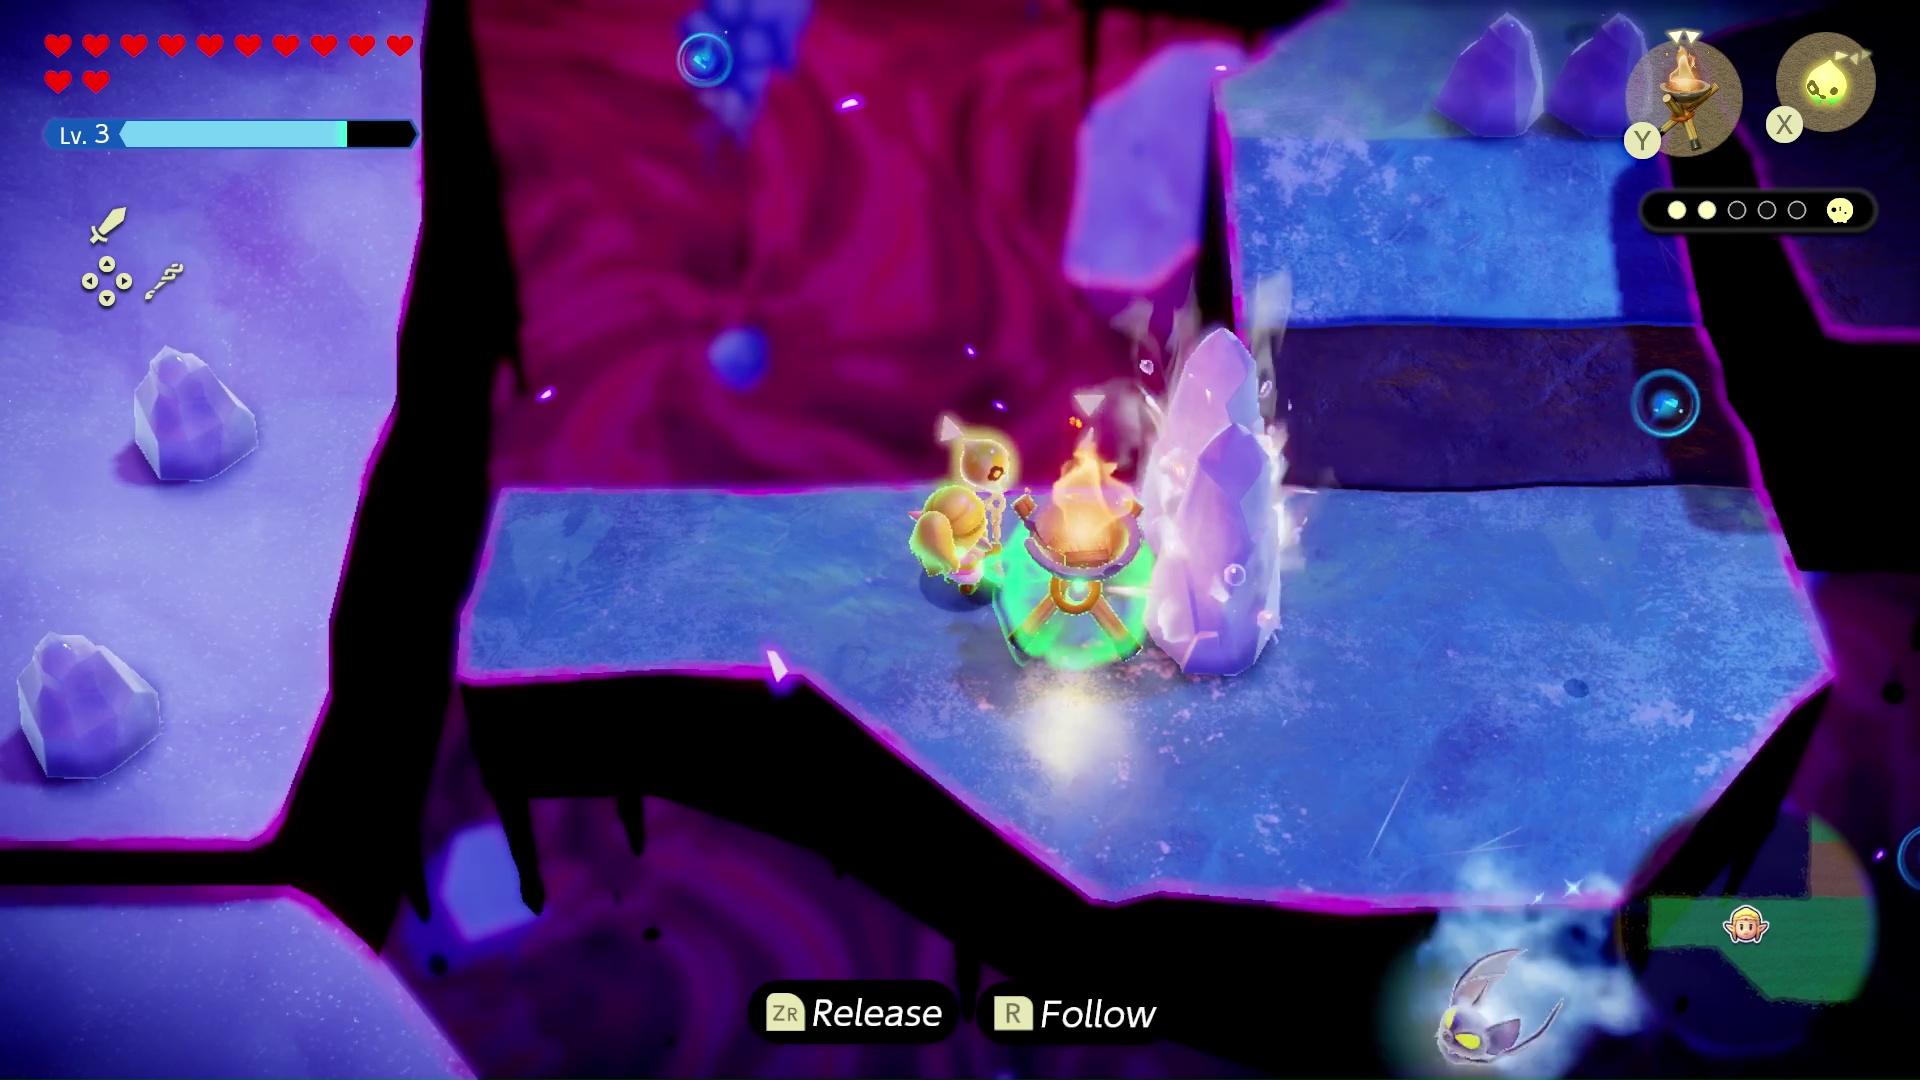
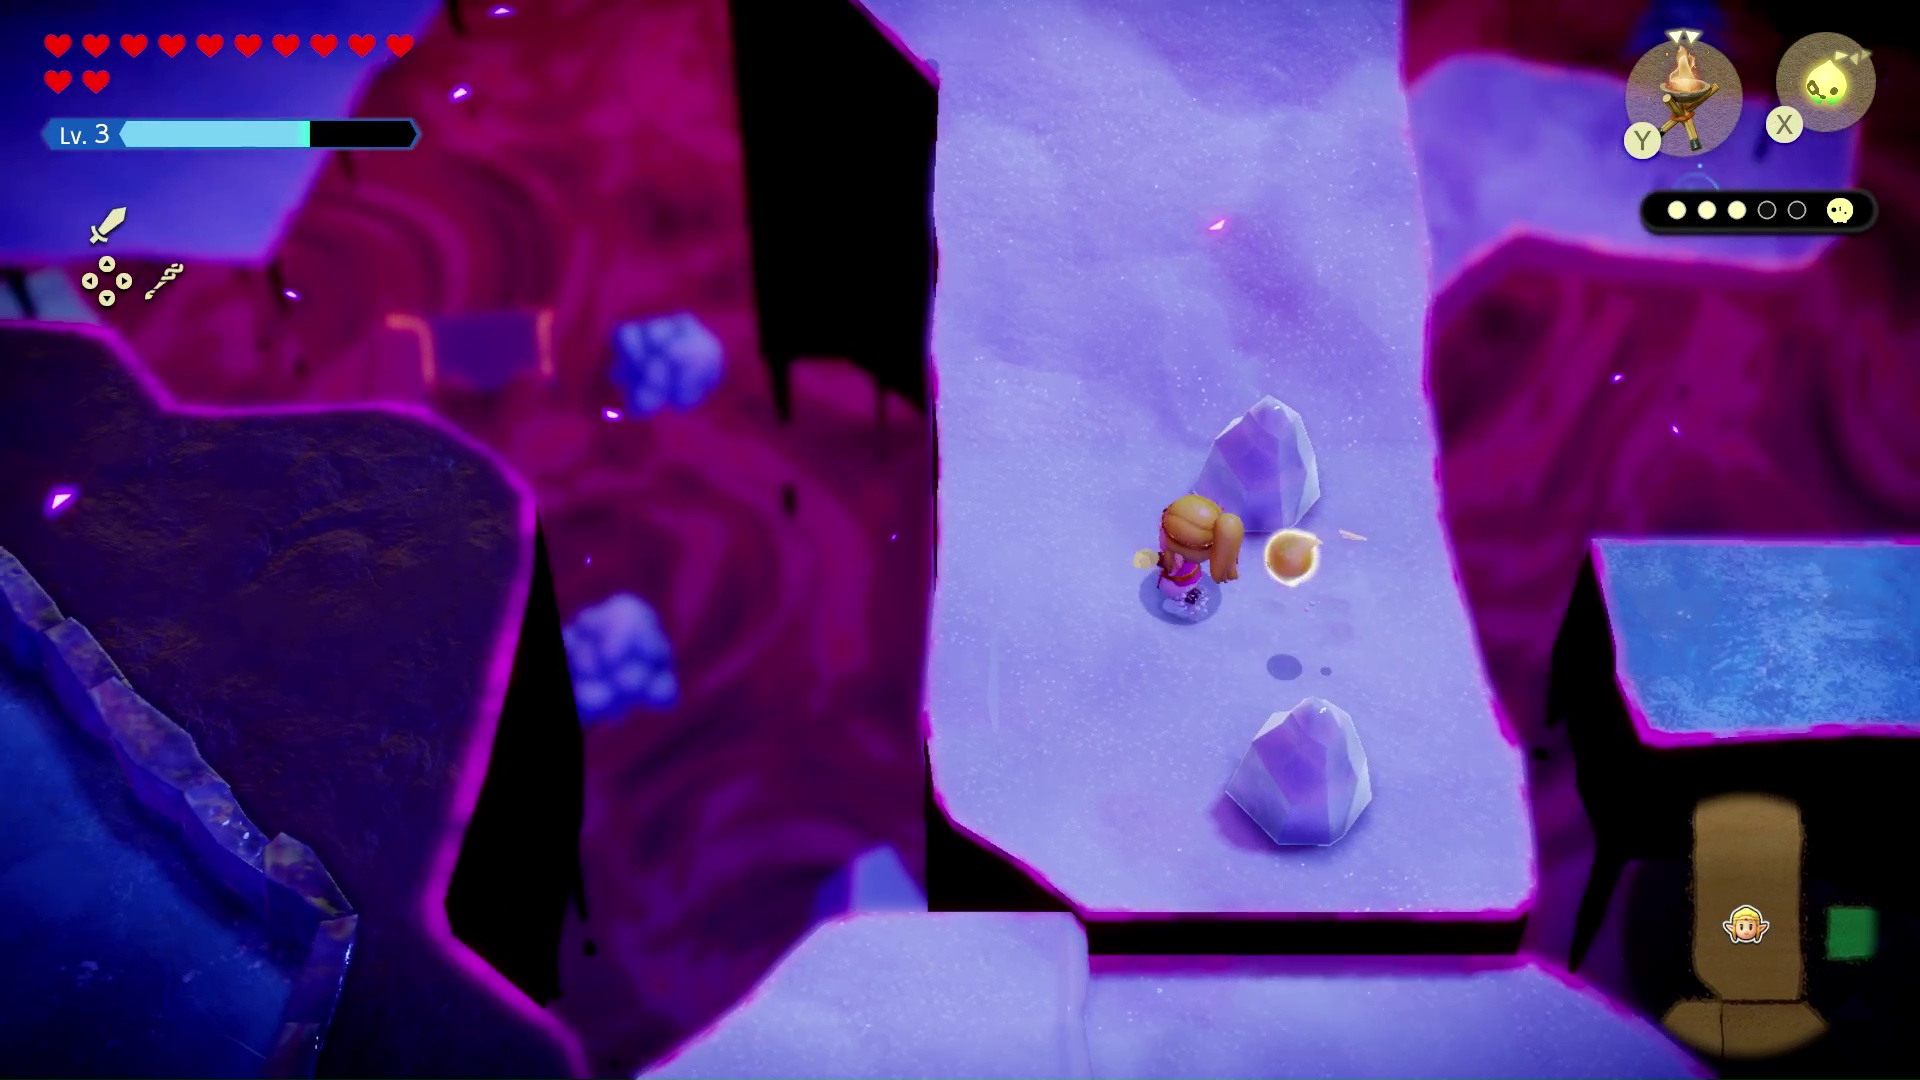
Head left, then down. You’ll see another floating ice block you can get to, but it’s got some little ice towers on it that you’ll need to melt to make a spot for yourself to jump onto. Use your Tri Rod to summon a brazier. Levitate the brazier across the gap, next to the ice chunks you’re trying to melt. (If you first melt all the ice on the initial platform, you’ll find a Twisted Pumpkin buried in one of the ice chunks.)
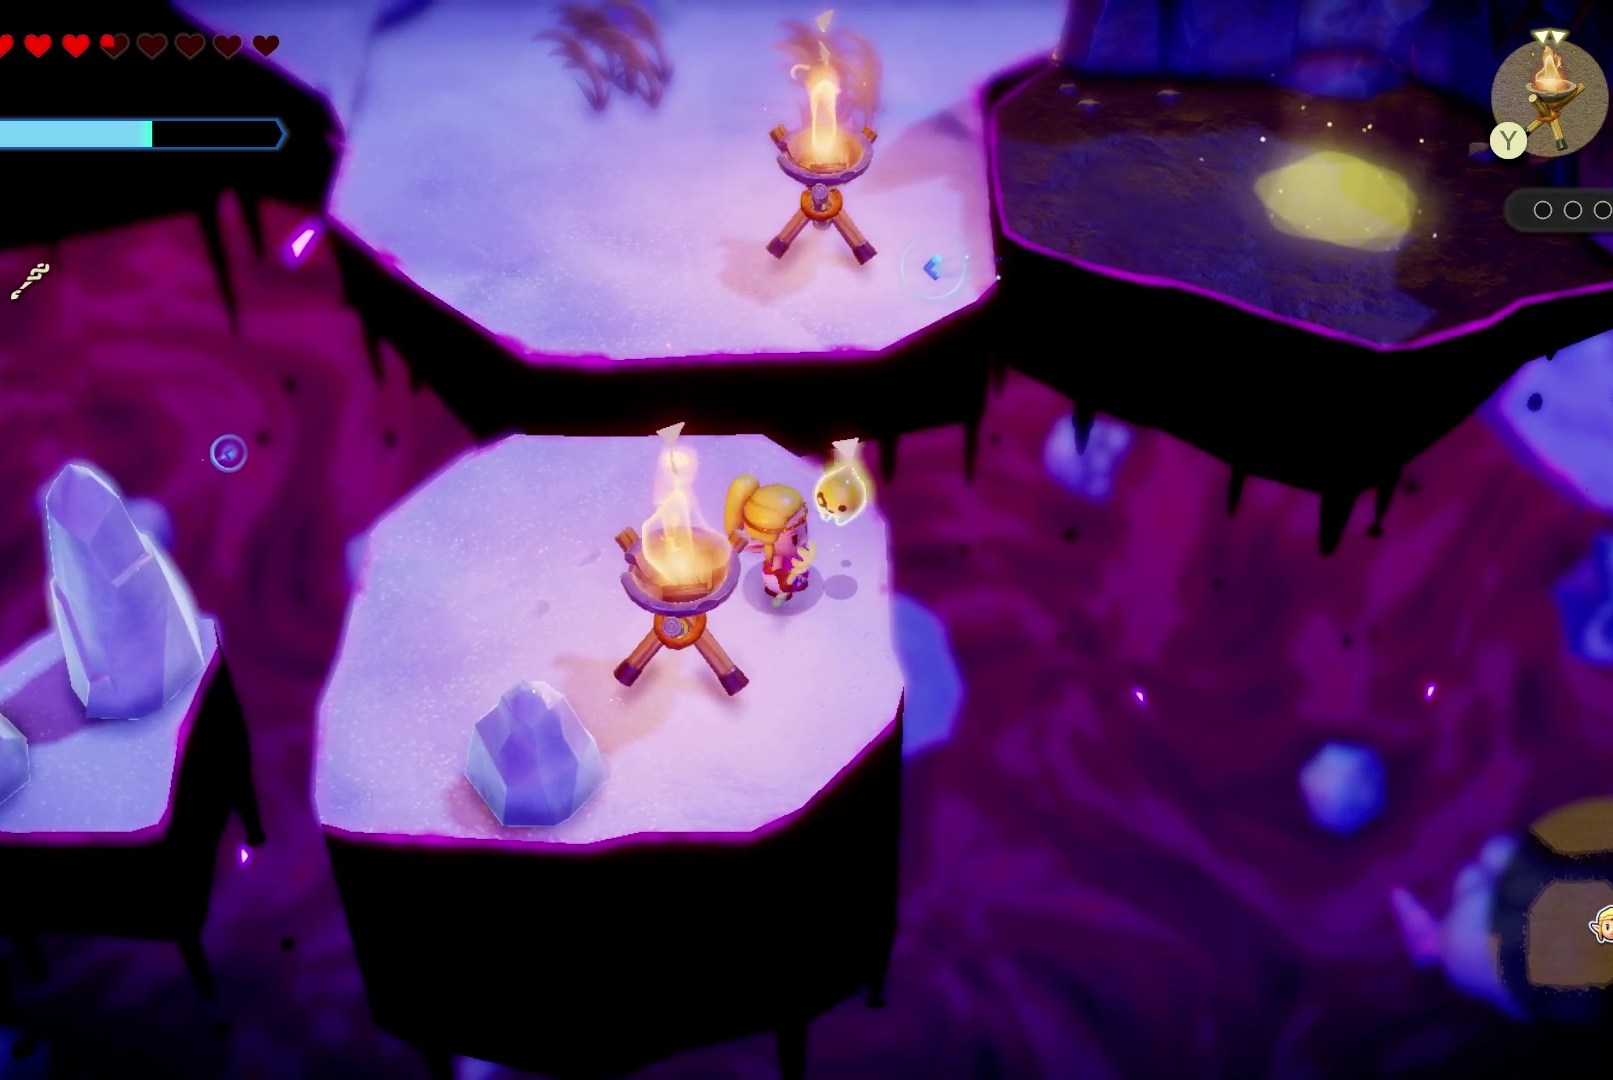
Once you move the brazier forward, its fire will melt the ice stalagmites in your way, creating a space to the left that you can jump onto.
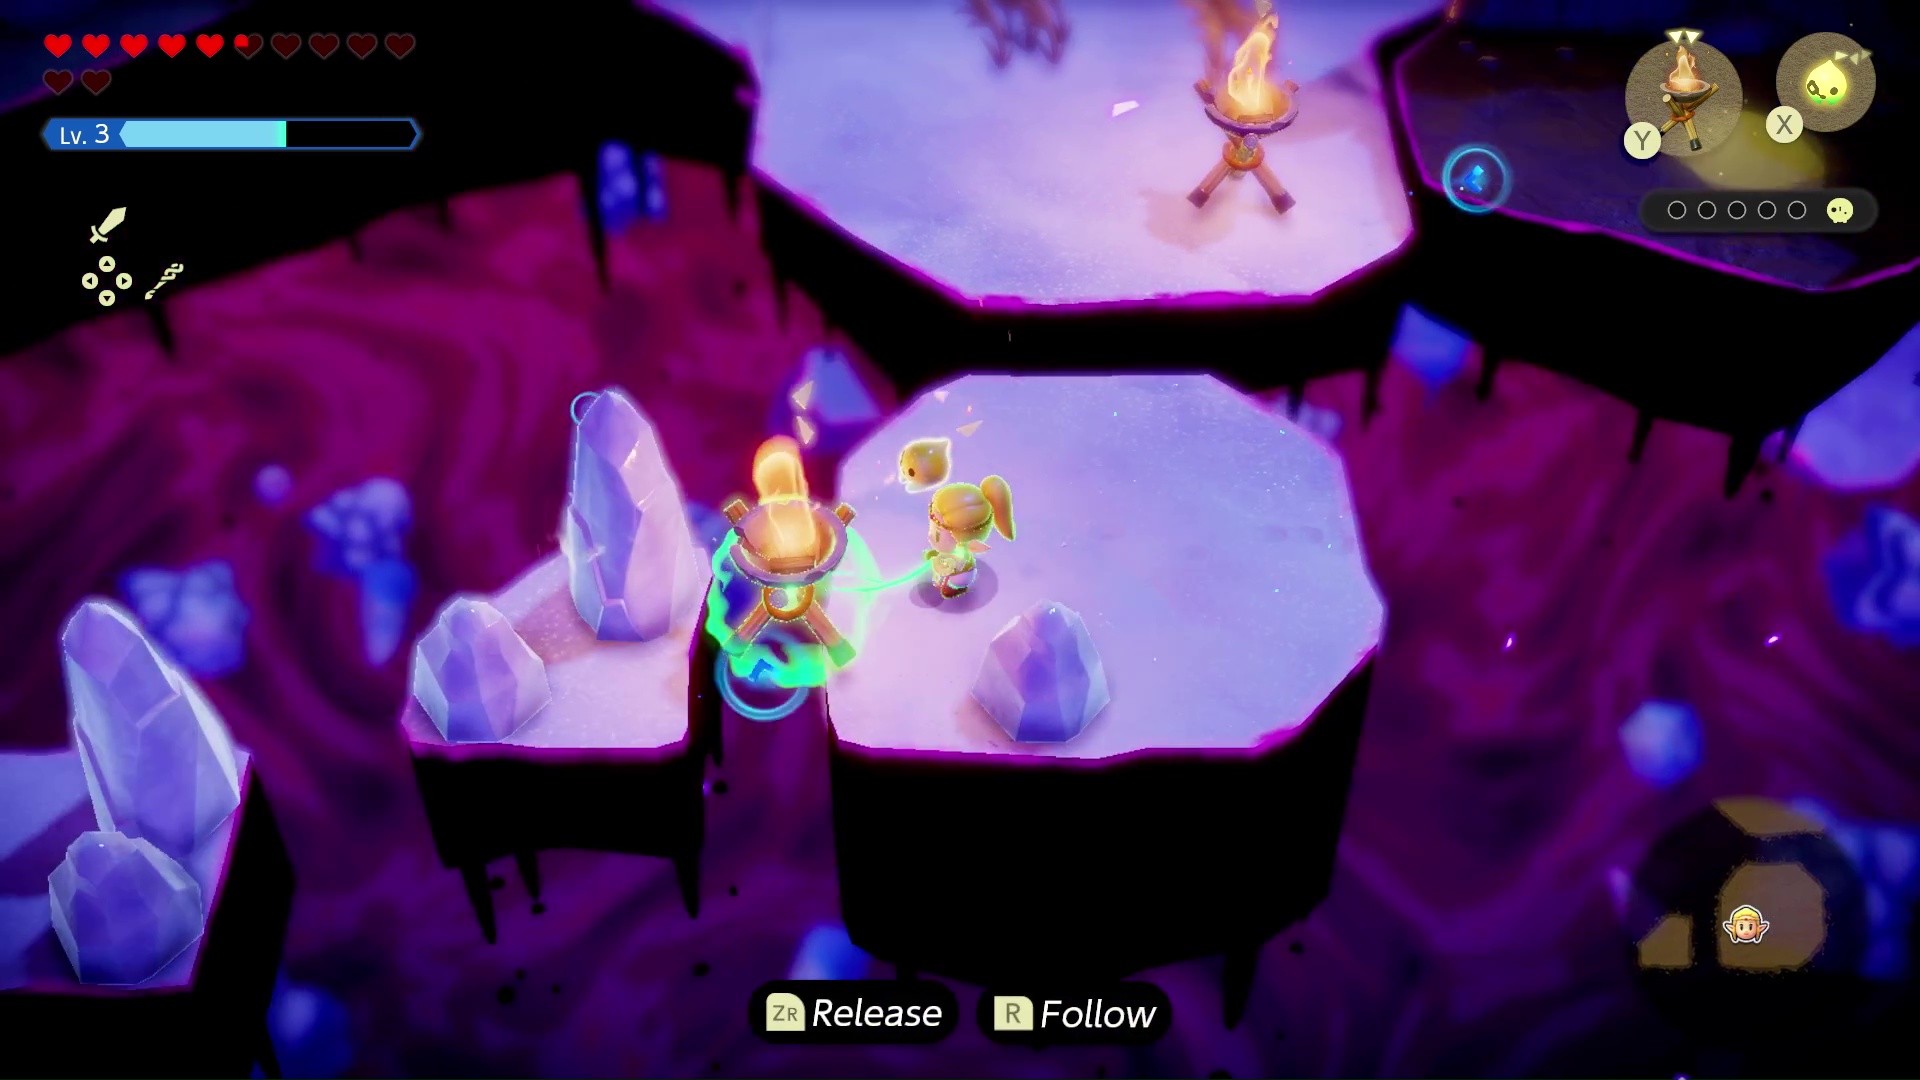
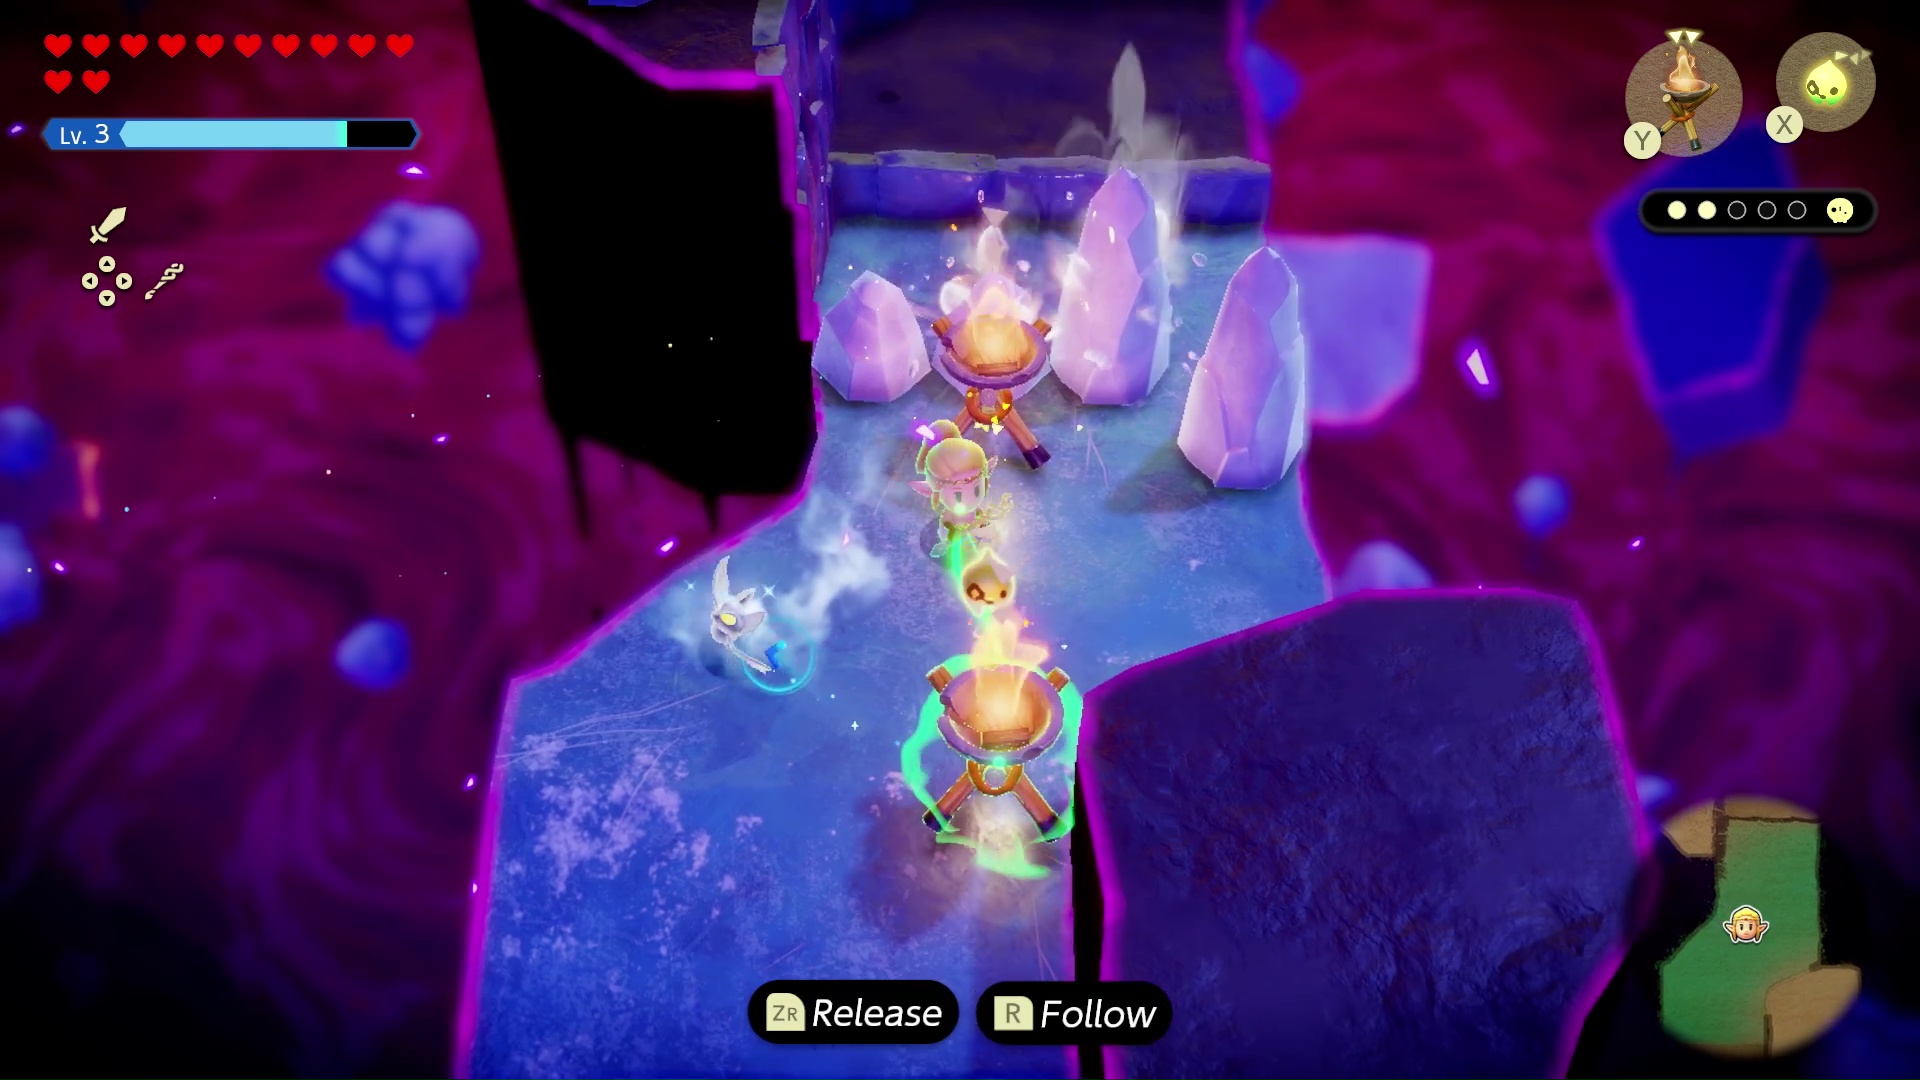
Then do the same thing again for the next set of ice chunks across the gap to the left; this time, you’ll need to actively keep the brazier levitated in front of them, because there won’t be space to put it down anywhere while the ice is melting.
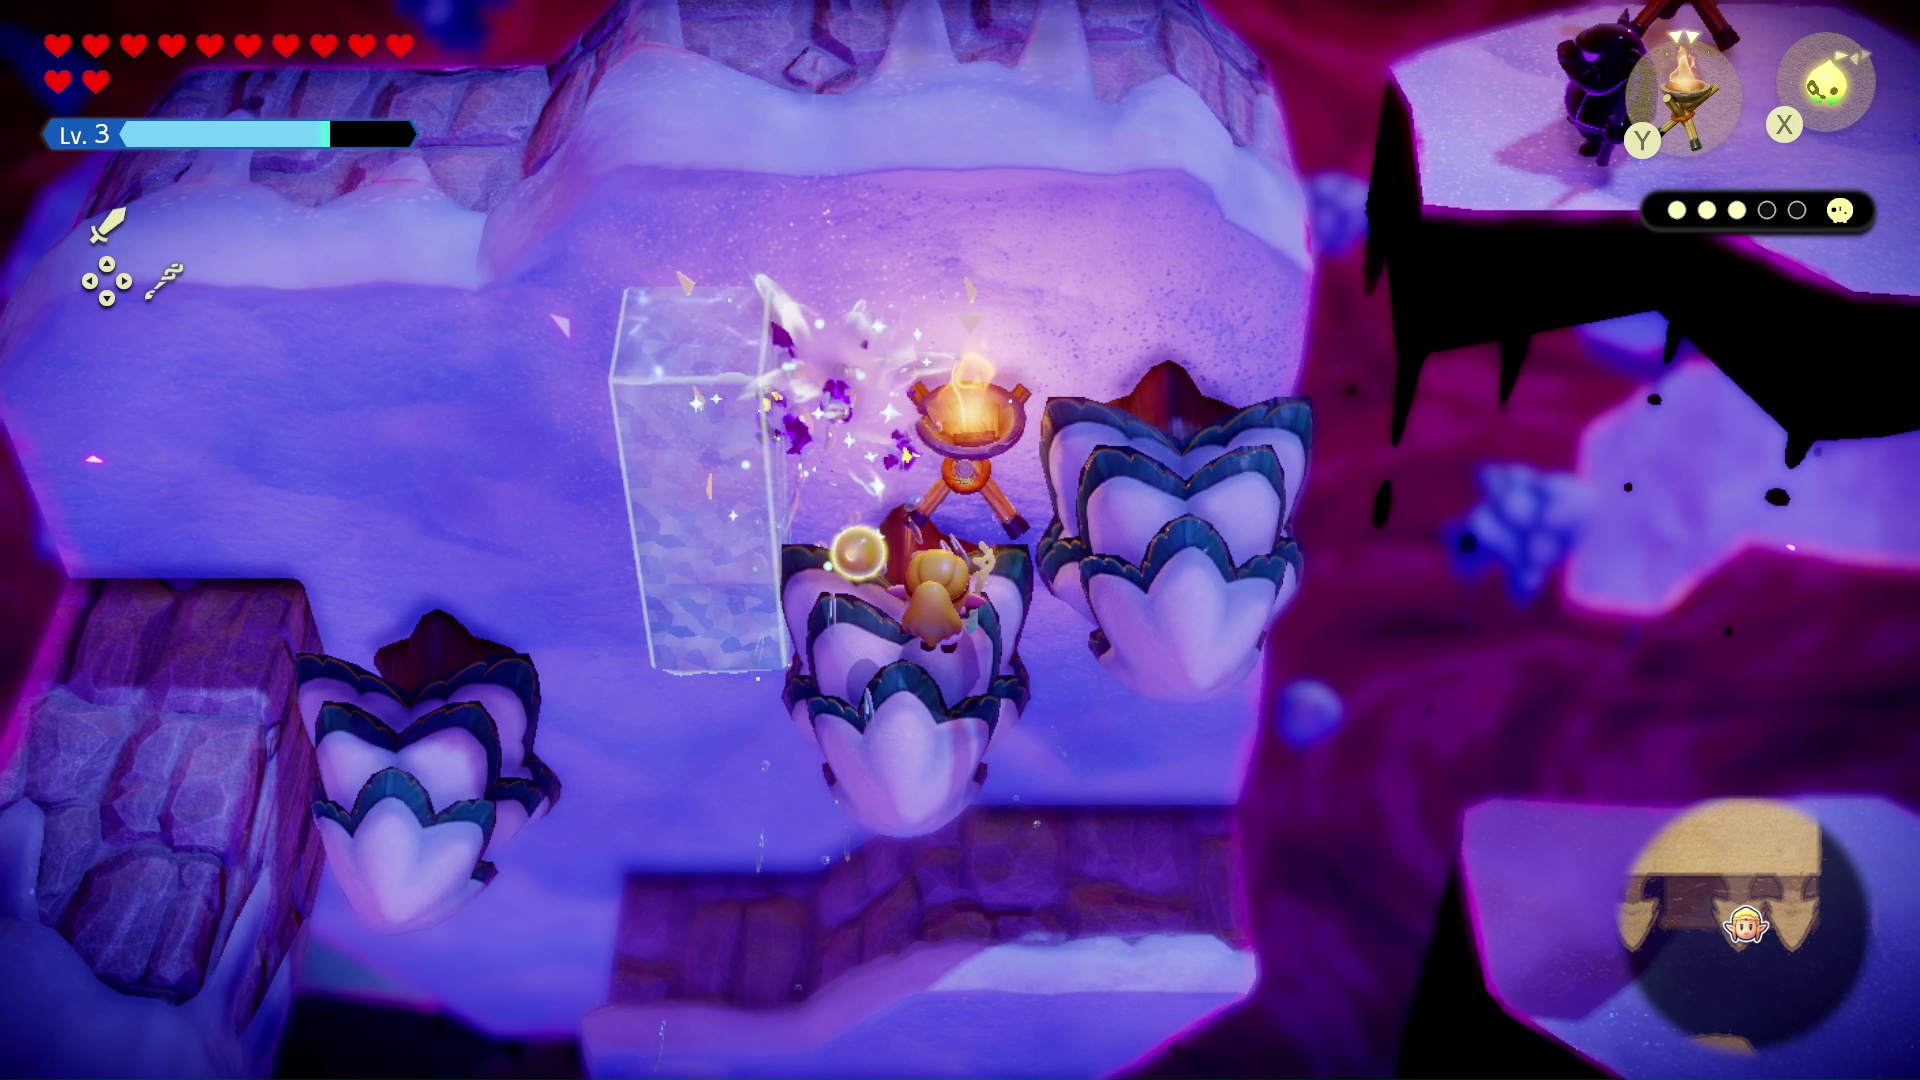
Once you’ve cleared that ice and leapt across the gap, you’ll see one more floating ice platform remaining. The one has an ice chunk surrounded by dangerous vines. You don’t want to touch those.
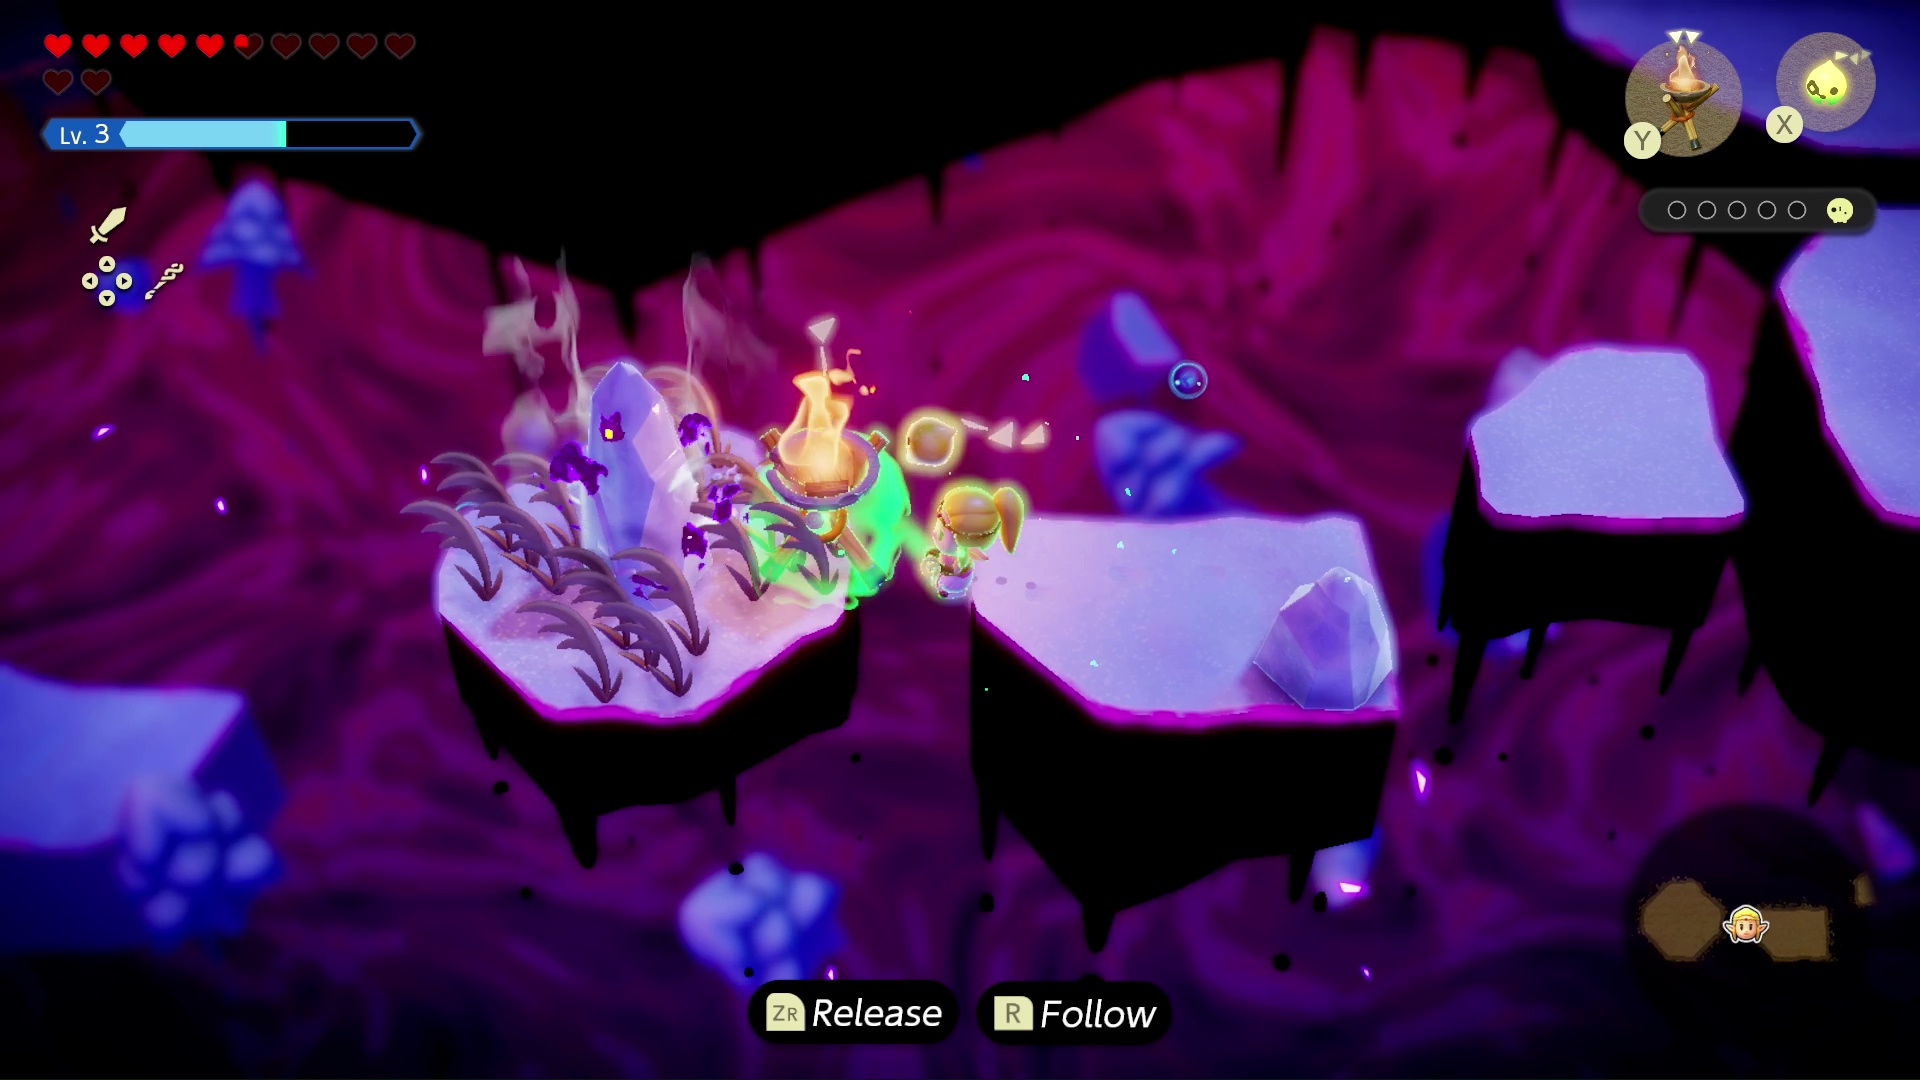
You can still grab your brazier and push it over to melt the ice in the middle; this will reveal the first of Tri’s five friend groups that needs rescuing. They’re bound within a fiery purple orb that has the ability to burn away the vines around it. So first, wait for that to happen, then leap across and touch the blob to rescue Tri’s friends inside.
Travel back across the ice platforms to where you started.
Tri’s friend location #2
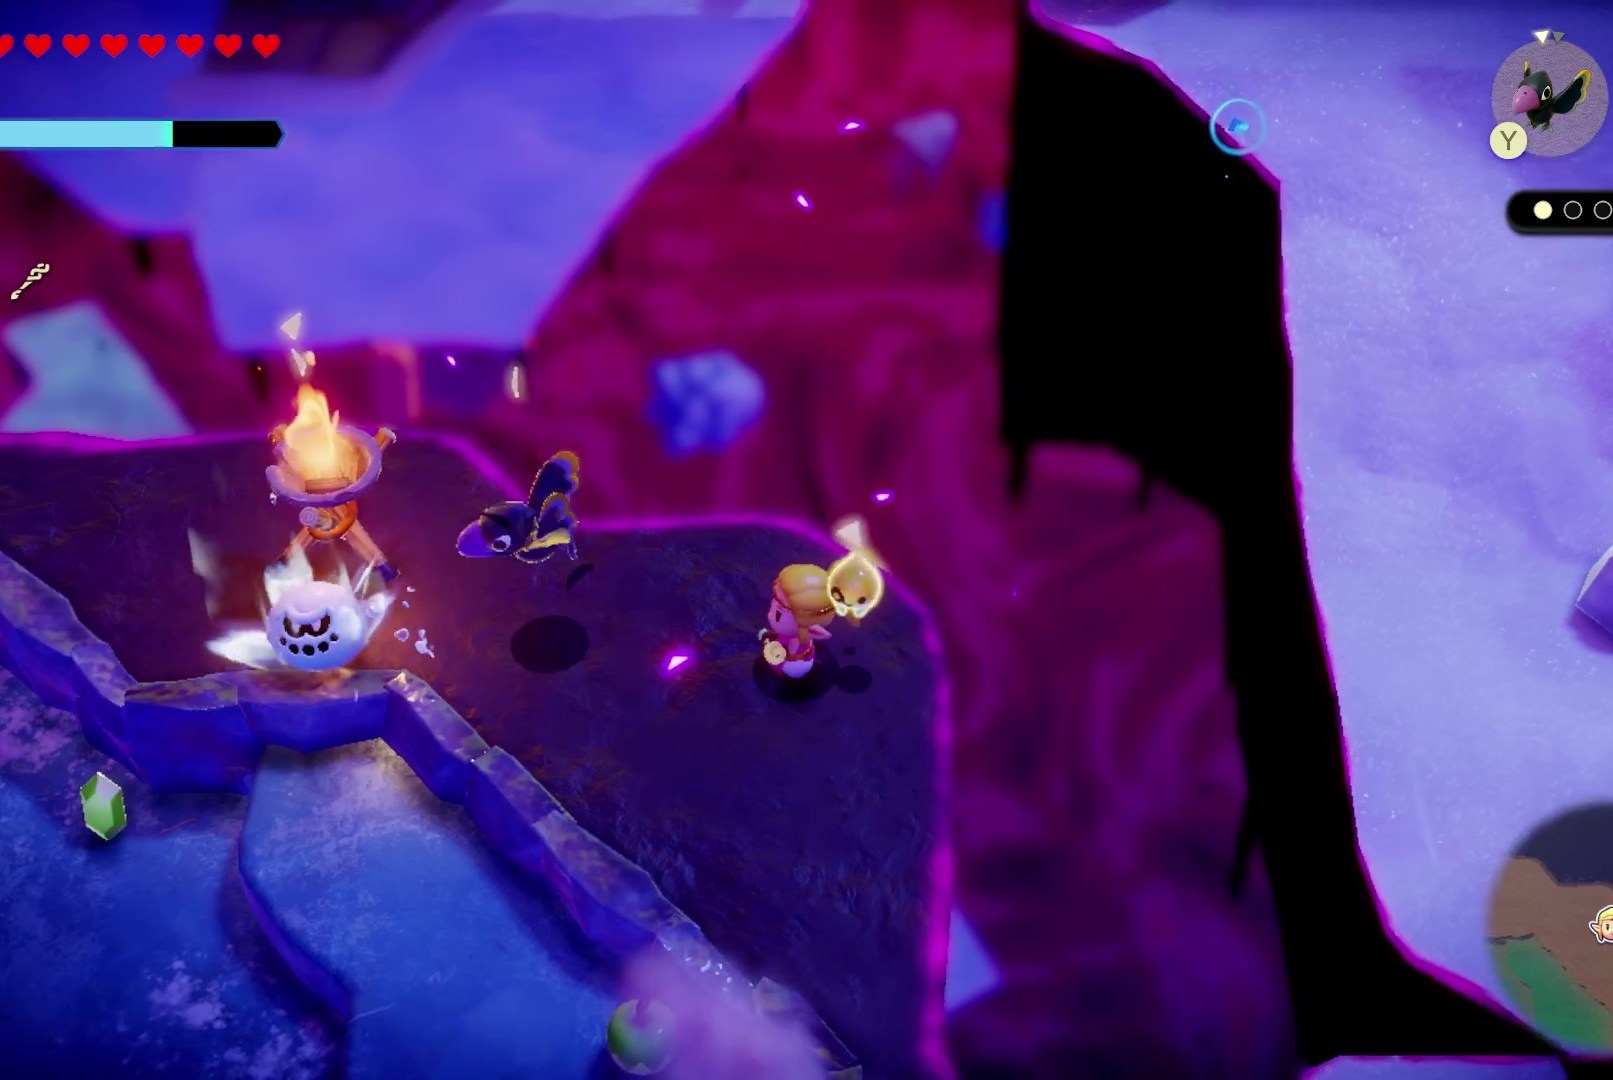
This time, go left instead of down. You’ll find some more ice pillars and a very tall, very angry-looking snowman creature. Put a brazier next to him and he’ll be toast… well, mostly.
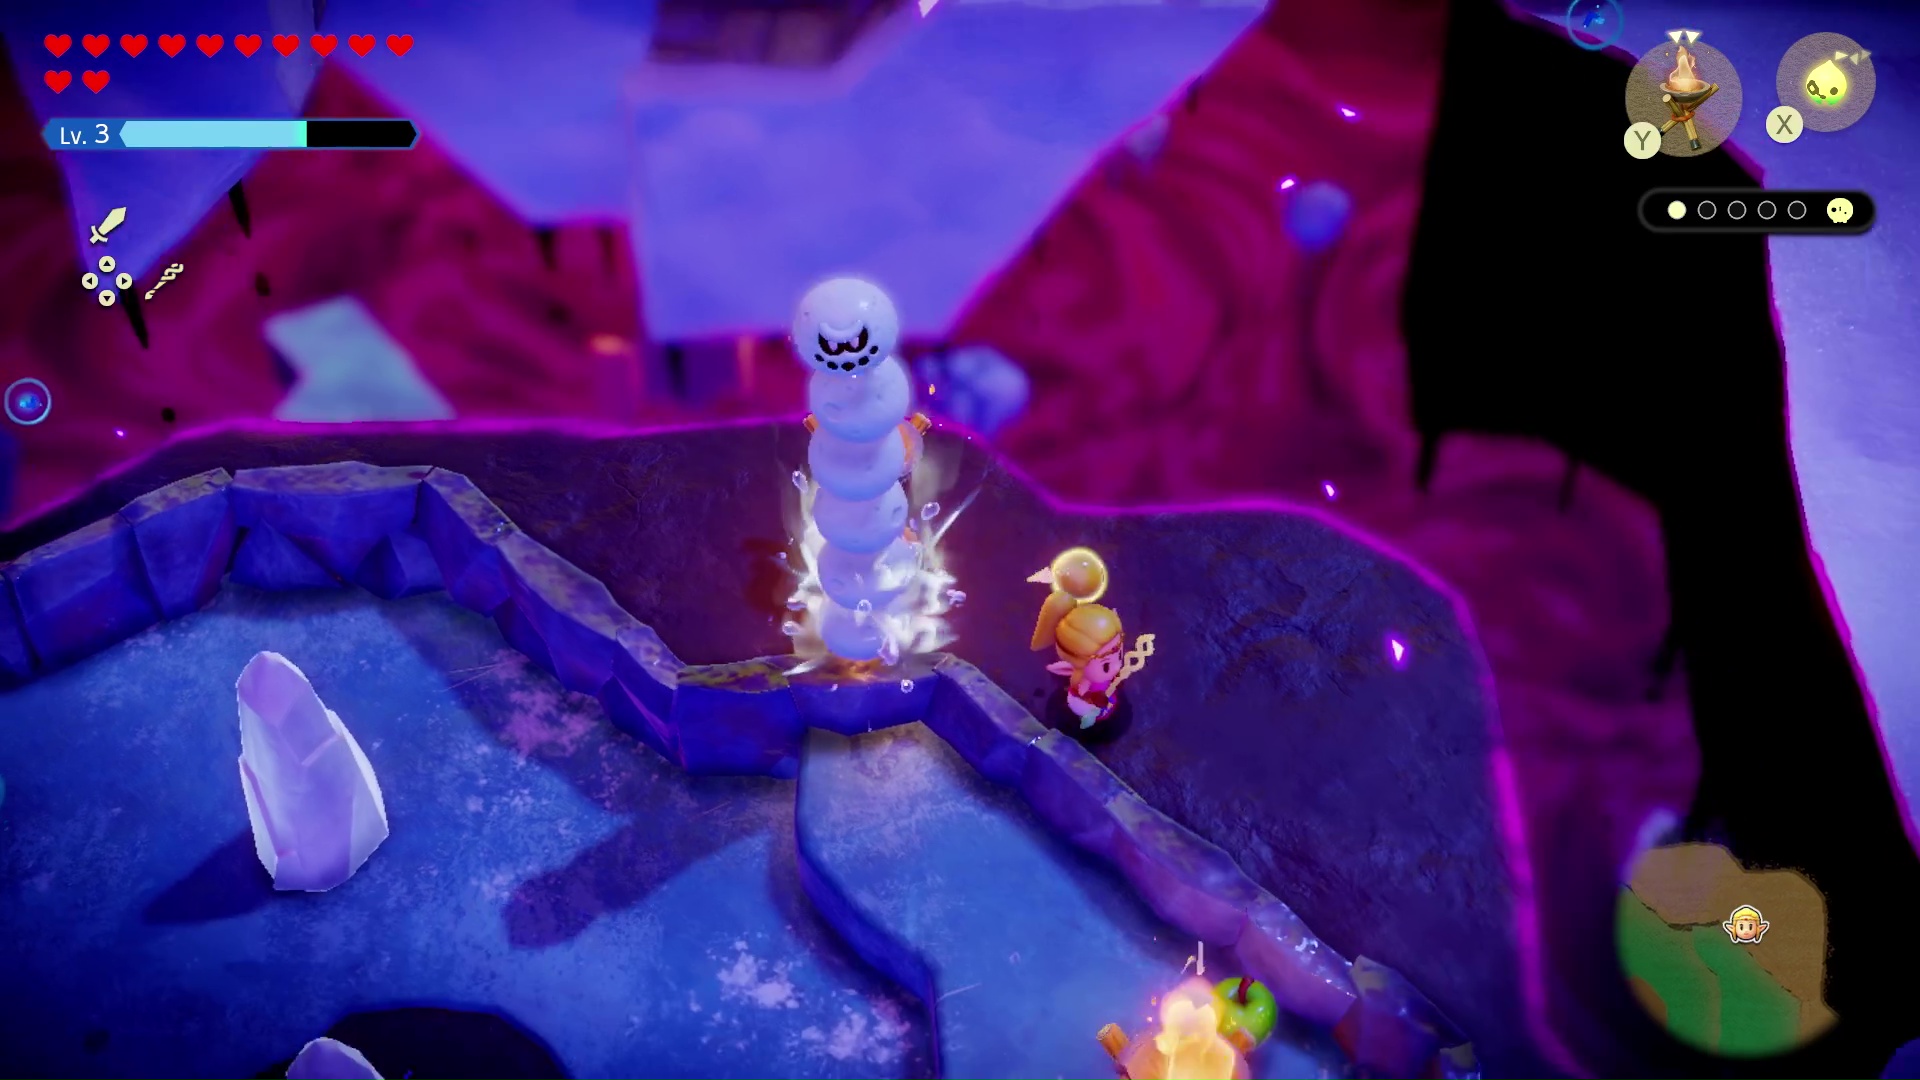
The snowman’s head will remain. Summon a crow to attack it.
If you melt the ice pillars in this surrounding area, you might find some goodies; the one on the far right has an electro apple under it. There’s also a snowman at the bottom of this area; let your crow do its job on him when you get to him.
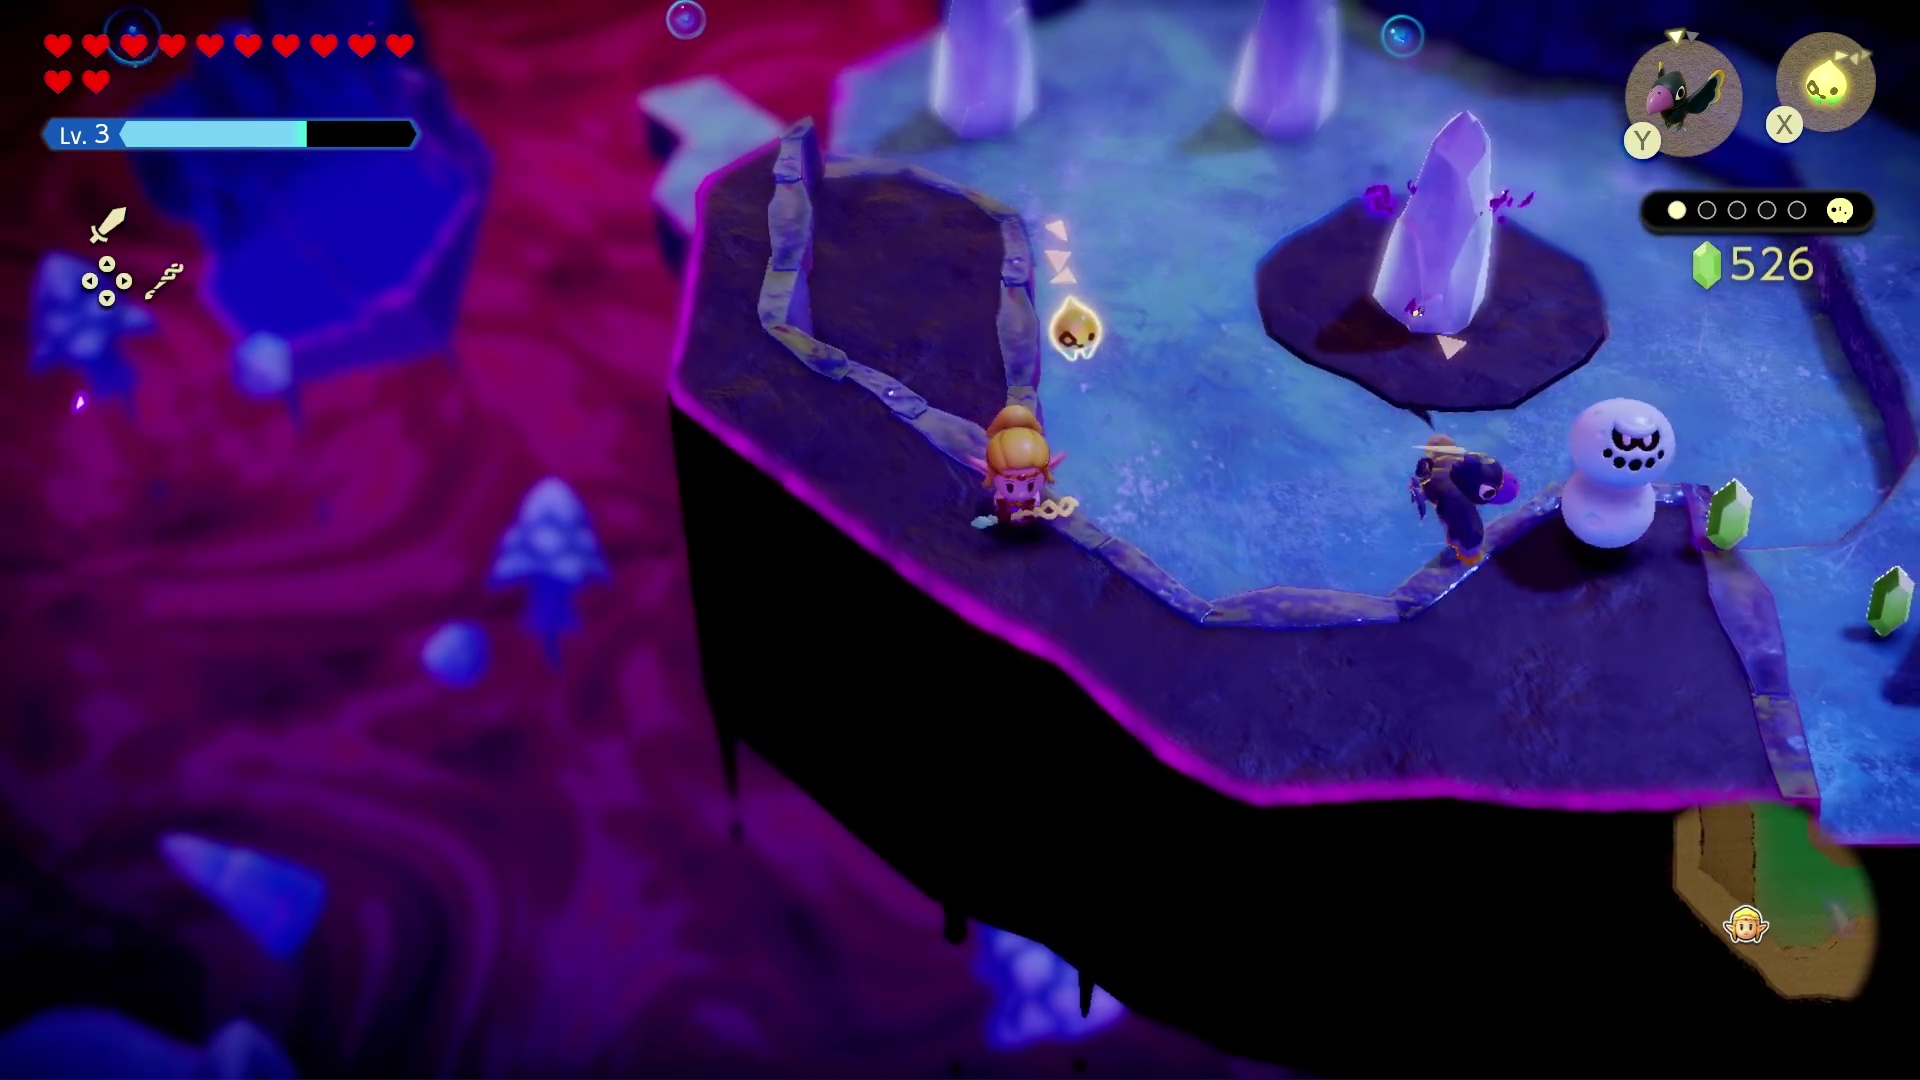
Once the snowmen have been dispatched, you’ll notice the ice hunk in the center of this area has some purple sparkly stuff shimmering around it. Looks like some of Tri’s friends are trapped in there! Put a brazier next to it and watch it melt.
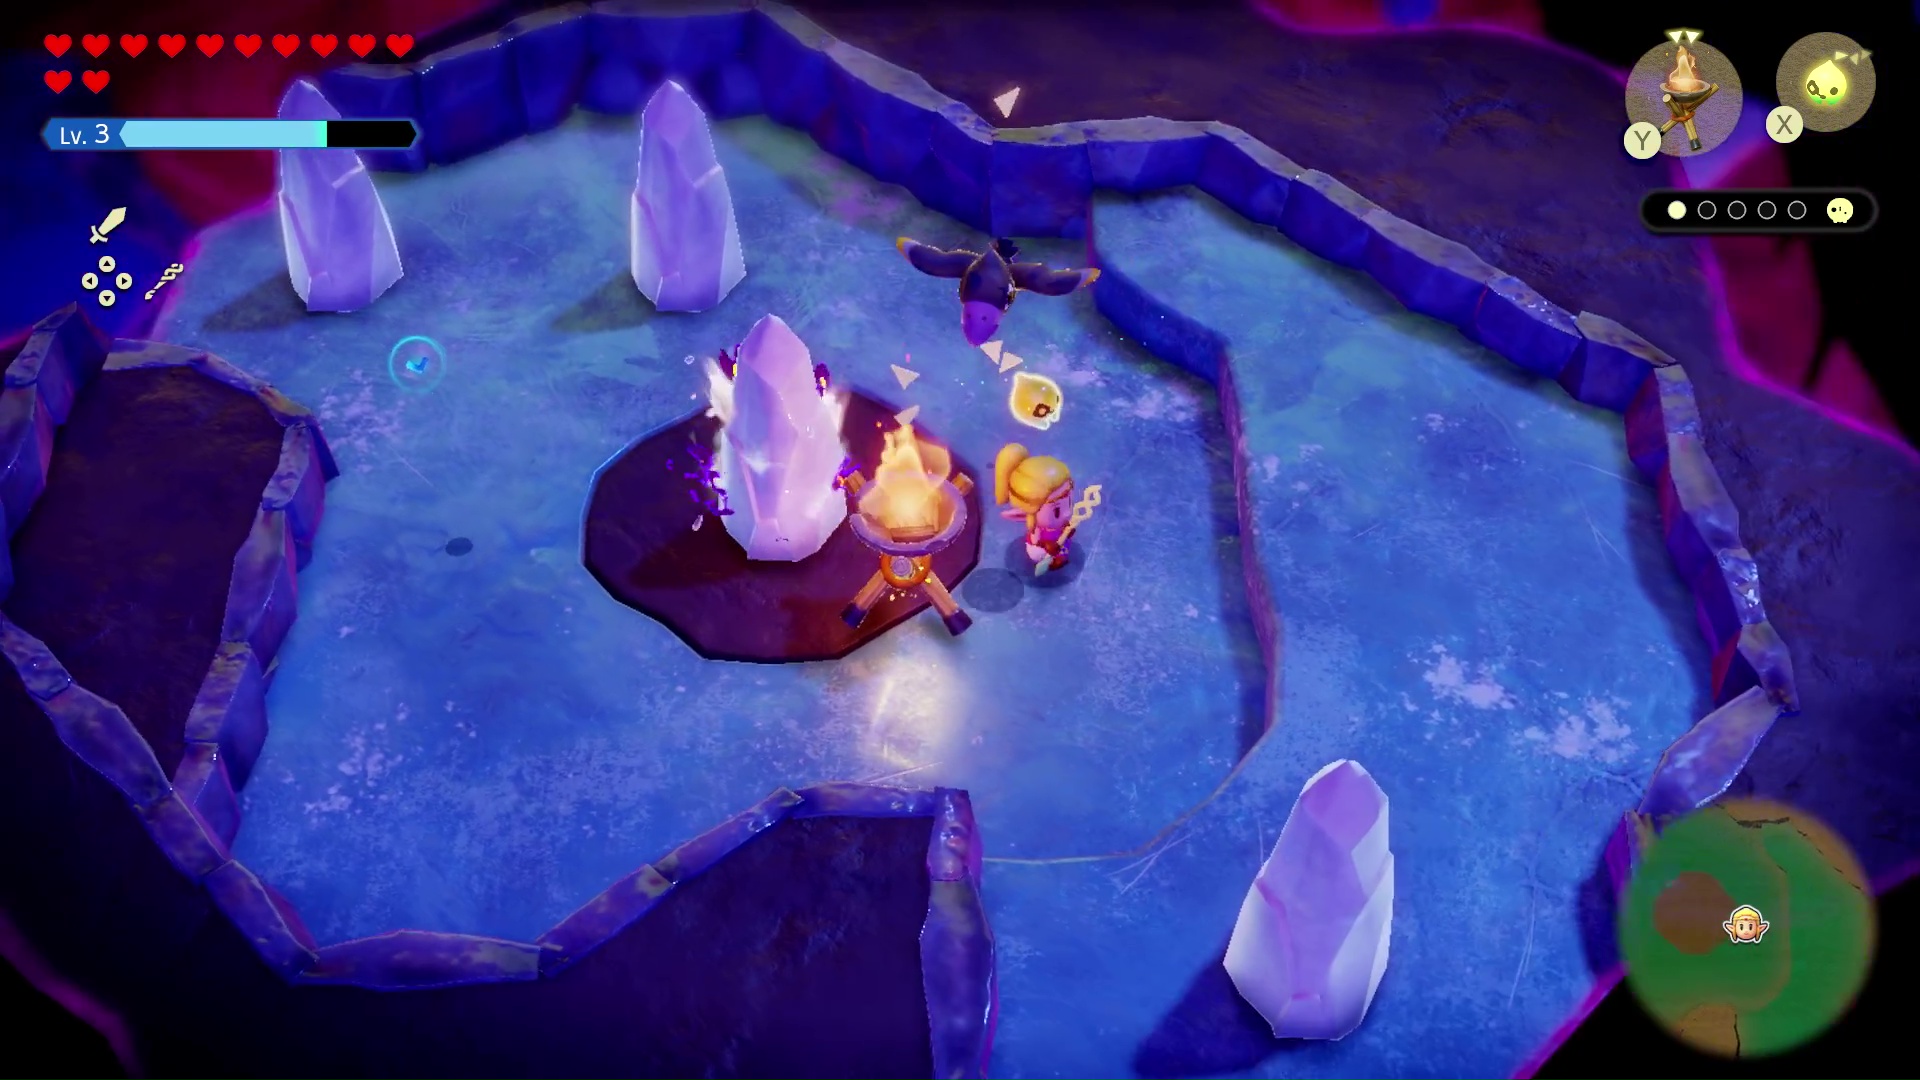
After grabbing those friends from their prison, return to the cave’s entrance once again.
Tri’s friend location #3
This time, head upwards …

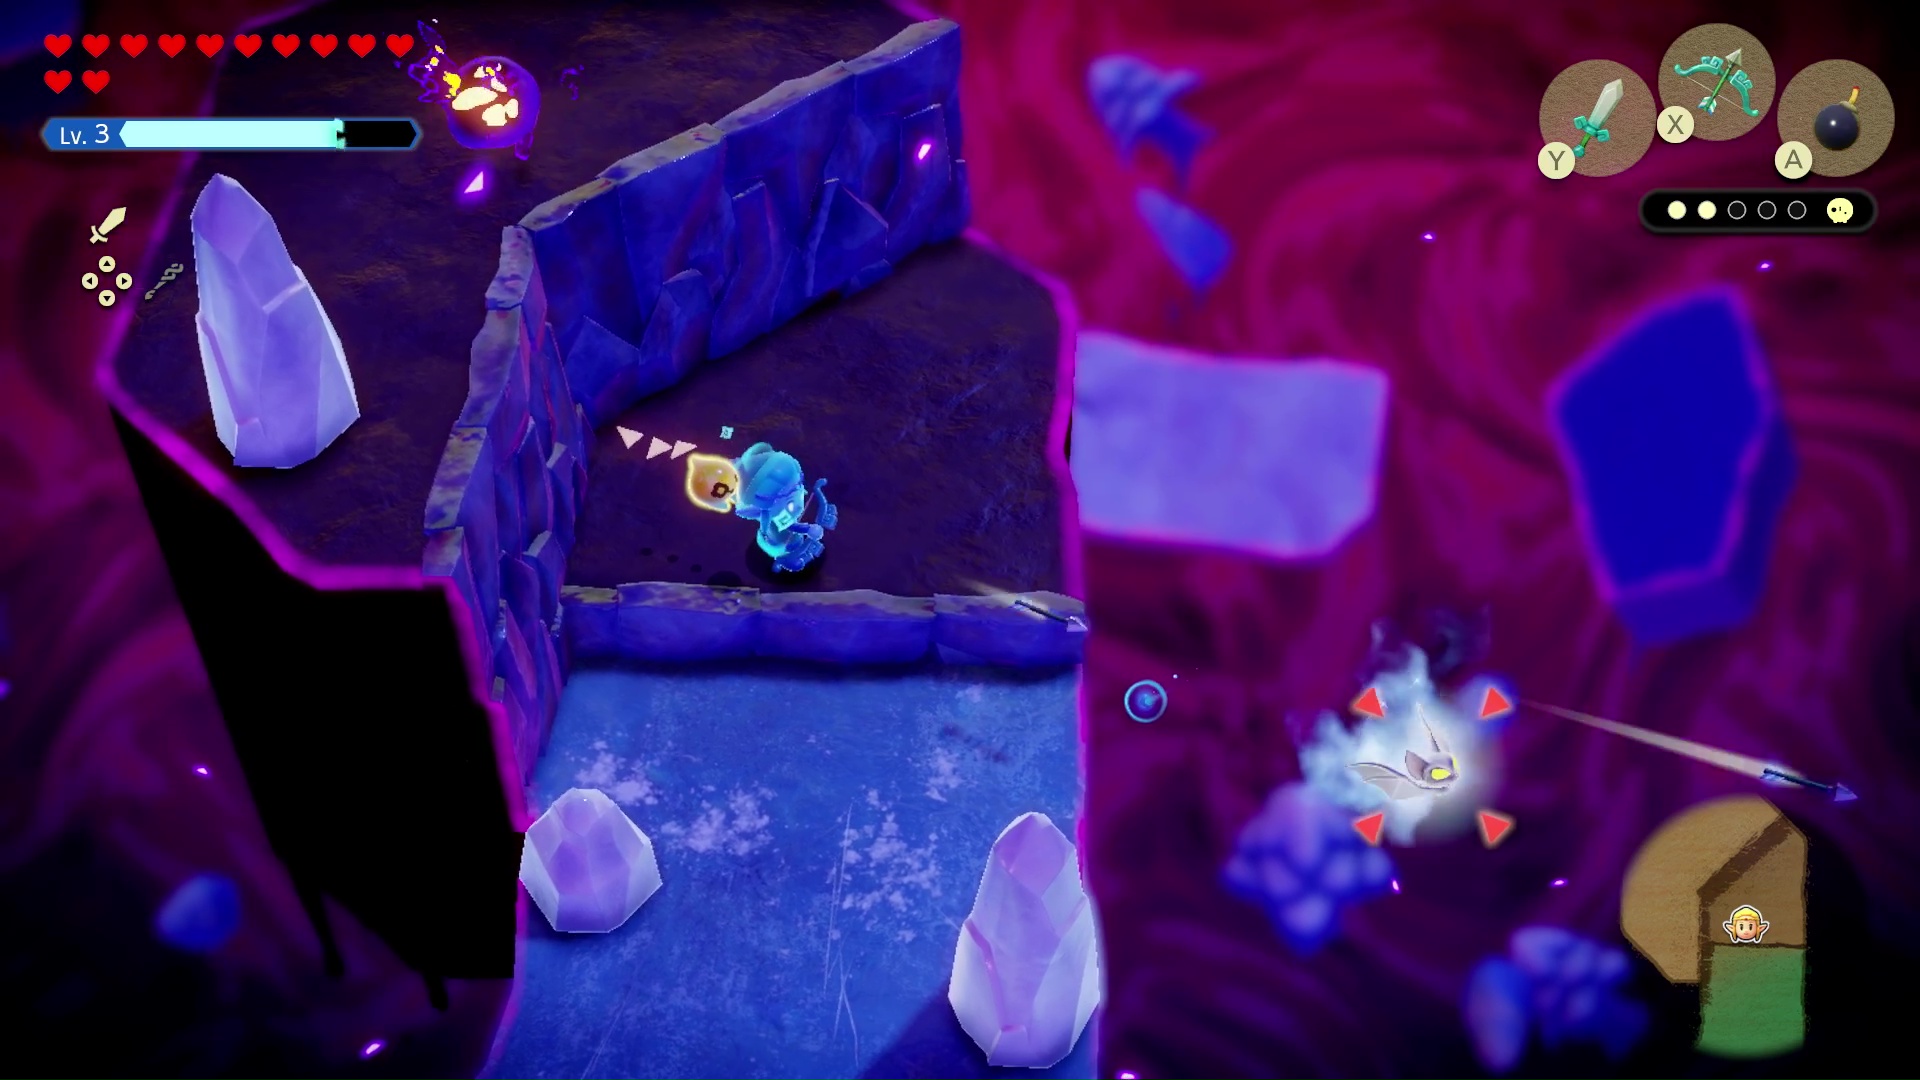
Then, take an immediate right, towards the pathway with two big ice pillars. There’s an ice keese flying around here, too.
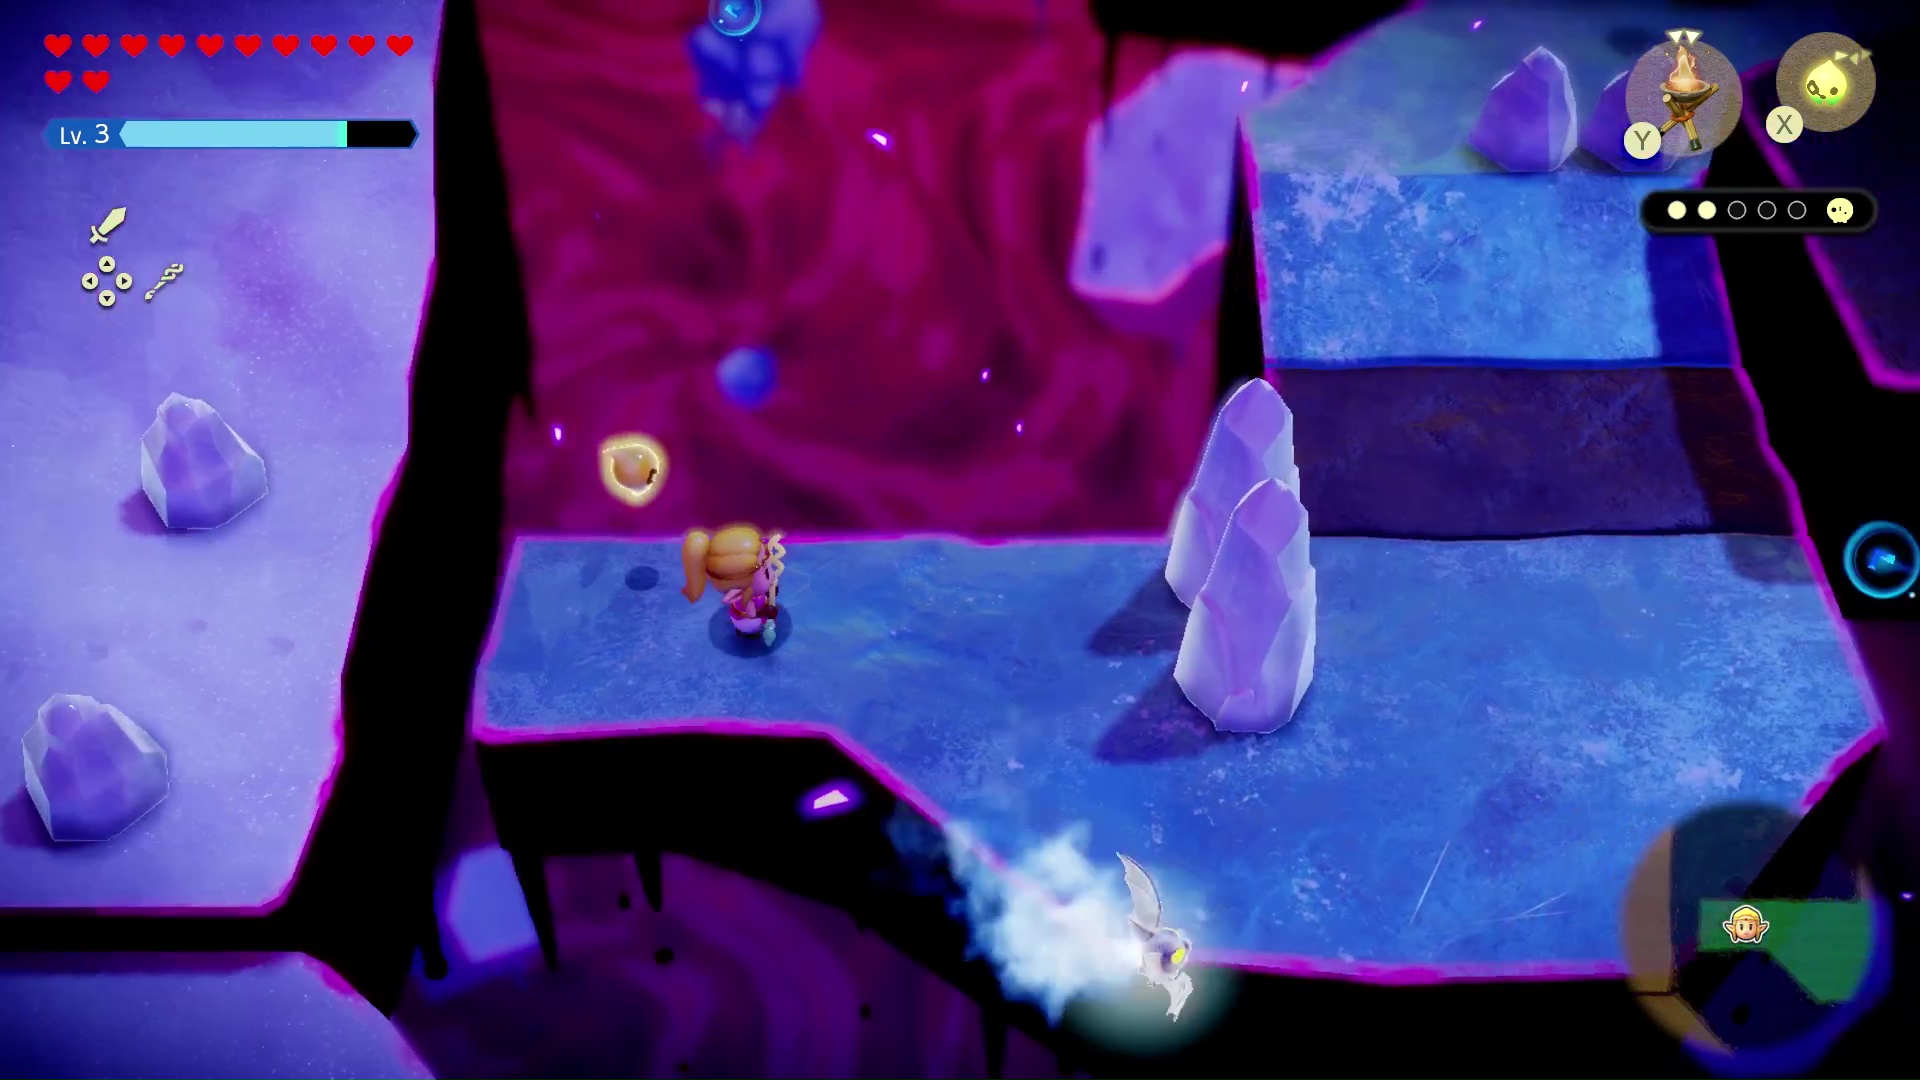
Using your brazier, melt the ice pillars so you can avoid the circling ice keese.
Head upwards. There will be another ice keese and more ice clumps to contend with. You know what to do: it’s brazier time!
If you feel like getting rid of the ice keese, you can whip out your Swordfighter form and take it down.
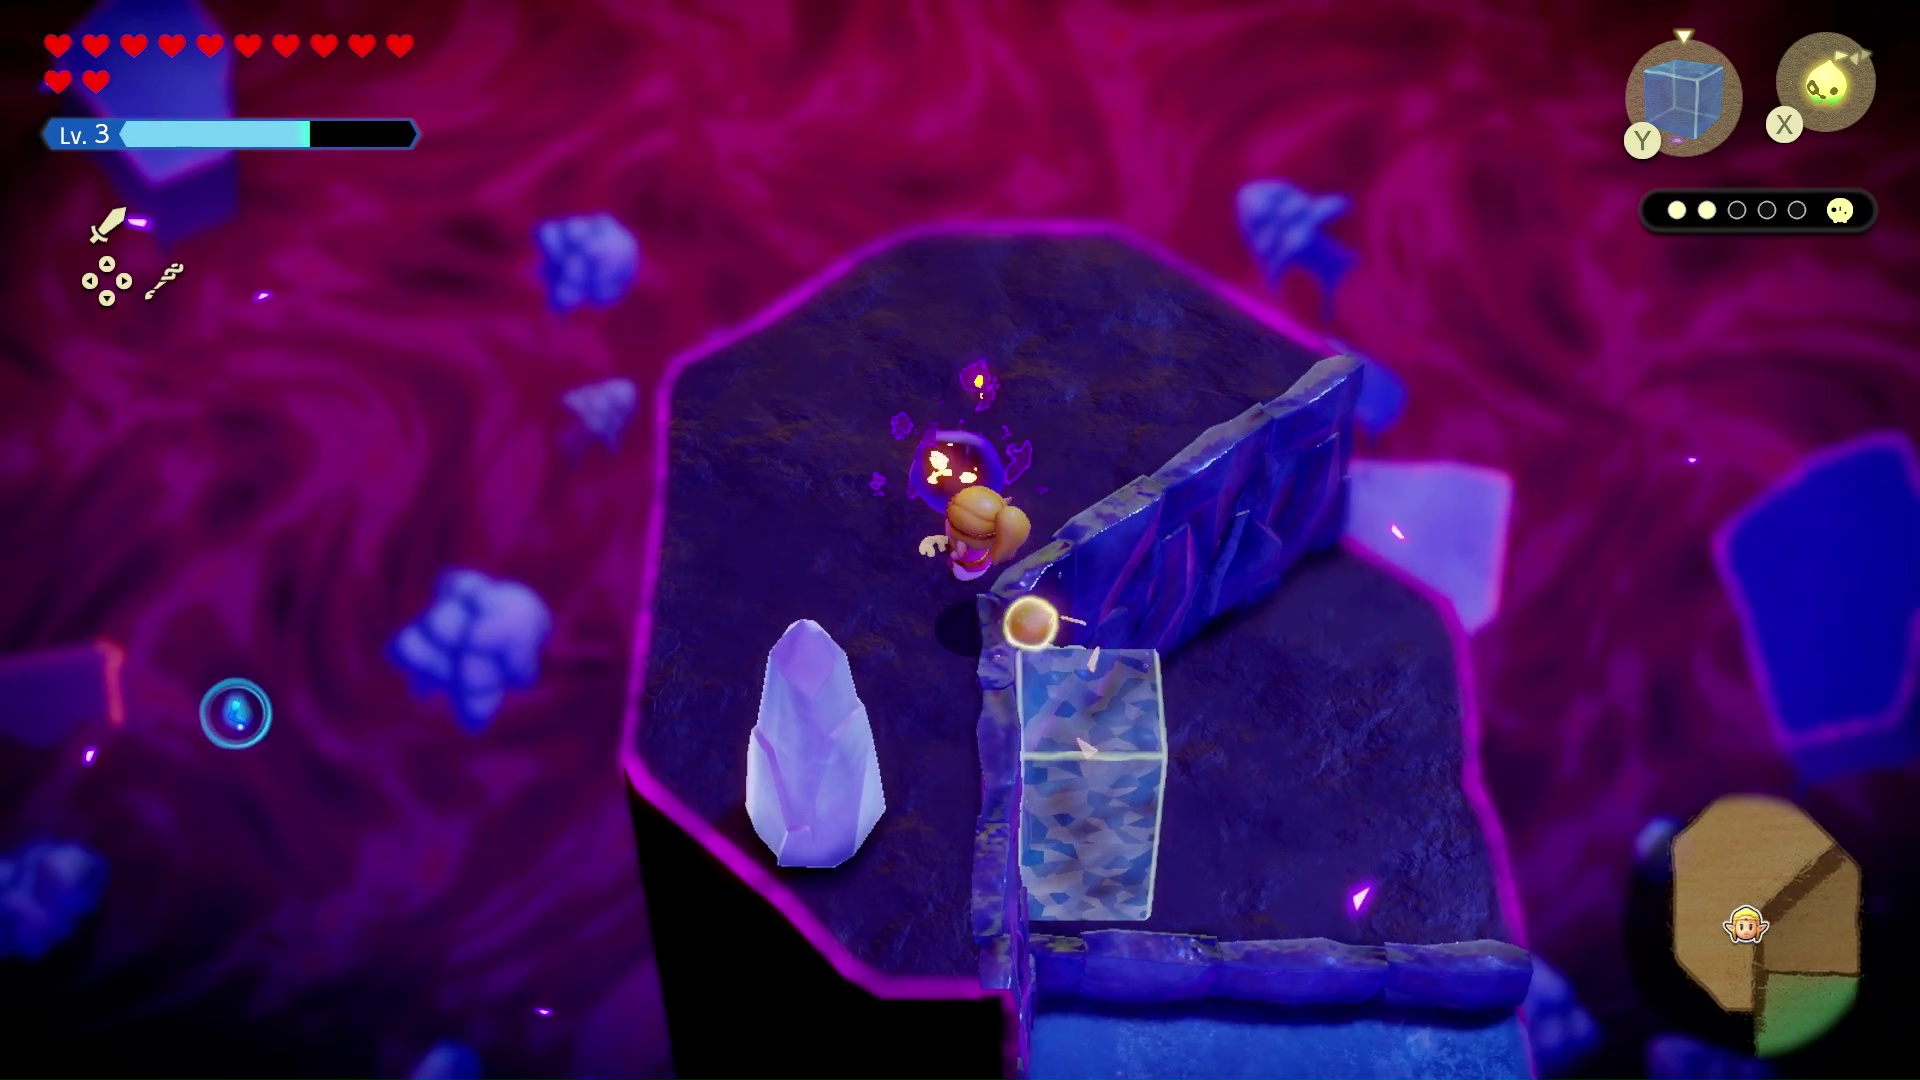
Turn around and you’ll notice that Tri’s next friend group in need of rescuing is up on a platform. Summoning a couple of water blocks will do the trick here.
Rescue Tri’s friends at the top of the platform. That’s three out of five friend groups down.
Tri’s friend location #4
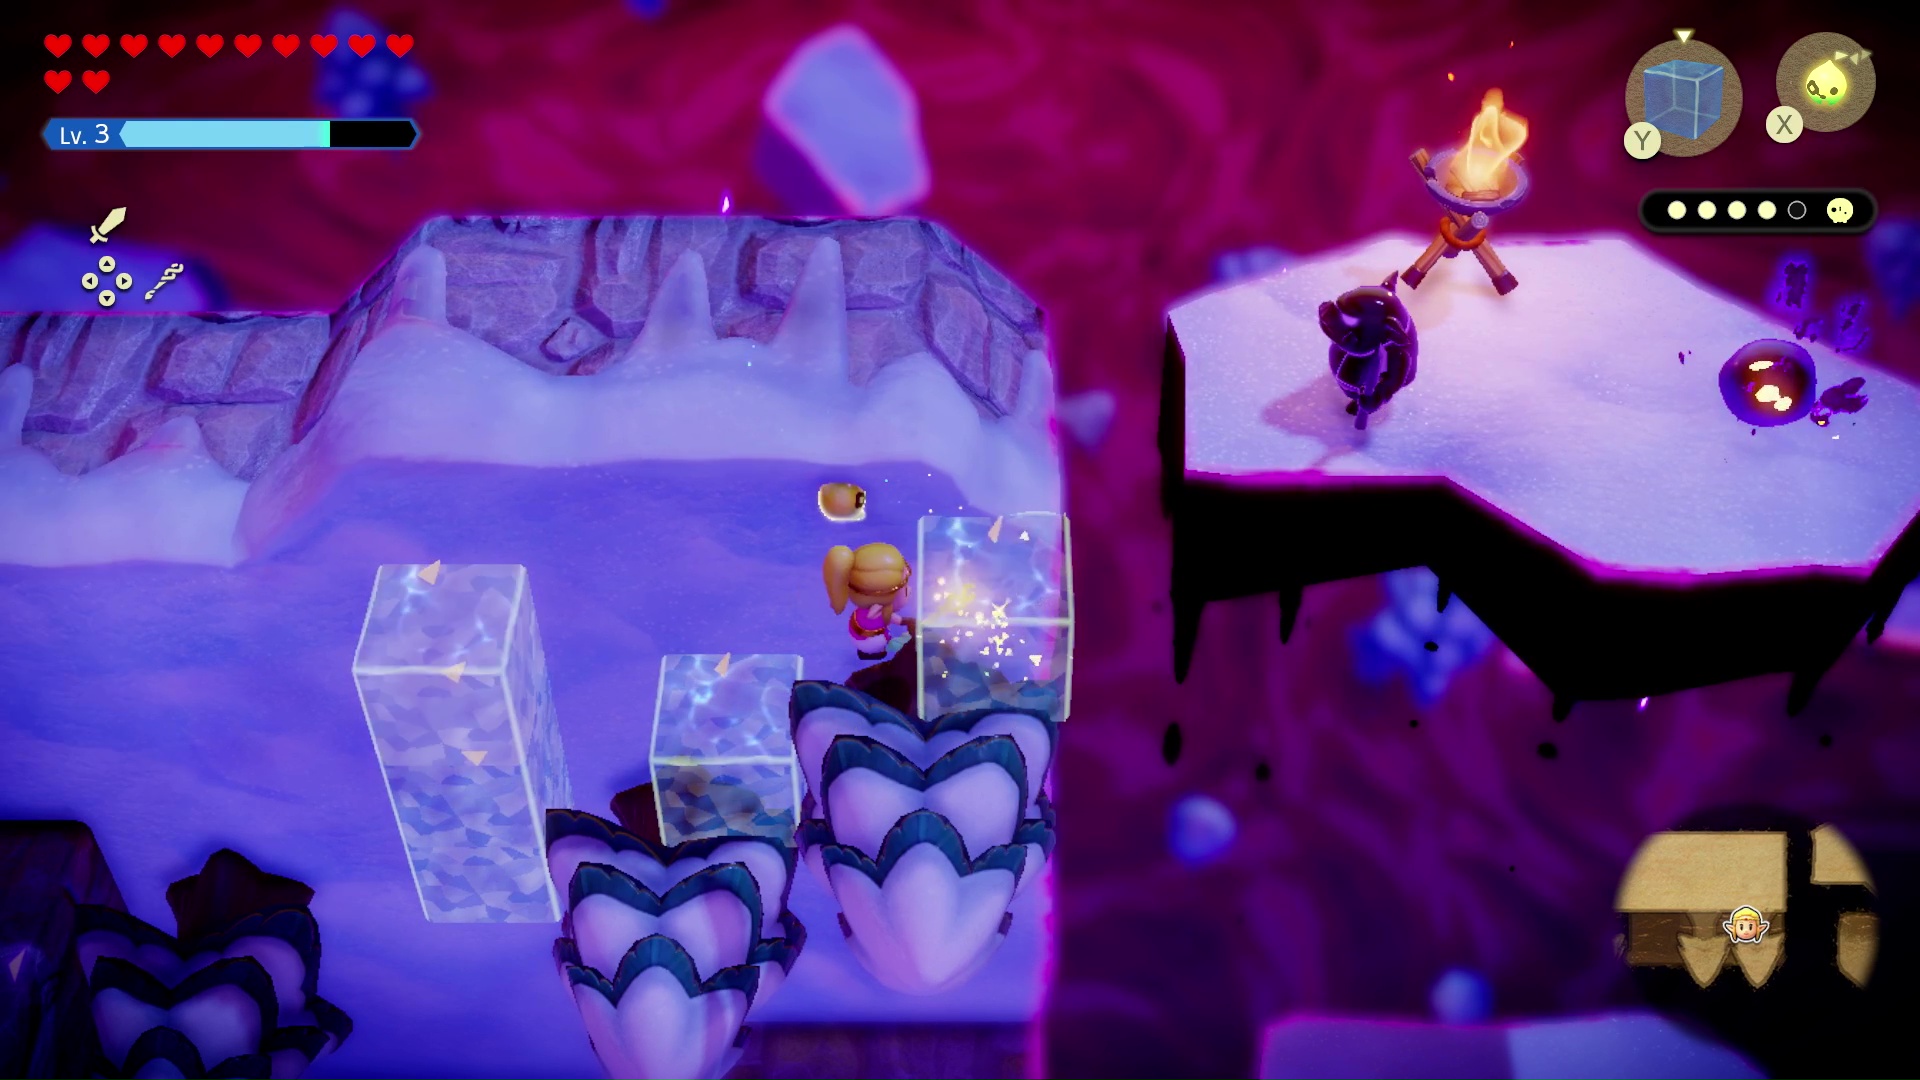
Head back down the path from whence you came, and take a right to head upwards, further up into the cave.
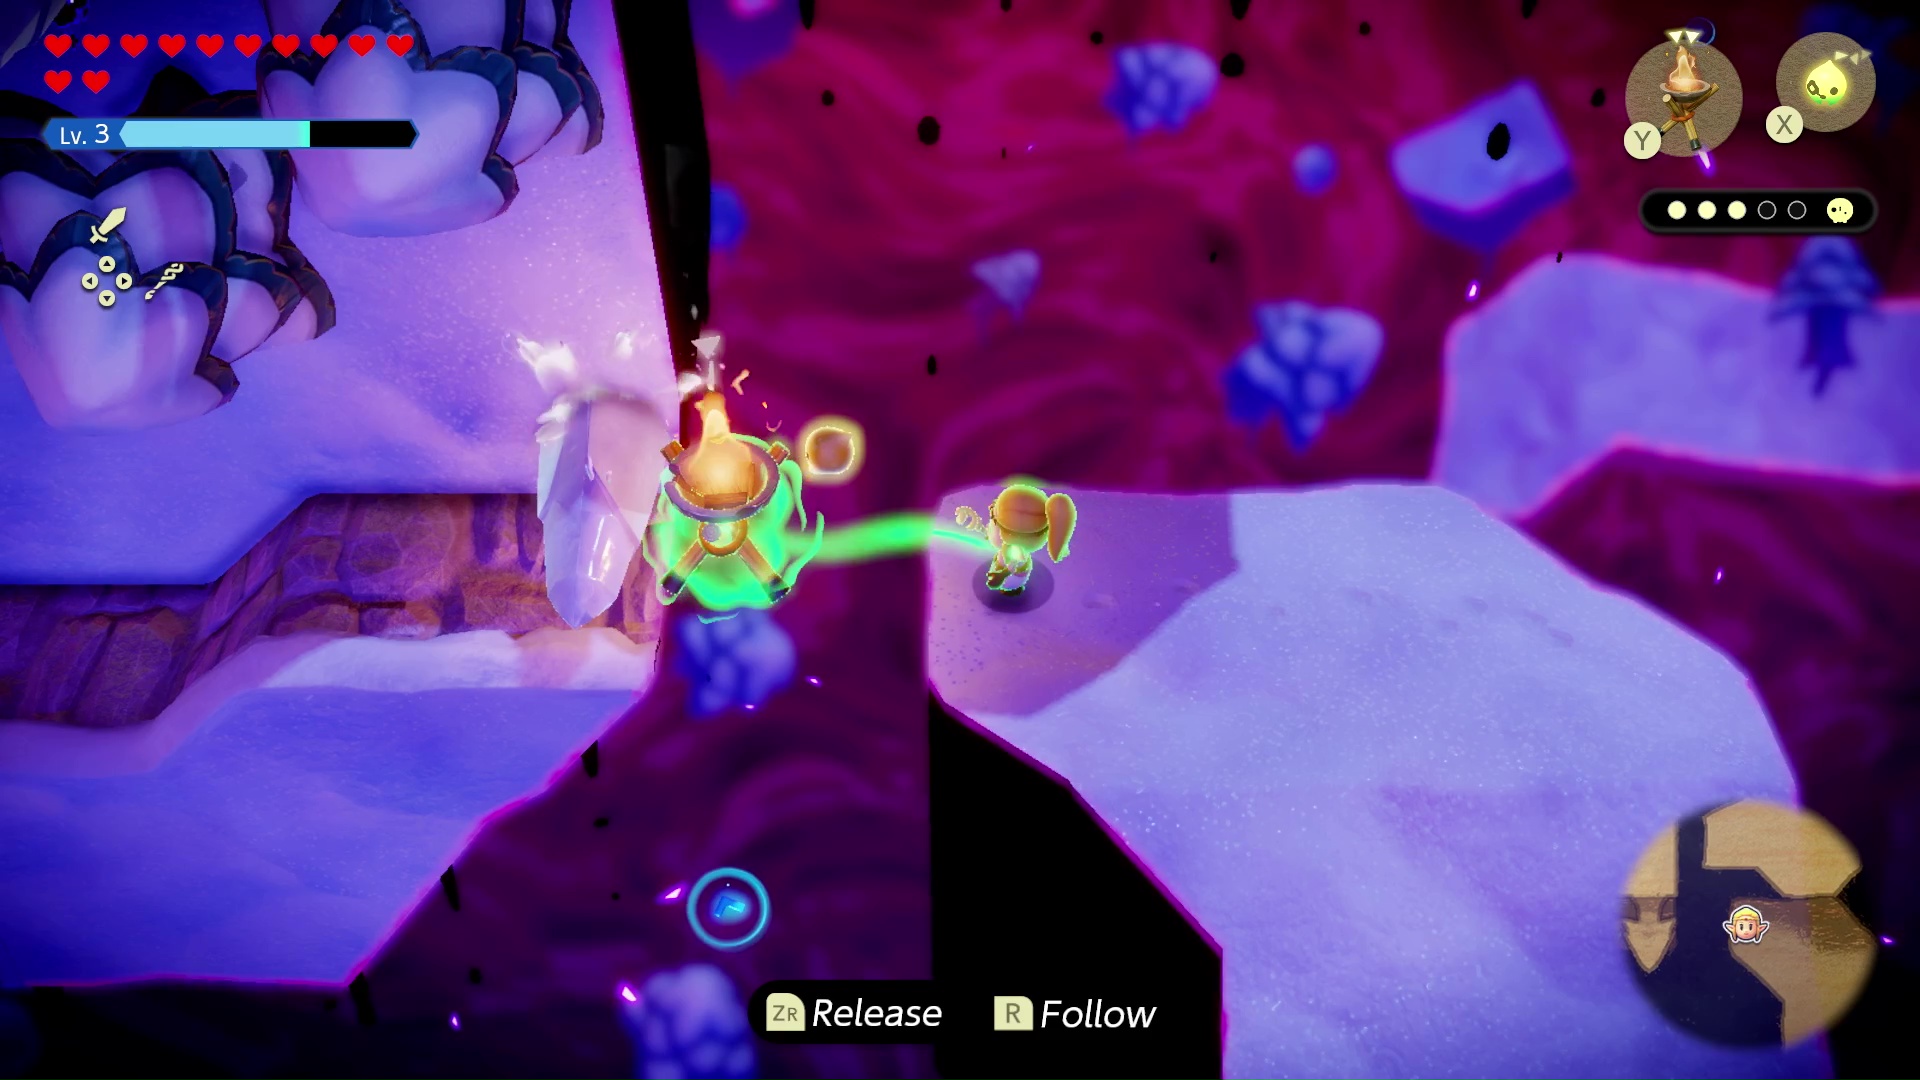
Once again, you’ll come across an ice pillar across a gap. Summon a brazier and levitate it further out in front of you, with Tri’s help, so you can melt it from a slight distance.
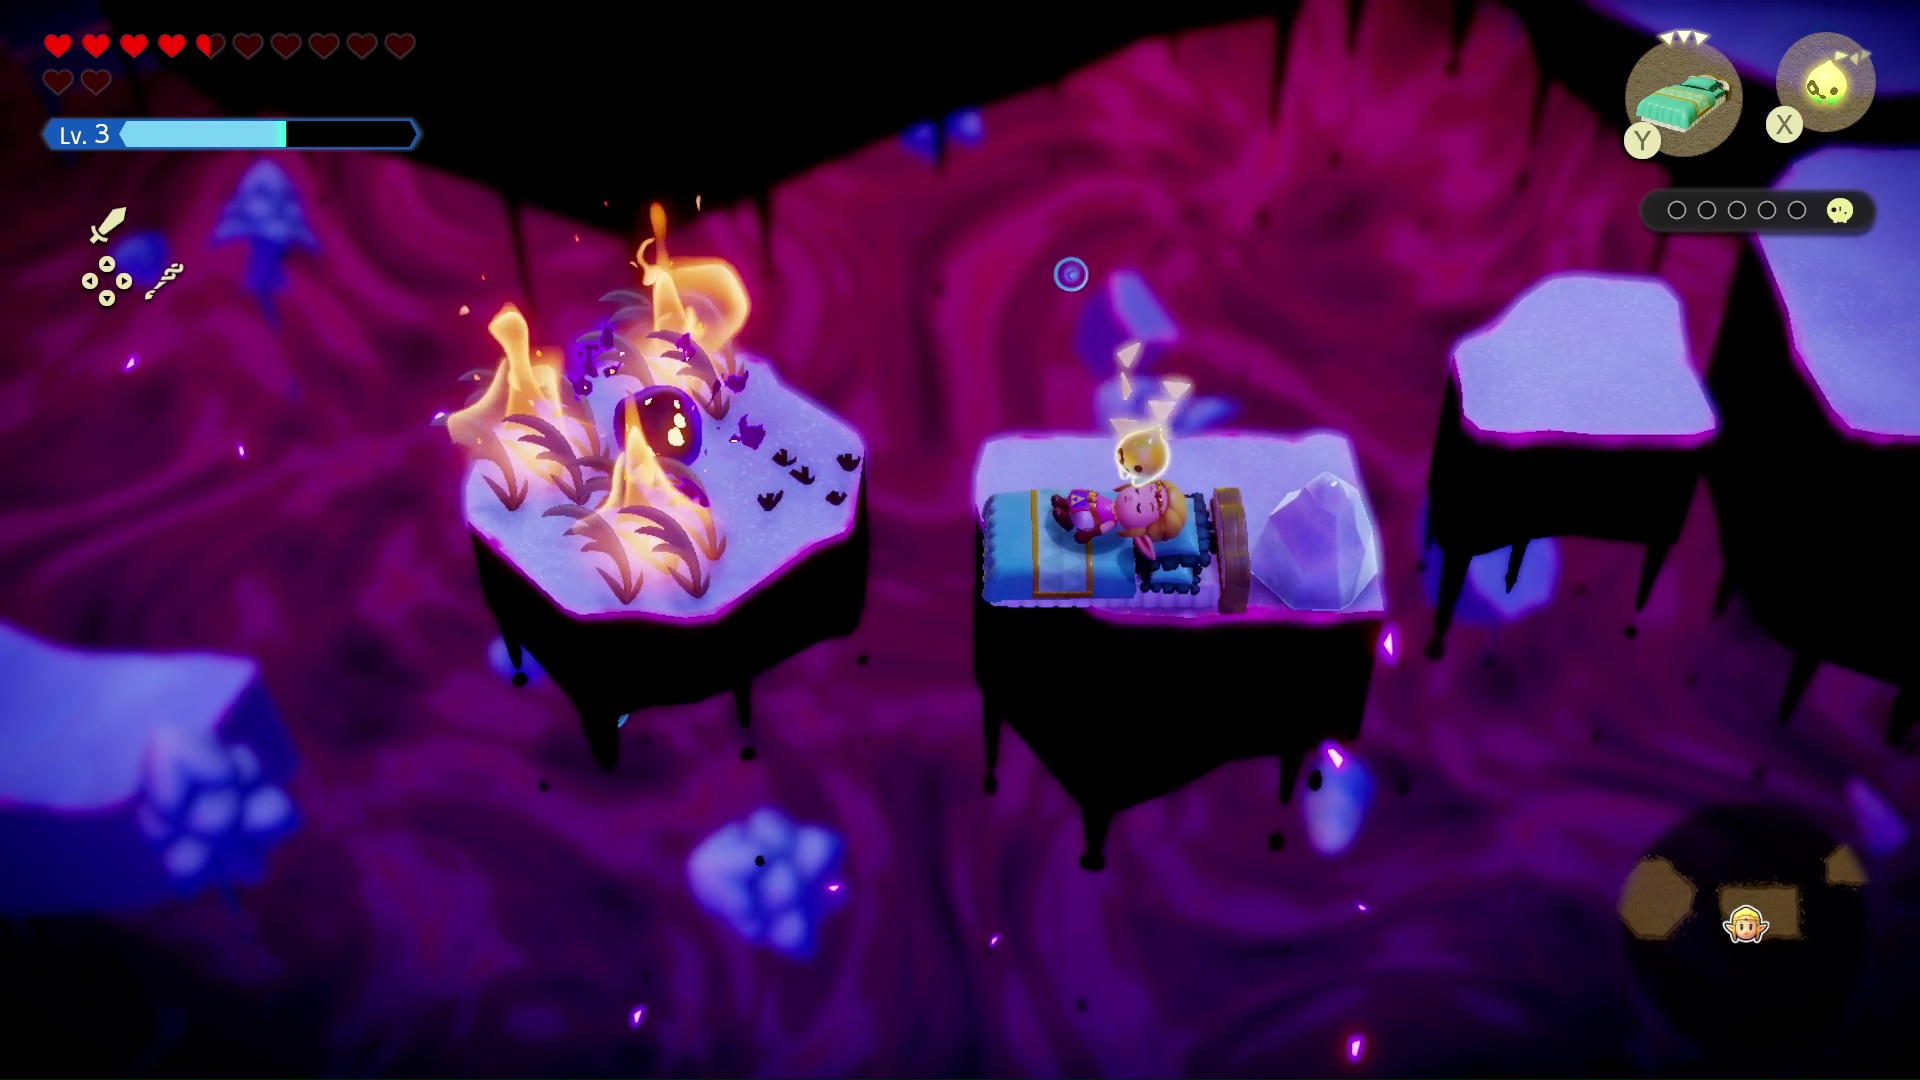
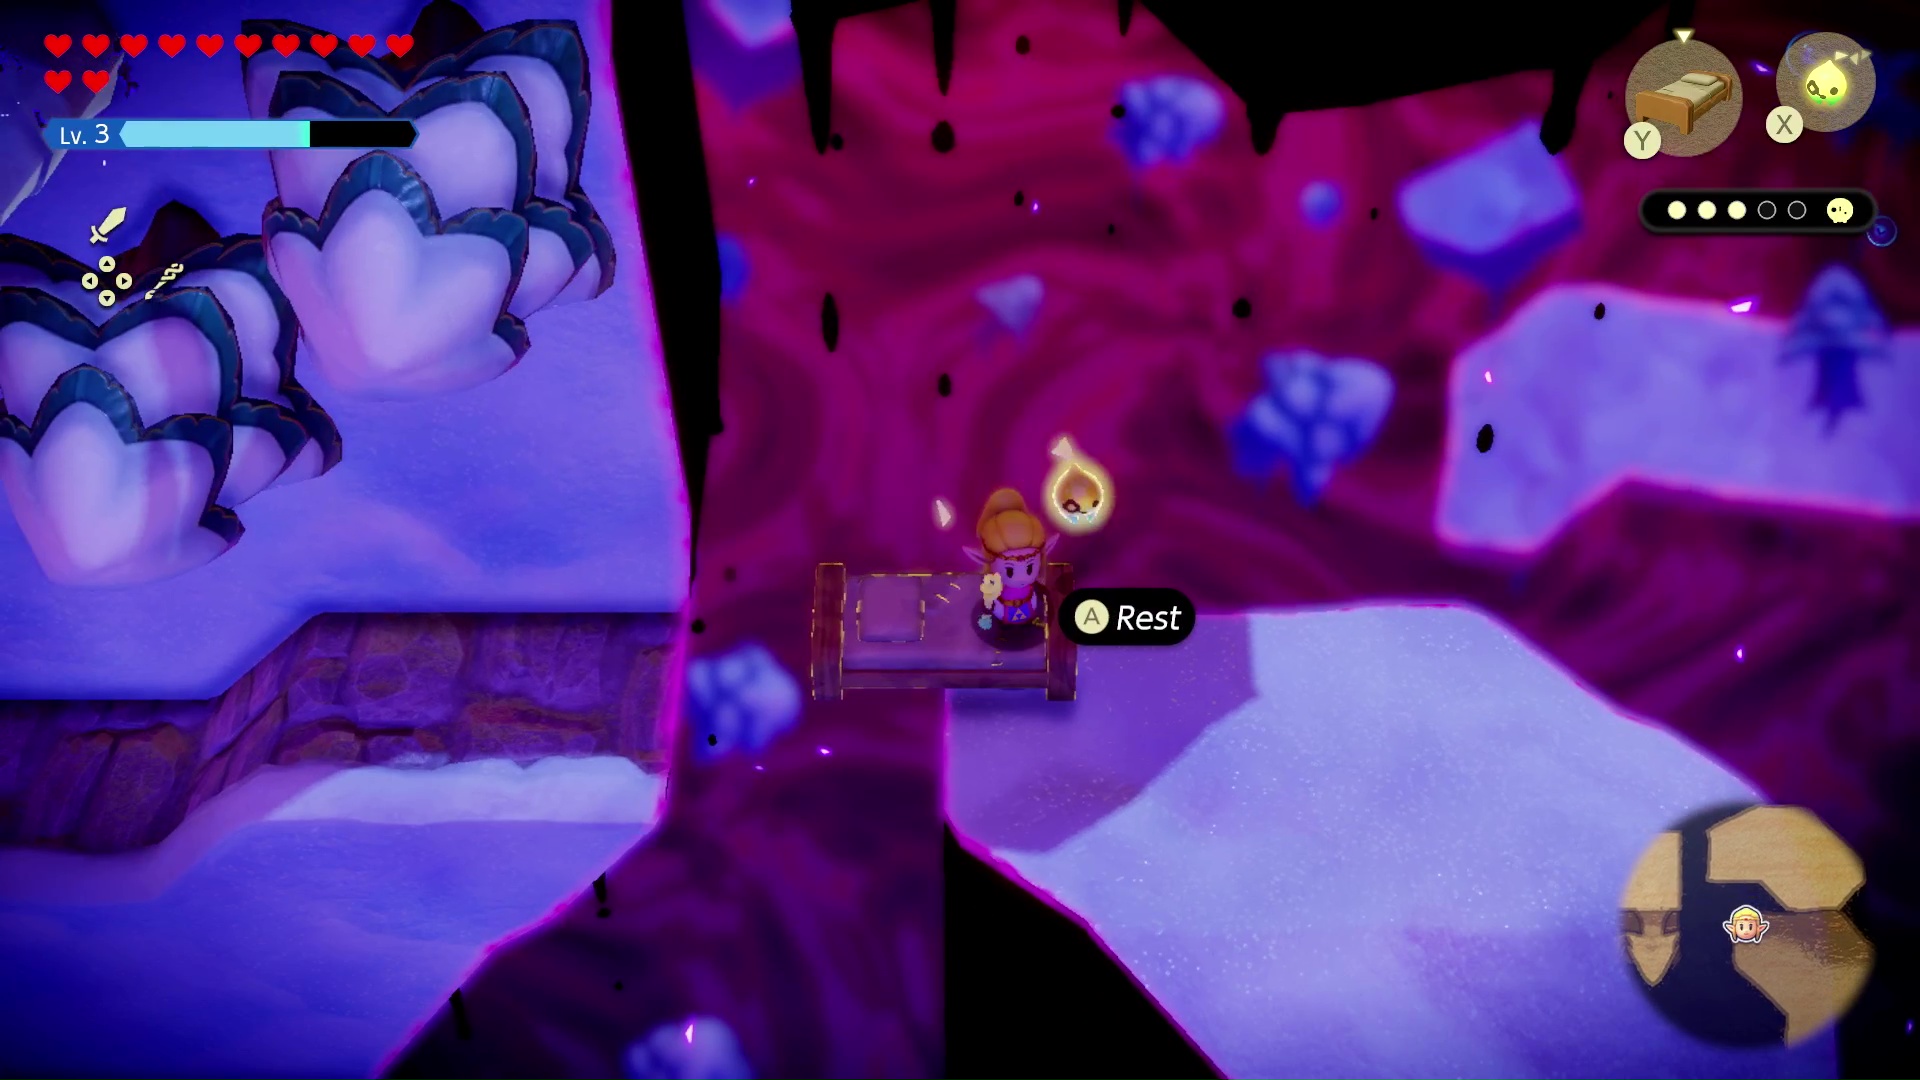
Once the path has been cleared, that gap still looks pretty far to jump. We summoned a bed for Zelda to stand on so she was a bit closer to the next platform.
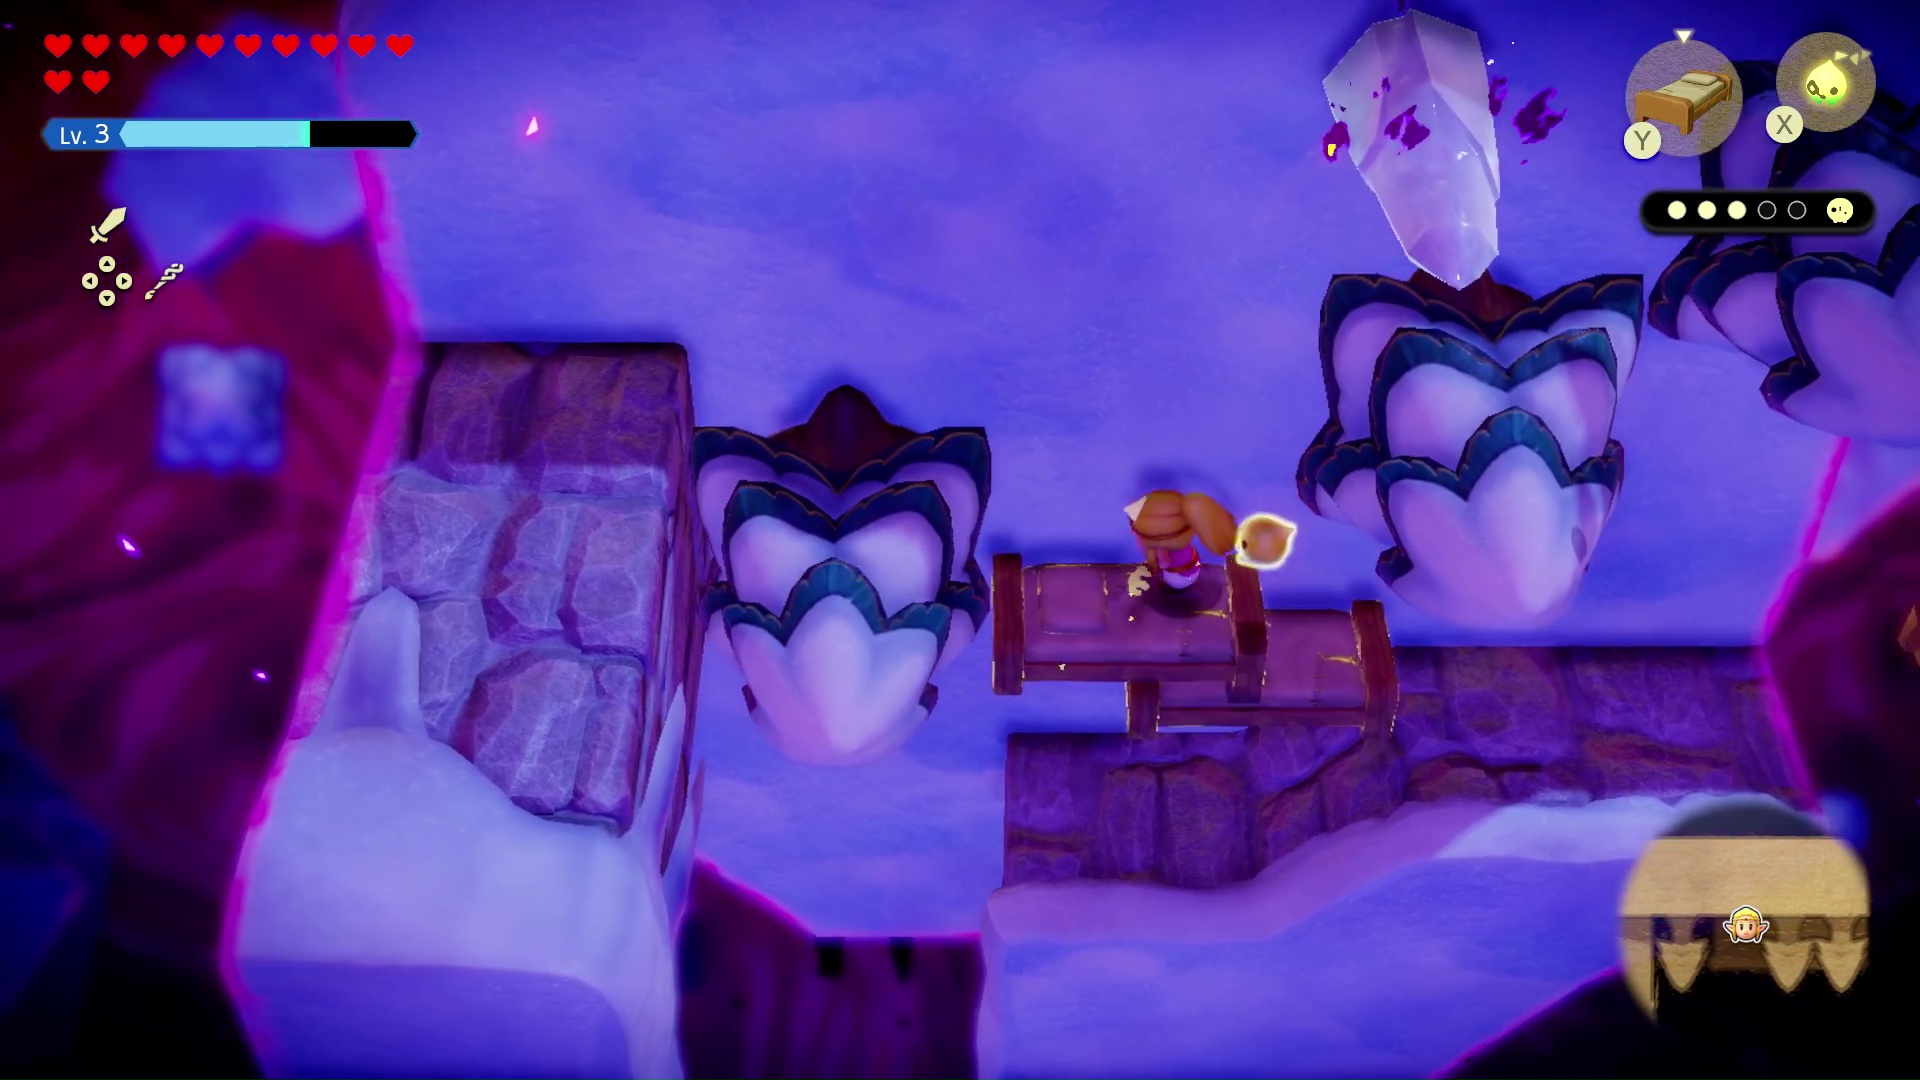
Next, you’ll walk along a platform next to some evergreen trees that have grown straight out of the snowy wall. We summoned more beds in order to climb up onto a tree and make it to a higher platform up ahead. Two beds weren’t quite enough to make it up to the tree, though, so we threw on a couple of water blocks so Zelda could float up the rest of the way.
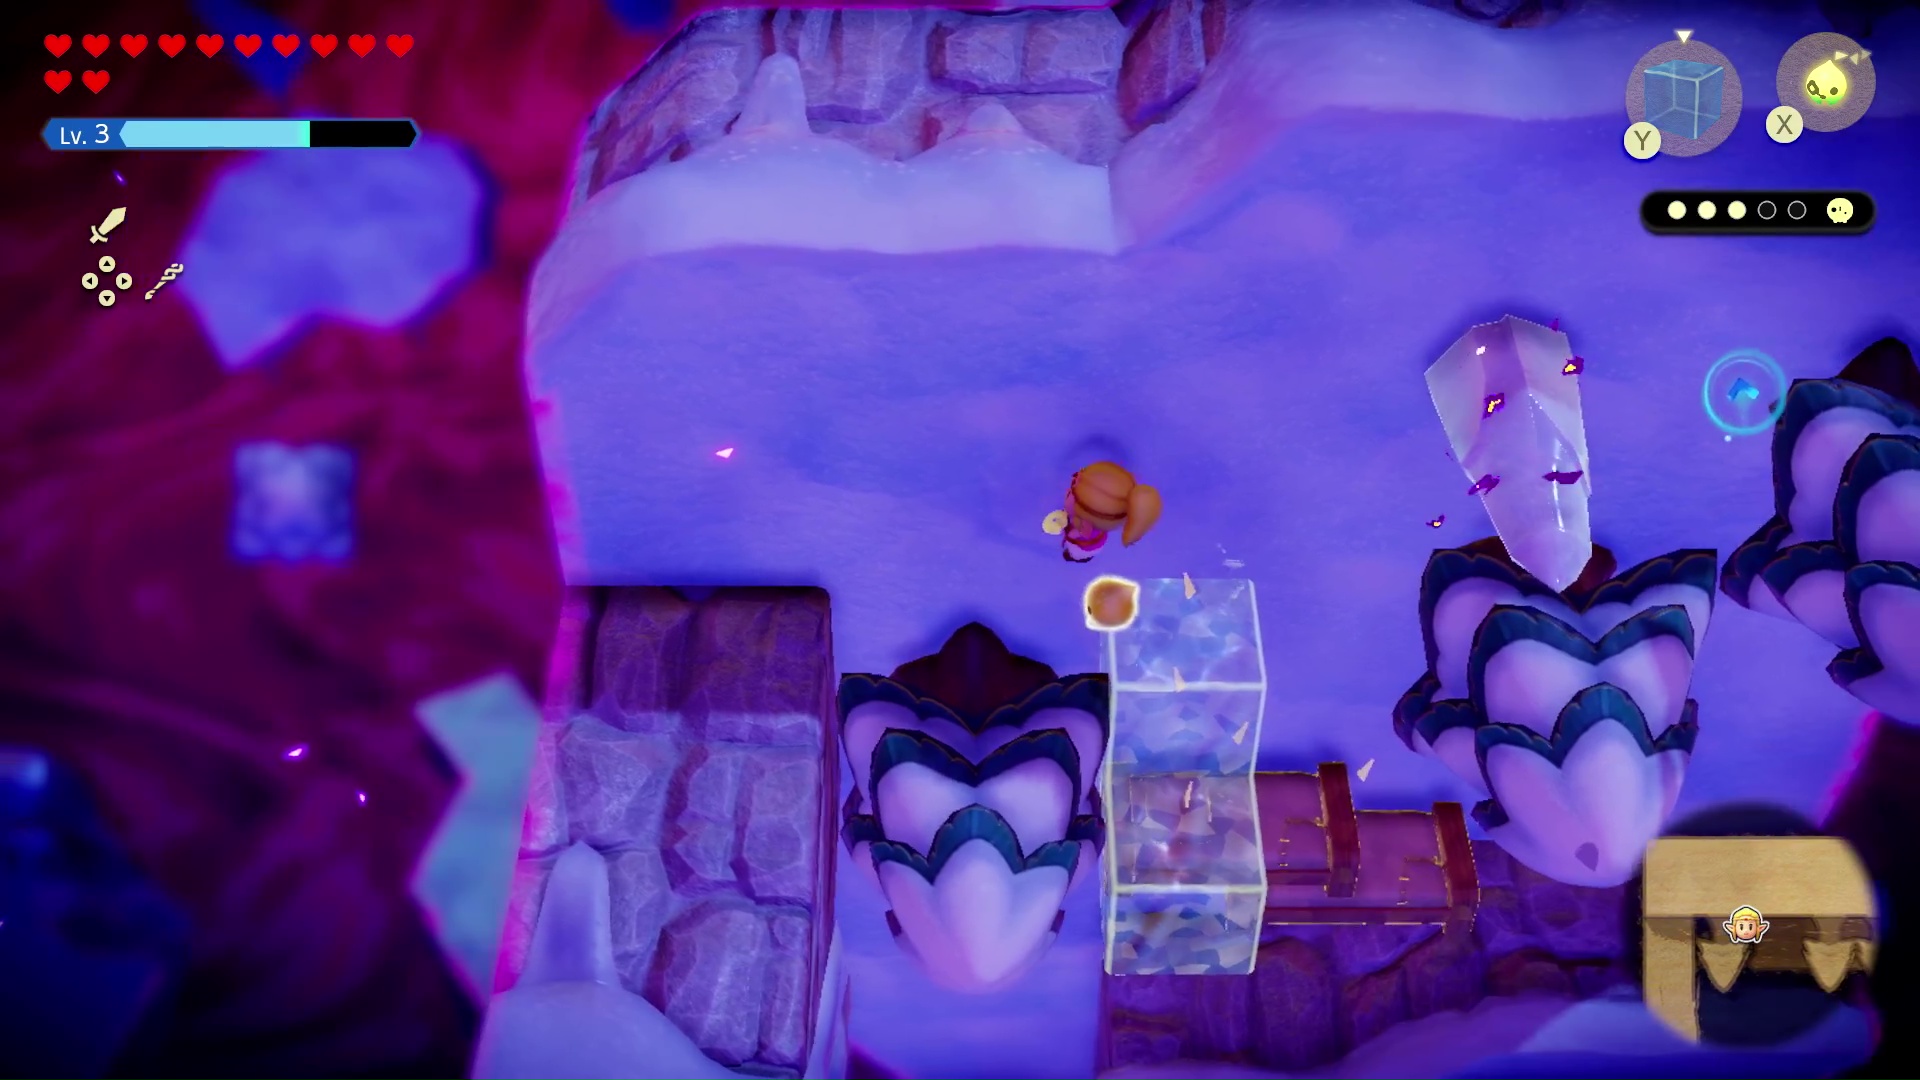
To the right, higher up, there’s an ice pillar with purple sparkles around it. We’ve got to melt that. But how to get over there? We started by daisy-chaining together some more water blocks…
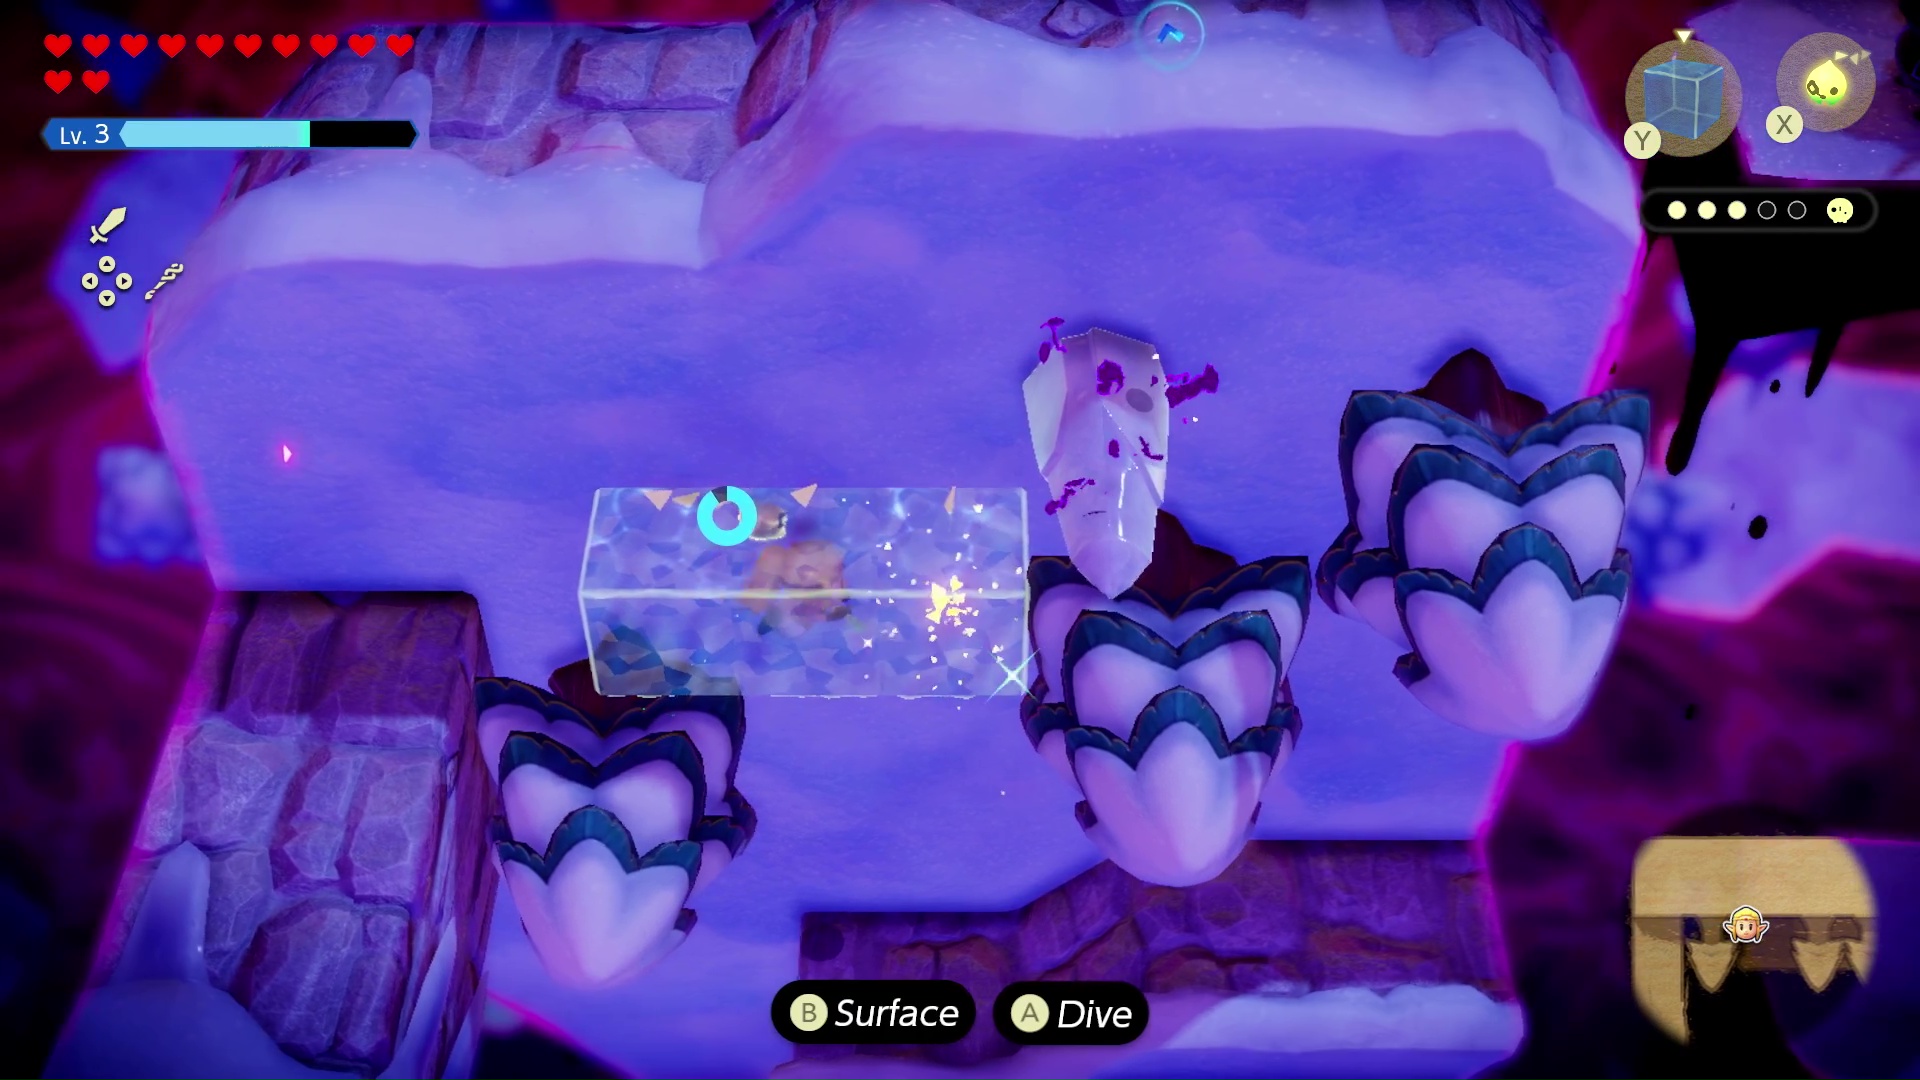
Then we built a tower of water blocks, high enough to jump over the ice pillar and onto the tree on the far side of it.
Guess what, it’s time to summon another brazier. Let’s melt that ice pillar, shall we?
That’s one more group of Tri’s friends freed, and one group remaining to find.
Tri’s friend location #5
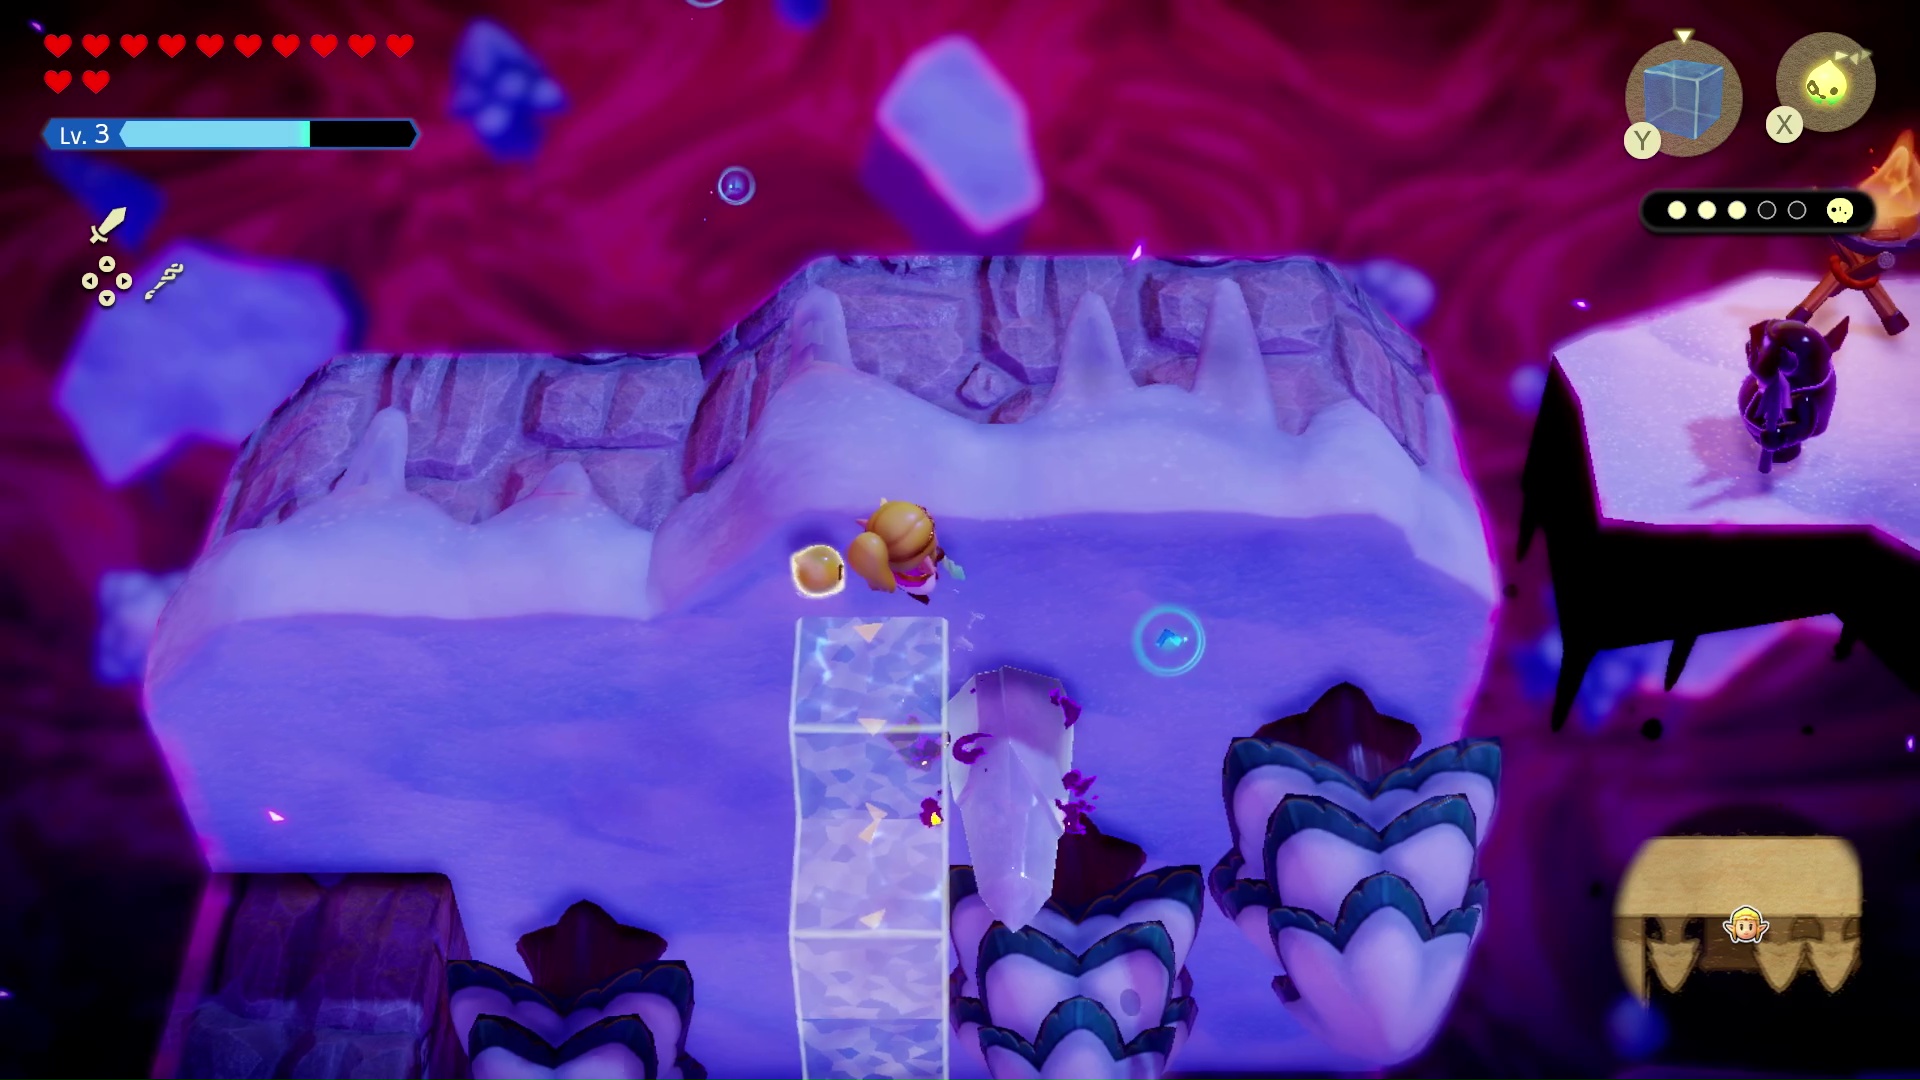
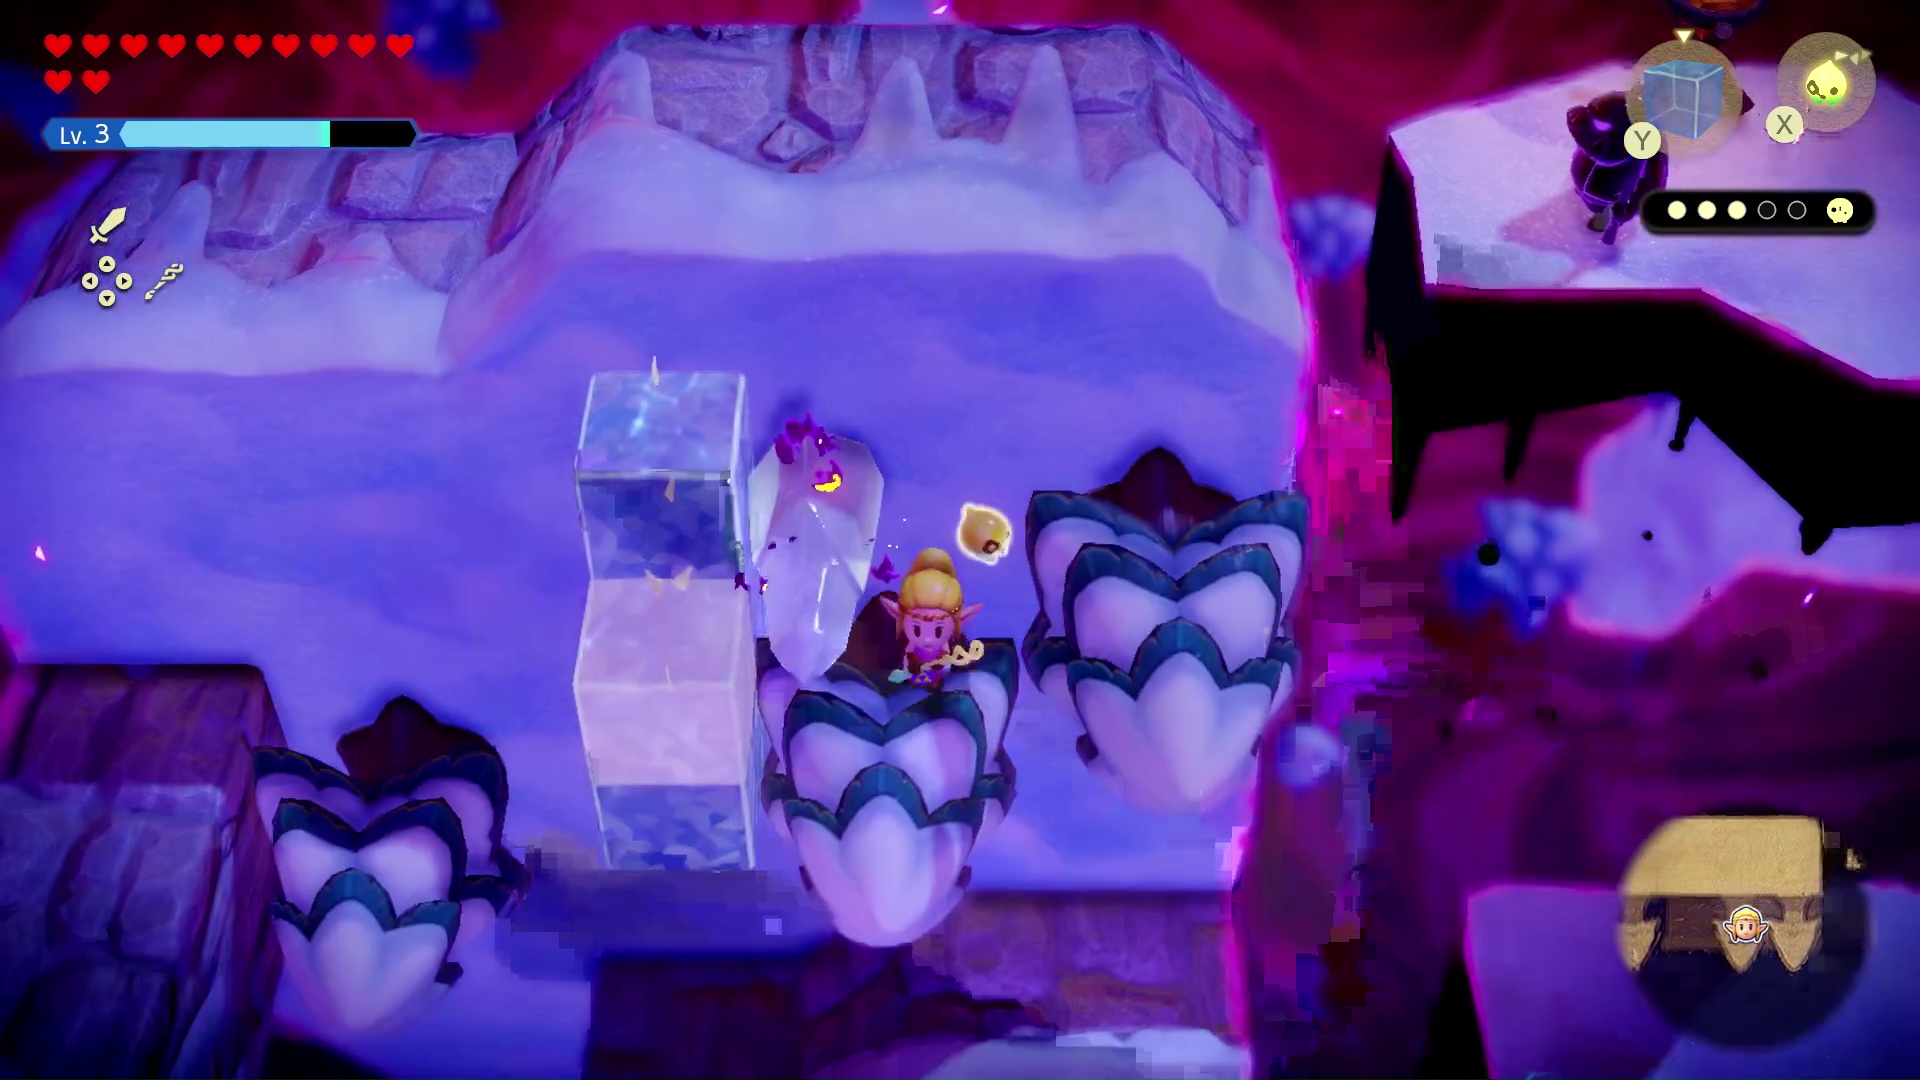
Make a water block to your right, then another couple of water blocks, to proceed to the platform at the top of the screen (not the one to the right — go upwards first).
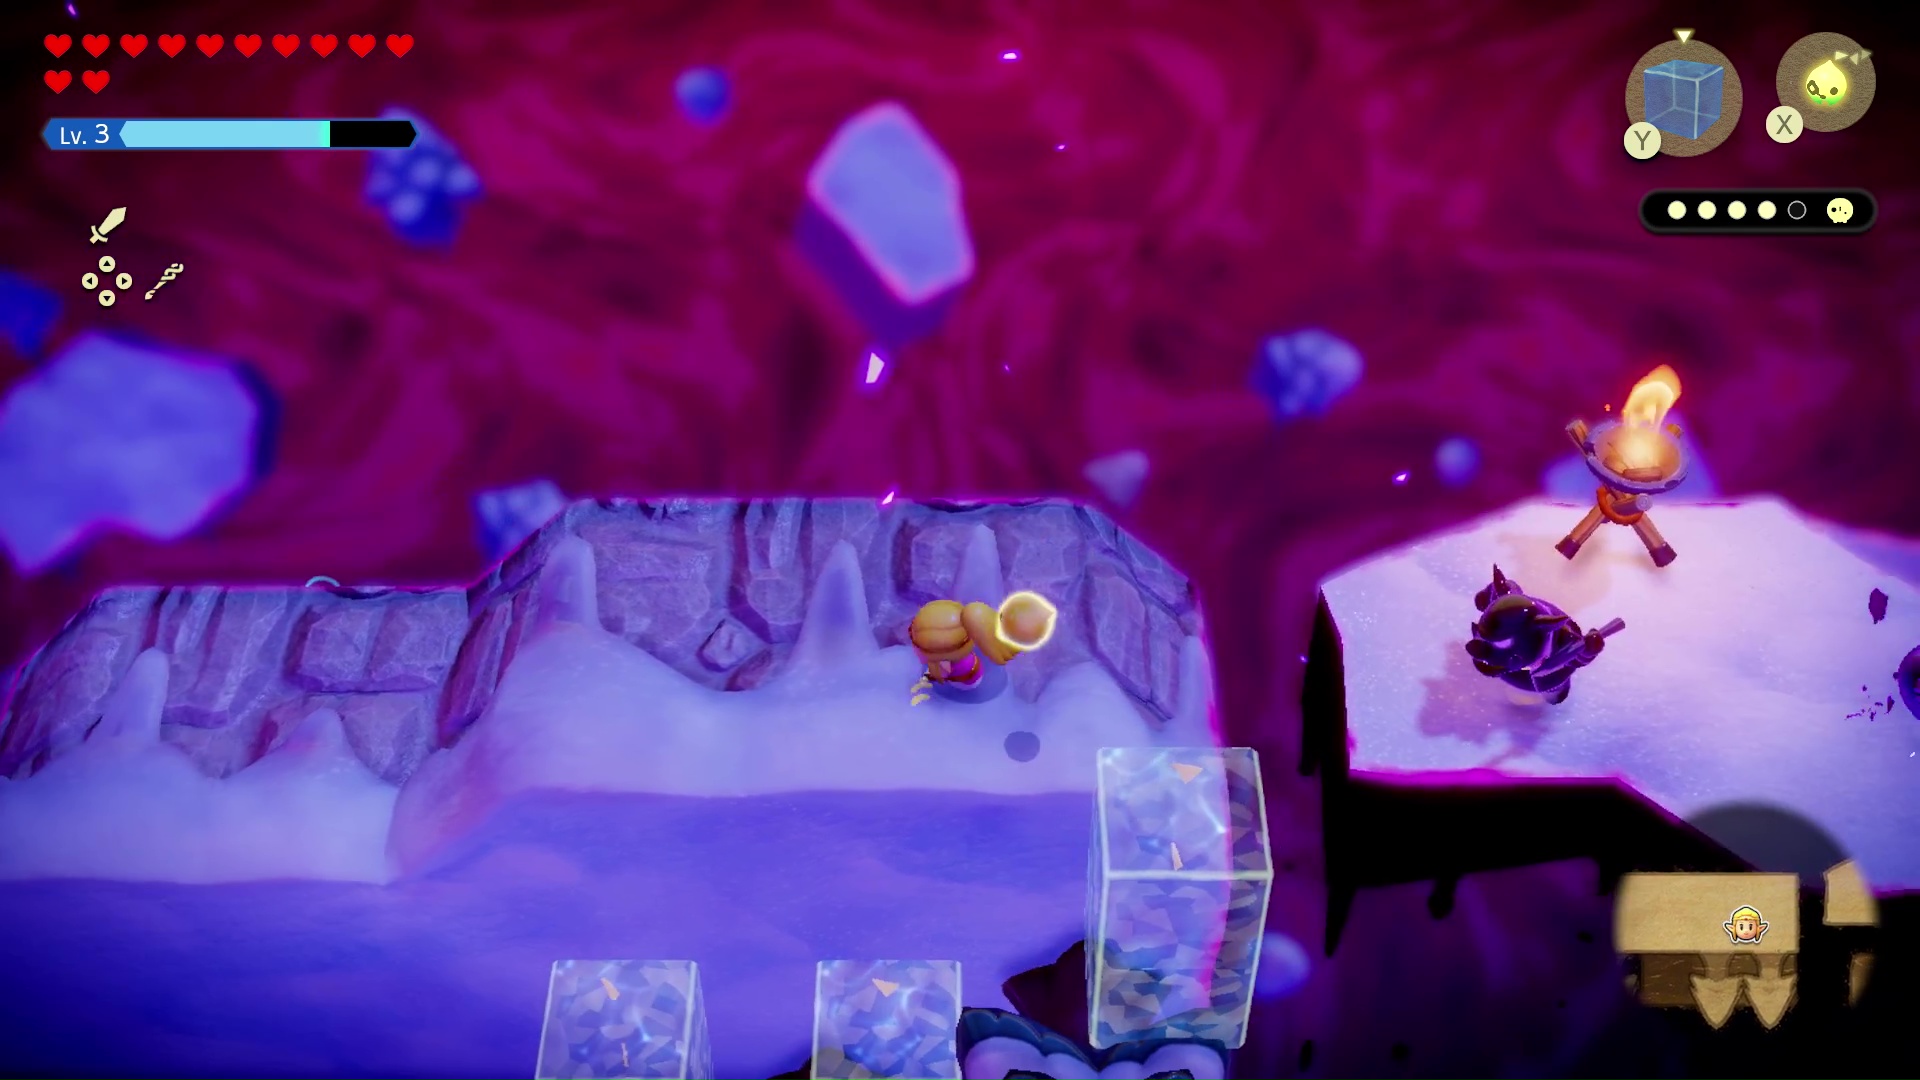
A moblin on the platform to the right is throwing javelins at you. Watch out! And summon a few crows to attack him. It’ll take several to get rid of him.
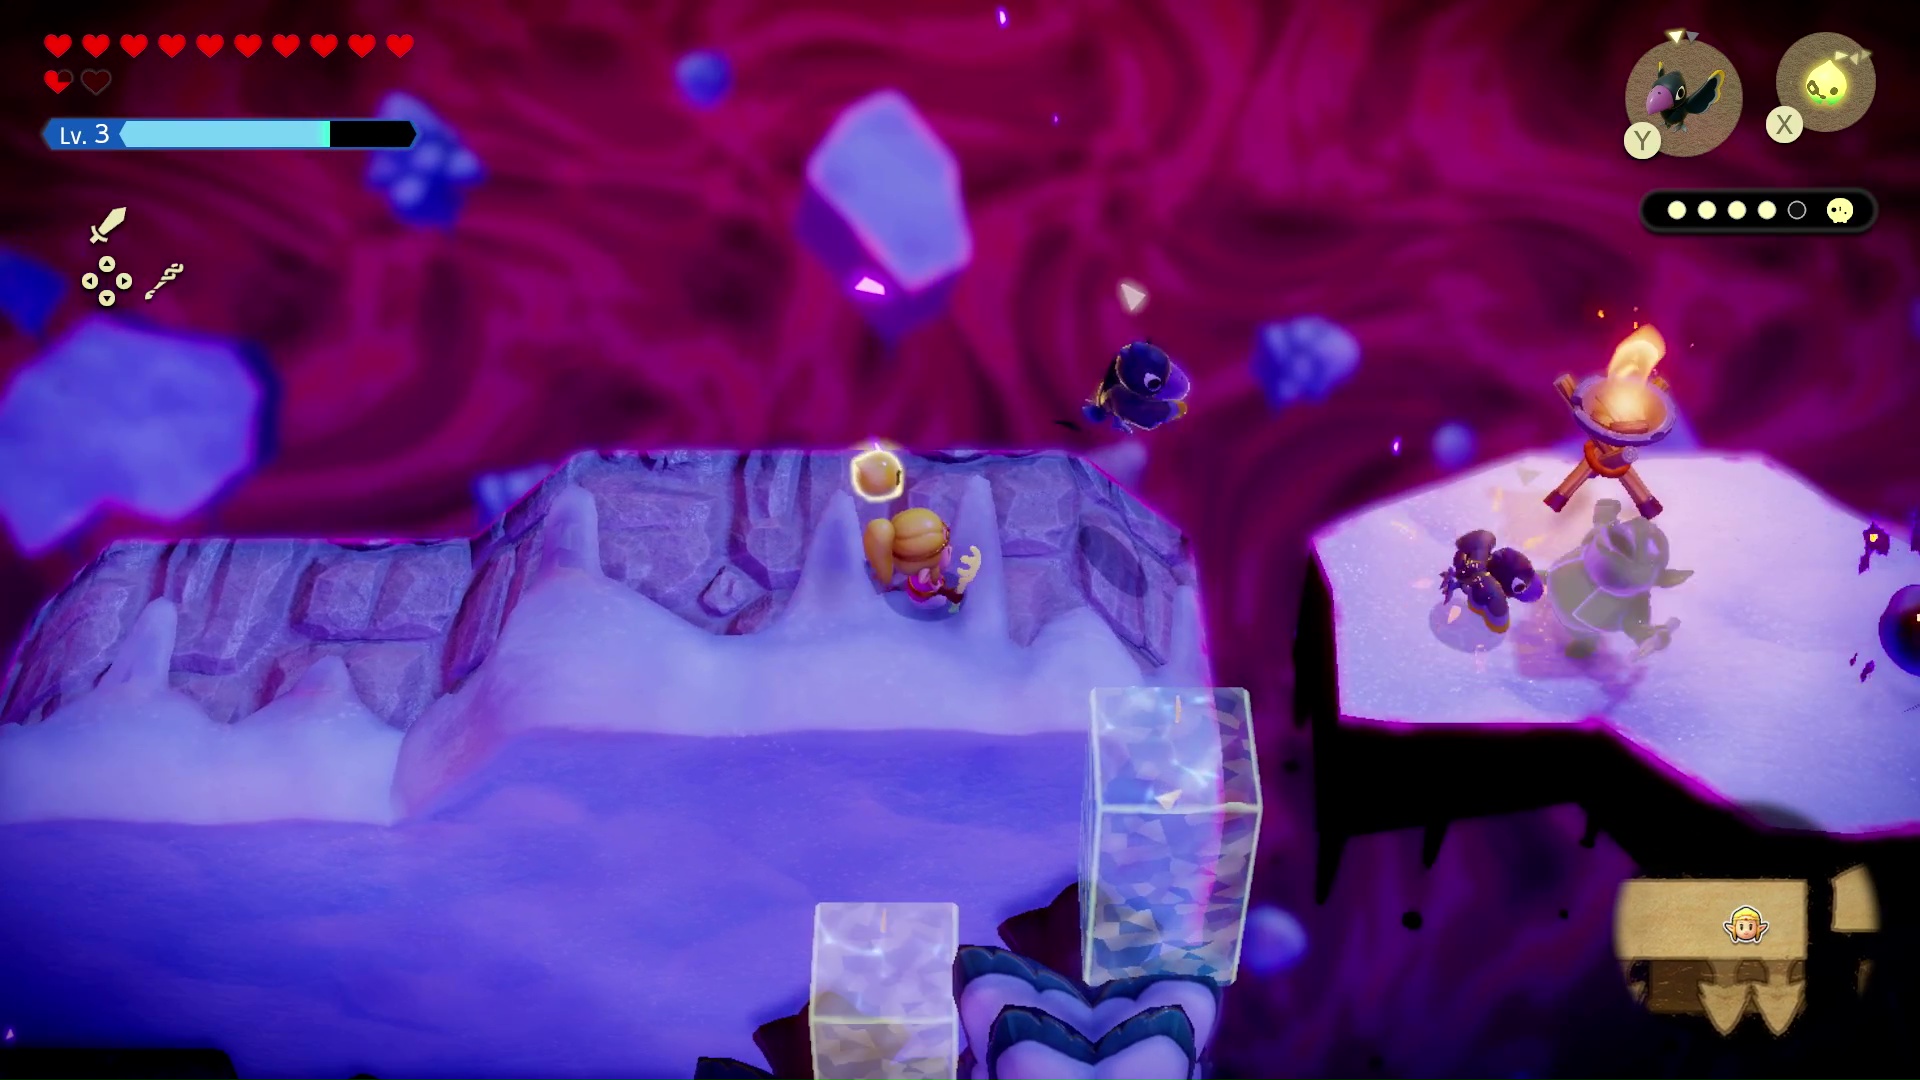
Once the baddie is dispatched, leap across the gap to rescue the fifth and final of Tri’s friend groups. Finally, watch the cutscene of Tri mending the rift at the mouth of the cave. After this, Try will level up, and Zelda will also get some XP and two Might Crystals out of the ordeal.
That’s all, folks — you’ve completed the Stilled Hebra Mountain Cave. From here, it’s onto Lanayru Temple.
If you’re looking for more help with Zelda: Echoes of Wisdom, our complete main story walkthrough, interactive map, and locations for heart pieces, fairy bottles, echoes, and side quests can point you in the right direction.