Null’s Body walkthrough in Zelda: Echoes of Wisdom
Null’s Body is the last dungeon in Echoes of Wisdom, culminating in a long boss fight. We walk through the dungeon and the Null boss fight.
This article references relevant content from the polygon.com website. Original article link: [https://www.polygon.com/zelda-echoes-wisdom-guides/455158/nulls-body-walkthrough-in-zelda-echoes-of-wisdom]
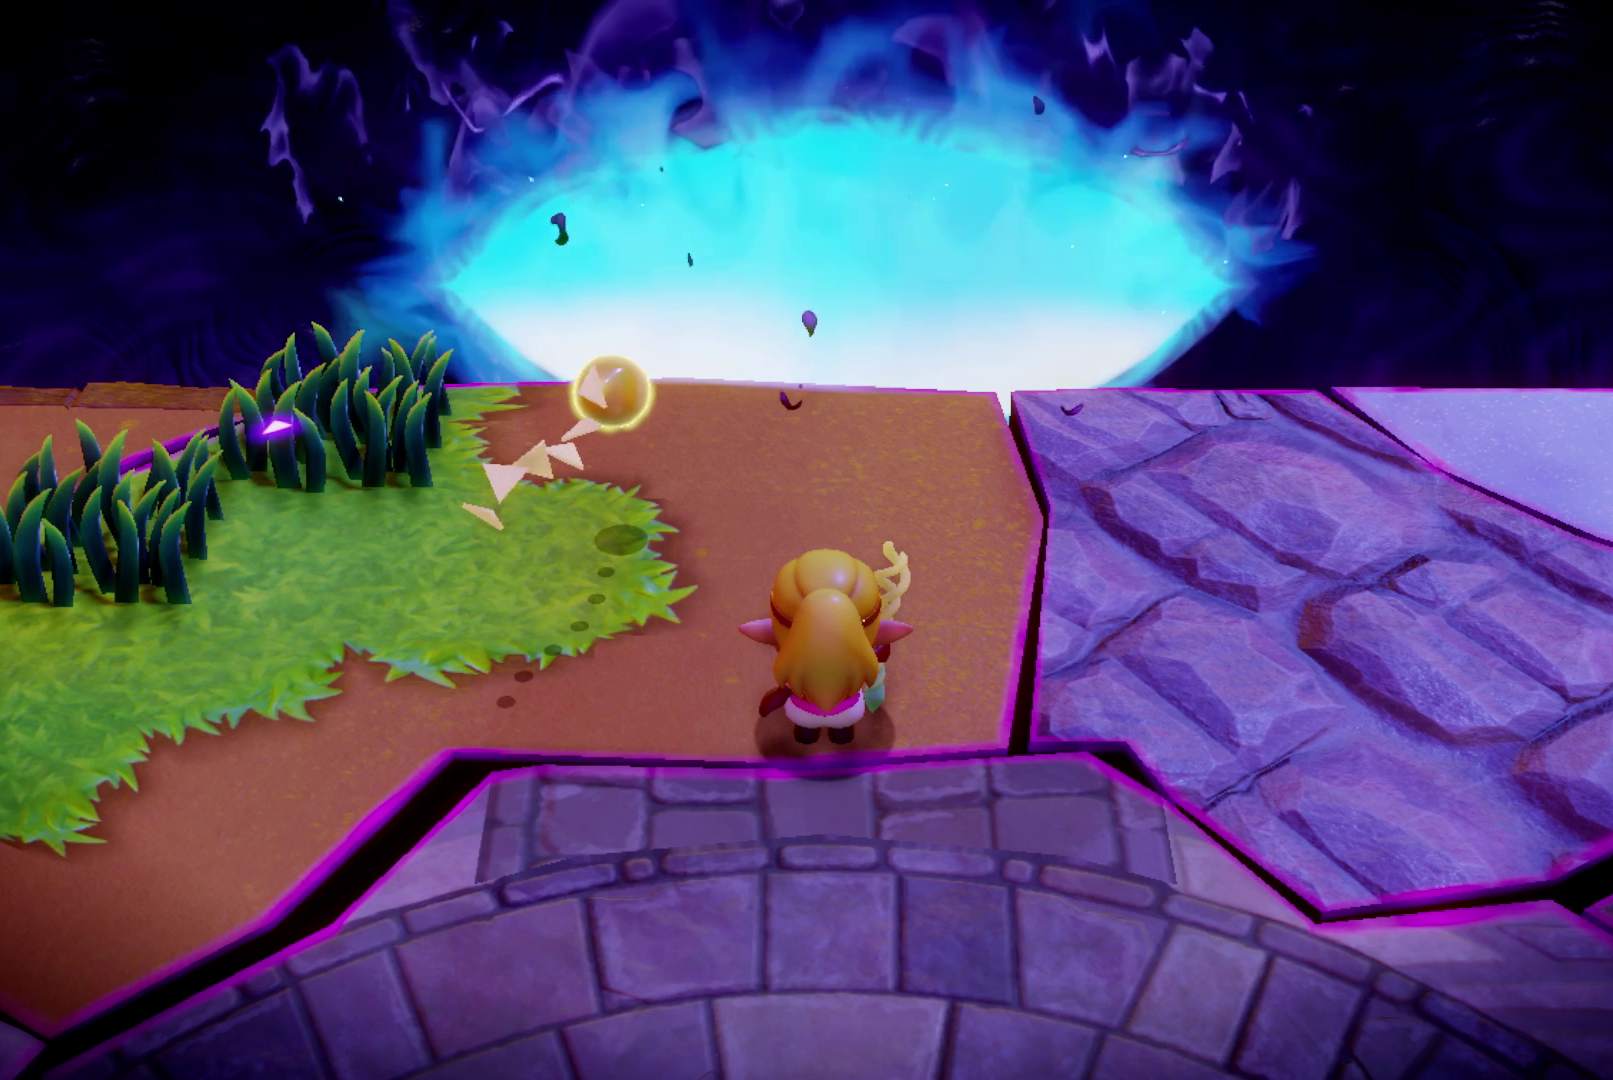
The final part of The Legend of Zelda: Echoes of Wisdom is a face-off against the big bad behind it all, Null. After venturing into the Stilled Ancient Ruins, you’ll hit the point of no return, where Tri will warn you that if you keep going, you won’t be able to turn back.
Yes, once you enter, you can’t go back, but once you finish the dungeon, your save file will be updated to have the little star icon showing that you beat the game, and you’ll reload the game right outside of the dungeon again (in true Zelda fashion).
Once you’ve mixed enough smoothies and powered yourself up enough, talk to Link and return his belongings to start the journey in Null’s Body.
Below, as the final part of our Zelda: Echoes of Wisdom walkthrough, we guide you on how to complete Null’s Body, which doesn’t have any new echoes or collectables, but can still pose a challenge.
Null’s Body walkthrough
Most of this dungeon just involves summoning creatures to fight monsters. Link will have his sword, bombs, and bow back, which means outside of summoning things, you don’t have much to do.
Follow Link into the next few rooms and you’ll face off against a swarm of shadowy enemies. Just summon your strongest echoes to help Link take these down. You’ll face off against three waves of enemies: a set of moblins and piglins, some zirro and keese, and then a lynel. Just focus on dodging and spamming more echoes to help when yours die. Link does a pretty decent job attacking, and while he’s not as efficient as you would probably be with your sword, he gets the job done.
After this room, Zelda and Link will get split up. You’ll need to use an echo to break the glowing orb on the right side in order to proceed. We far-summoned a sea urchin to poke the orb and it shattered.
Proceed into the next room for another swarm of enemies, though you’re still split up from Link. Let him handle his half of the room and summon an echo to take out the enemies on your half.
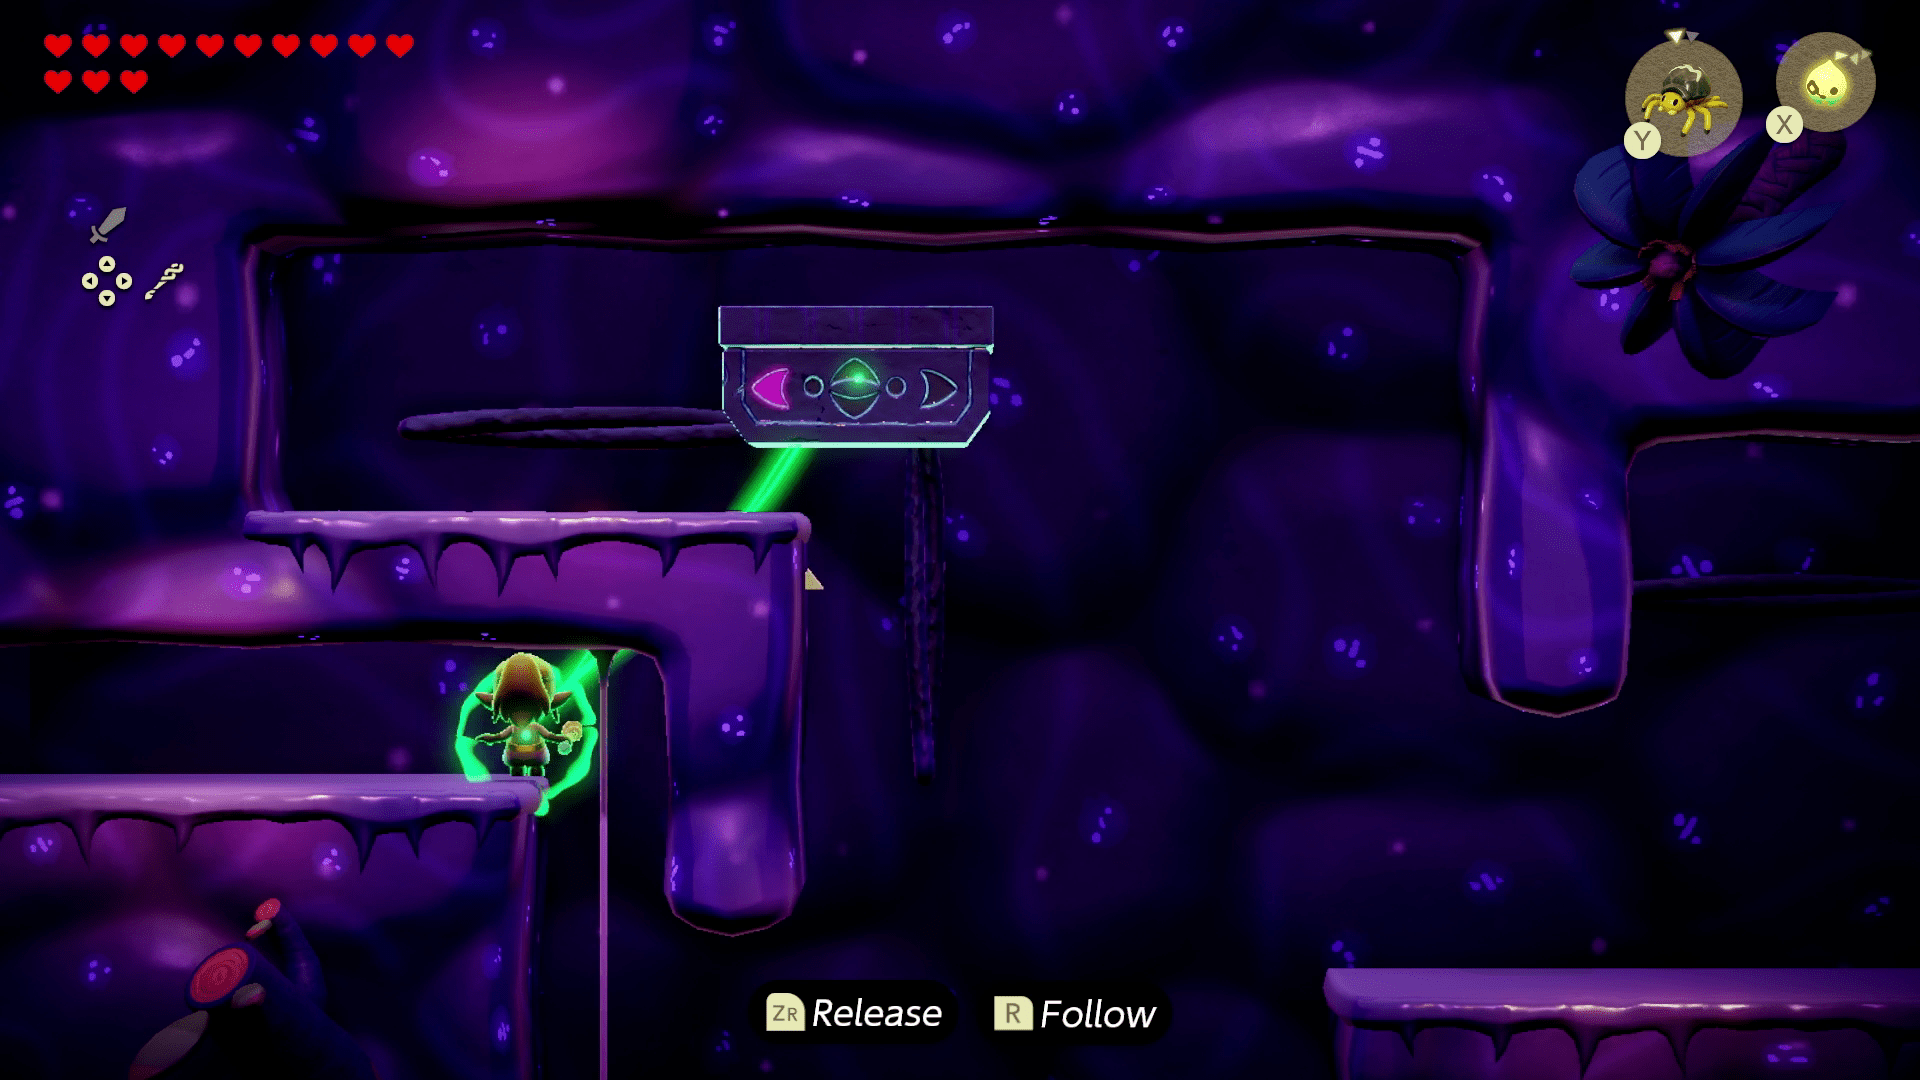
Continue on to get to a 2D platforming room. Cross the initial gap using your bridge-method of choice. At the next few platforms, you’ll need to use Tri’s ability to latch on to the top block and follow it, so it lifts you up this platform safely.
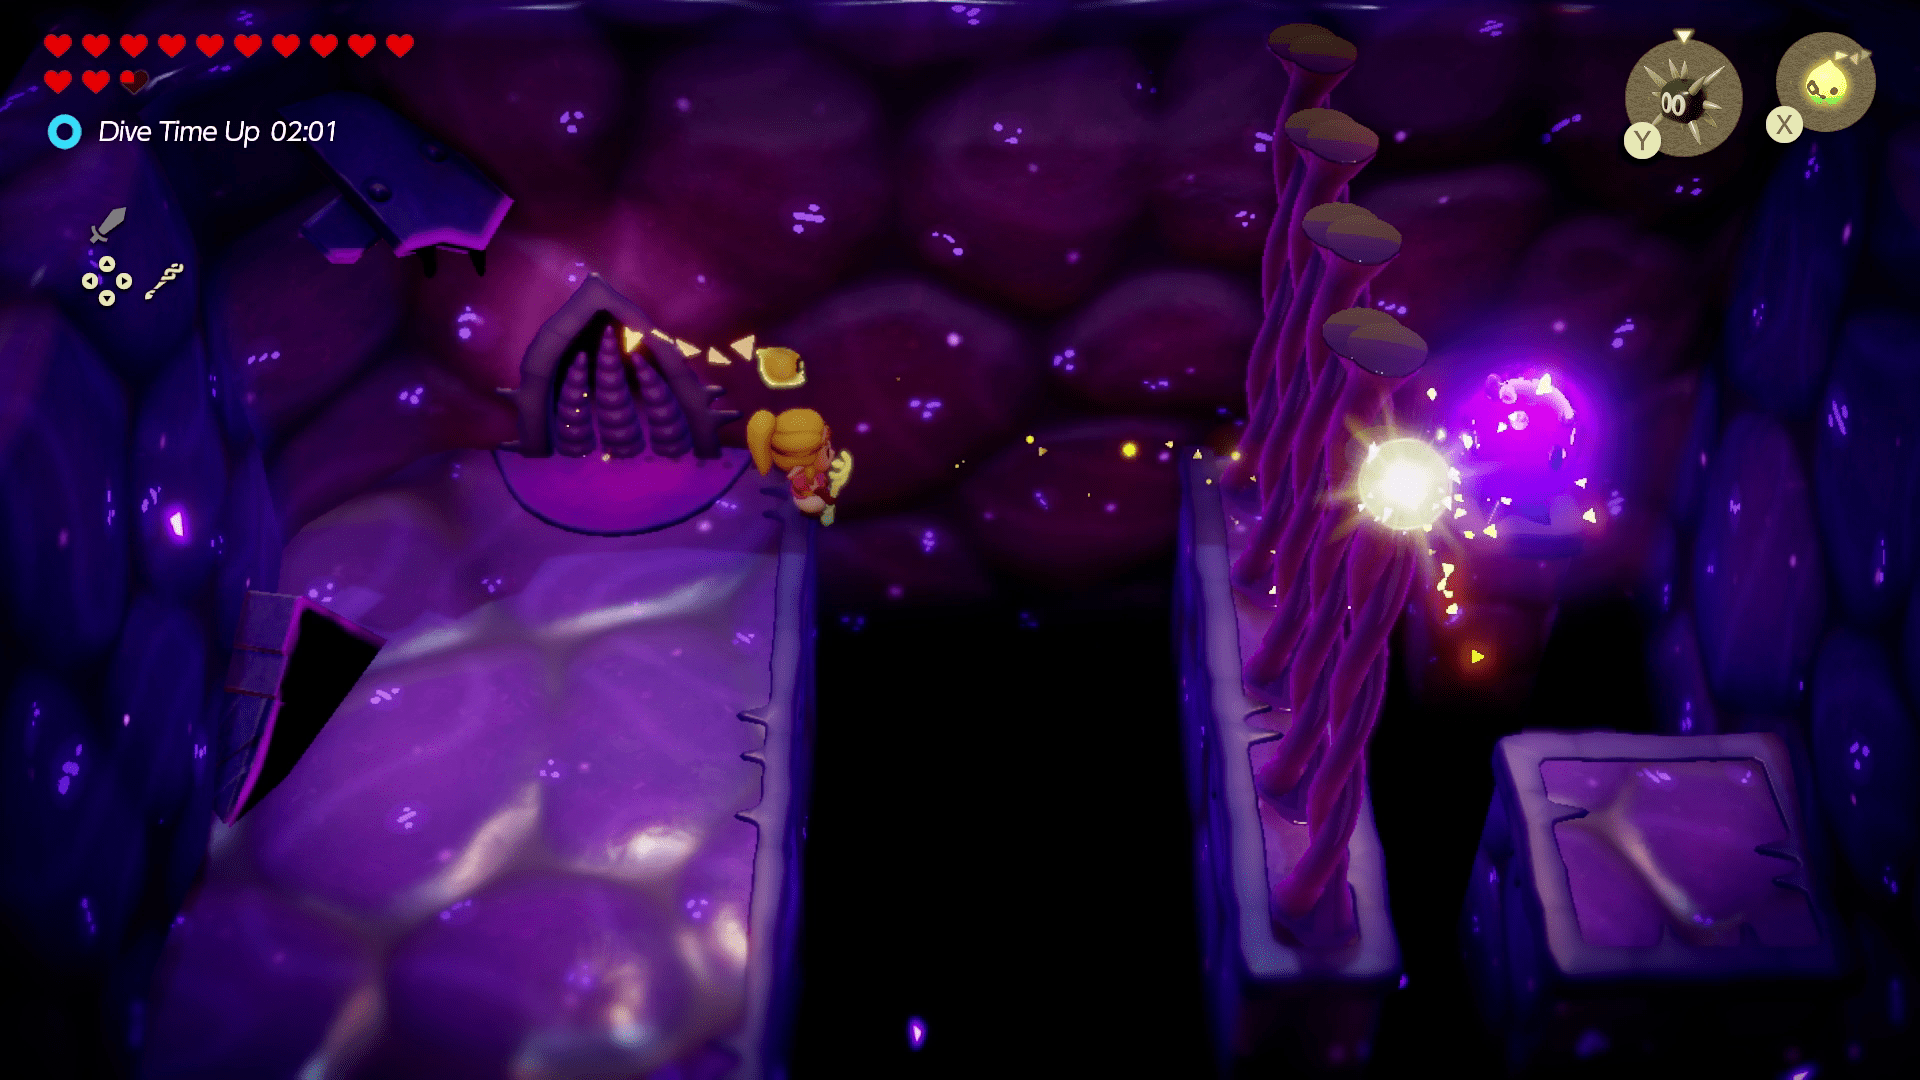
In the next room, use a flying echo to glide over the gustmasters and up the air vents. At the top, use a strandula to get up to the next platform and continue on.
You’ll eventually hit a room where you can see Link again, though he’s separated from you by a wall. You’ll want him to get to the top of the ledge on the right so he can break the webbing with his sword. We picked him up using Tri and wiggled him around like this to get him on the ledge:
Once he’s up there, he’ll slash the wall and press the button, allowing both of you to move on.
You’ll now be reunited and you can proceed together to get to the final fight.
How to beat Null in Zelda: Echoes of Wisdom
Null will go in and out of the walls, breaking the fight up into various segments, so we’ll explain them all part by part for you. Note that this is a fairly lengthy fight and all you can really do is summon echoes (and use automatons, if you have them), so buckle in. We primarily used the Sword Moblin Lv. 3 Echo, which is found in the Eternal Forest, but we also used a mix of keese and other useful bad guys. This fight is a simplified boss rush — though not really, as you won’t be fighting the bosses themselves, but avoiding attacks from echoes of them.

In phase one, Null will trap you in a room and it’ll appear as an orb with three arms. It’ll swap between two modes:
After you take out the three arms, Null will reappear in its orb form, doing the same stuff as before, though with more frequency. After getting rid of its arms a third time, it’ll go back into the wall, but add another attack to its repertoire:
After getting rid of the arms in the walls again, Null will reform and return as the orb, now doing a mix of both the poison pool and the slamming attack. Keep taking out its arms and it’ll weaken, going to its next phase.
In phase two, Null will take on a jellyfish-like appearance, you’ll be swept into water, and it’ll summon a shadow version of Vocavor, the boss from the Jabul Ruins. It doesn’t have many attacks, but you’ll still need to watch out:
Other than that, just use your strongest water enemy echoes to attack Null’s tendrils. We used a chompfin, which made pretty quick work for this phase. After you do enough damage, Zelda will get sucked into a hole and reunited with Link.
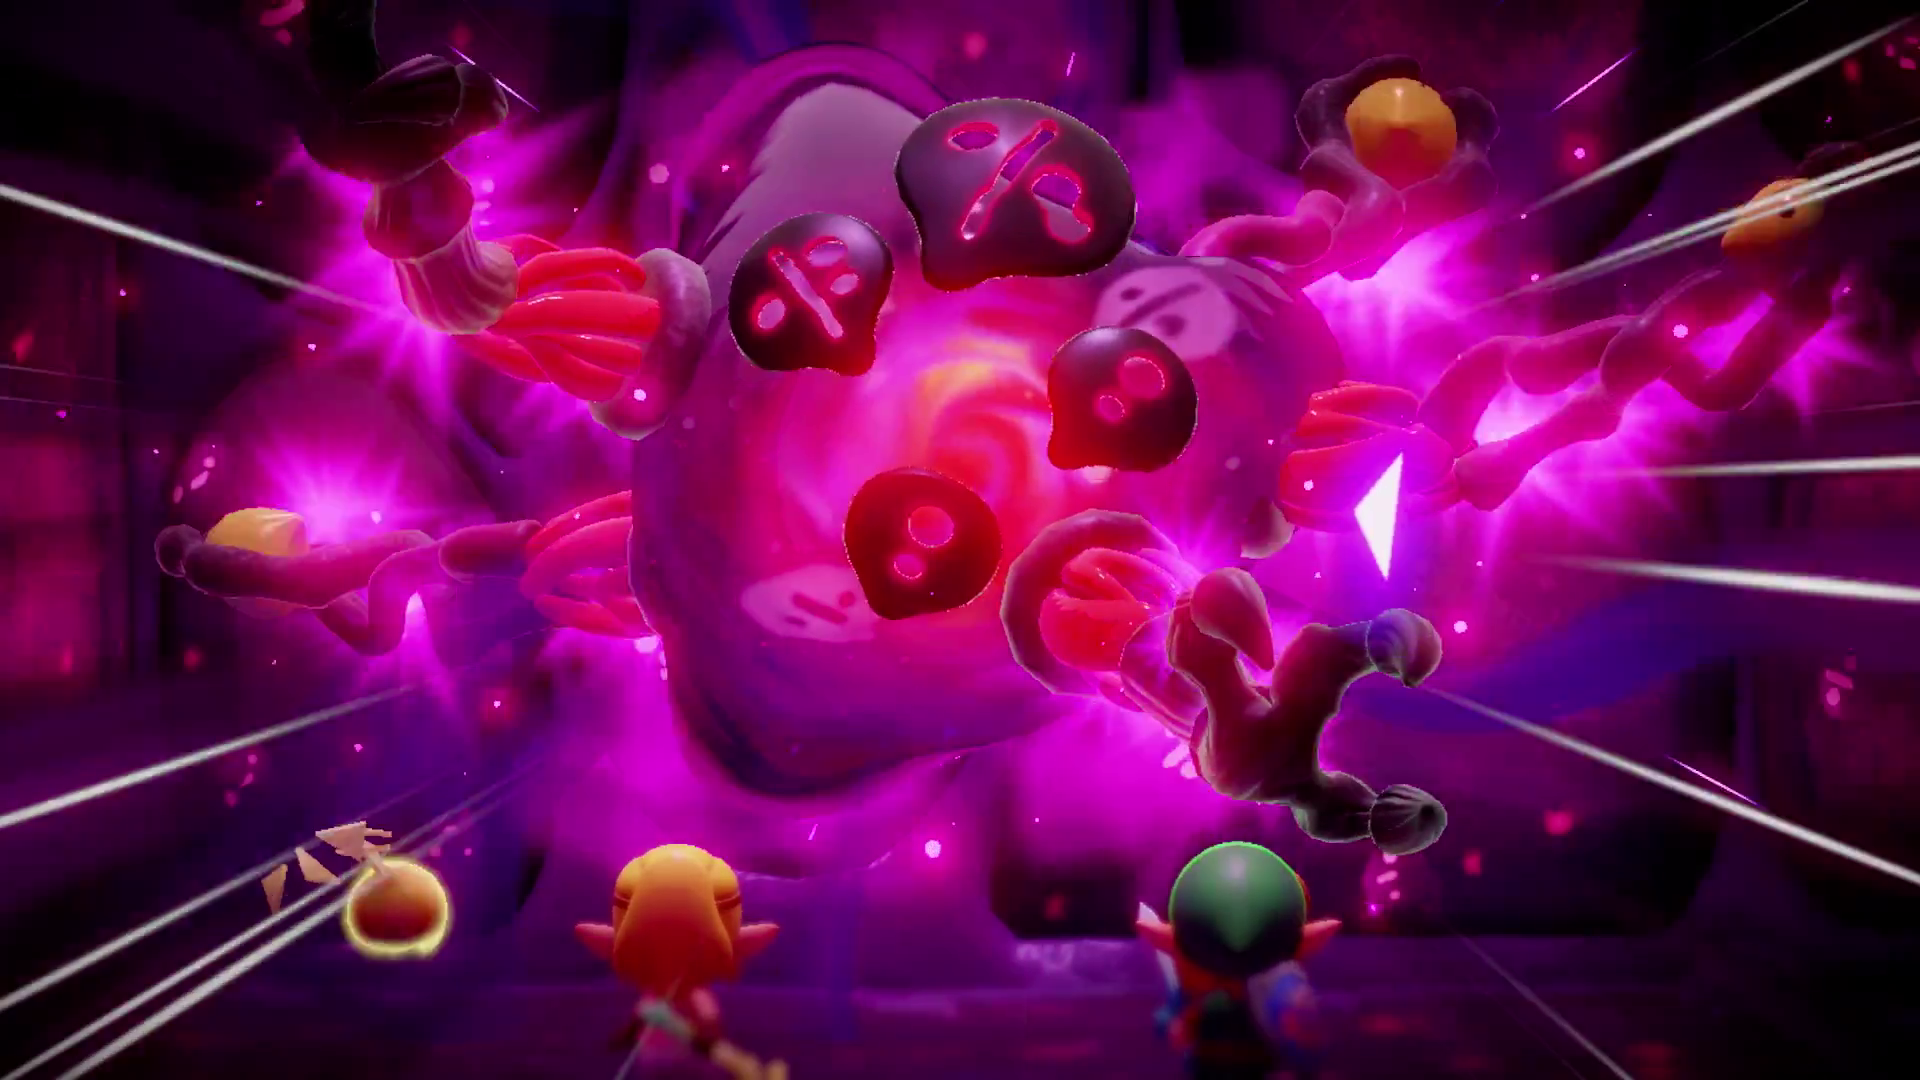
Null will now show its third and final phase, which has more arms and many more attacks. Its gimmicks include summoning past bosses, in addition to the slam and pool-creating attacks from phase one:
After Null’s front arms are taken out, it won’t be able to attack anymore outside of the summons, leaving it wide open for damage between summoning the above bosses.
After you’ve dealt enough damage, Null will retreat back into the walls, with its arms sticking out. This time it’ll do some new stuff in addition to the attacks from before:
Once the arms are taken out, Null will return, bringing some new summons to the fray:
Keep dodging the summons and bringing in your strongest echoes to attack Null. After you take out its arms, Null will make a cowardly retreat back into the walls, letting its arms do its dirty work. The attacks from the arms will be the same, though they’ll now summon lizalfos and piglins instead of darknuts. Once you beat its arms again, Null will reemerge.
This time Null’s summons will have a bit of an upgrade:
Just keep attacking Null between summons and it’ll go down for the count.
After that, it’s done. You’ve saved Hyrule! A few cutscenes will play out and Hyrule will return back to normal, thanks to you.