Lanayru Temple walkthrough in Zelda: Echoes of Wisdom
In Zelda: Echoes of Wisdom, you’ll need to get through Lanayru Temple in the Hebra Mountains to help Condé. We walkthrough how to find every chest and echo.
This article references relevant content from the polygon.com website. Original article link: [https://www.polygon.com/zelda-echoes-wisdom-guides/454230/lanayru-temple-walkthrough-dungeon-stilled-hebra-mountain]
The Hebra Mountains and Holy Mount Lanayru in The Legend of Zelda: Echoes of Wisdom are pretty desolate — outside of a yeti buddy named Condé. After scaling the mountain with Condé, you’ll get to Lanayru Temple, where you’ll have to figure out why his brother seems to be acting cruelly.
This is one of three dungeons you can enter at this point in the game, the other two being Eldin Temple and Faron Temple. We recommend doing this one last, as it has the most complex mechanisms. While you could do attempt Lanayru earlier, having a load of fiery echoes from the Eldin Temple will help you out in this dungeon.
Below is our full Lanayru dungeon walkthrough in Zelda: Echoes of Wisdom, where we’ll show you how to nab every chest and echo along the way. There are many solutions to the puzzles in this dungeon, so while our solutions might not be the most efficient or the easiest, we can at least confirm that they work. And hey, if it works, it works.
Stilled Hebra Mountain walkthrough
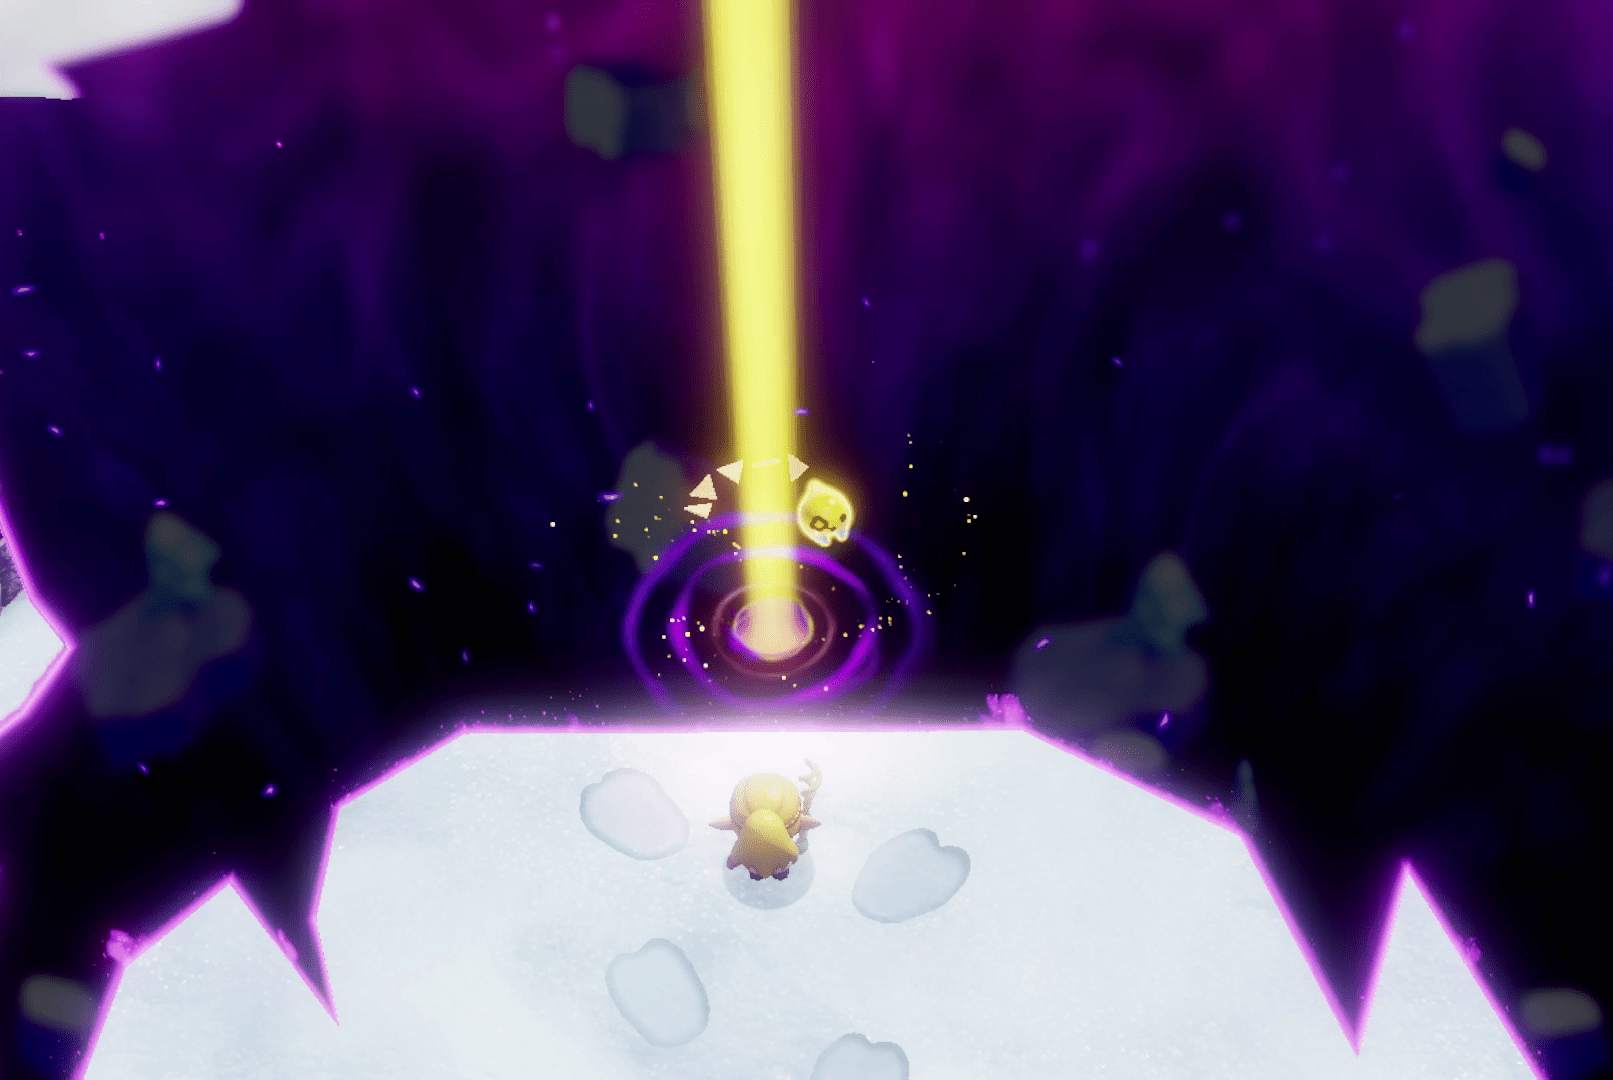
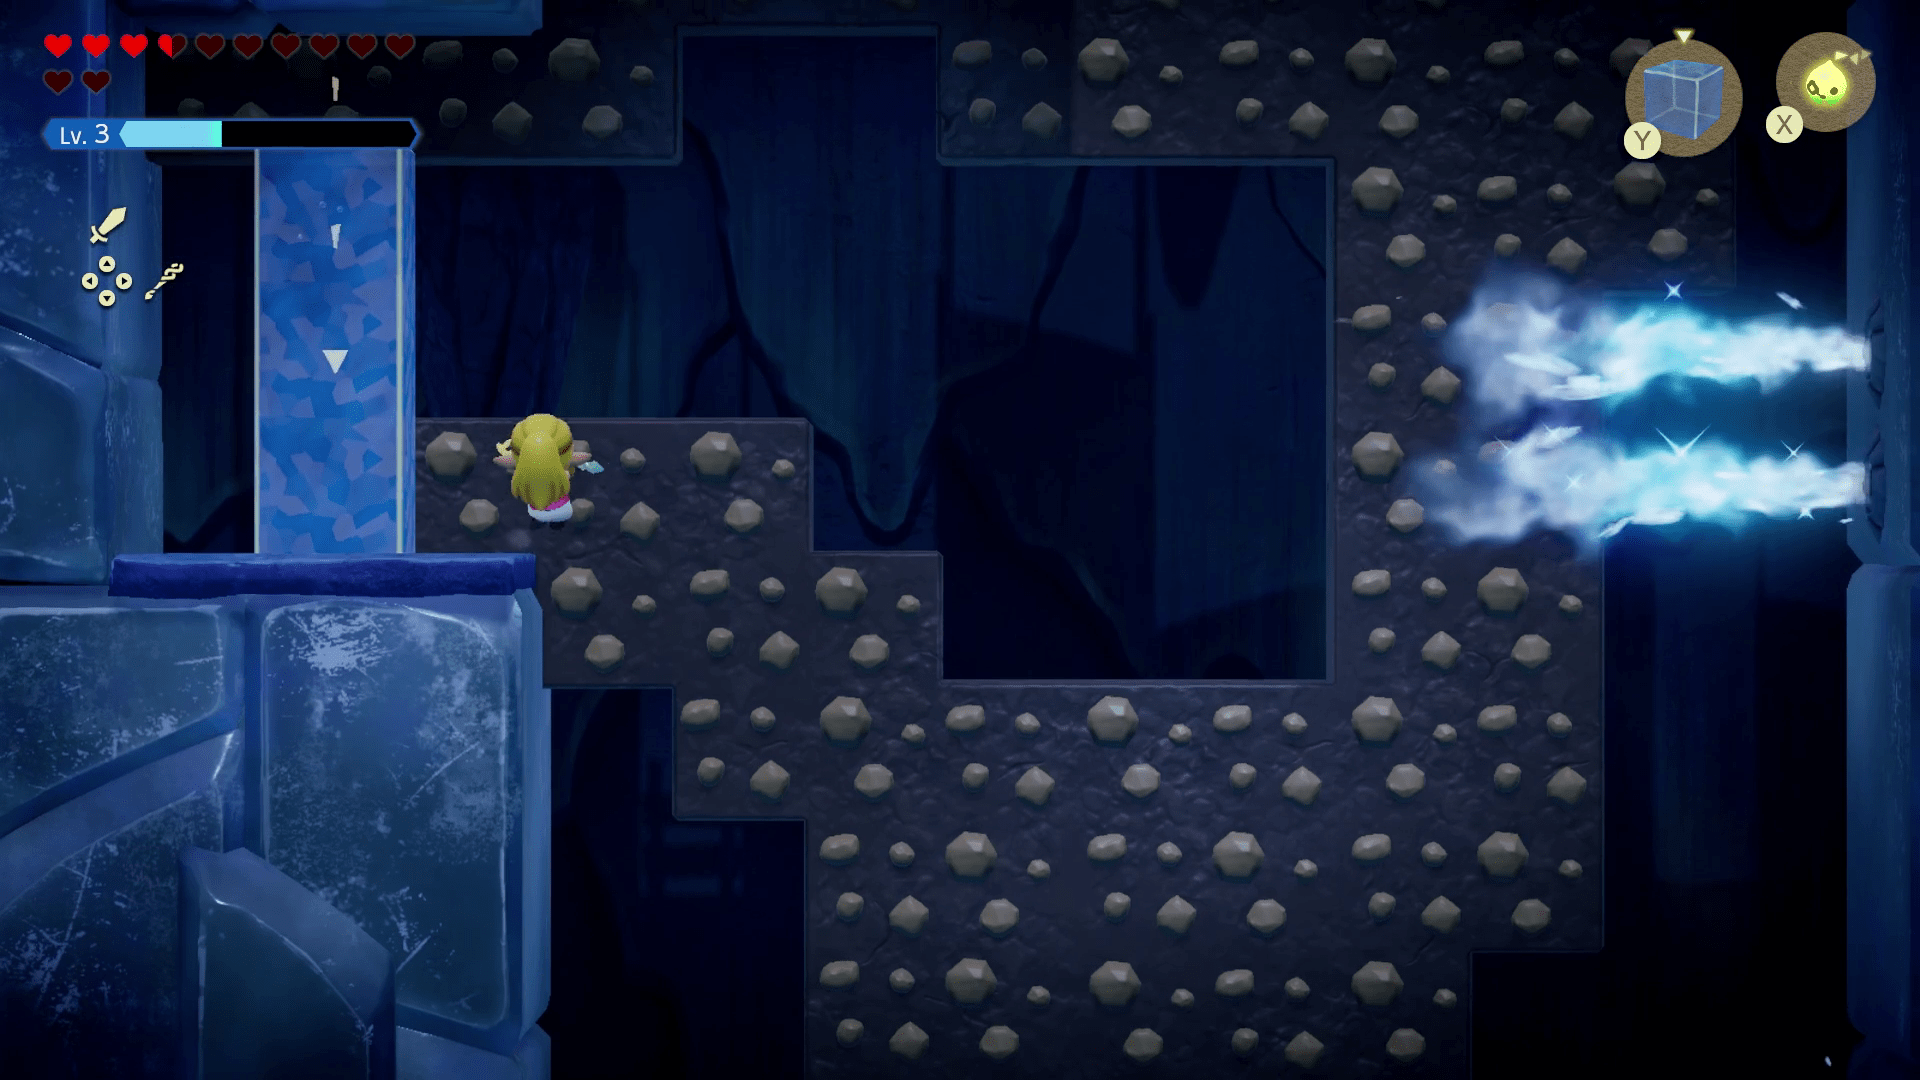
After entering the Hebra Mountain Rift, jump up on the platform in front of you and drop down to the clouds. Take care of those tornando enemies quickly, as they’re a nuisance in these platforming bits.
Head up and to the left, taking out the shadowy enemies along the way. Learn the Cloud Echo from the nearby sparkling small clouds, then platform carefully to the left for a chest with a monster stone inside.
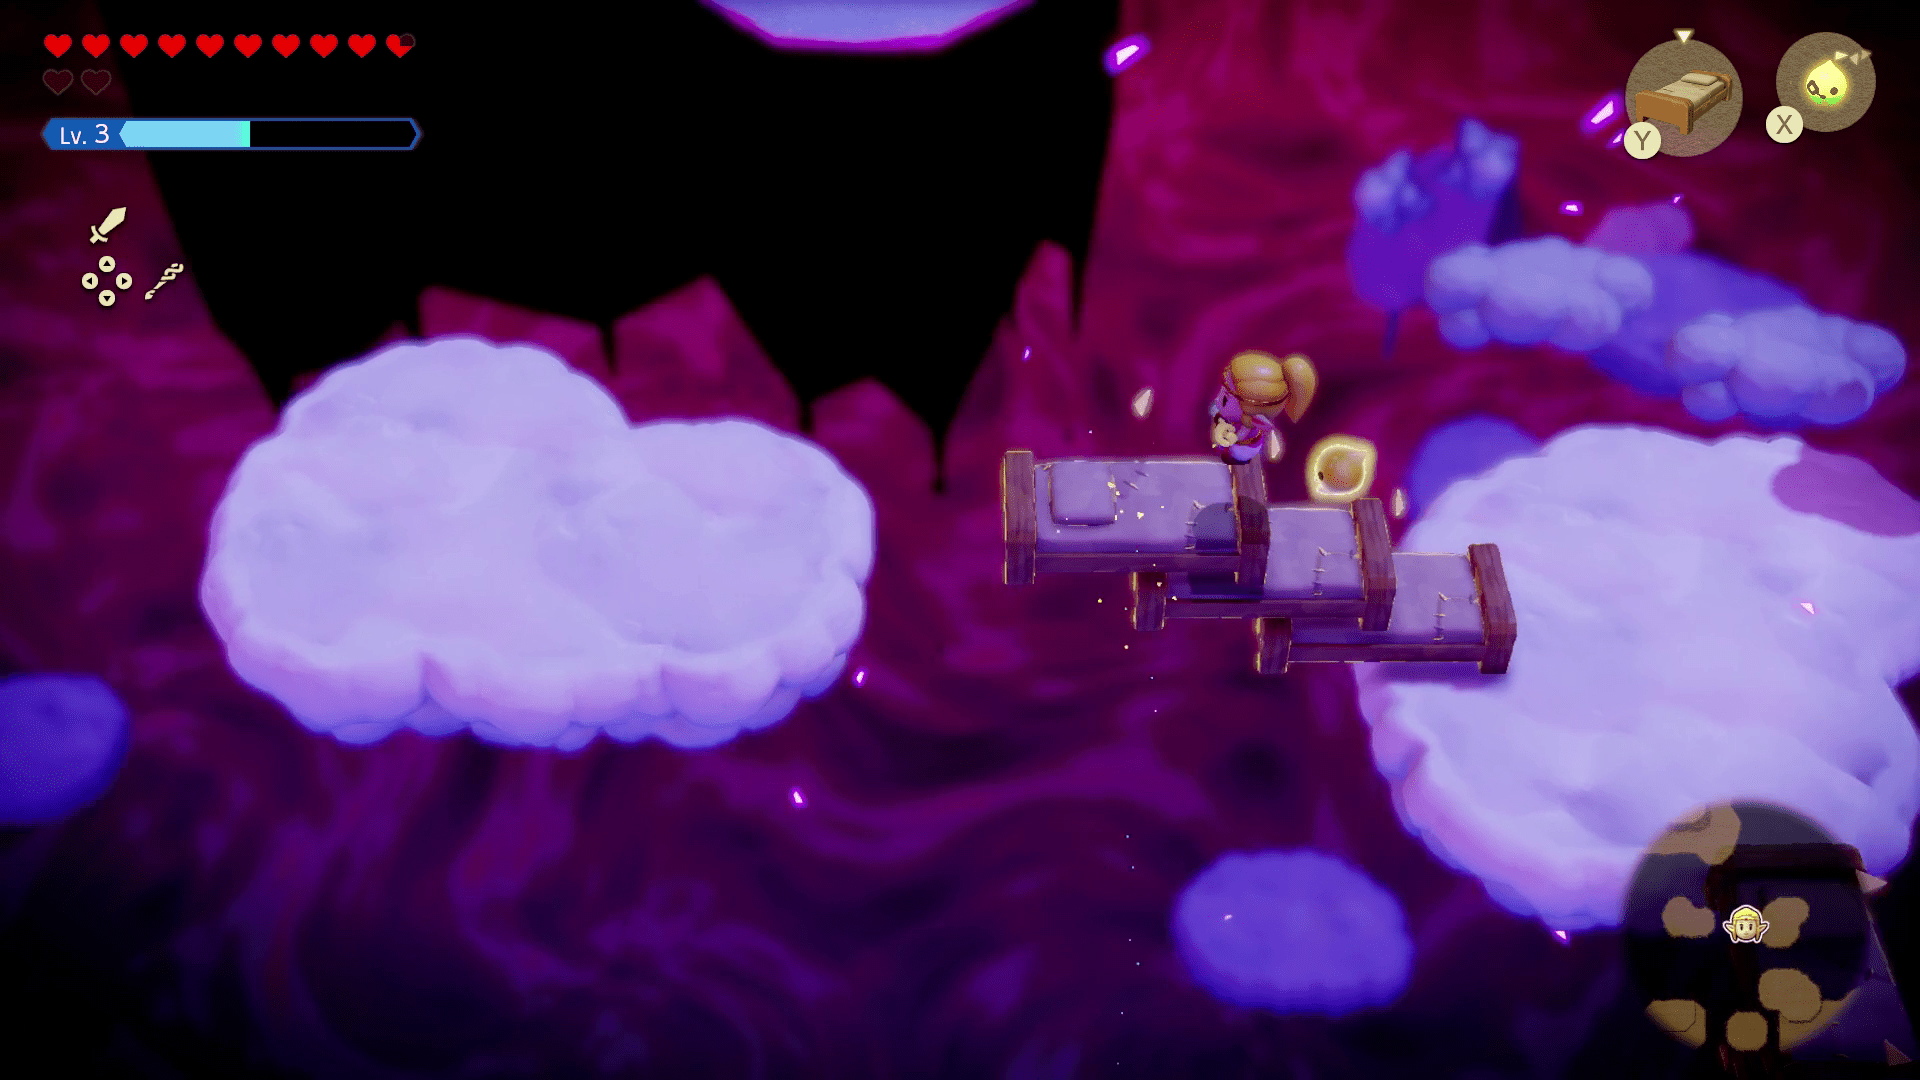
Head back to where you learned the Cloud Echo and head north. The trick about these smaller clouds (that you learned the echo from) is that you can only stand on them for a few seconds before they vanish. That being said, you can choose to quickly create clouds to jump to or you can … make bed staircases. It’s up to you.
Continue heading up and head down the ladder. Drop down on to the platform. This next 2D portion involves a lot of platforming, though again you can use whichever method you want to get around. You can glide using flying echoes, whip out your nifty Flying Tile Echo, use your newly obtained clouds, or just bed it across. We personally used a mix of flying with crows and flying tiles. We do recommend having a flying enemy echo out to help you take out the wind-blowing ghirro enemies so your flight paths aren’t disrupted.
First, head right, dropping down to the lower cloud. Continue moving right to get a chest with a red rupee (worth 20 rupees) inside. Keep heading right and climb up vertically to the opening in this cliff wall.
Scale the walls carefully, avoiding the ice slugs. You can kill them, too, but as you’ll notice, the echoes for them will drop into the void. Don’t worry about quickly trying to grab them — they will appear again in a later area.
Head up the ladder on the right to get to the next segment of this area.
Stilled Holy Mount Lanayru walkthrough
Once you climbed up that ladder, interact with the warp waypoint. Platform south, being careful around the ice keese, and then head right, climbing up the cliff. (We used Water Block Echoes to scale up quickly.)
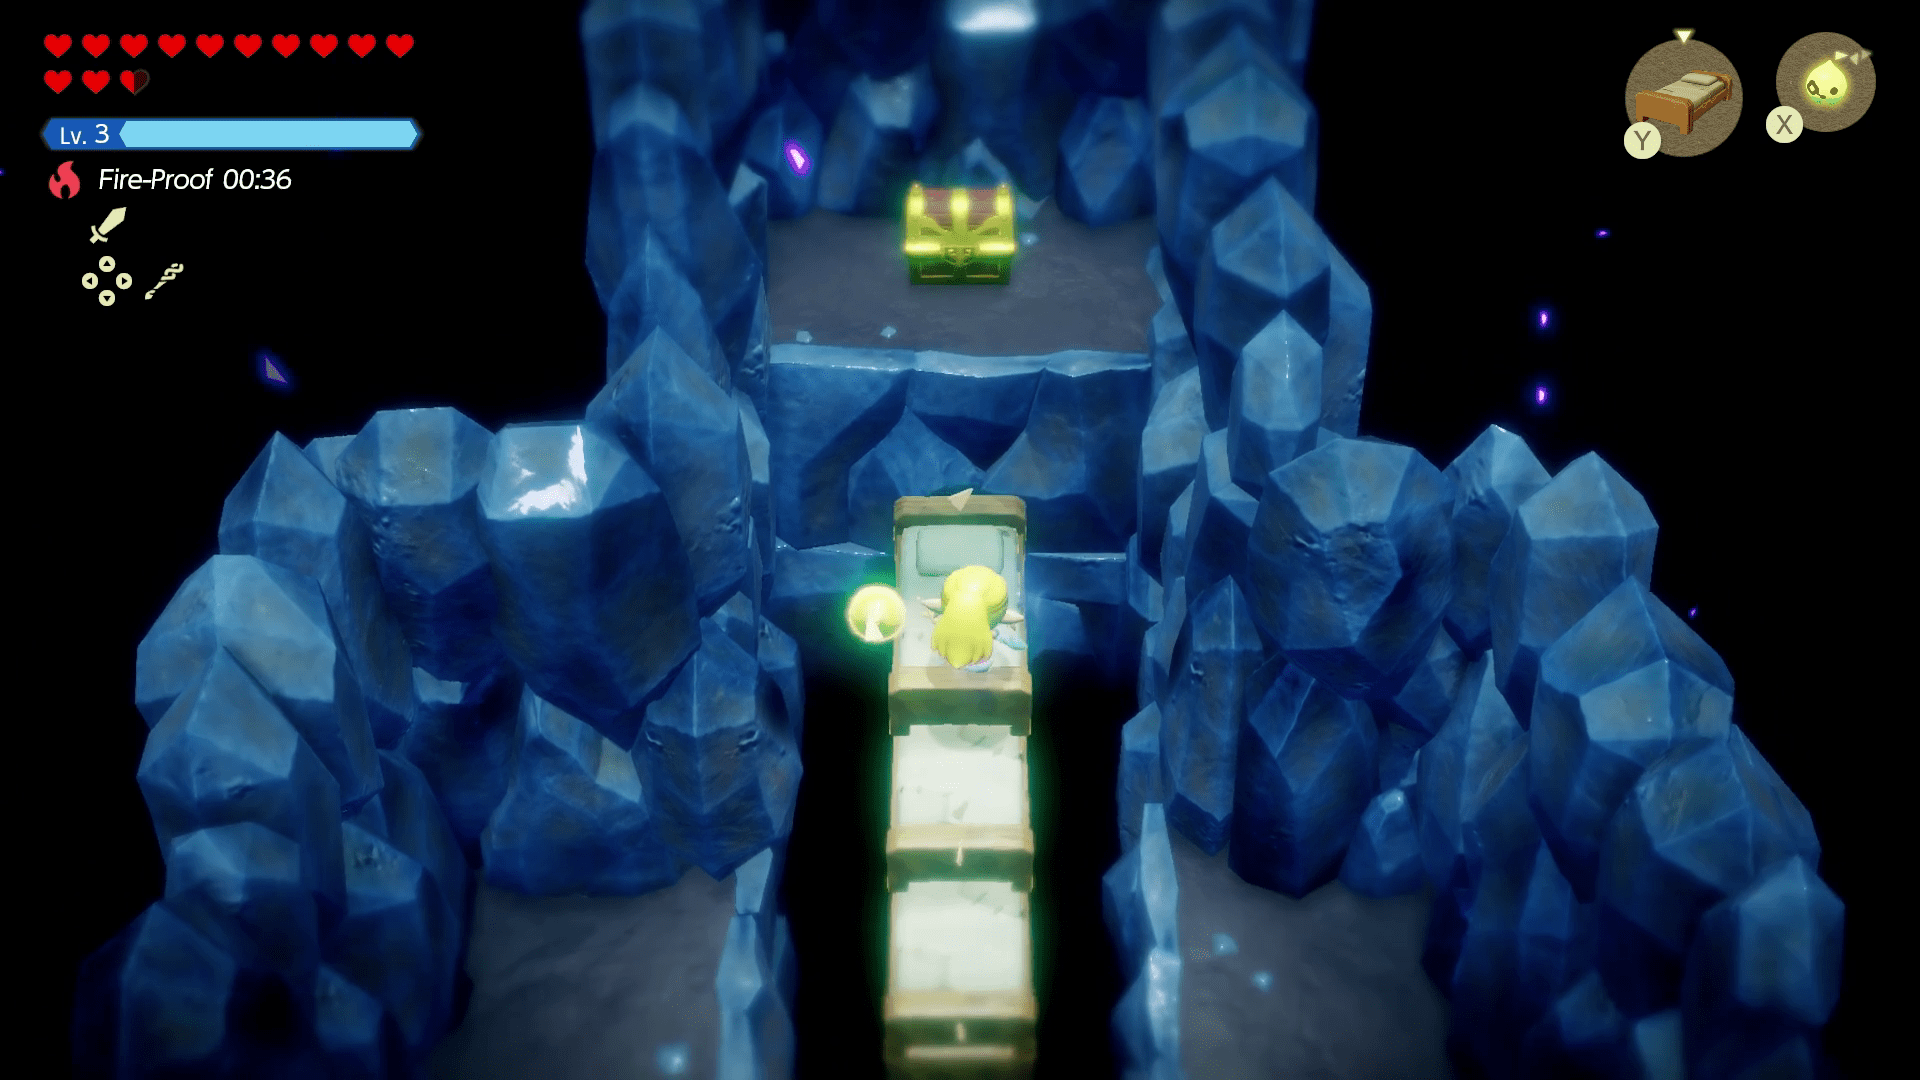
Once you’re up, head north to get to a small cave. Build your gap-closing structure of choice to get to a chest with a purple rupee (worth 50 rupees) inside.
Head back out, being wary of the cold water and ice octoroks, and head right. Take out the wolfos to add a Wolfos Echo to your repertoire if you don’t already have one, and then platform up to the right side over another gap.
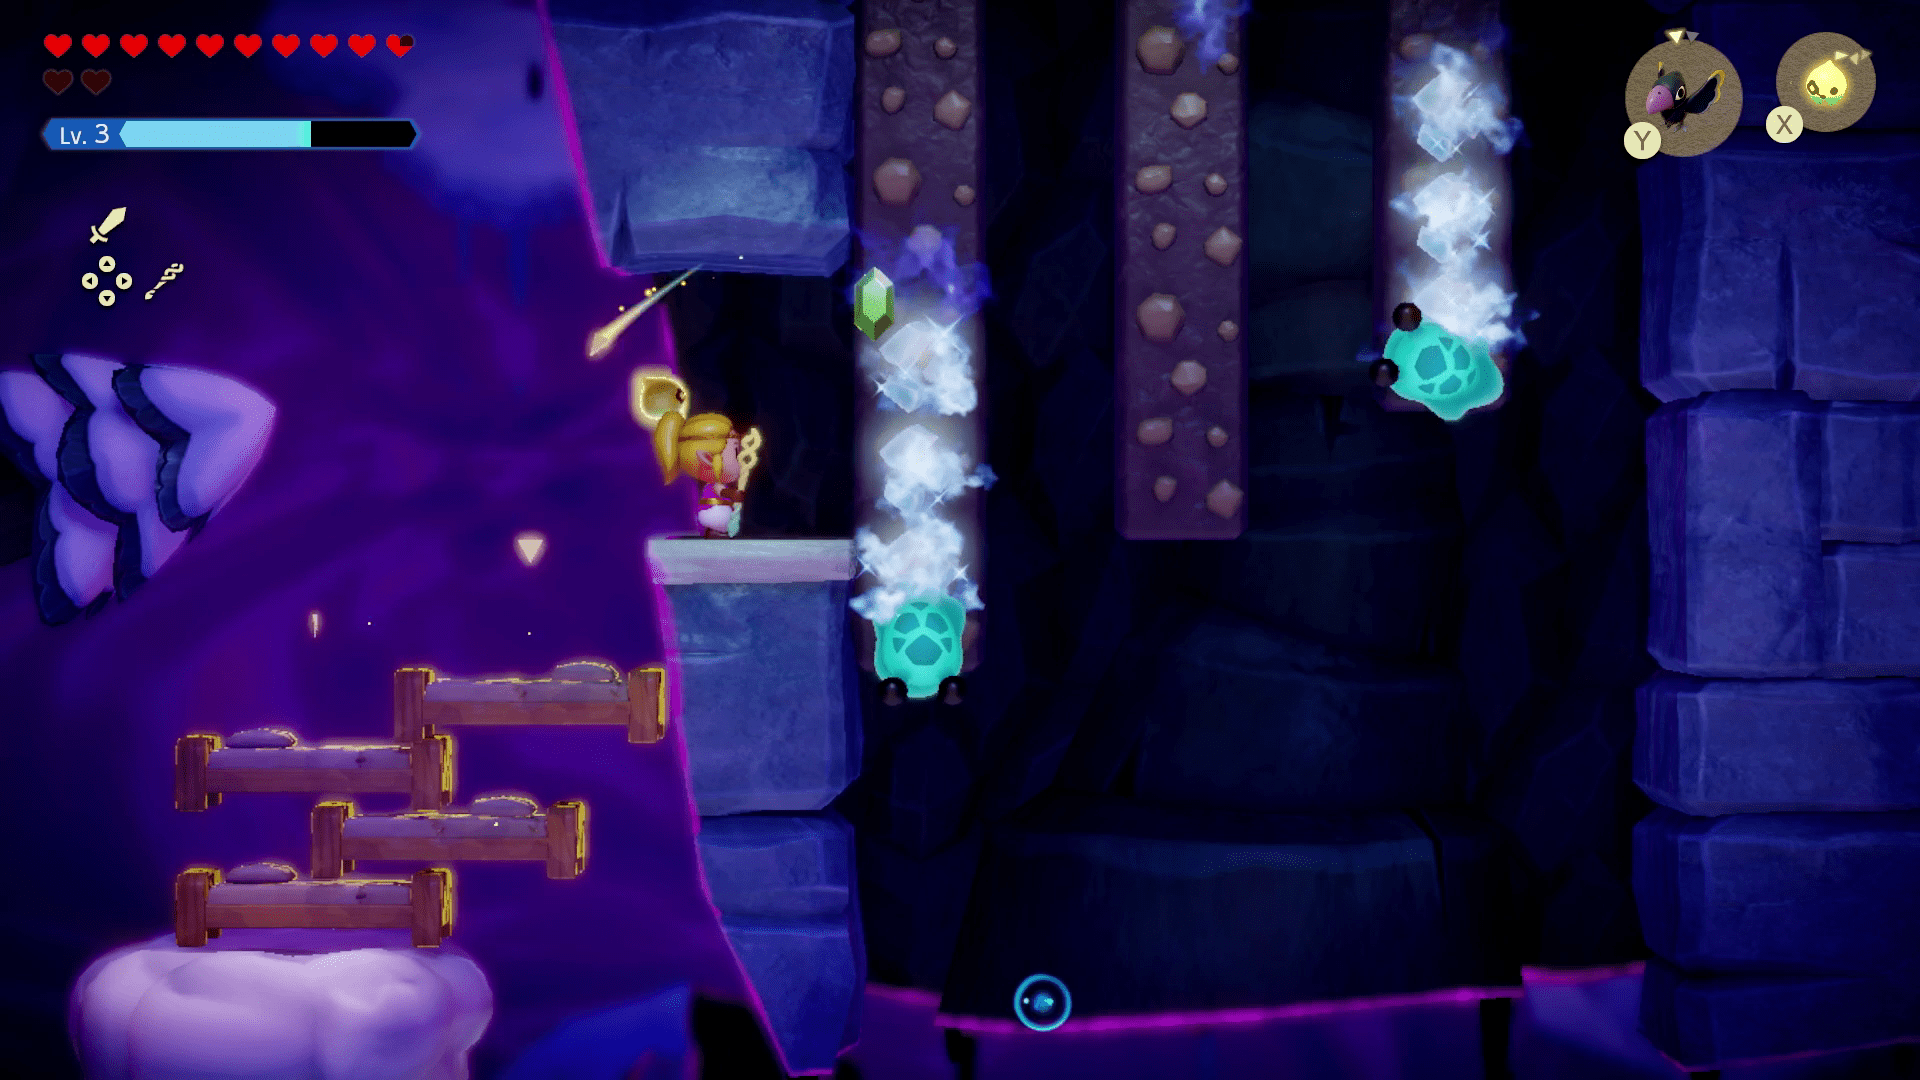
Keep platforming up and then back around to the left. Beds make pretty quick work of all this platforming, but again, you can use whichever method you prefer, as you should have a ton of tools to use by this point in the game.
Take out the wolfos and shadow enemies at the top and use a fire source echo to melt away some of the ice on the left side to reveal a red rupee.
Scale up the rock wall and melt some of the ice on the right side for a blue rupee (worth five rupees) and twisted pumpkin. Head inside of the cave in front of you, as you’ve finally made it to the actual dungeon.
Lanayru Temple walkthrough (part one)
A cutscene will play out about a mural on the wall and then you can head down to the temple entrance. Interact with the warp waypoint and melt the ice in the upper left for a twisted pumpkin before you head inside.
Head to the left room and take out the ice octoroks to get a chest with five rock salt inside.
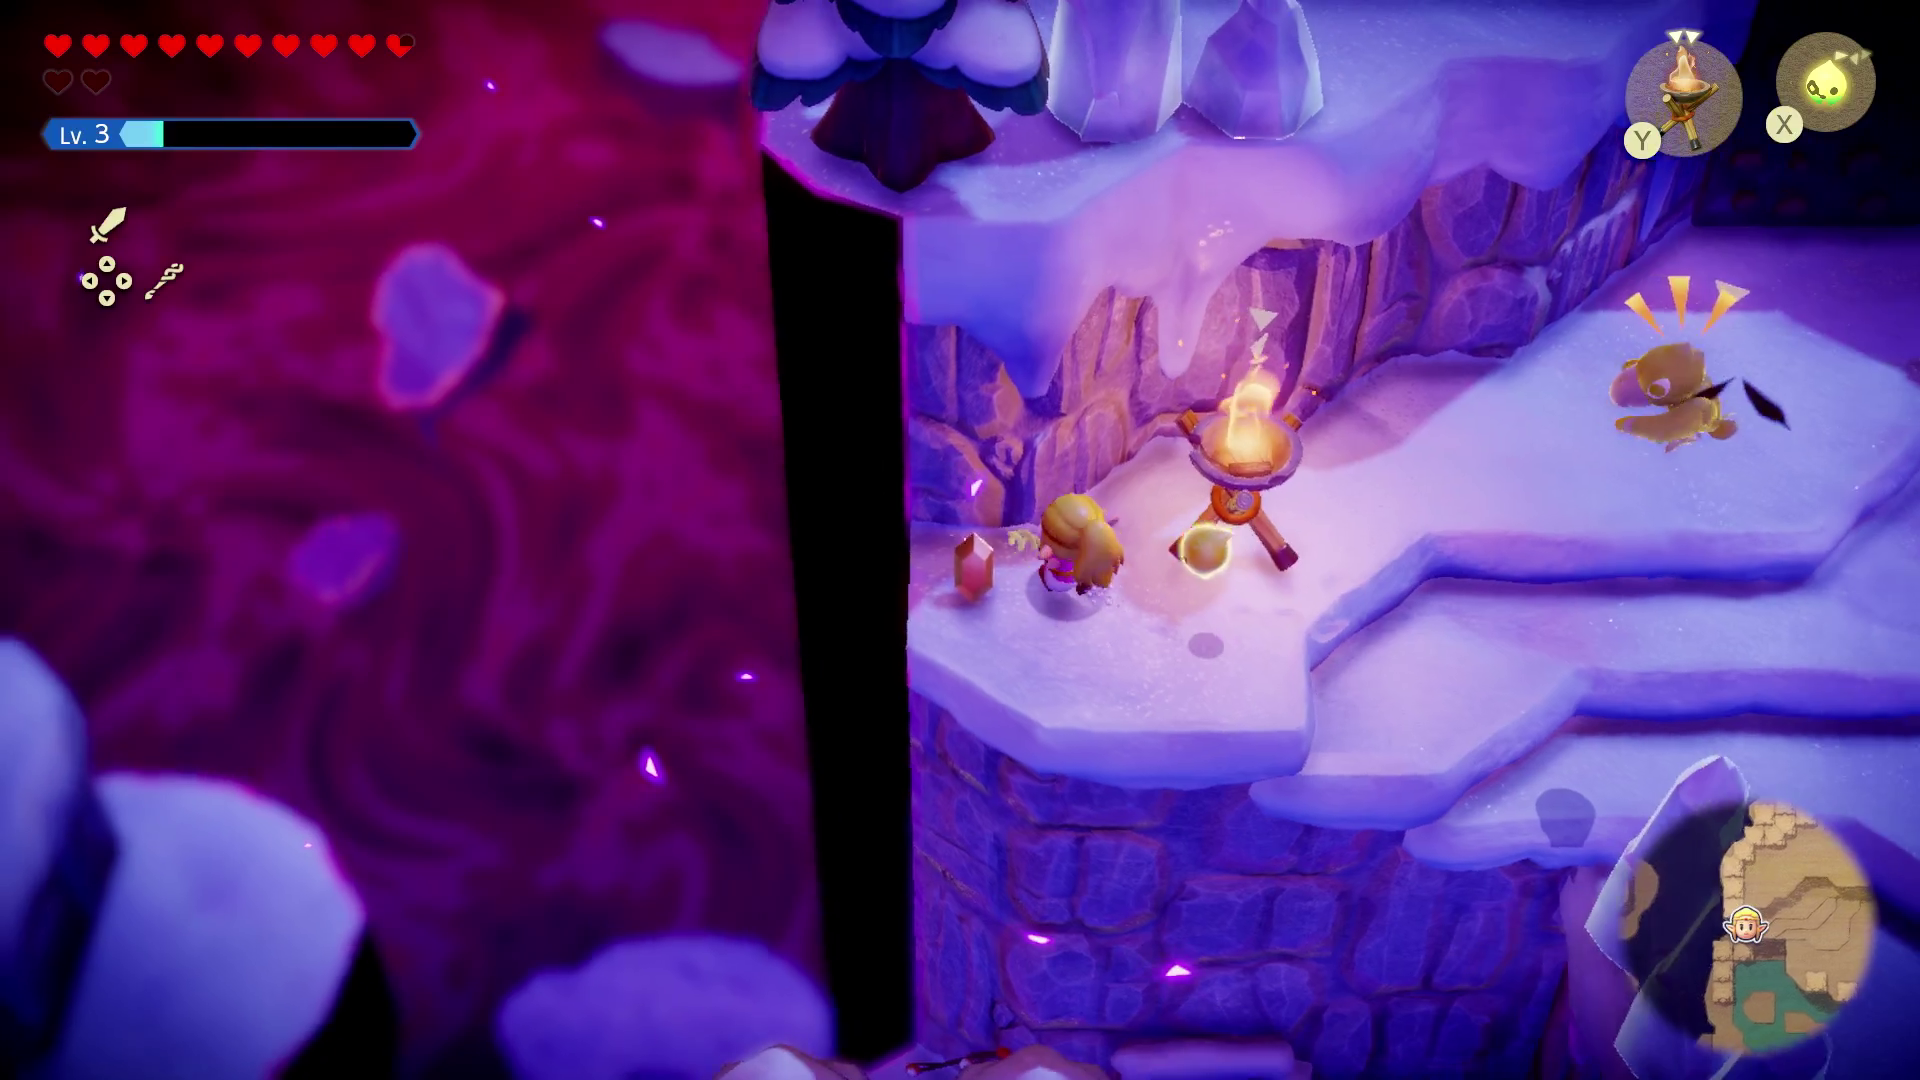
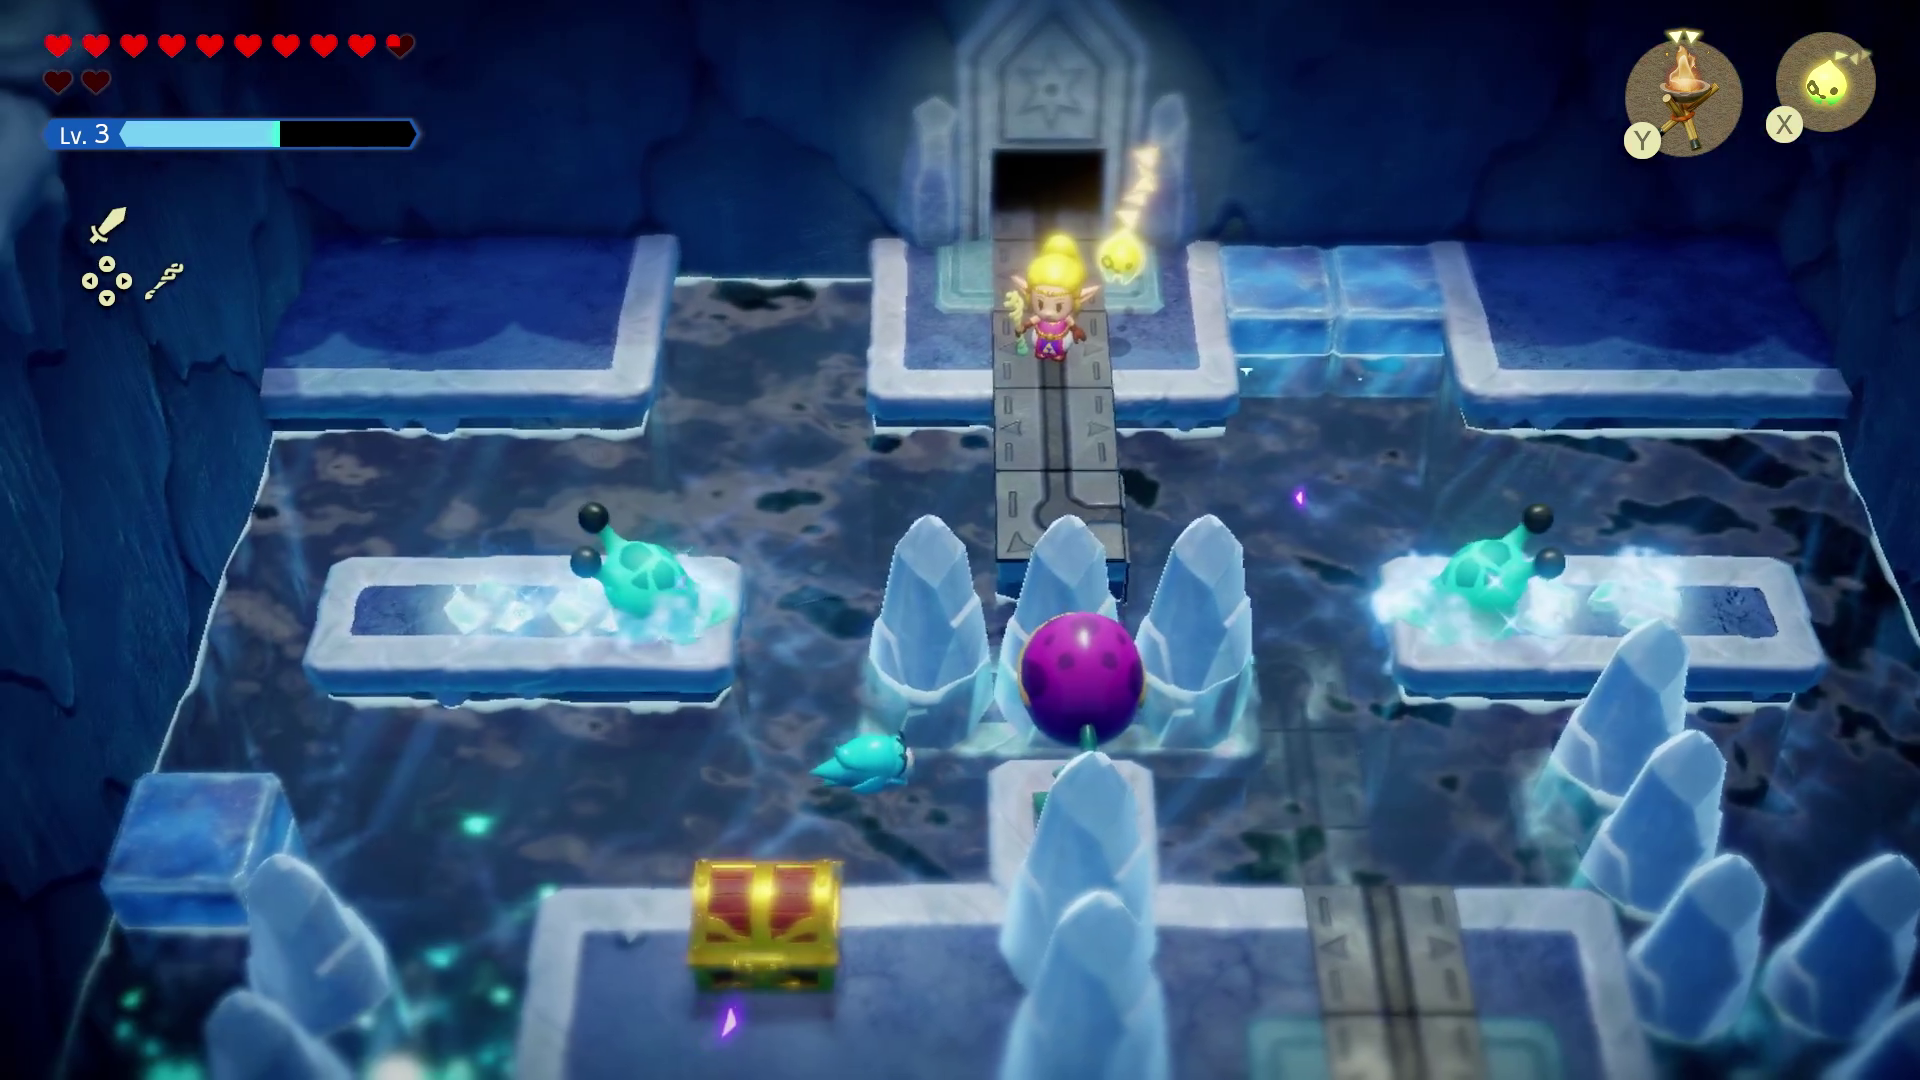
Return to the temple entrance, then head into the right room for your first taste of this dungeon’s puzzle theme. The goal is to bring the fire orb on the right to the pedestal on the left. Make a bridge of your choice so you can cross to the orb, pick it up using Tri, and bring it back to the pedestal.
Once the pedestal activates, it’ll switch on a heater in the next room, melting away all the ice. Go back into the room with the heater and head down the now-open ladder.
Take out these snowmen enemies. At the second snowmen, you’ll want to build a structure tall enough that allows you to use a Strandula Echo to reach above, allowing you to get the chest. with three monster fangs inside. We oriented it like this:
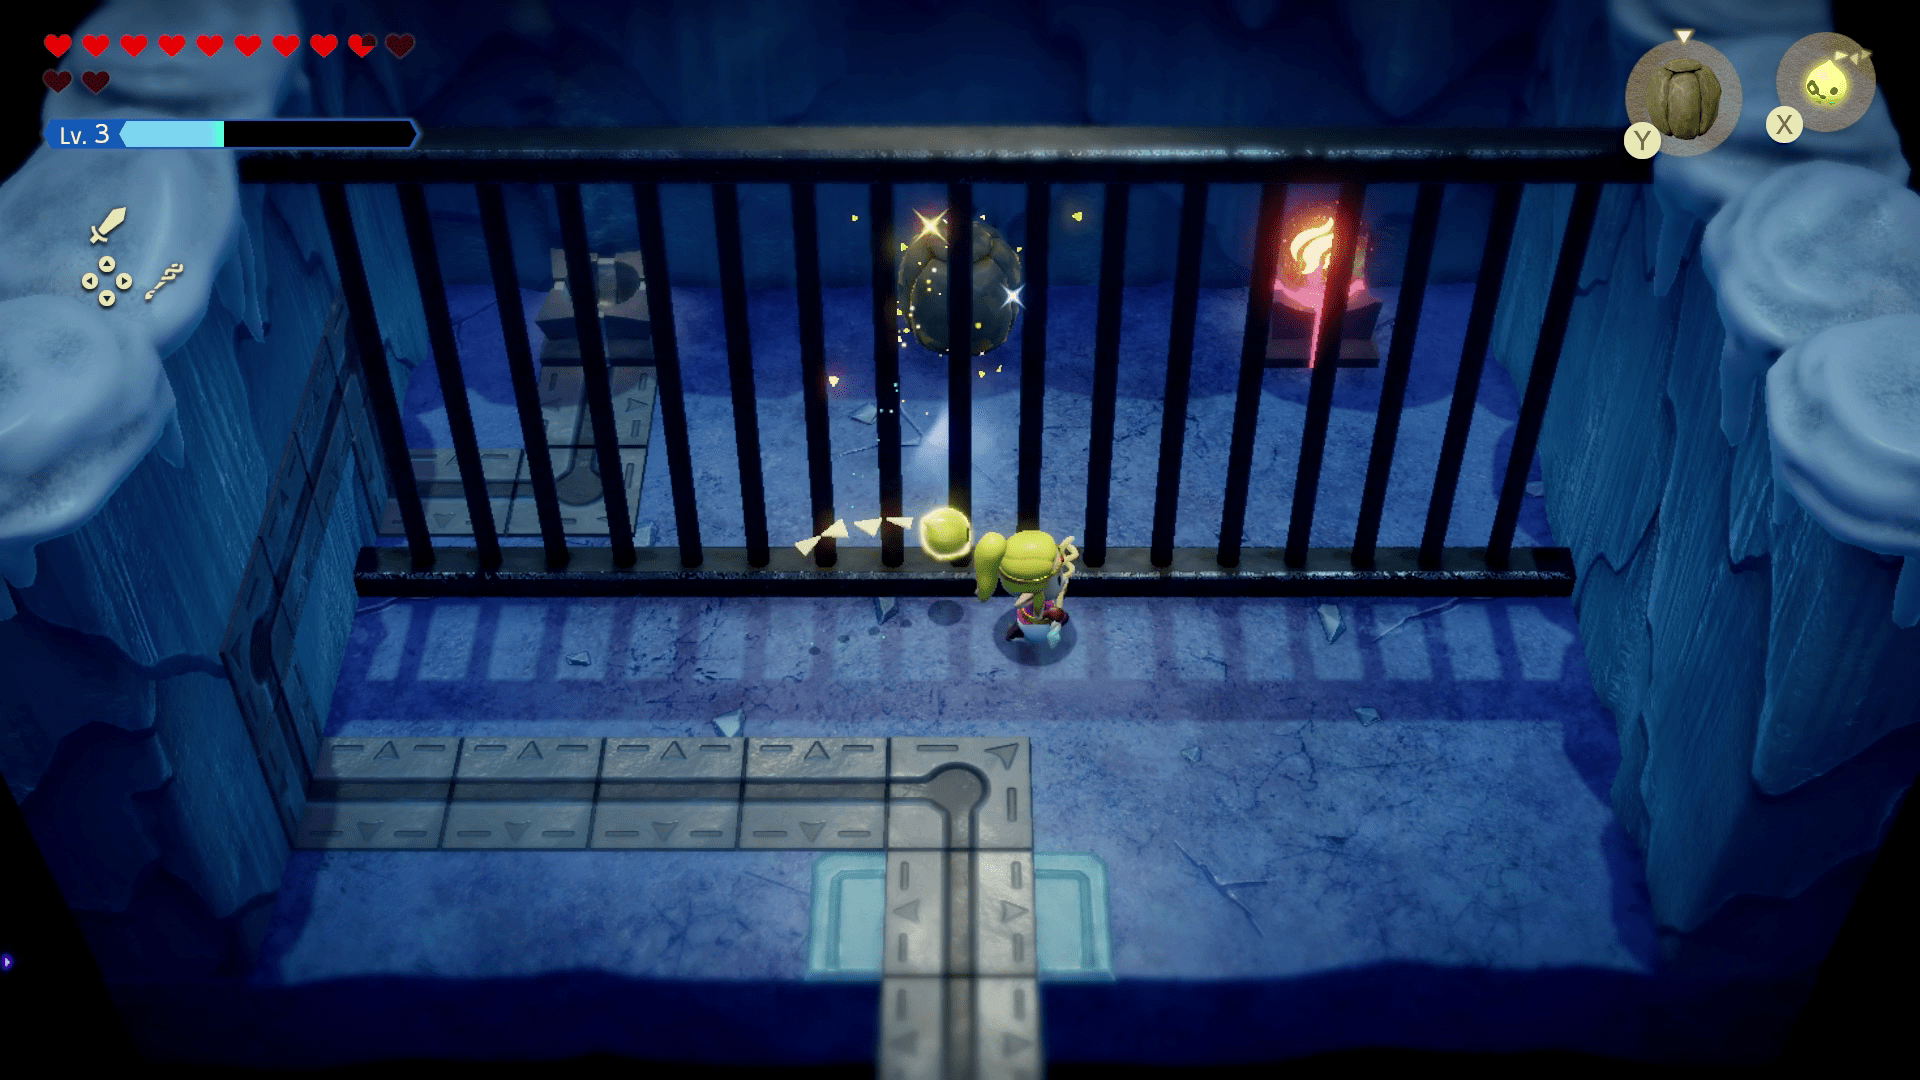
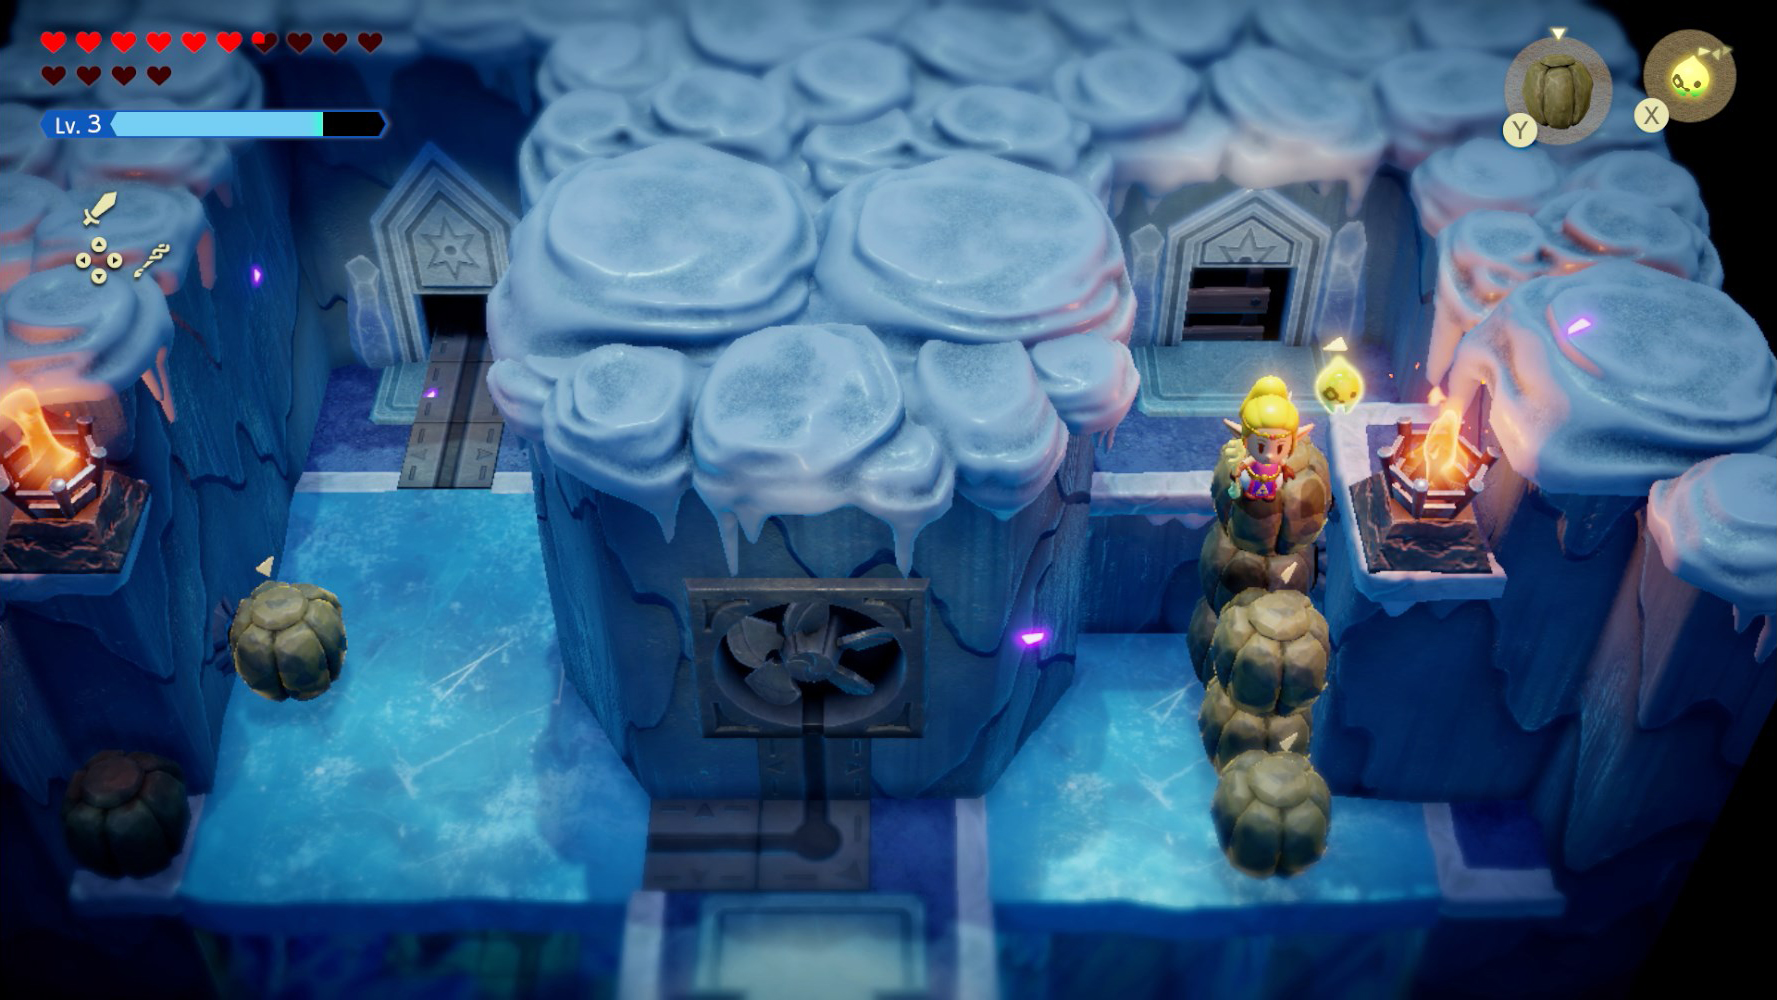
Head down the ladder and you’ll come across another common dungeon theme: using boulders to block off these ice vents. Use Bind to drag the boulder to block the vents (or summon your own with the Boulder Echo), allowing you to pass before heading into the next room.
Use a boulder to block the ice vent on the left, allowing you into the room in the back left. Plug up the vent with a boulder by holding down Y so Tri places it through the bars. Now pick up the fire orb using Tri and place it on the pedestal, melting all the ice in the previous room.
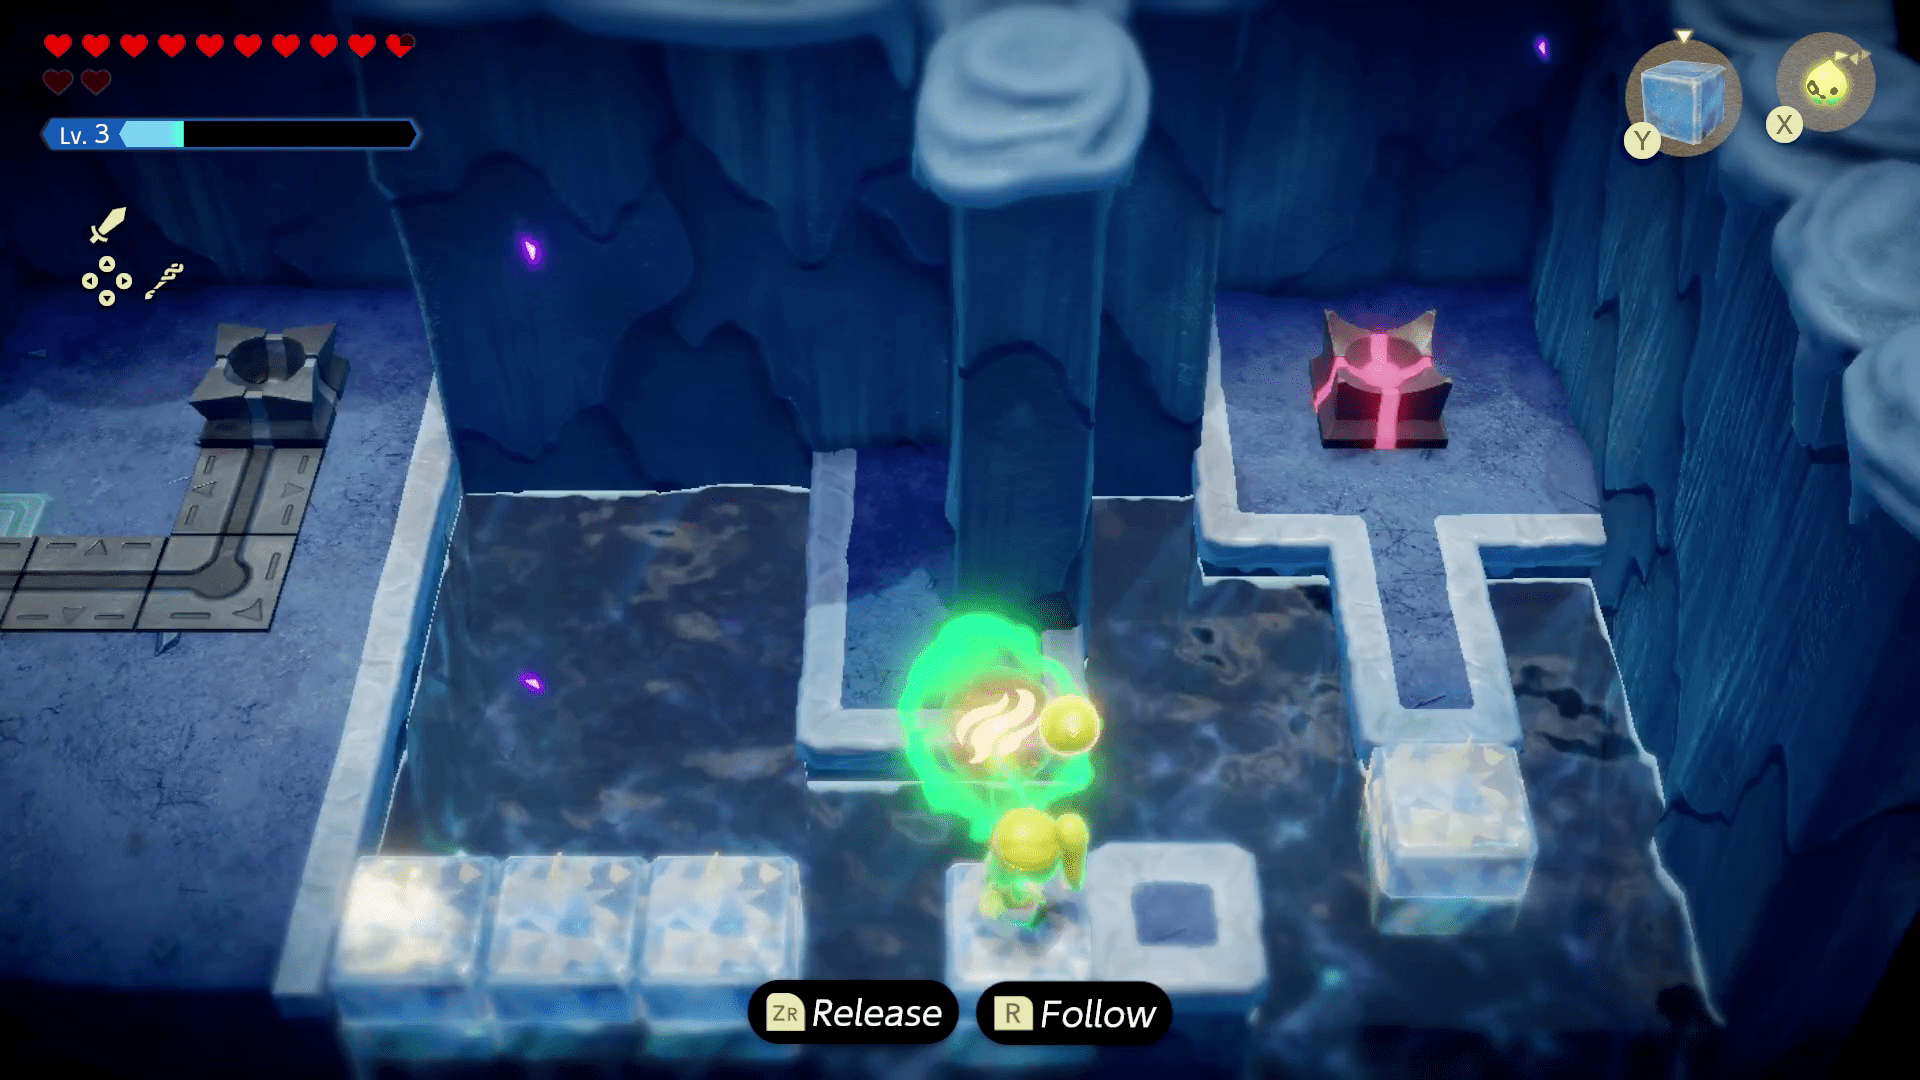
Head back and dive into the water on the left side to pick up a small key. Now go back into the room with the fire orb. Pick it up using Tri and drag it through the ice vent, turning it into an ice orb! (New mechanic learned!) Place it on the pedestal to refreeze the room.
Go back into room with the fan and head to the right side, using boulders to create a staircase that simultaneously blocks the fire vents. Make sure to have your Frog Ring accessory equipped to scale up these boulders easily.
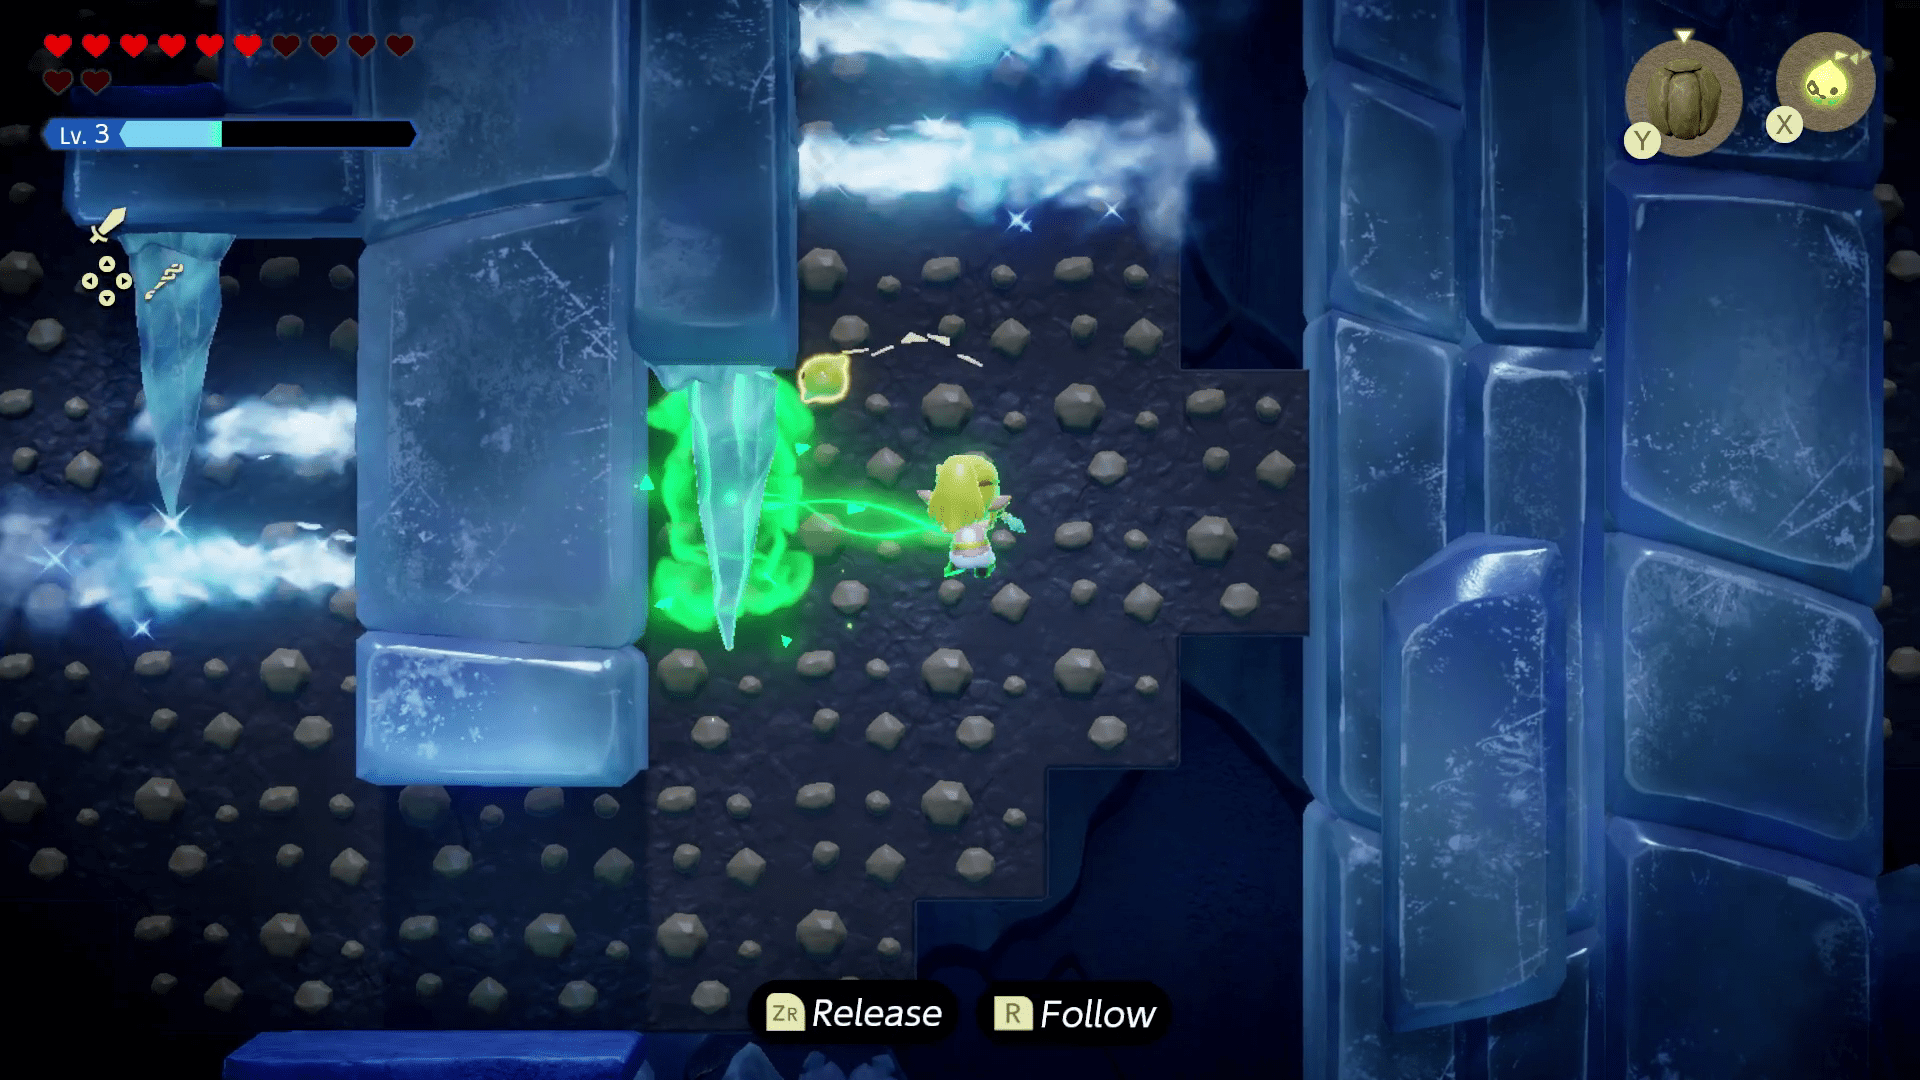
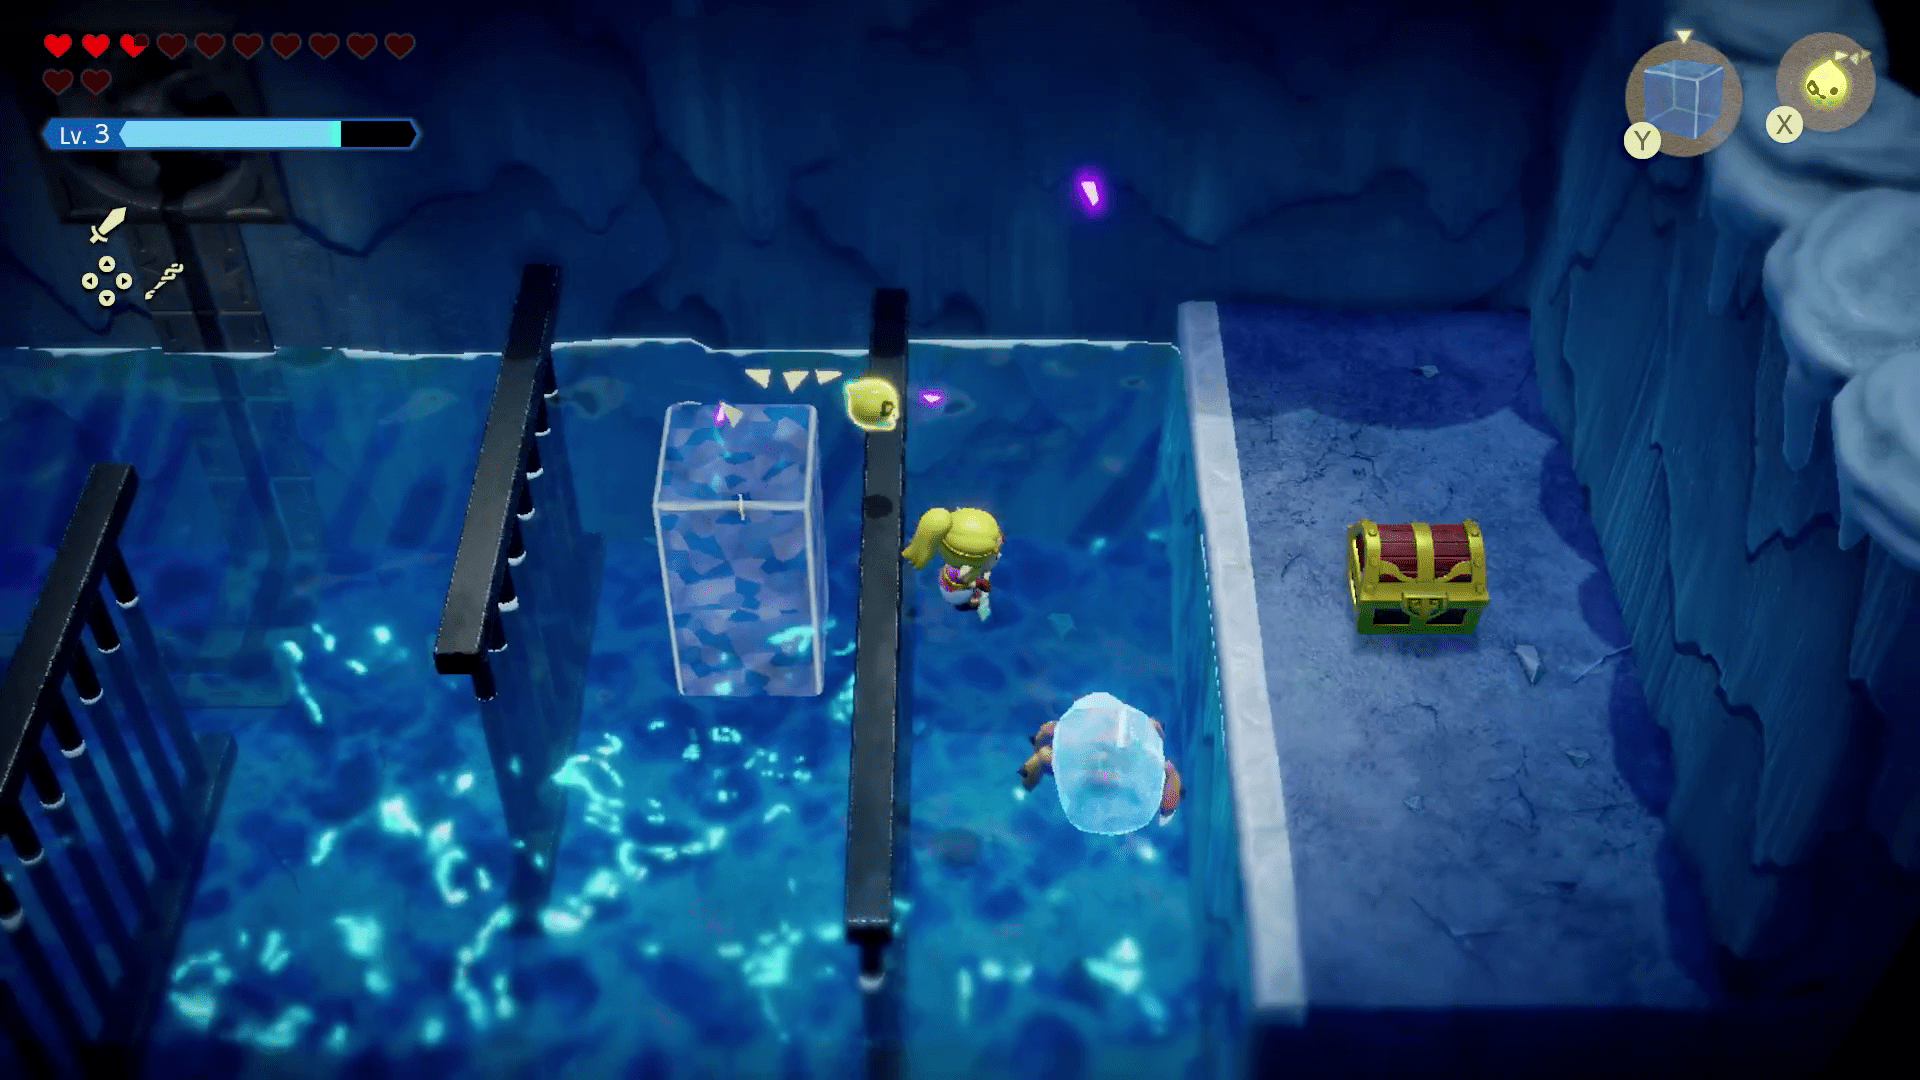
Unlock that door and head down the ladder to get to a 2D sequence. You’ll notice that the falling icicles block those ice vents, allowing safe passage. Quickly use Tri to grab one before it falls and use it to block the icy air as you climb.
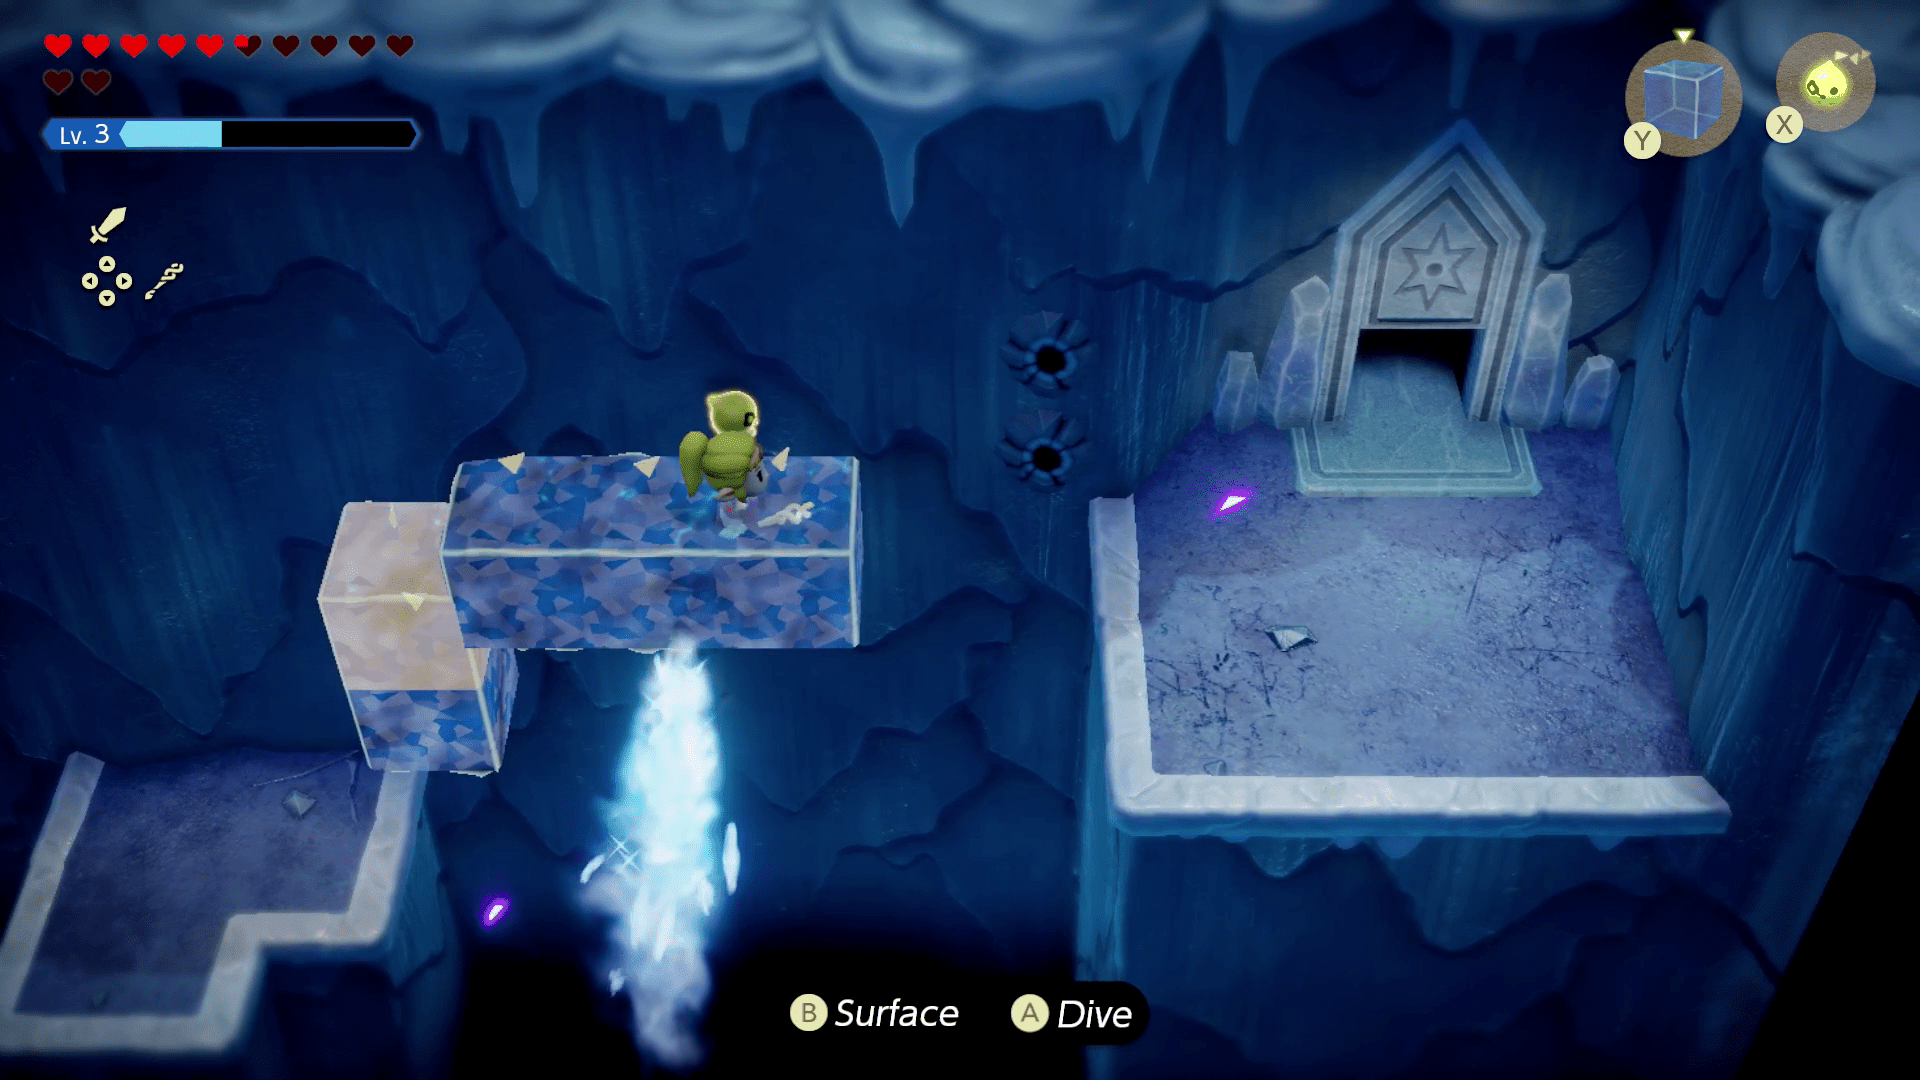
Carefully cross the first gap while the ice vents are off. On the right side of this first vent, use water blocks to take you straight up, into a room with a chest that has a Golden Egg inside.
The second set of vents are a little bit trickier, but we used some cheekily placed water blocks to get up and around them.
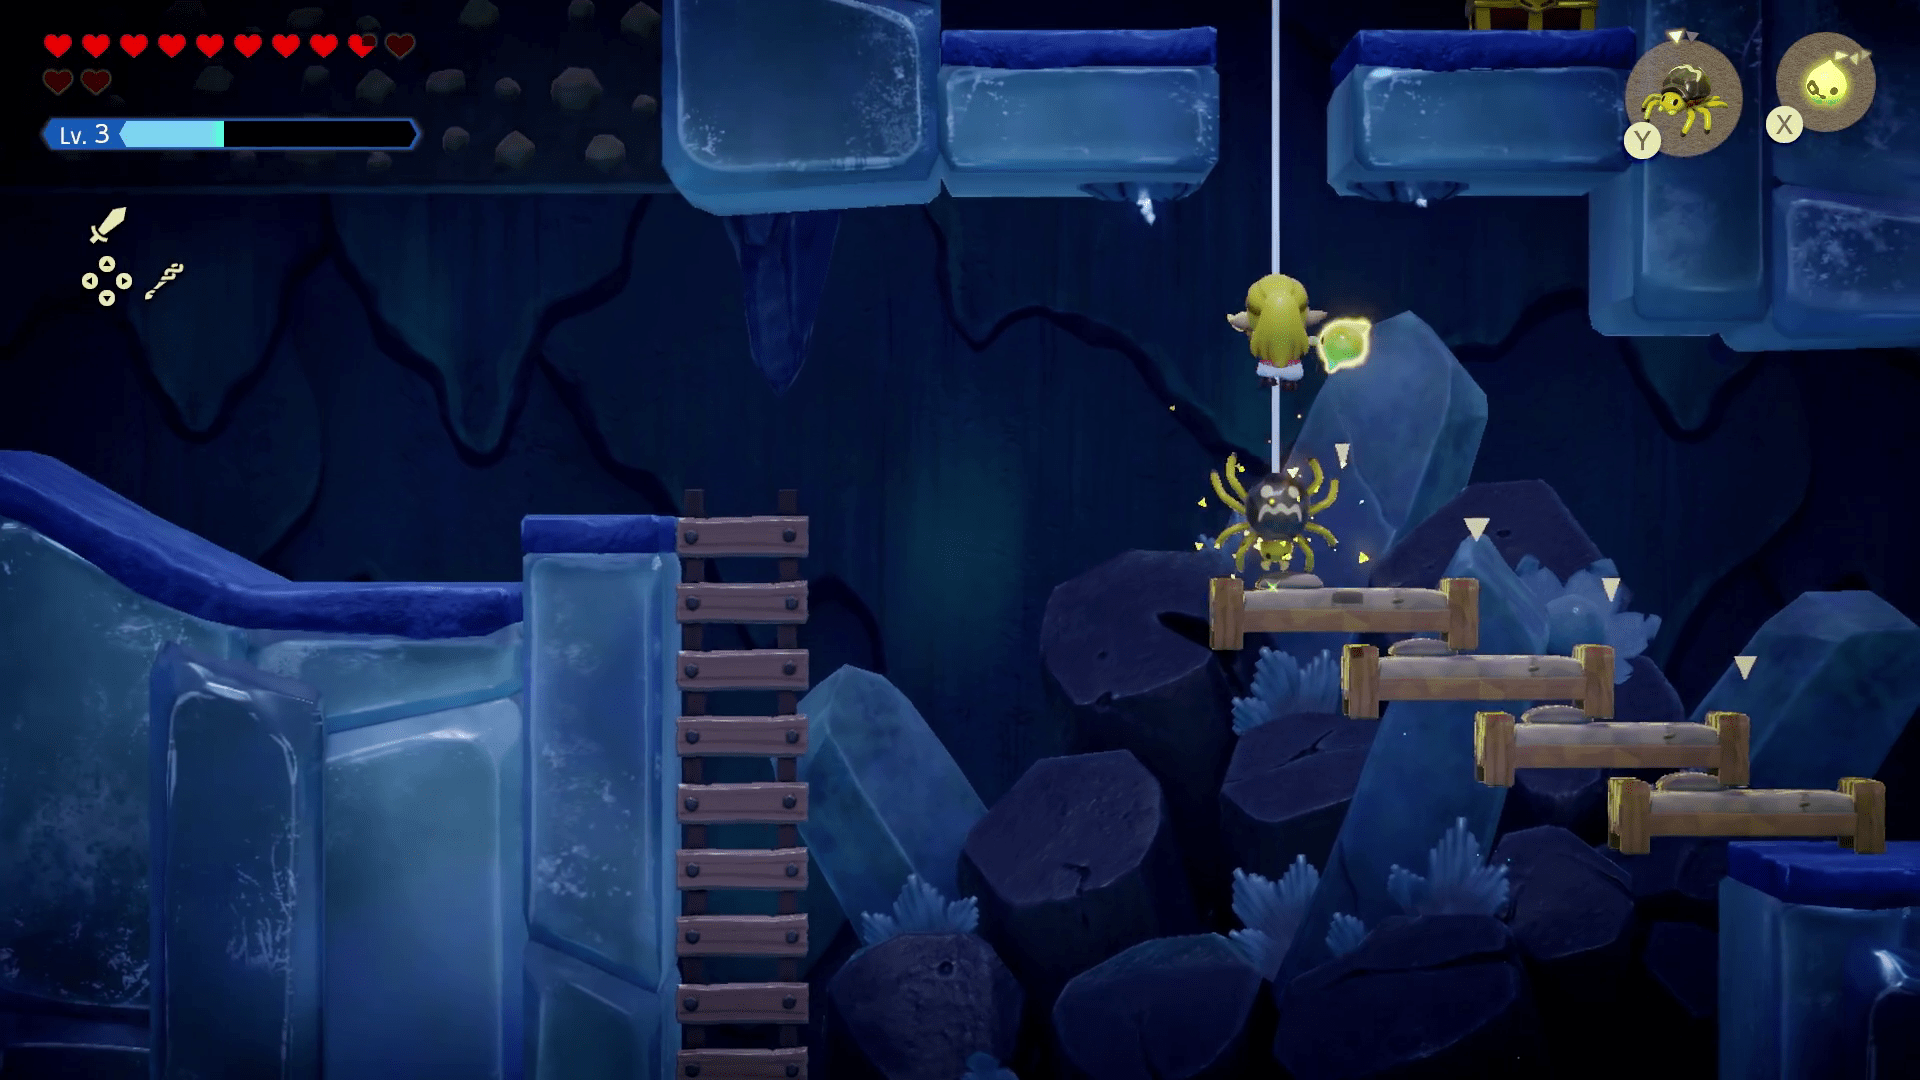
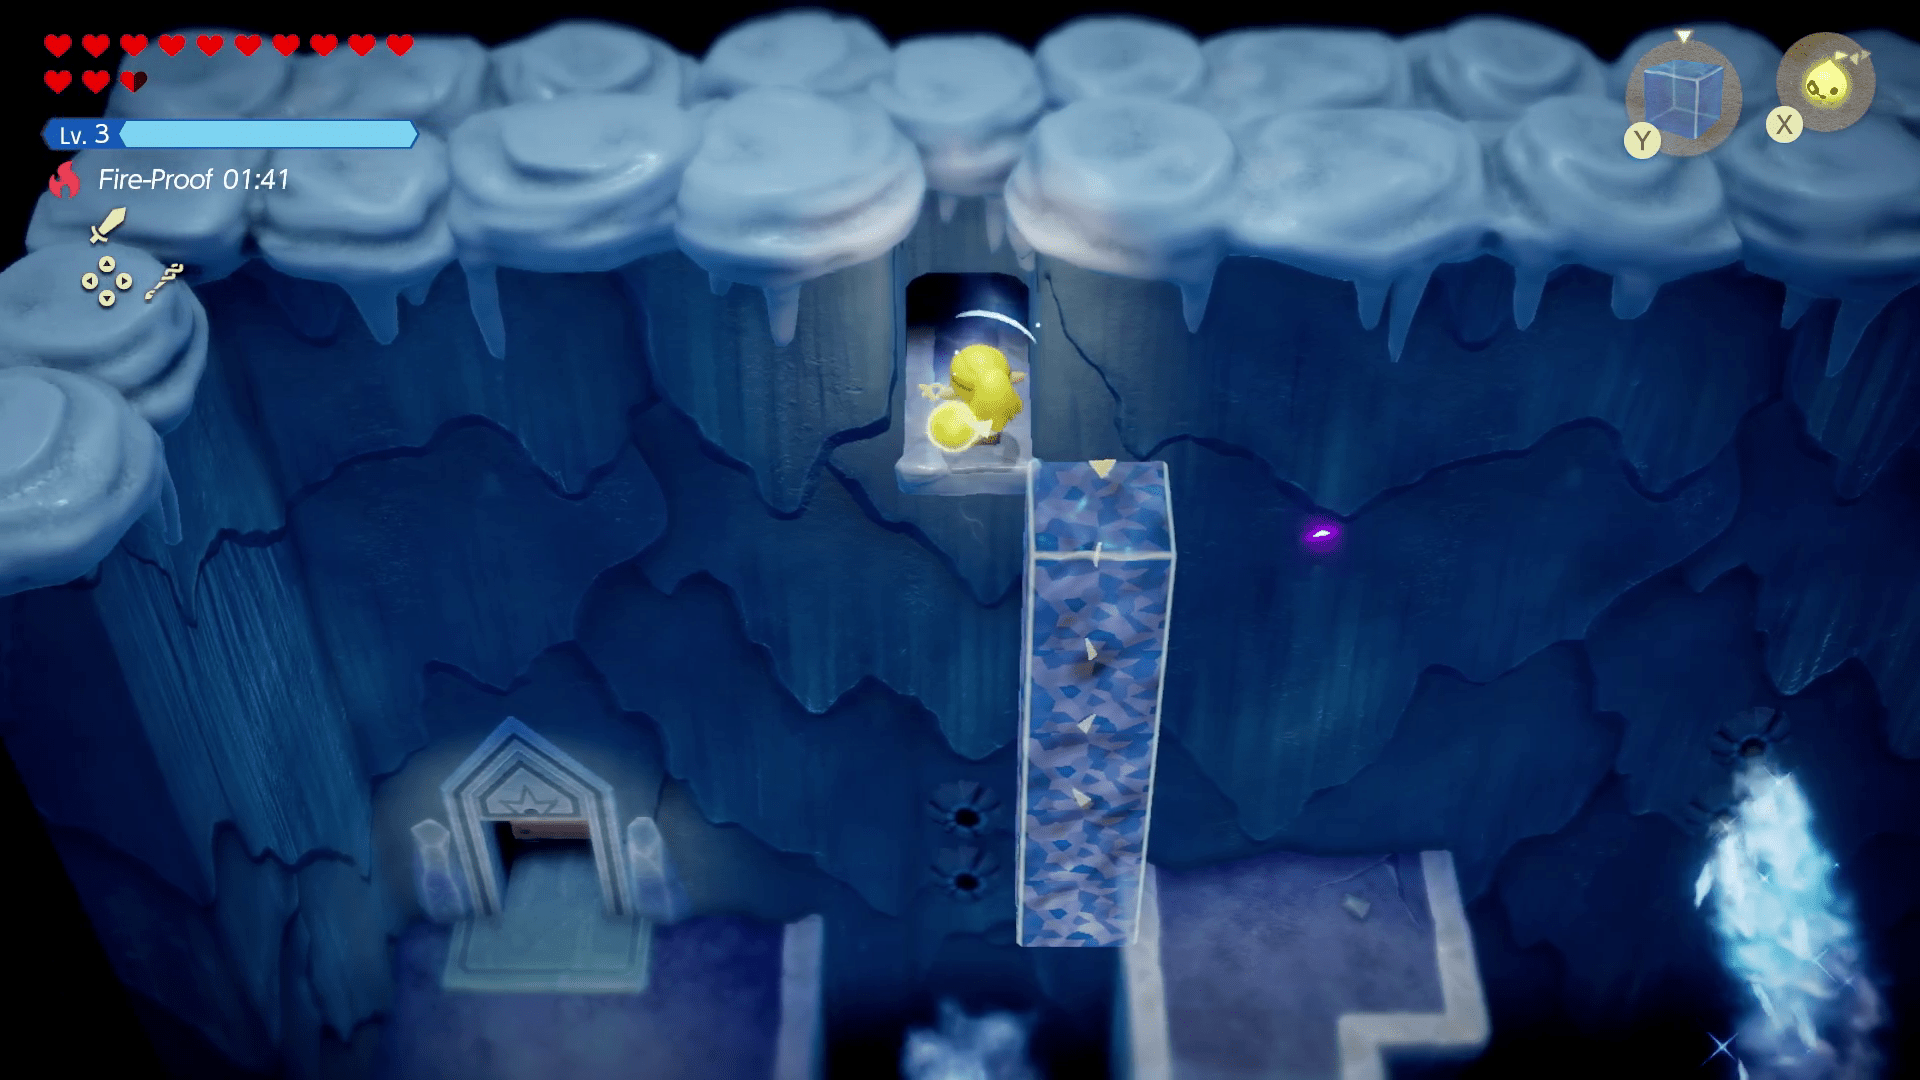
In the next room, move the upper right ice block (that you can reach on the left side of the room) to reveal a ladder. Head down. In this 2D area, you’ll see another ice slug that will drop into the void if you kill it, so don’t worry about catching its echo yet.
At the bottom of this area, grab the fire orb with Tri and very carefully bring it up, not letting it touch the icy air. To do this, place three water blocks in the location below, so that way you can carry the fire orb up on the left side and around the ice vents on the upper right side of this area.
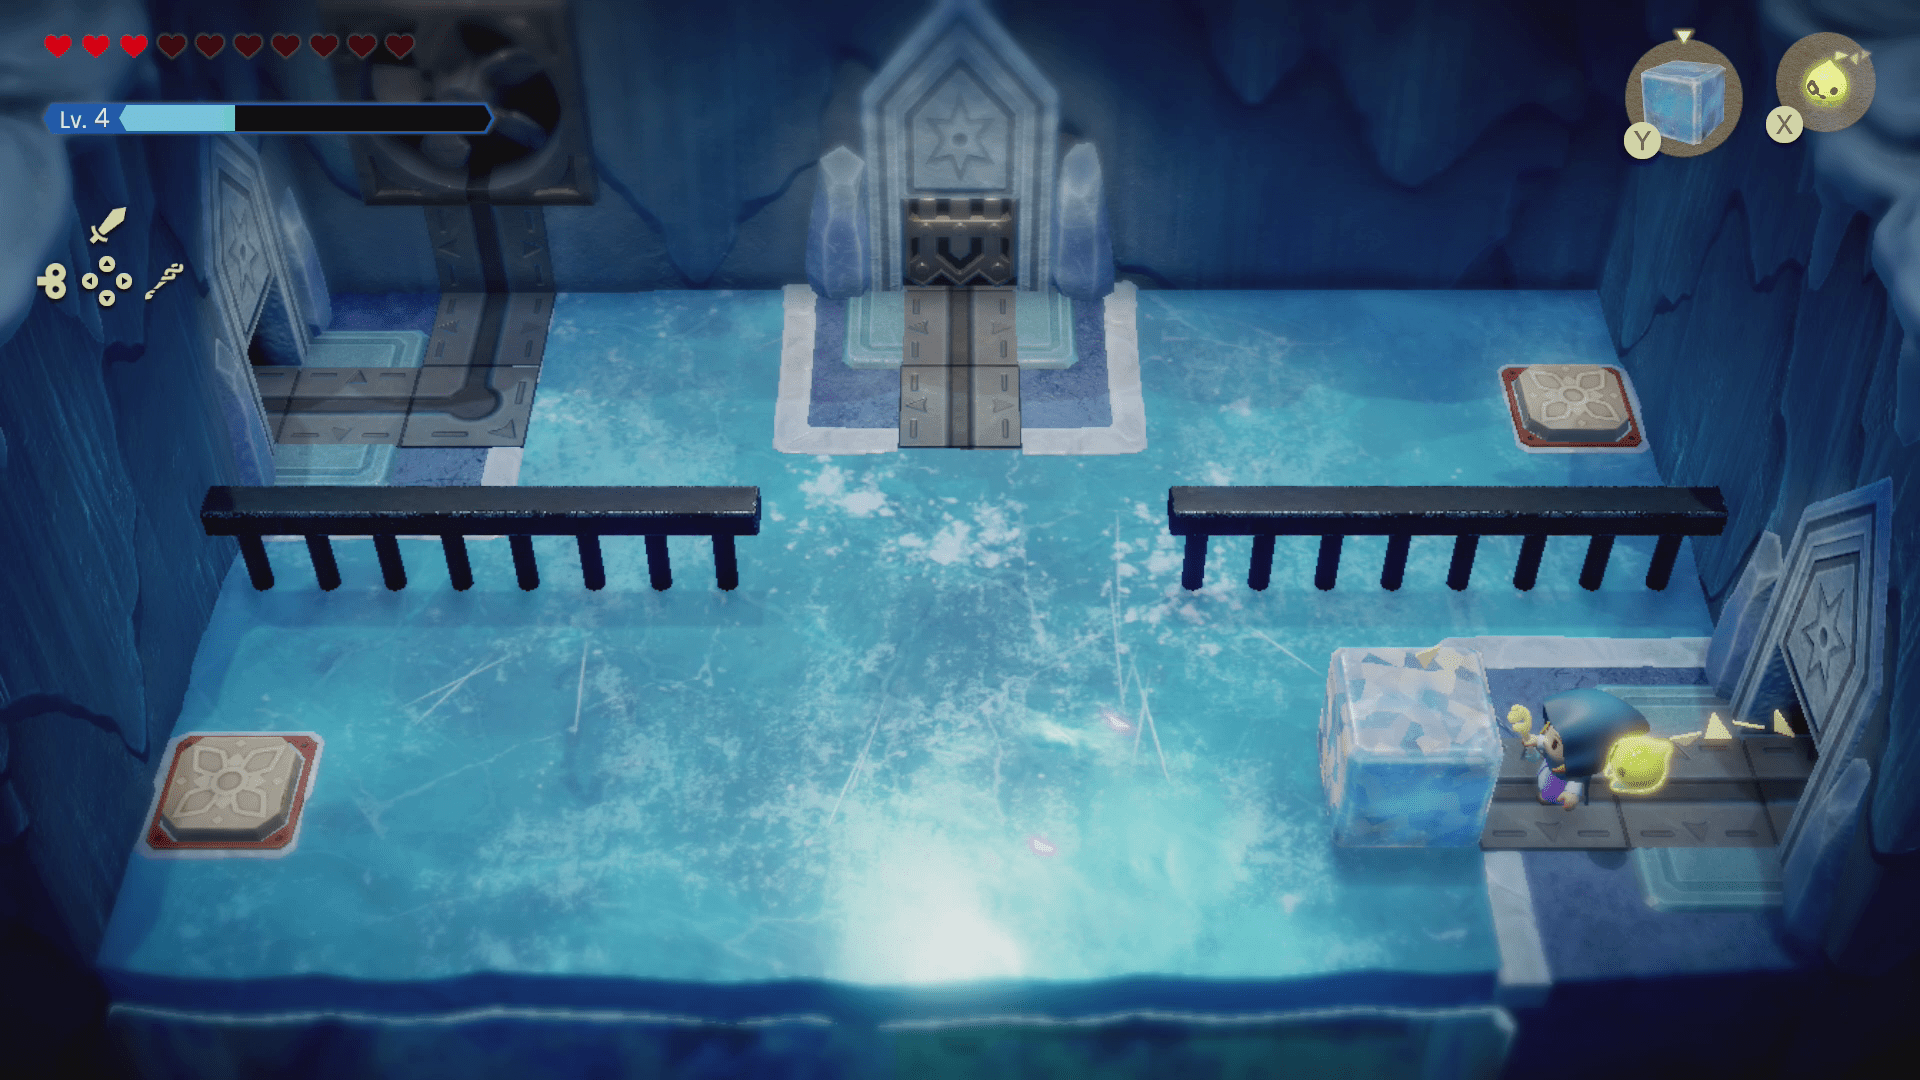
Place the orb on the pedestal and head back up the ladder and into the room on the left. For these switches to activate, they need to be pressed at the same time. To do so, push the ice block across to the right switch and summon an Ice Block Echo on to the left switch quickly so that they both hit the switch at the same time. (This may take a few tries.)
After the switches are activated, a chest will appear with a small key inside. Take the key, head back into the previous room, and now head into the left door. You’ll get trapped in a room with four temper tweelus enemies. Take them out (we used bombs), and a chest with the dungeon map will appear. Head into the newly-opened left door and use the warp waypoint. Heal up in the hot spring (or use a bed), because there’s a mini boss in the next room.
How to beat the slime mid boss in Lanayru Temple
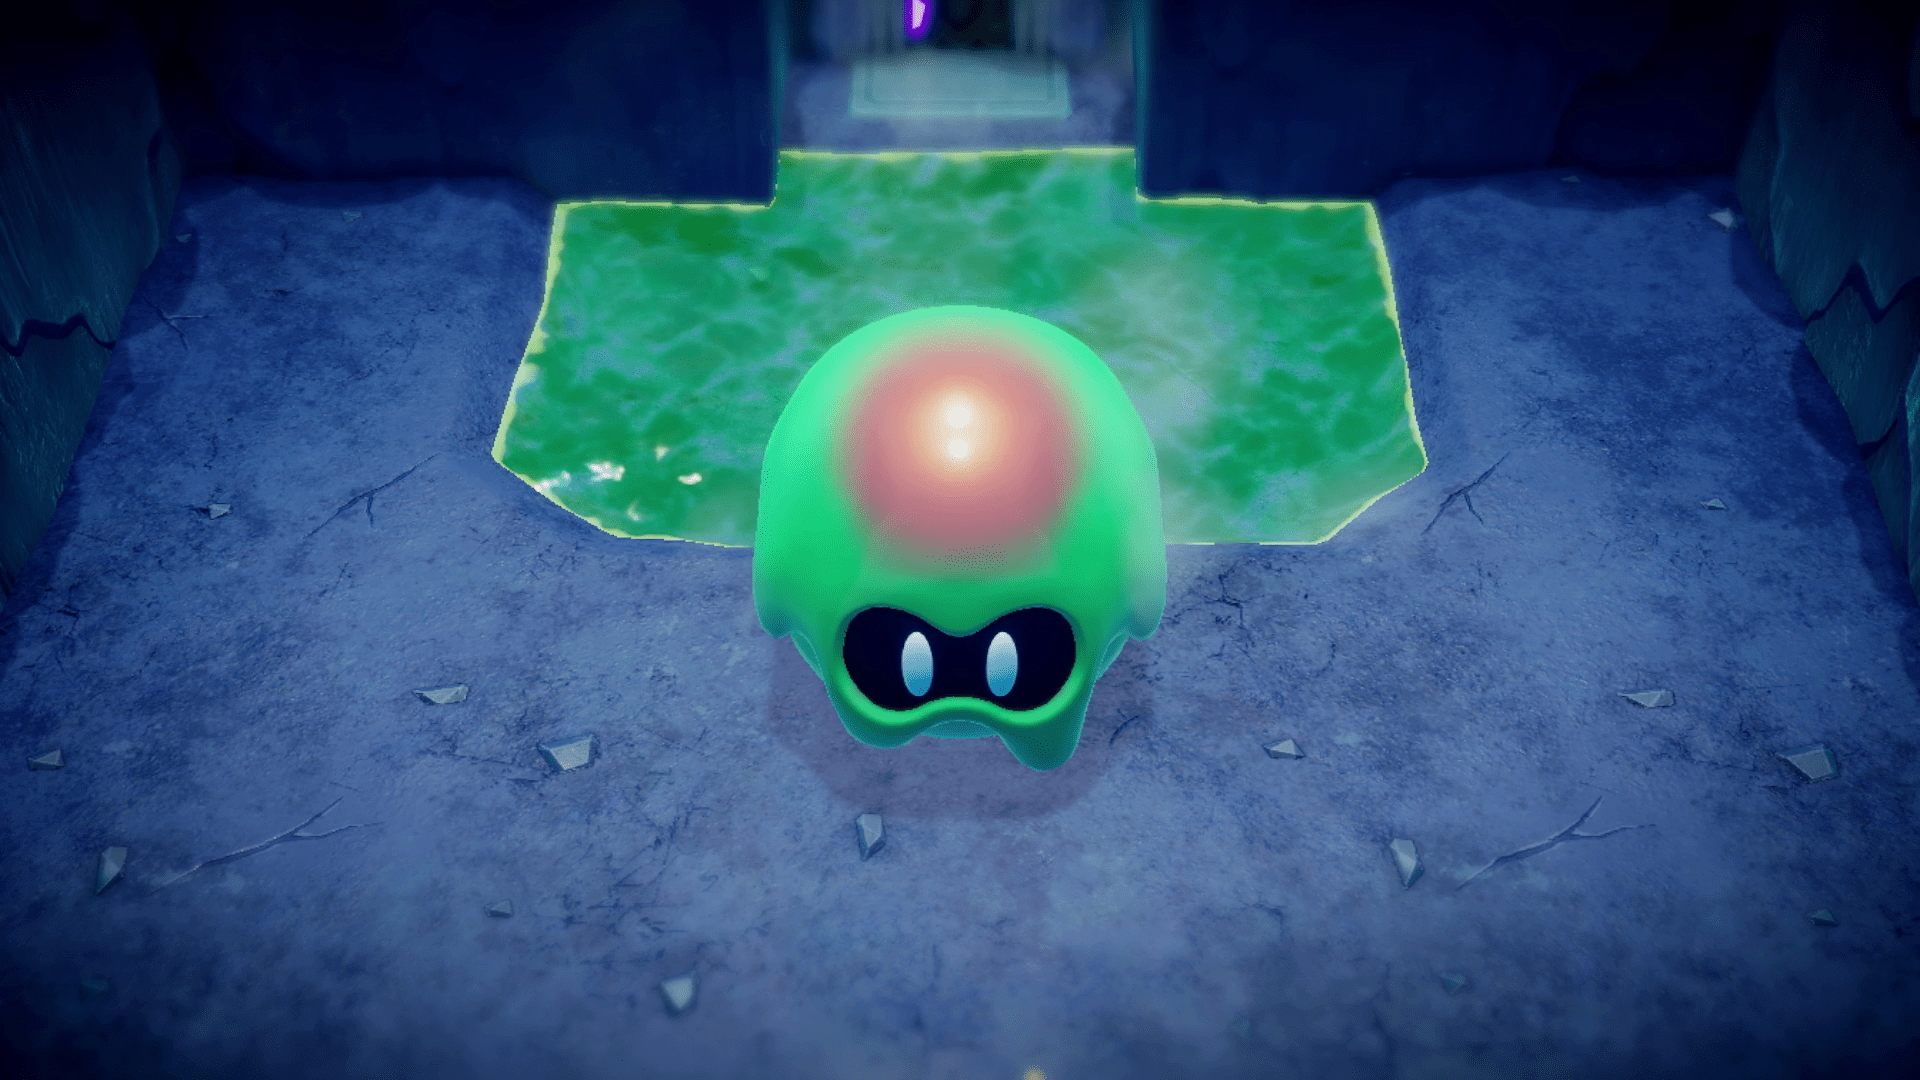
There is quite literally no indicator of how you’re supposed to beat this boss, so if you’re stumped, know that you’re not alone. The answer is to use ice.
This unnamed blob only has two attacks: one where it’ll charge up and spit water, and one where it’ll fly up in the air and slam down on you, dropping rocks alongside it. Avoid being slammed by dodging the shadow and counterattack it using any ice-wielding echo you have. We used the Freezard Echo and the Ice Wizzrobe Echo, both picked up on the way up the Hebra Mountains, but you can also use ice keese and other similar ones. These are just the fastest and most efficient.
Once the slime is frozen, you can wail on it using whatever method you want. After taking enough damage, the slime splits into many blobs. It will keep splitting, which can get chaotic, but focus on dodging while your icy echoes do the work for you.
After the slime is down, head down the ladder to continue on in the dungeon.
Lanayru Temple walkthrough (part two)
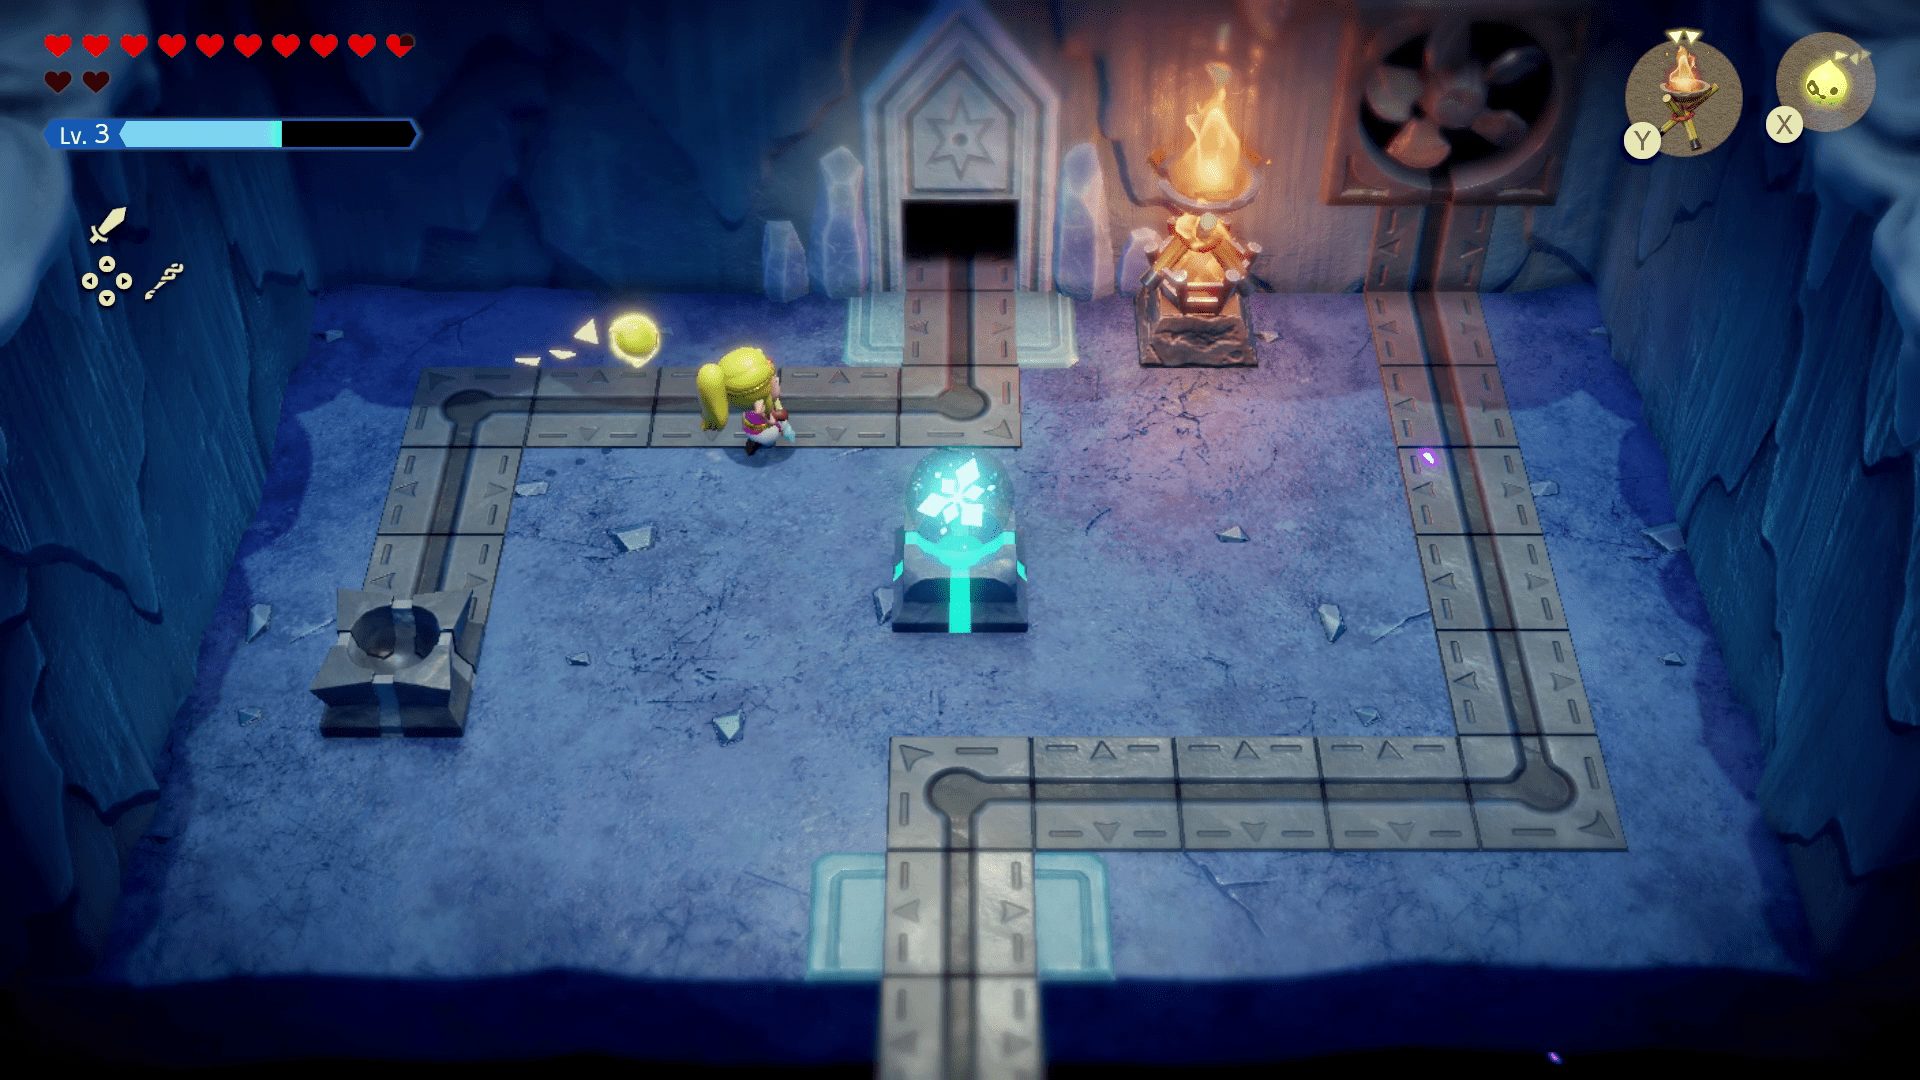
Head down the ladders and learn the Brazier Echo if you somehow haven’t yet. You’ll need to use these braziers to melt ice and light torches along the path. The first will be directly on the left as you climb down.
If you go right and climb down again, you’ll see another unlit torch and a fire keese. Take down the fire keese and learn the Fire Keese Echo if you haven’t already. Hold down Y to far-place a fire keese across the bars, and then grab it with Tri to force it over and light the torch.
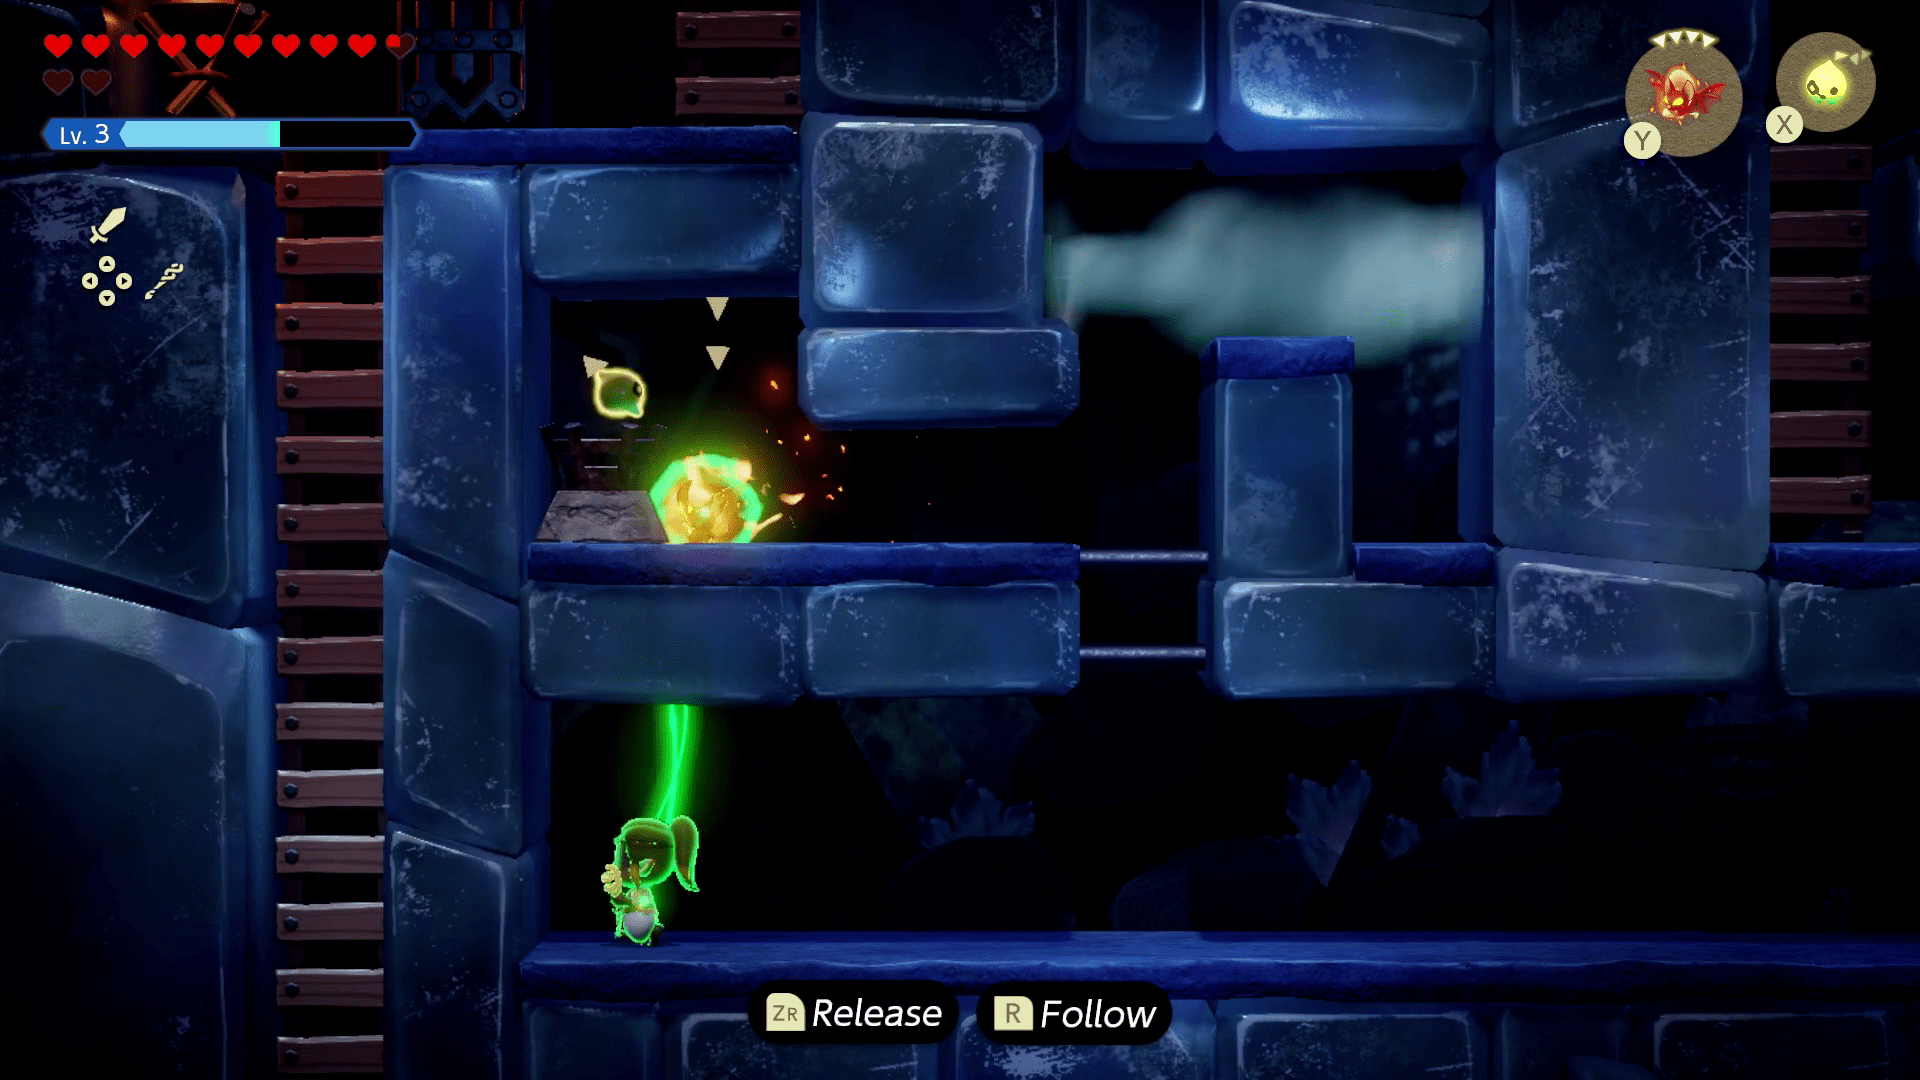
Head back up two of the ladders and go right until you see four falling icicles. You’ll need to wait between falls and time a far-placement of a brazier to light the torch on the right. Now head back up the ladder and head right again to see a lone brazier alongside a rocky climbing wall.
Grab the brazier with Tri and carry it up to light the torch. You may have to wiggle around the whole climbing space a bit to get the brazier to line up nicely.
With that, all of the torches will be lit and the door on the left will unlock.
Before you leave this room, move the brazier on the left out of the way and use three strandtula to climb up to a chest with a silver rupee (worth 100 rupees) inside.
Head down the ladder to be in a room with two yellow buttons and the boss chest. Pressing the smaller yellow button deploys a snowball that can’t hit the huge yellow button because of the icicles in the way. Head south, following the silver track for the fan system.
Next, you’ll be in a room with an ice orb, but ignore it for now and keep following the track south again.
Now you’ll be in a room with several enemies and a chest with three twisted pumpkins inside. At long last, there are those ice slug enemies in reachable, normal places, along with a blue ghost-type enemy that may be nice. Take them out to get the Moa Echo and the Freeze Slug Echo.
Keep heading south, following the tracks. Head into the right room, and walk up, ignoring the contraptions in all of these rooms for now.
At long last, you should be in a room with a fire orb and a slippery ice path in front of it. For now, ignore the fire orb and just take out all the enemies that litter the ice path. You may also want to move the ice blocks around to create a clean path to follow.
Once you’ve made a safe path, pick up the fire orb and carry it to the pedestal on the other side of the ice path. Now all those rooms we skipped will start serving their purpose.
Backtrack into the previous room and swim under the wall to see a bunch of level two tektite enemies. Take them out to learn the Tektite Lv. 2 Echo. Place an echo to help you jump over that last fence on the right to open a chest with a monster stone inside.
Head back into the left room, jump into the pool of water, grab the nearby boulder with Tri to place it on the switch. The door on the left will now open and you’ll see two of those switches that need to be pressed at the same time again. Ignore all this for now and head into the left room.
You’ll see a fire orb with several air vents blowing between the orb and its pedestal. Plug up the fire vents with boulders and drag the fire orb into the ice, turning it into an ice orb before you place it on the pedestal.
The previous room will now freeze, so head back there. Summon an Ice Block Echo on the bottom side that you can push on the left switch and then quickly summon an ice block on to the right switch so that they’re activated simultaneously. Again, this may take a few tries due to tight timing. We placed the first block like so and then jumped over the bars to place the ice on the top switch:
Once you’ve entered the now-opened north room, the door will lock, forcing you into battle with a white wolfos. It summons more wolfos to assist it in battle, so just attack these things the way you would any other enemy to take them down. Learn the White Wolfos Echo before you move on.
The next room looks jarring — it’s so big! — but it’s nothing you haven’t dealt with already. Take out the freezards and other enemies in the room before you grab the fire orb in the corner. You should also use the ice blocks around the room to plug up any of those ice vents.
Once you have a secure route, pick up the fire orb and carry it around the room to its pedestal. This will activate heat in a previous room. Head up the ladder on the right and hit the switch to get a shortcut back to the boss chest room.
Head back south from the boss room to the room with an ice orb and a pedestal. First, light the torch in the room with a brazier or fire enemy. Then pick up the ice orb and drag it into the fire, turning it into a fire orb. Place the fire orb on the pedestal. This will melt all the icicles around the yellow switch, but this isn’t enough for the giant snowball.
Pick up the ice orb (which should have respawned in the center) and place it on the pedestal to freeze the water in the boss chest room. Head back into the boss chest room and hit the small yellow switch to send the snowball down onto the huge yellow switch. This will lower the bars, giving you access to the boss chest and thus the boss key.
Before you go into the room on the right, build a structure that will take you to the tracks on top of the doorway (like water blocks or a bed staircase) to get a purple rupee.
After this, head into the door, activate the warp waypoint, and heal up for the boss fight.
How to beat the Skorchill boss in Lanayru Temple

Well, this is not Condé’s brother. Skorchill has a few phases, but the key to defeating it lies in attacking its helmet with specific elements.
In phase one, Skorchill will sport an icy helmet and have a few attacks:
You’ll want to use fire keese (which you got earlier in this dungeon) to break the three ice nodes on its head. You can even just pick up a Brazier Echo and jump, knocking the fire into its helmet, if you want, but fire keese are the most efficient.
Once its helmet is broken, you can attack Skorchill normally using regular enemies or your Swordfighter form. After you deal enough damage, Skorchill will start phase two, where it’ll don a fire helmet and some new moves:
Skorchill will also do the ground-slamming move from the first phase. To quickly take it down in this fiery phase, you can use Ice Keese Echoes to quickly break the nodes on its helmet. Again, once the nodes are broken, you can freely unleash damage against it.
In the third phase, Skrochill will bring ice back the arena, though now it’ll do a combination of its moves from its fire phase, too. Its helmet will also change elements frequently, meaning you’ll need to swap what element you’re using to attack it accordingly. Just keep using the respective keese or other enemies to attack.
If you somehow have no elemental keese, you’ll need to wait for him to slam the ground for you to counter attack with the respective element at melee range.
After you get more good hits in, Skorchill will die, freeing Tri’s friends and rewarding you with a Heart Container and some more Tri Energy.
Depending on which order you’re doing these segments in, you’ll have one of three options to go to next: the Faron Wetlands, the Eldin Volcano, or, if you’ve completed both of those, see what to do next with our Zelda: Echoes of Wisdom walkthrough.